Wednesday, July 31, 2024

Cute Cats Visible Image Birthday Card

Hello Topflight Stamps fans! Lisa Hoel here. This week our brand focus is on Visible Image which is always a fun one. They have great stamps and stencils in a variety of bold designs.

Lisa Hoel for Topflight Stamps #creativejuicefreshsqueezed #topflightstamps

For this card I combined the stamps sets That Lovin' Feline and Birthday Wishes. The cats are watercolored and I did a blended ink background with the Collision stencil.


Thanks for stopping by and be sure to check out the Topflight Stamps store for a wide selection of different and hard to find stamps, stencils and other paper crafting supplies from all around the world! Also keep an eye on the Topflight Stamps blog. There is new inspiration posted daily!


Topflight Stamps Supplies Used:

Visible Image stamp set - That Lovin' Feline

Visible Image stamp set - Birthday Wishes

Visible Image stamp set - Rays of Light
Visible Image stencil - Collision
Versafine Ink Pad - Black Onyx

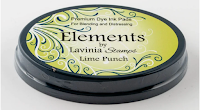
Lavinia Elements Ink Pad - Lime Punch


Tuesday, July 30, 2024

Just Be Happy

Greetings! You've got Kathi here today to share a project with you. This week the Topflight Stamps Design team is showcasing products by Visible Image.

Here's my card:


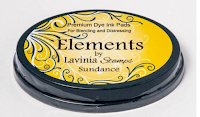
Use a stipple brush to apply Dark DenimBlue LagoonMulberryViolet ChalkConfettiRusset Orange, and Sundance Elements Inks by Lavinia Stamps one at a time onto a panel of Bristol Paper. The stipple brush will add tiny dots of ink to the paper which, when overlapped, will create a pointillist effect. Lightly mist the paper with Fine Spray Misters by Spectrum Noir to blend the colors a tiny bit. Heat set.

Use Nocturne VersaFine Clair Inks by Imagine Crafts/Tsukineko to stamp the girl and the sentiment from the Tomorrow Doesn't Exist Clear Polymer Stamp Set by Visible Image to the inked panel. Heat set.

Use the large die from the Frayed Frames Die Set 26 by AALL and Create to cut the image panel, then edge with Blue Lagoon Elements Inks by Lavinia Stamps

Place the Ripples 6x6 Stencil by Visible Image over the image panel and brush or sponge Violet Chalk Elements Inks by Lavinia Stamps over the stencil onto the image panel. 

Mat the image panel with light violet cardstock. Use the large die from the  Skycrossed Paradise Die Set 34 by AALL and Create to cut black cardstock, adhere the matted image panel to the black die-cut, and then adhere the combination to a blue card.

Use a corner rounder to round the edges of the blue card. Use the Quickie Glue Pinpoint Roller Pen by Sakura to adhere black sparkly sequins to finish the card.

Please pop over to my blog, Kat's Tales of Stamping, for step by step instructions and complete supply lists.

Topflight Stamps Products Used:


Thanks for visiting today!


Monday, July 29, 2024

You Are - Encouragement Card

 Hi friends. Alanna here today and this week, our focus is on the Visible Image brand.

I started by taking the Five Wonky Strips stencil from Darkroom Door and blended the Cosmic Purple Gold Shimmer ink pad from Spectrum Noir over top of it. This was done directly onto my white A2 notecard.

I then took several of the sentiments from the Bold Enough set from Visible Image and stamped them into the stenciled areas. I rounded the bottom corners, added in some clear gems from my stash, and that completes this quick and easy card. 

Find these products I used in the Topflight Stamps store below. Crafty hugs! ~ Alanna

Friday, July 26, 2024

Whimsical PaperArtsy Fish Card


Hello friends! Ericka from Strangely Creative here, and today I have a fun whimsy card to share with you using the PaperArtsy Kate Crane KC003 set. I absolutely love these playful fish, and they are such a delight to color up!


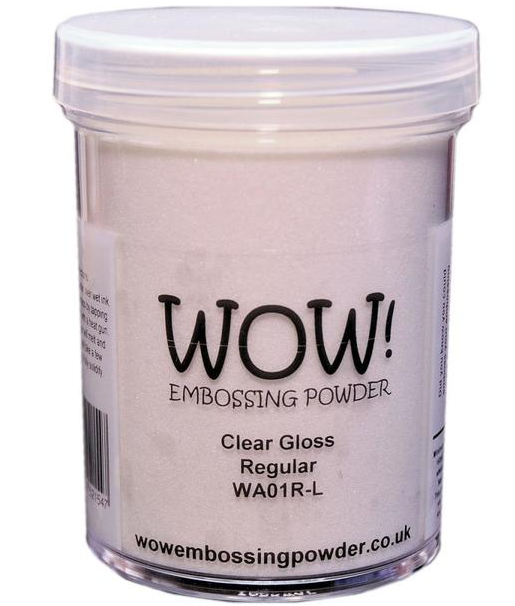
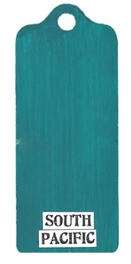
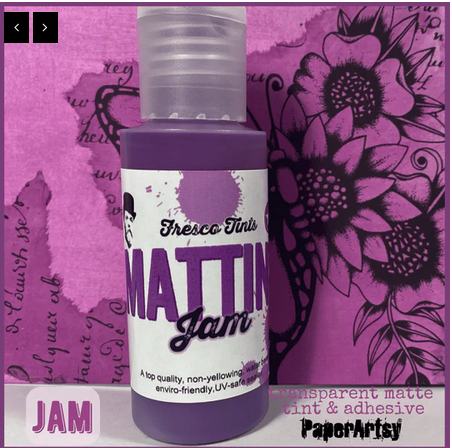
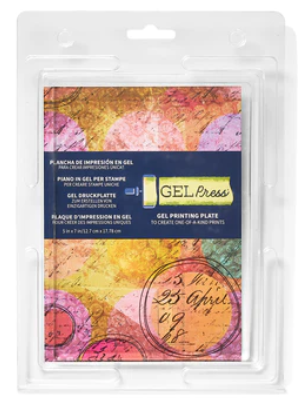
I started by stamping the fun fish (and a whale) from the PaperArtsy Kate Crane KC003 set onto your cardstock and clear embossing them. I used the Mattints in Dragonfly, Glow, and The Pink to color the images. These colors are vibrant and blend beautifully with a little water. Once the images were colored, I carefully cut them out. This will help them stand out on the card and give a whimsical, layered effect. For the background, I created a quick gel press print using the PaperArtsy Fresco Paint in Sea Glass and South Pacific. This combination gives a lovely, oceanic feel that's perfect for our whimsical fish.


I then used foam tape to adhere the fish onto the gel press background. I added the fun sentiment to complement the playful theme of the fish. I completed the card with a hand drawn frame. This can be done using a coordinating color or a simple black pen to draw attention to the center of the card.

And there you have it! A fun, whimsical fish card that's sure to bring a smile to anyone's face. Thank you for stopping by, and I hope you have a wonderful weekend!

Feel free to leave a comment below with your thoughts or any questions you might have. Happy crafting!


Topflight Stamps Supplies

PaperArtsy - Kate Crane 003
Shop at:
TP
WOW! Embossing - Clear
Shop at:
 TP
3-D Foam Tape
3-D Foam Tape
Shop at:
TP
Tsukineko - VersaFine Clair - Nocturn
Shop at:
TP
PaperArtsy - Fresco Chalk Paint - Sea Glass
Shop at:
TP
PaperArtsy - Fresco Chalk Paint - South Pacific
Shop at:
TP
PaperArtsy - Mattint Dragonfly
Shop at:
TP
PaperArtsy - Mattint Glow
Shop at:
TP
PaperArtsy - Mattint Jam
Shop at:
TP
PaperArtsy - Mattint The Pink
Shop at:
TP
Speedball - 2
Speedball - 2" Brayer
Shop at:
TP
Gel Press - Reusable Gel Printing Plate
Shop at:
TP


Thursday, July 25, 2024

Flamazing!

Hi there! It's Kathi back with another card to share with you. This time I'm featuring the flamingo from the Two Tropical Birds Unmounted Stamp Set by Crafty Individuals with sentiments from the Flamazing Clear Stamp Set 617 by Janet Klein for AALL and Create. The background was created with the Palm Fronds Stencil by Craft Emotions with two colors of Lavinia StampsElements Inks and Rainforest VersaFine Clair Ink by Imagine Crafts/Tsukineko.

Here's the slimline card!


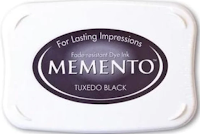
Use Tuxedo Black Memento Ink by Imagine Crafts/Tsukineko to stamp the flamingo from the Two Tropical Birds Unmounted Stamp Set by Crafty Individuals twice — once onto white cardstock and once onto repositionable sticker paper. Fussy-cut the sticker paper version and adhere over its counterpart on the image panel as a mask.

Tear a piece of low-tack tape horizontally and place it across the bottom of the image panel covering the flamingo's ankle. Position a tag die facedown over the stamped and masked image panel and secure it with low-tack tape. Sponge or brush two colors of blue Copic-friendly ink over the die onto the image panel to create a sky.

Remove the low-tack tape, place the other side of the torn tape over the sky area, and brush blue and teal Copic-friendly ink over the bottom of the die onto the image panel to create water.

Run the image panel through the die-cutting machine. Remove the die, remove the masks, and color the image with Copic markers. Use a white gel pen to add detail to the water.

Use one of the blue inks to stamp the "Flamazing" sentiment from the Flamazing Clear Stamp Set 617 by Janet Klein for AALL and Create onto the image panel/die-cut.

Cut and fold white cardstock to create a slimline card. Sponge or brush Lime Punch and Pine Elements Inks by Lavinia Stamps over the white folded white card. Place the Palm Fronds Stencil by Craft Emotions over the inked card and sponge Rainforest VersaFine Clair Ink by Imagine Crafts/Tsukineko over the stencil onto the front of the card. 


Sponge or brush Lime Punch and Pine Elements Inks by Lavinia Stamps  over a scrap of white cardstock. Use Rainforest VersaFine Clair Ink by Imagine Crafts/Tsukineko to stamp the "Life is..." sentiment from the Flamazing Clear Stamp Set 617 by Janet Klein for AALL and Create onto the inked cardstock. Use a flag die to cut the sentiment then edge the flag die-cut with Rainforest VersaFine Clair Ink.

Adhere the image panel die-cut to the card as shown. Adhere the sentiment die-cut to finish the card.

Please pop over to my blog, Kat's Tales of Stamping, for step by step instructions and complete supply lists. 


Thanks for visiting today!

Wednesday, July 24, 2024

Summer Butterflies

Hello, Lisa Hoel here. Summer is the season for sighting butterflies so I was inspired to use them as a card motif. I love the PaperArtsy stamps designed by Lynne Perrella and this lovely lady from set LPC043 fit the bill nicely.

Lisa Hoel for Topflight Stamps

I cut a mask to fit over the PaperArtsy stamp and then stamped a background image using Trio of Inky Butterflies from Crafty Individuals.

Thanks for stopping by and be sure to check out the Topflight Stamps store for a wide selection of different and hard to find stamps, stencils and other paper crafting supplies from all around the world! Also keep an eye here on the Topflight Stamps blog. There is new inspiration posted daily!

Topflight Stamps Supplies Used:

PaperArtsy stamp sets - LPC043

PaperArtsy stamp sets - ESN27

Crafty Individuals - Trio of Inky Butterflies

Versafine Ink Pad - Black Onyx


Tuesday, July 23, 2024

The Purrfect Crime?

It's Tuesday so you've got Kathi here to share a project with you. It's an "Anything Goes" week for the TFS team, so I've decided to make a scene with the Cat Detective Red Rubber Unmounted Stamp by Katzelkraft and the Brick Wall Background Red Rubber Cling Stamp by Darkroom Door.

Here it is!


Use Tuxedo Black Memento Ink by Imagine Crafts/Tsukineko to stamp the Cat Detective Red Rubber Unmounted Stamp by Katzelkraft onto white cardstock. Fussy-cut the cat, color with Copic markers, and edge with a black pen. Set aside.

Use low-tack tape to cover the bottom third of a panel of mixed media paper. Brush or sponge Paprika and Russet Orange Elements Inks by Lavinia Stamps over the tape to cover the top portion of the panel. Mist with water then realize that the water brightened the panel too much. Add some Snowflake Fresco Finish Chalk Acrylic Paint by PaperArtsy to a craft mat, mist with water, and use a piece of foam to apply the dilute white paint overtop to knock back the brightness. Heat set.


Lift the tape, reposition it to cover the top part of the background panel. Heavily sponge Graphite Elements Ink by Lavinia Stamps directly below the brick. Sponge it more lightly as you near the bottom of the panel. Sponge beige chalk ink over the Graphite Elements Ink to create a cement sidewalk. 

Use a black chalk pencil to add lines and shading to the sidewalk. Place the fussy-cut Cat Detective onto the background panel and lightly trace around him. Set him aside. Use the black chalk pencil to create a shadow for the Cat Detective and to add shading to the bricks. Rub the chalk into the paper.

Trim the background panel to 4" x 5.25" and edge with Nocturne VersaFine Clair Inks by Imagine Crafts/Tsukineko. Adhere the Cat Detective to the background panel.

Use embossing ink to stamp the sentiments from the Cat Detective Red Rubber Unmounted Stamp by Katzelkraft onto black cardstock. Add white detail embossing powder, heat set, then cut with flag cutting dies. Adhere the image panel to a black A2 card and adhere the sentiment strips to finish the card.

Please pop over to my blog, Kat's Tales of Stamping, for step-by-step instructions and for complete supply lists.

Topflight Stamps Products Used:


Thanks for visiting today!