Friday, June 28, 2024

Using AALL & Create Rub Ons


Hello friends! Ericka from Strangely Creative here, and today I have a fun and vibrant tag tutorial featuring the amazing AALL & Create Rub Ons. These rub ons are fantastic for adding intricate designs to your cards or tags with minimal effort. Let’s dive into the creative process!

Step-by-Step Process:

Step 1: Cutting the Tag

I started by using the AALL & Create Hexalove die to cut out the pieces for my tag. This die creates a wonderful and intricate border that adds a lot of visual interest to the project.

Step 2: Adding Color

Next, I took the white portion of my tag and blended Lavinia Elements Dye Ink in Blue Lagoon over it. This dye ink is perfect for creating rich, vibrant backgrounds. After blending, I lightly spritzed the tag with water to lift some of the ink off the paper, creating a beautiful, mottled effect. This technique adds depth and texture to the tag.

Step 3: Applying the Rub Ons

Now for the exciting part! I cut portions of the AALL & Create Rub Ons in Red Red Wine and carefully applied them to my tag using the included applicator. These rub ons transfer so smoothly, and I absolutely love how the colors pop against the Blue Lagoon background. The contrast between the vibrant red and the serene blue is simply stunning.

Step 4: Adding Sentiments

To finish off the tag, I stamped sentiments from the Bring on the Sentiments set using Twilight Versafine Clair ink. This ink is excellent for stamping crisp, detailed images and sentiments. Adding these sentiments brings an additional layer of meaning and personality to the tag.


Final Thoughts

I am thrilled with how this tag turned out! The combination of the Hexalove die, the Blue Lagoon ink, and the Red Red Wine rub ons created a piece that is both eye-catching and elegant. The rub ons are a fantastic way to add detailed designs without the hassle of stencils or stamps.

Thank you so much for stopping by Strangely Creative today. I hope this tutorial inspires you to experiment with rub ons and create your own unique tags and cards. Have a wonderful weekend, and happy crafting!


Topflight Stamp Supplies


AALL & Create - #553 Bring on the Sentiments
Shop at:
TP
AALL & Create - Die Set 31 Hexalove
Shop at:
TP
AALL & Create - Rub Ons 10 - Red Red Wine
Shop at:
TP
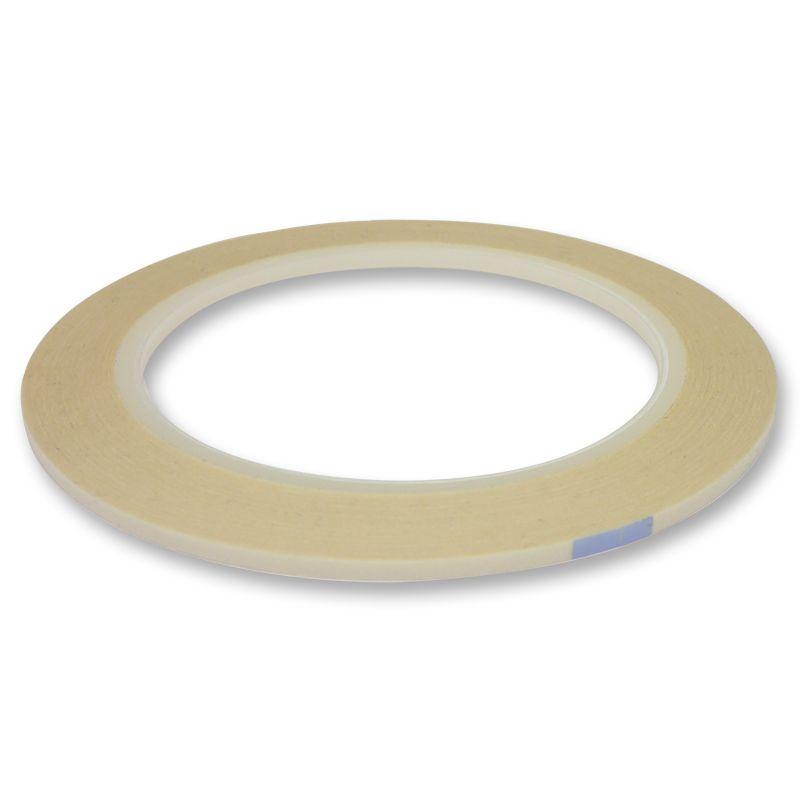
Double Sided Tape
Double Sided Tape
Shop at:
TP
Lavinia - Elements Dye Ink - Blue Lagoon
Shop at:
TP
Tsukineko - Versafine Clair - Twilight
Shop at:
TP


Thursday, June 27, 2024

Steampunk Fun with AALL & Create

Hello, Lisa Hoel here. I'm back again with another AALL & Create card for Topflight StampsThis is such a great brand and it encompasses several different styles and designers. For my second card I made another steampunk themed one.

Lisa Hoel for Topflight Stamps – Brand focus on AALL & Create

The Dashing Crow is one of my favorite steampunk stamps. Isn't he a fun guy? I'm also really loving the AALL & Create die sets with all the little elements you can layer up. Check them out in the store!

Thanks for stopping by and be sure to check out the Topflight Stamps store for a wide selection of different and hard to find stamps, stencils and other paper crafting supplies from all around the world! Also keep an eye here on the Topflight Stamps blog. There is new inspiration posted daily!

Topflight Stamps Supplies Used:

AALL & Create Stamp Set - Dashing Crow #445

AALL & Create Stamp Set - Intersecting Circles #364

AALL & Create Stamp Set - Everyday Sentiments

AALL & Create Die Set - Taggletastic #30

AALL & Create Die Set - SkyCrossed Paradise

AALL & Create washi - Burlap Black #16

AALL & Create Stencil - Digits Geared #111

Versafine Ink Pad - Black Onyx


Wednesday, June 26, 2024

AALL & Create Father's Day Card

Hello, Lisa Hoel here. This week on the Topflight Stamps blog the theme is all about the AALL & Create brand! This is one of my favorite brands and it encompasses several different styles. For my card I went for a steampunk theme for a Father's Day card:

Lisa Hoel for Topflight Stamps – Brand focus on AALL & Create

AALL & Create stamps, stencils and die sets all work together wonderfully!

Thanks for stopping by and be sure to check out the Topflight Stamps store for a wide selection of different and hard to find stamps, stencils and other paper crafting supplies from all around the world! Also keep an eye here on the Topflight Stamps blog. There is new inspiration posted daily!


Topflight Stamps Supplies Used:

AALL & Create Stamp Set - Shredz #1157

AALL & Create Die Set - Taggletastic #30

AALL & Create Stencil - Digits Geared #111

AALL & Create Stamp Set - Industrial Scripts #116
Versafine Ink Pad - Black Onyx
Paper Rose Die Set - Cog Frames


Tuesday, June 25, 2024

Have a Beautiful Day!

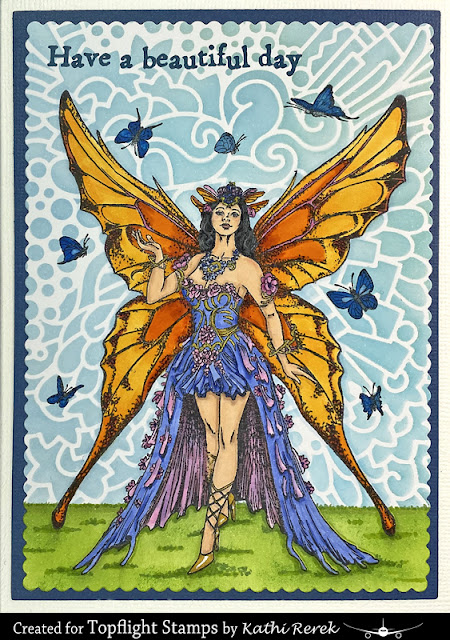
 Greetings! It's Tuesday so you've got Kathi here to share a project with you. This week my teammates and I are showcasing AALL and Create's fabulous products. I guess last week's Butterfly theme got stuck in my brain, so I decided to use the gorgeous Fairy Queen of Hearts Clear Stamp Set 1101 by Autour de Mwa.
Here's my card. 


Use Tuxedo Black Memento Ink by Imagine Crafts/Tsukineko to stamp the Fairy Queen from the Fairy Queen of Hearts Clear Stamp Set 1101 by Autour de Mwa for AALL and Create twice — once onto a cardstock panel and once onto repositionable sticker paper.

Use Copic markers to color the Fairy Queen. Use a grey marker and a light blue marker around the edges of the image. Fussy-cut the sticker paper version of the Fairy Queen and place it atop the colored counterpart on the image panel.

Place a ruler horizontally where the back of the skirt is at its longest. Brush grass green Copic-friendly ink over the ruler and the masked image to create a horizon line. Randomly brush horizontal lines of the same ink along the bottom portion of the panel. When done, brush a lighter green ink overtop, blending a you go. Remove the ruler and cover grassy background with low-tack tape or a piece of paper.

Secure the Profusion Stencil by AALL and Create over the image panel. Brush Copic-friendly ink over the stencil and the masked image onto the image panel. 

Use the largest scalloped die from the Card Passe Partout Rectangle Die Set by Studio Light to cut the image panel. Remove the mask and the tape from the die-cut image panel. Position and stamp the butterflies with Nocturne VersaFine Clair Ink by Imagine Crafts/Tsukineko. Color the butterflies with markers. Use a gold glitter pen to add a touch of shimmer to the Fairy Queen's headdress, armbands, and sash. Use a white gel pen to add highlights to her heels.


Use the largeest plain rectangle die from the Card Passe Partout Rectangle Die Set by Studio Light to cut navy cardstock. Use the navy cardstock to mat the image panel. Adhere the matted image panel to a white A6 card.

Please pop over to my blog, Kat's Tales of Stamping, for instructions and complete supply lists. 

Topflight Stamps Products Used:


Thanks for visiting today!


Monday, June 24, 2024

Hello, Sweet Friend with AALL & Create

 Hi friends. Alanna with you on the blog today. This week, we are featuring the fabulous products from AALL & Create.

For my card, I started by taking a piece of watercolor cardstock and I die cut it using the floral dies from the Papyrus Essence die set. I water colored it using some sprays from Lavinia in the Indian Sunset and Bumble Bee. I also added some red spray from my stash to add some deeper tones to my floral die cut. 

I love that there is both the solid portion for the floral along with the detail portion.

I sat this aside to dry and then pulled out the Sunset, Sunrise papers from AALL & Create. I found the pattern I wanted, trimmed it down to slightly smaller than A2 size.  Can I just say how much I love the papers from AALL & Create? They are so thick and luxurious. And the patterns are so fun! 

I decided to round the corners of my chosen pattern and then added this to a deep yellow A2 notecard. 

I added my die cut to the top of the paper and finished off the card by adding a sentiment from my stash towards the bottom. Some Dew Drops Adhesive Pearls from Craft Consortium finished it off.

Find these products I used in the Topflight Stamps store. Crafty hugs! ~ Alanna

Friday, June 21, 2024

AALL & Create Gel Press Butterflies


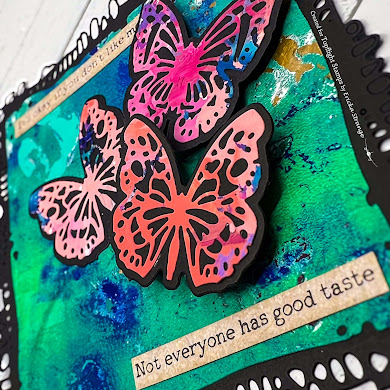
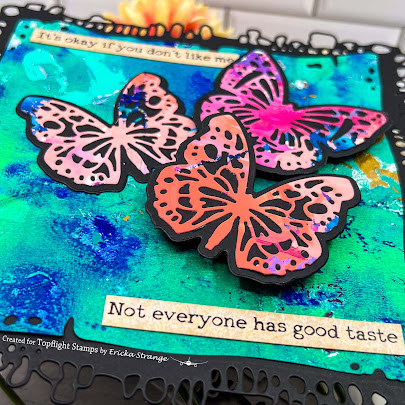
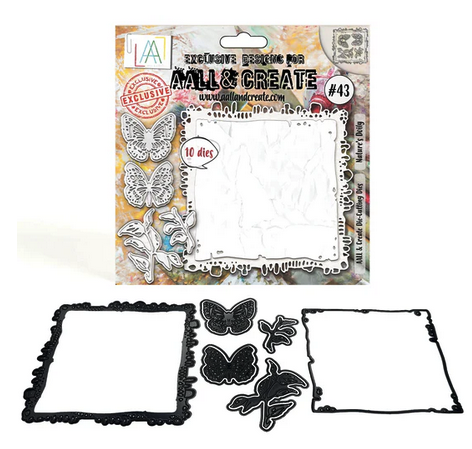
Ericka from Strangely Creative here, and today I’m absolutely thrilled to share my latest project with you all! I had a blast playing with the AALL & Create Nature's Doily dies to create a vibrant and whimsical butterfly page. These dies are simply a joy to work with, especially when paired with some colorful gel press prints.

First things first – let's talk about gel press prints. If you haven't tried them yet, you're in for a treat! Gel printing is an art technique that allows you to create beautifully layered and textured backgrounds. The unpredictability and uniqueness of each print make it an exciting process every single time.

For this project, I selected a couple of my favorite gel press prints, bursting with bold and cheerful colors. The intricate cuts of the Nature’s Doily dies add a delicate, lace-like quality to these vibrant prints, creating a stunning contrast that immediately catches the eye.


Once I had my prints ready, it was time to get cutting! The Nature’s Doily dies are incredibly detailed, which can be both a delight and a challenge. With a bit of patience and a sharp die-cutting machine, I dry cut the pieces, eagerly anticipating how they would come together on the page.

The assembly process is where the real fun began. Using foam tape, I layered the die-cut pieces to create different dimensions. This technique adds depth and a dynamic, three-dimensional effect to the page. The butterflies seemed to flutter off the paper, their wings casting delicate shadows that enhance the overall composition.


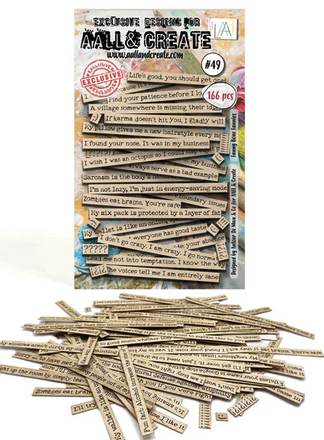
No project is complete without a finishing touch that brings everything together. For this page, I chose a fun sentiment from the AALL & Create Ephemera Funny Bone Funnies. The playful words added a lighthearted and whimsical element, perfectly complementing the cheerful butterflies and colorful background. 

Thank you for stopping by and sharing in my creative adventure. I hope this project inspires you to dive into your own stash of gel press prints and explore the possibilities with the Nature’s Doily dies. Remember, the joy of creating lies not just in the final piece, but in each step of the process.

Happy crafting, and may your creative journey be filled with color, texture, and lots of fun!


Topflight Stamp Supplies

AALL & Create - 43 - Nature's Doily
Shop at:
TP
AALL & Create - Ephemera Die-cuts - 49 - Funny Bone Funnies
Shop at:
TP
3-D Foam Tape
3-D Foam Tape
Shop at:
TP
Double Sided Tape
Double Sided Tape
Shop at:
TP
PaperArtsy - Fresco Chalk Paint - Beach Hut
Shop at:
TP
PaperArtsy - Fresco Chalk Paint - Bermuda
Shop at:
TP
PaperArtsy - Fresco Chalk Paint - Blueberry
Shop at:
TP
PaperArtsy - Fresco Chalk Paint - Bubble Gum
Shop at:
TP
PaperArtsy - Fresco Chalk Paint - Cerulean
Shop at:
TP
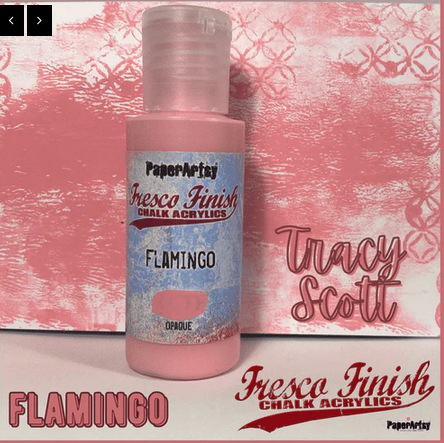
PaperArtsy - Fresco Chalk Paint - Flamingo
Shop at:
TP
PaperArtsy - Fresco Chalk Paint - Gumboots
Shop at:
TP
PaperArtsy - Fresco Chalk Paint - Peach Nectar
Shop at:
TP
PaperArtsy - Fresco Chalk Paint - Peachy Keen
Shop at:
TP

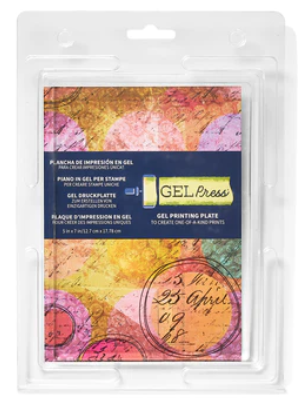
Gel Press - Reusable Gel Printing Plate
Shop at:
TP


Speedball - 2
Speedball - 2" Brayer
Shop at:
TP
01 09 10