Wednesday, November 30, 2022

Warm Winter Wishes


Happy Wednesday!!
 Here is a quick festive card using stamps from Darkroom Door and AALL & Create. 


I stamped the border with two shades of green to create depth and the girl with Copic-friendly black ink. The red jacket also has two shades of red with white accents to create movement. 


Finish the card by stamping the sentiment with Versafine Onyx ink and mount the separate pieces with double side foam tape. 

I hope you like today's card and enjoy the festive season.
Charmaine

Tuesday, November 29, 2022

Take Time!

 It's Tuesday so you've got Kathi here to share a project with you! This week's theme is "Anything Goes". I've made a coffee-themed card created with Darkroom Door's Coffee Time Red Rubber Cling Stamp SetClocks Texture Red Rubber Cling StampHerringbone Texture Red Rubber Cling Stamp, and Abstract 12 Red Rubber Cling Stamp.

Here it is:


The coffee cup from the Coffee Time Red Rubber Cling Stamp Set by Darkroom Door was stamped with Salvaged Patina Distress ink, which is Copic-friendly, onto white cardstock. It was colored with Copic markers, fussy-cut, and edged with a BG marker to get rid of those unsightly white edges.

The cup was also stamped onto a piece of mask paper, which was fussy-cut around the top front edge, handle, and bottom of the cup, and placed to mask the cup so that the front of the cup was revealed. Salvaged Patina Distress ink was used to stamp the Herringbone Texture Red Rubber Cling Stamp onto the front of the cup.

White Bristol paper was sprayed with Antique Linen Distress Oxide Spray. A pouncy-tool was used to add spots and splats of Salvaged Patina Distress Oxide ink over top. The panel was heat set and trimmed.

Barn Door Distress Oxide ink was used to stamp the Abstract 12 Red Rubber Cling Stamp by Darkroom Door along the bottom edge. This was heat set and trimmed from the background panel.

Antique Linen Distress ink was used to randomly stamp the Clocks Texture Red Rubber Cling Stamp by Darkroom Door onto the background panel. Antique Linen Distress ink was used to stamp the the Herringbone Texture Red Rubber Cling Stamp  around the edges and between the clocks.

The red checked panel was adhered onto the background panel. The entire panel was edged with Barn Door Distress Oxide ink and thoroughly heat set.

Barn Door Distress Oxide ink was used to stamp the sentiment from the Coffee Time Red Rubber Cling Stamp Set by Darkroom Door onto the background panel, which was then adhered to a 5" x 7" kraft card.

The stamped and colored coffee-cup was adhered to the front of the card. A coffee steam die was used to cut tan vellum, which was adhered to finish the card.

Please visit my blog, Kat's Tales of Stamping, for step-by-step instructions and complete supply lists.

I'd be remiss if I didn't remind you that Topflight Stamps' Cyber Monday Sale is going on until midnight tonight!


Topflight Stamps Products Used on my card:


Thanks for visiting today!

Monday, November 28, 2022

Time for Snowmen!

 Hello again! I hope you all had a wonderful Thanksgiving holiday. This is Rachel from rwkrafts.com and today I'm sharing a snowmen card using stamps from Carabelle. 


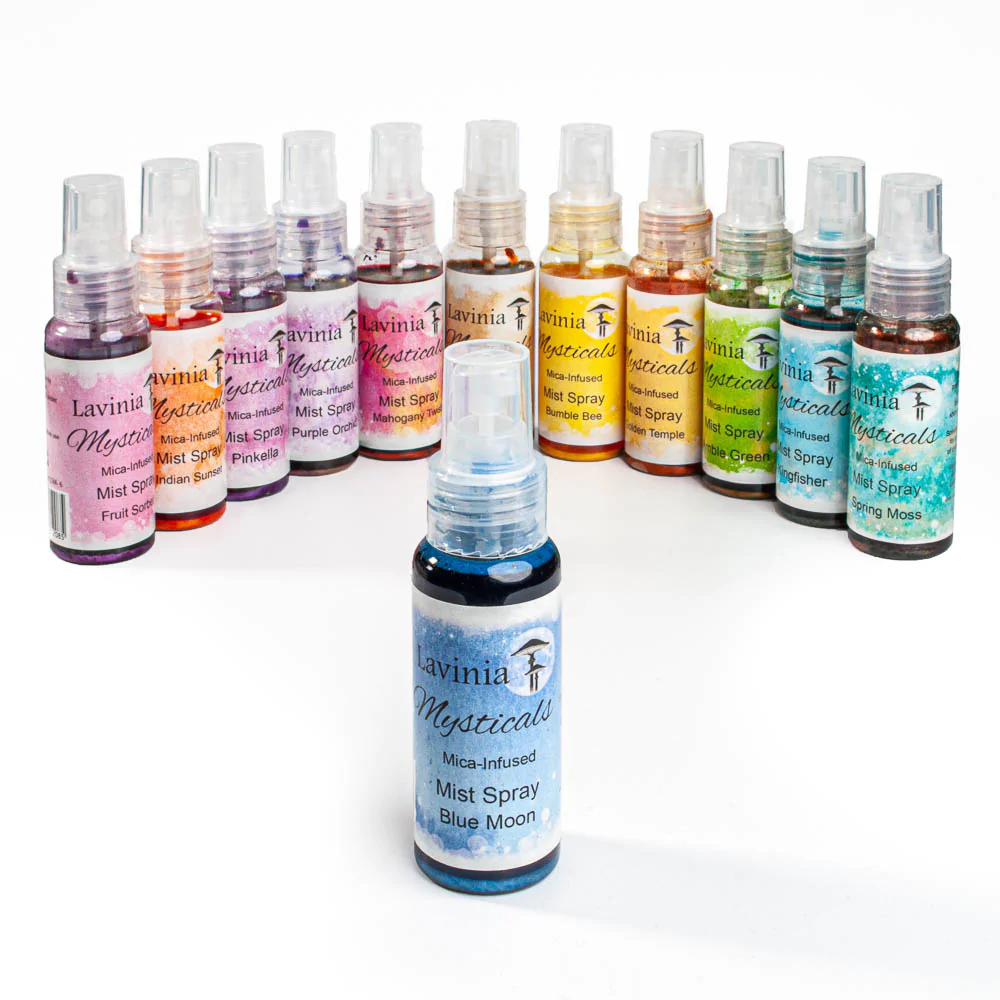
I stamped the images from Carabelle Snowmen and Company and colored with my Copic markers. I then die cut a snow scene using silver glitter paper from Studio Light Vintage Christmas Glitter pad. The background paper is from Art by Marlene. I also splattered some Lavinia Mystical Mist in Blue Moon around the base of the cardstock.


Thanks for joining us!

Topflight Stamps Supplies Used


Sunday, November 27, 2022

Studio Light Grunge Poinsettia Christmas Tag Tutorial


Hi friends!  It's Autumn Clark from SewPaperPaint with you today to share a fun mixed media tag tutorial with you.  I fell head over heels in love with the new Studio Light Christmas Grunge collection and had to snag some of the stamps from Topflight Stamps for my cardmaking this year.  For this tag, I used the Poinsettia stamp with the Dots & Stains stencil.  I used my Prism markers on Bristol for the coloring and the fab new ultra thick 6mm foam tape for extra dimension.  You can find the video HERE on YouTube.  Make sure to check out this fab collection and take advantage of the Cyber Monday sale at Topflight Stamps!  xx, Autumn


Friday, November 25, 2022

Visible Image Christmas Tag


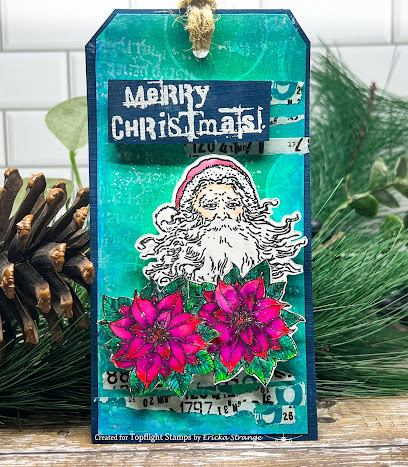
Hello crafty friends! Ericka from Strangely Creative here and if you are in the U.S. I hope you had a wonderful Thanksgiving. Today I'm continuing the tag theme this week using a couple of the Visible Image Christmas stamps.


 I started by creating some backgrounds using PaperArtsy Fresco Acrylics in Gumboots, Weathered Copper, and Aqua Duck Egg on my gel press.


I then stamped the smaller images from the Visible Image Vintage Santa and Poinsettia Grunge and colored them up with some watercolor markers. I then stamped the Visible Image Distressed Christmas in white on the background of my tag.

 
I added the AALL & Create #3 washi tape to my tag. I stamped the sentiment from the Poinsettia Grunge and white heat embossed it. I placed my images and sentiment to my tag using foam tape for some added dimension.
 

Thank you for stopping by and I hope you have a great weekend. Don't forget to check out the sale going on now till Sat. Nov 26.


Thursday, November 24, 2022

Happy Thanksgiving! It's Kathi here today to share a project with you! I was under the weather on Tuesday, so the lovely and talented Cornelia stepped in for me!

This week my teammates and I are focussing on tags to celebrate the winter holidays! But before I get to my tag, let me remind you that Topflight Stamps has a Black Friday Sale that runs until midnight on Saturday, November 26th. Why not treat yourself to some fabulous new goodies?


Copic friendly ink was used to stamp the window, the cat, the greenery, the lantern, and the star ornament from the Christmas Decorated Old Window Clear Polymer Stamp Set by Craft Emotions onto white cardstock and label paper. The label paper versions were fussy-cut and used to mask their counterparts on the image panel.
 
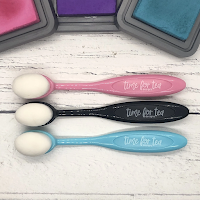
The largest of the Black Blending Brushes by Time for Tea Designs was used to brush Distress inks over the masks to color the exterior of the house and the sidewalk.

The bricks from the Christmas Decorated Old Window Clear Polymer Stamp Set were randomly stamped onto the background.  

The masks were lifted and retained for another use. The images were colored with Copic markers. Gelly Roll Bold Line Stardust Clear Glittering Ink by Sakura was added to the window glass, the star ornament, and the glass part of the lantern. 

A silver metallic paint pen was used to highlight the hinges on the shutters, the lantern, and to add a silver chain to the star ornament.

A white paint pen was used to splatter white paint to mimic snowflakes and to add snow to the image panel.

The image panel was trimmed and added to a piece of blue cardstock. The top two edges were punched with a corner punch to create the top of the tag. A slot punch was used to punch a hole in the top of the tag.

Nocturne VersaFine Clair Ink by Tsukineko was used to stamp the sentiment from the Holiday Sentiment Duos Clear Stamp Set by Heffy Doodle onto an excess piece of blue cardstock. It was adhered flush at either edge and popped up in the center.

Ribbons and silver tinselly fiber was used to decorate the top of the tag. 

Please pop over to my blog, Kat's Tales of Stamping, for detailed instructions and complete supply lists. 

I hope you have a wonderful Thanksgiving weekend and get a chance to shop Topflight Stamps's Black Friday Sale!


Topflight Stamps Products Used:


Thanks for visiting today!

Wednesday, November 23, 2022

From our house to yours - PaperArtsy Tag


Happy Wednesday! 
The design team is creating tags to celebrate the upcoming festive season. I made a tag and then converted it to a card. 


First, start with stamping the house and make a mask as well. 


I used purple, blue, and black distress oxide for the background color. 


Stamp the trees around the house and clear heat emboss with WOW embossing powder.


I used silver embossing powder for the stars.


On an A2 card, stamp additional trees and stars. 


Color the house with Copics and add "snow" with a paint pen. Stamp and clear heat emboss the sentiment and mount with double-sided foam tape. 


Punch a hole in the top and string through two colors of ribbons.


I'm so excited about this coming season. This tag will be perfect for gifts this year!


Don't forget to check out the Black Friday Sale!!


Happy Thanksgiving!!

Charmaine


Tuesday, November 22, 2022

Christmas Spinner Tag

   Hi Everyone,

Cornelia here today. This week it's all about tags and gift holders at the Topflight blog
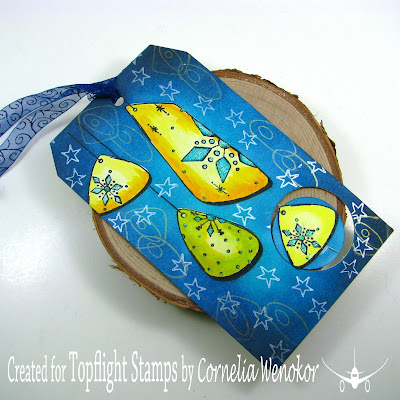
I used on of the tab tags from Studio Light and cut off the tab. I stamped the baubles and masked them. I brushed the background with distress inks (Uncharted mariner and Peacock Feathers). I colored the baubles with alcohol ink markers - not the best paper for it, but it kind of worked out. I diecut the opening for my spinner insert.  I stamped one of the baubles onto scrap paper twice and colored them as well.  Added them to the cut out, which I diecut a size smaller than the opening and added the cut out baubles with some silver string in between and secured it to the back of the tag. Added some of the smaller stamps in gold and silver ink Added  stickles to the ornaments and a ribbon from my stash. 
And don't forget that there is still several days left to get 20% off everything on the store!
I hope you liked this. Thanks for visiting. 
See you next week with more Topflight Stamps inspiration.

And here are the stamp supplies I used: 


01 09 10