Happy Halloween! It's Tuesday, so you've got Kathi here to share a project with you. Here's a slimline Halloween card created with the Witches Kit Rubber Cling Stamp Set by Carabelle Studio and spiders from the Pumpkin Party Clear Stamp Set 1055 by Autour de Mwa for AALL and Create.
Tuesday, October 31, 2023
Happy Halloween!
Monday, October 30, 2023
New Love - An Art Journal Page
Hi MEL PILLING here today with this summer day art journal page featuring Lavinia Stamps.
I began by sketching, a tree hole around two Lavinia owls, then the rest of the tree. I coloured the tree with watercolours and shaded the hole with India ink pens. I used a torn paper hill mask, and Elements Ink to create the backdrop in Lime Punch and Pine for the hills, Dark Denim for the water. All stamping was done using Versafine Clair Nocturne.
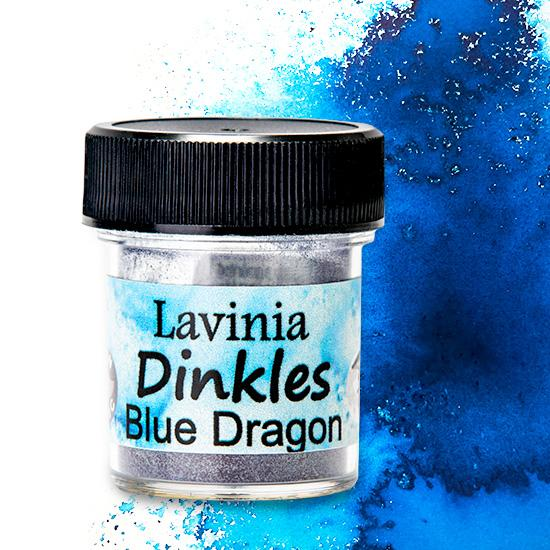
On clean Bristol card, I brushed water all over. I then sprinkled with Lavinia Dinkles in Chilli Jam , Deep Yellow , Blue Dragon and Pink .
Once completely dry, I stamped the owls again on the Dinkles covered paper. I added pencil crayons here and there to boost the Dinkles in areas where the colour was weak. I then fussy cut my owls out, (ignoring the curly details). I glued these to the owls that I had previously stamped in the tree hole. That way the curly details all come back. I highlighted the owls and water with a white gel pen, and added a sentiment.
LAVINIA STAMPS USED
HOBBY ART STAMP USED
I think these Lavinia owls are so wonderful and have so much fabulous detail. The Dinkles are so highly pigmented, you don’t need a lot to get this beautiful colour.
Thanks for joining me today on the... Topflight Stamps blog. Happy crafting!!
Friday, October 27, 2023
Visible Image Gel Press Winter Card
Hello crafty friends! Ericka from Strangely Creative here and today I have a winter card I made using the Visible Image Grunge Christmas Words along with the Grunge Christmas Tree. I started with the a gel press print and heat embossed the Grunge Christmas Words with WOW! Silver Snow embossing powder.
I then stamped the Visible Image Grunge Christmas Tree with Versafine Clair Nocture ink and clear embossed it on another gel press print. I cut out the image and added it to my card with foam tape.
Thank you for stopping by and I hope you have a wonderful weekend.
Topflight Stamps Supplies Used
Thursday, October 26, 2023
Penguin Card
Hi Everyone,
Wednesday, October 25, 2023
Winter
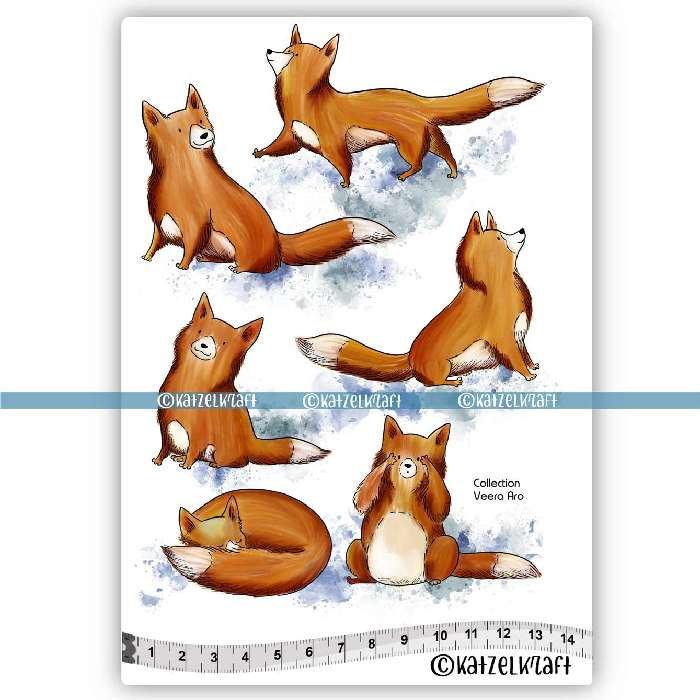
Hello Carfty Friends, Mary Key here! This week is Xmas/Winter theme along with TFS team. I decided to use Katzelkraft KTZ270 Foxes along with Winter Wonderland KTZ280.
I am going to use watercolor paper, sprinkled some Lavinia Dinkles Blue Dragon (just a small amount) and spread lightly with a watercolor brush and then dry it with my heat gun. I then stamped the sleepy curled up fox for a winter scene. I watercolored the fox and then added a mask with some masking paper on the fox. I then added some color for the bottom and then added the trees from the Winter Wonderland KTZ280 stamped with Lavinia Elements Greensleeves, then Pine and last Olive. Making sure that everything on my card is dry. I then embossed with WOW! Opaque Bright White embossing powder all over my card and heat embossed with my heat embossing gun. I then added the sentiment from Winter Wonderland KTZ280 used VersaFine Clair Nocturne and used white cardstock to complete my card.
Tuesday, October 24, 2023
Wishing You a Season of Surprise and Delight?
Monday, October 23, 2023
Warm Wishes
Hi MEL PILLING here today with some warm Christmas wishes featuring the fabulous Katzelkraft Stamps.
I stamped the lower cat first over a snowy hill mask so I only got his top half. I coloured him with India ink markers being sure to still use the mask. I drew a bath tub on clean Bristol card. Then used pattern paper to create a pretty bath colour. Then I stamped some holly and added berries with liquid pearls. I masked off the tub and stamped the cat to only show him above the tub line. I coloured him the same as the first cat. I then cut the whole thing out and glued it to more pattern paper for wall paper look. I then used an oval die to cut the whole bath scene out to create a ‘thought bubble’.
I masked off the lower cat with the hill mask and used a Stencil Brush in an upward motion to create some hills with Elements Ink in Blue Lagoon . I repeat stamped for the tree with Distressed Inks in Chipped Sapphire and Mowed Lawn then moved it gently with a damp paintbrush. I stamped the branch with Versafine Clair Acorn. I added snow to the branch and lower cat using a white Posca paint pen. The Holly was stamped in Distressed Ink in Chipped Sapphire and Mowed Lawn. I drew a few bubbles up to the “ thought bubble“ to finish.
STAMPS USED
I really enjoy making these scenes with the katzelkraft cats. They make it so easy to come up with various card themes. Very versatile set.
Thanks for joining me today on the Topflight Stamps blog, happy card making!!
Friday, October 20, 2023
Gel Press Mixed Media Card
Hello crafty friends! Ericka from Strangely Creative here and this week the Topflight Design Team is featuring Mixed Media. If you aren't really sure what Mixed Media it "is used to describe artworks composed of a combination of different materials - and this could be a wide range of items." So for my card today, I used a couple of gel press prints, embossing powder, washi tape, and a black and white Posca pen.
I created my background with a gel press print using the Carabelle Studio Rossetta Texture plate and PaperArtsy Fresco Paints in Baltic Blue and Aquamarine. I also used the PaperArtsy JOFY 112 stamp on another gel press print.
I heat embossed the Darkroom Door Abstract 03 stamp with WOW! Embossing Seth Apter Tarnished Teal powder. This adds some fun texture and sparkle to my card. I finished my card by adding the AALL & Create Washi #39 Scriptural on parts of my card. Thank you for stopping by and I hope you are inspired to make some mixed media art!
Topflight Stamp Supplies Used


