Thursday, February 9, 2023

Crafty Individuals - Hare and Moon

    Hi Everyone,

Cornelia here today. This week we are featuring Crafty Individuals at the Topflight blog. I happen to love their stamps and by now have a nice collection of them. that beautiful hare has been on my "watch" list for a while and since Easter is coming I figured he might be of use! Even that in the end this didn't turn into an Easter card.....
I tried out a new card stock paper - the Hunkydory 6x6 card block. It is very nice. Thick, strong paper (300gms), bight white. I started with stamping the hare onto my card. I made a mask for him. Then I started brushing the background (distress oxide inks). Colored the hare and moon with water brush pens. I.and added a few water splatters. Heat embossed the sentiment and added it with foam tape. 


I started with brushing the background and added a few water splatters. Colored the animals with alcohol ink markers. Stamped the sentiment and trimmed the card. Added a strip of wood paper on the side. 

I hope you liked this. Thanks for visiting. 
See you next week with more Topflight Stamps inspiration.


Wednesday, February 8, 2023

Simplify a Mixed Media Card with Crafty Individuals


Hi friends!

Colleen from Irishrosecreations here this week sharing tips to create an easy mixed media card! 

Mixed media is all the rage these days! Mixed media uses a lot of elements to achieve that unique look. I used to be intimidated by mixed media cards because the videos I watched were quite detailed. Well, it doesn't have to be that detailed or that difficult to be beautiful! Today I'll share a few tips to create an easy mixed media card that looks detailed and will delight your followers! 

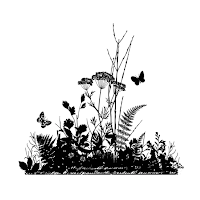
First suggestion is to choose stamps that have a mixed media vibe, so you don't "have to grab 20 stamps to achieve that same look only to be disappointed because it doesn't look cohesive or it's too crowded, so you have to throw it away and start again". Ok, deep breath! Let the stamp do the work for you! Topflight has TONS of mixed media stamps ready to be loved! Here I've used Counting Down background stamp by Crafty Individuals. This background stamp is PERFECT for a mixed media background! It's so detailed and fun!

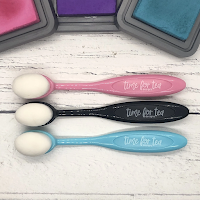
Next, create a colorful background for your mixed media stamp to rest on that looks textured and distressed. A distressed looking background adds another level of detail.  Ink schmooshing is a great alternative to ink blending. Ink blending gives a smooth result. Ink schmooshing gives a more textured and distressed look and can be done with any inks you have in your stash.  To ink schmoosh, swipe your ink of choice onto a glass media matt or media surface, spray with water, spray your card panel with a little water, and then place it onto the ink and slighly move the card panel around. Repeat the process until you get the look and coverage you desire. You can use more than one ink with this technique as well! And don't forget to add a few ink splatters for extra detail! 

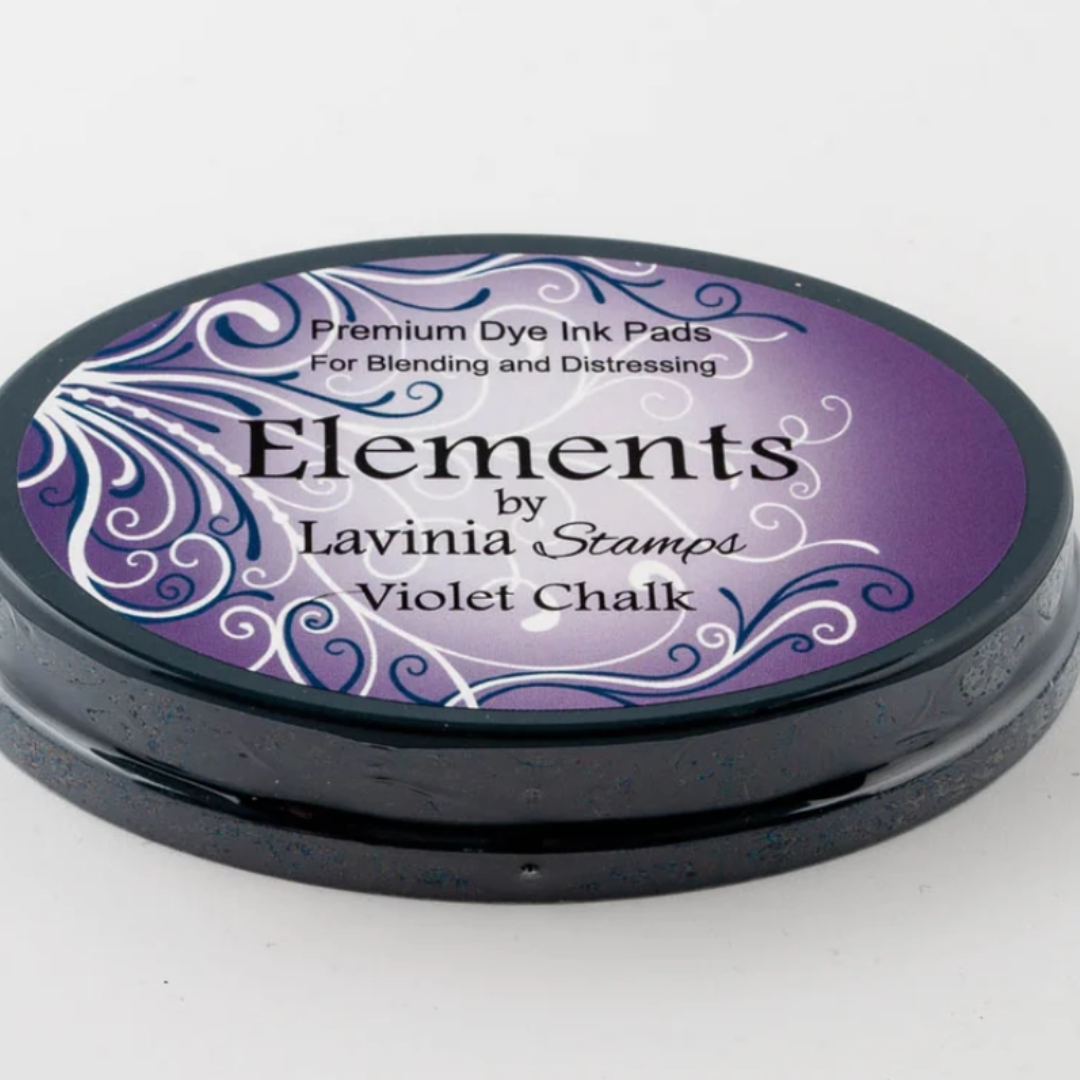
If you look closely at the photo below, you can see the textured look from ink schmooshing! I used Violet chalk ink by Lavinia. The ink coverage is uneven, which is exactly what I wanted to achieve! An alternative to ink schmooshing would be to ink blend your card panel and then apply water spots over the ink and pull up the ink color with a paper towel. Then add ink splatters over it. 


Once my ink schmooshing was done, I stamped the Counting Down image in black ink over the colored card panel. 

Next suggestion is to rough up the edges of your card panel. I trimmed it with my deckled paper trimmer. If you don't have a deckled paper trimmer or die cut, you can carefully tear the paper on all sides to create that uneven look.  This is yet another level of detail that is classic mixed media and very easy to do! Once I trimmed the paper, I added Cosmic Shimmer Gilded Wax in gold around 2 edges of the card panel. You could also ink blend around the edges to "frame" the card panel and enhance the rough edges of it. 


The next step is to add your focal point and make it interesting! I like to stamp my focal point on a colored card panel or patterned paper to add another level of detail and interest. Here I've stamped 3 butterflies onto a colored card panel that I had set aside for a rainy-day using Butterflies and Bees stamp by Crafty Individuals. Then I fussy cut each butterfly and adhered them to the card panel popped up on foam tape. I added gold drops and white pen to each butterfly for even more detail as well as a touch of Cosmic Shimmer Gilded Wax. I wanted to use a sentiment that had gold in it to bring out the gold in the card panel and butterflies, so I grabbed 3 sentiments that I had in my stash and placed them next to each butterfly. 

My final suggestion is to add shading around the focal points to help them pop from a busy background. I used a black Stabilo pencil that reacts to water for my shading, but any dark colored pencil would have a similar effect. You can see the shading in the photo below. 


To summarize, to create an easy mixed media card, use stamps that have a mixed media vibe already done for you, build layers that are cohesive (keep your color palette to no more than 2-3 colors), stamp design elements over an interesting background you've created or use patterned paper, tear the edges of a card panel for added interest and ink up the edges. Finally, add details to your focal point and shade around them to add depth and help them pop from a busy background.  Each one of these tips is so easy to do! 

I hope these tips and tricks help you to create a fun and playful mixed media card!!! Thanks for stopping by! 


Supplies Used:


Tuesday, February 7, 2023

Purrfect Valentine's Day Card with Crafty Individuals

 It's Tuesday which means that you've got Kathi here to share a  project with you. This week my teammates and I are showcasing Crafty Individuals' wonderful stamps. Not surprisingly, I've made another Valentine's Day card. In this card, one of the cats got a special dinner for his partner. The card was created with one cat from the Trilby Cat Unmounted Stamp, one cat from the Burglar Cat Unmounted Stamp, and one of the fish and plants from the Morning Commute Unmounted Stamp. I also combined sentiments from Heffy Doodle's Classic Sentiments Clear Stamp Set and the Purrfect Day Clear Stamp Set.

Here it is:

 The snall cat from the Trilby Cat Unmounted Stamp, the rounder cat from the Burglar Cat Unmounted Stamp, and one of the fish from the Morning Commute Unmounted Stamp were stamped onto white cardstock with Copic-friendly ink.

Both cats and the fish were fussy-cut with the fish losing his sailor's hat in the process. All three images were colored with Copic markers and edged with a black pen.

A circle die was used to cut embossable window plastic and white cardstock. The tops of both were cut off to make the circle look like a fishbowl. 

Removable tape was used to mask the top of the embossable window plastic circle, then Copic markers were used to airbrush the plastic, which was then heat set. White paint pen was used to add a highlight to the plastic.

Green Copic-friendly ink was used to repeatedly stamp one of the plant stamps from the  Morning Commute Unmounted Stamp along the base of the decapitated white paper circle.  Copic markers were used to color the plants and to add dimension and shading to the "glass" bowl. Sadly, I went too dark. Alas.

The fish was adhered to the colored cardstock circle. White gel pen was used to add bubbles on the plant and by the fish's mouth.

Nocturne VersaFine Clair Ink by Imagine Crafts was used to stamp the combined sentiment from the Classic Sentiments Clear Stamp Set and the Purrfect Day Clear Stamp Set as well as the other two sentiments. Speech bubble dies were used to cut the sentiments.

Patterned paper was cut with a scalloped die-cut, then adhered to a pale yellow 5" x 7" card. The paper circle was adhered to the die-cut and the "uh-oh" sentiment speech bubble was adhered. The plastic circle was placed over the paper circle. Sparkly washi tape was used to cover the base of the circle. 

Tape and staples were used to adhere the plastic circle and were then hidden when the fussy-cut cats were adhered as shown using 3-D Foam Pads by Hunkydory Crafts.

The other sentiment speech bubbles were adhered to finish the card.

Please pop over to my blog, Kat's Tales of Stamping, for more instructions and complete supply lists.


Thanks for visiting today!

Monday, February 6, 2023

Race Day i..

 Hi everyone! Mel  Pilling here, starting the week with a little fun using these fabulous stamps from CRAFTY INDIVIDUALSWaiting for the next adventure and Three (Festive) Dogs taking a starring role. Today I did an art journal page. I just loved working with these adventurous pups.


I began using a Gel Press   and a Brayer  to make the sky, using  PRISM Ink Pads  in.   Blue Lagoon ,  French navy and   Slate Grey the hill was done on Gel plate at the same time using.  Wild Mushroom  , Slate Grey  and thundercloud.  The grass was done later with a Lavinia stencil brush  in Olive Green .  The bushes painted with a Fan brush in rainforest green evergreen and olive green with  a little French Navy  I stamped all the characters on clean card stock water coloured them with markers, then fussy cut,  not forgetting to darken all the edges from the back.  I then  glued them onto the project and  shaded all the characters with watercolour markers. The Stamping was done using VERSAFINE CLAIR ink pads  Morning Mist for the rear trees Fallen Leaves  for the front trees and  Nocturne for the characters.

STAMPS USED


Waiting for the next adventure


.Lavinia Small Trees


Katzelkraft Watchamacallit.


Saturday, February 4, 2023

Butterflies and Script

 Hello friends! Alanna here and I'm back with a fun and easy card to share with you today. To get started, I took two colors of the Spectrum Noir Shimmer Pearl ink pads in Raspberry and Amethyst and did a direct to paper technique with them. I love the fun effect that I got as I swiped the ink pads across my piece of white card stock. And because these inks have shimmer in them, they are just beautiful. Unfortunately, the camera didn't want to pick up on any of the shimmer and shine.

After my panel was dry, I trimmed it down to 4x5.25 inches and then took the beautiful Butterfly Collage stamp from Studio Light and stamped it with my Versafine Claire Nocturne ink pad. I love this image and how detailed it is. 

I matted this panel onto some black card stock leaving a thin border and then added this to a purple A2 notecard and that completes this card! I debated on adding a stamped greeting to my card but then decided it didn't need one. Bonus - this card can now be used for nearly any occasion. :)

I plan on creating several of these cards to give as a gift set to a friend. 


You can find all the products I used on this card in the Topflight Stamps store below. I hope you've been inspired! ~ Alanna

Friday, February 3, 2023

Studio Light Gel Press Love Card


Hello friends! Ericka from Strangely Creative here and today I have a mixed media card using my gel press along with this grungy Studio Light  Cherry Blossom Love set. 


I started by creating a background with my gel press and used the PaperArtsy Peachy Keen paint and pressed bubble wrap on the press. I love the bubble look once the print is pulled! I then stamped the Studio Light Cherry Blossom on the side with Versafine Clair Nocturn ink and clear heat embossed it. I then used some distress crayons to color in the flowers and parts of the stamp.


I then used the sentiment from the Studio Light Sentiment and Wishes and white heat embossed it on on blue card stock. I finished my card with a little ink blending with the Lavinia Elements Ink in Dark Denim.  Thank you for stopping by and I hope you have a wonderful weekend!


Topflight Stamps Supplies 


Thursday, February 2, 2023

Colored Paper Artsy Stencil Card

 Hi Everyone,

Cornelia here today. This week it's anything goes. 
I got inspired by Tracy Scott. She used Prismacolor pencils to color in the stencils. I went with alcohol ink markers - works too, although she undoubtedly does it better.

I guess you also get a bit more detail with pencils than with markers, but markers I bet are faster.....The sentiment is from a sticker book, see below. I also added some sparkly gems in matching colors.

I hope you liked this. Thanks for visiting. 
See you next week with more Topflight Stamps inspiration.

01 09 10