Friday, July 5, 2024

Mixed Media Gel Press Journal Card


Hello friends! Ericka from Strangely Creative here, and I hope you all had a wonderful 4th of July. Today, I'm excited to share a new journal card project that combines the AALL & Create Skycrossed Paradise die with the Visible Image Shining Star stamp.


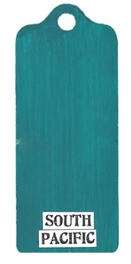
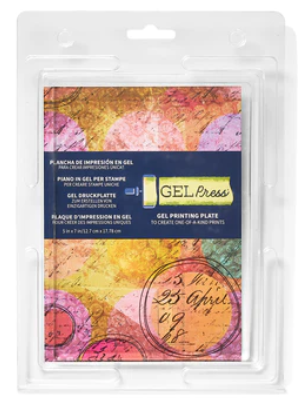
I started with an old gel press print on a book page, but I wasn't thrilled with the colors. Determined to give it new life, I reached for my PaperArtsy Fresco paints in London Bus and Aquamarine. The result was fantastic! The vibrant layers peek through beautifully, creating a rich, textured background that I'm absolutely in love with.


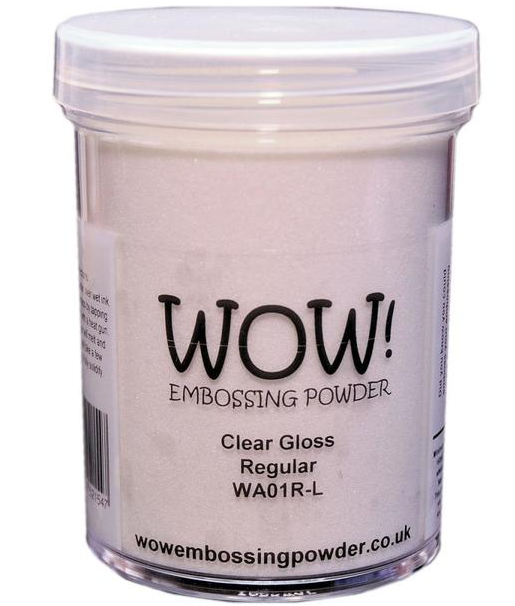
To add a focal point, I stamped the star from the Visible Image Shining Star set using Versafine Clair Nocturn ink and clear embossed it. This gave the star a bold, crisp appearance. I then used the Skycrossed Paradise die to cut the image down and adhered it to my colorful background.


I hope this project inspires you to breathe new life into your old prints and experiment with layering and texture. Thank you for stopping by, and don't forget to check out the sale going on now!


Topflight Stamps Used


Visible Image - Shining Star
Shop at:
TP
AALL & Create - Skycrossed Paradise
Shop at:
TP
WOW! Embossing - Clear
Shop at:
TP
Double Sided Tape
Double Sided Tape
Shop at:
TP
Tsukineko - VersaFine Clair - Nocturn
Shop at:
TP

PaperArtsy - Fresco Chalk Paint - Aquamarine
Shop at:
TP
PaperArtsy - Fresco Chalk Paint - London Bus
Shop at:
TP
Gel Press - Reusable Gel Printing Plate
Shop at:
TP
Speedball - 2
Speedball - 2" Brayer
Shop at:
TP


Thursday, July 4, 2024

Celebrate and a Sale!

 Hi friends. Alanna with you today featuring another card project with stars. Also, there is a sale going on. Scroll to the end to find out how you can save 20% on your orders!

This time, I am using the Smitten with Stars stencil from AALL & Create. This is a very large stencil coming. You could line up two A2 notecards and just stencil across if you chose to. So, if you are in need of a larger stencil for some of your projects, this is great one.

I started by blending on Versafine Clair Warm Breeze ink over an A2 sized panel of white card stock. I then took some of the Versafine Clair Medieval Blue ink and blended on just towards the tops of the larger stars. 

I then took one of the images from the Dot Dash Grid stamp set from AALL & Create and stamped portions of it a few times over my background using Versafine Clair Monarch ink. After that stamping was done, I brought out one of my favorite stamp sets, the Birthday Wishes set from Visible Image and stamped two of the sentiments with the Versafine Clair Nocturne ink. 

I trimmed this panel down and matted it onto a piece of blue cardstock that coordinated with my ink colors. This was then added to a white A2 notecard and that completes this card.

Find all products I used on my card in the Topflight Stamps store below.

Crafty hugs! ~ Alanna


Wednesday, July 3, 2024

Seeing Stars with Topflight Stamps

 Hello, Lisa Hoel here! Our Topflight Stamps theme this week is "Stars". I used the fun and funky Secret Stars stencil from AALL & Create for the background of this card.

Lisa Hoel for Topflight Stamps – Brand focus on AALL & Create

The fussy cut robot from the Katzelkraft Robots 2 stamp set is popped up with a Mini Action Wobble Spring which gives it a fun interactive element.

Thanks for stopping by and be sure to check out the Topflight Stamps store for a wide selection of different and hard to find stamps, stencils and other paper crafting supplies from all around the world! Also keep an eye here on the Topflight Stamps blog. There is new inspiration posted daily!


Topflight Stamps Supplies Used:

Katzelkraft Stamp Set - Robots 2

AALL & Create Stencil - Secret Stars

AALL & Create Stamp Set - Shredz #1157

AALL & Create washi - Burlap Black #16


Mini Action Wobble Springs


AALL & Create Stamp Set - Newsprint Numbers #434
Versafine Ink Pad - Black Onyx
Lavinia Elements Ink Pad - Russet Orange
Prism Glimmer Mist - Silver Dollar


Tuesday, July 2, 2024

Reach for the Stars

Greetings! It's Tuesday so you've got Kathi here to share a project with you. This week my teammates and I are focusing on the stars.

Here's my card:


Use Tuxedo Black Memento Ink by Imagine Crafts/Tsukineko to stamp the Queen from the JOFY Mini JM70 Cling Rubber Stamp by JOFY for PaperArtsy twice — once onto white cardstock and once onto repositionable sticker paper. 

Use Copic markers to color the image. Fussy-cut the repositionable sticker paper version and place it over its counterpart as a mask. Place a piece of low-tack tape around the Queen's collar. Sponge or brush Violet Chalk Elements Ink by Lavinia Stamps around the masked image onto the image panel. Set the image panel aside.

Choose a piece of patterned paper from the Ink Drops - Midnight 6x6 Patterned Paper Pad by Craft Consortium Ltd.,, trim it to 4 x 5.25", rub an anti-static bag onto it, and place it onto the base of a stamping platform. Position the Ink and the Dog MN123 Cling Rubber Stamp by PaperArtsy on the top right of the patterned paper background panel. Ink the stamp with white or platinum Brilliance ink and stamp. Add crystal embossing powder, dump the excess, stamp, and heat set. Clean the stamp, move the paper to the left, ink the stamp with Brilliance ink, stamp, and heat emboss. Continue this process until the shimmery star clusters fill the patterned paper panel.

Position the stars stamp from the  Eclectica ENB02 by Nicci Battilana Rubber Cling Mounted Set by PaperArtsy on the upper right of the image panel. Ink the stamp with embossing ink, add gold embossing powder, dump the excess, and heat set. Move the stamp to the left and repeat so that the large gold embossed stamps stretch across the top of the background panel.

Position the sentiment from the Eclectica EDY08 Cling Mounted Stamp Set by Darcy for PaperArtsy (no longer available in the store) along the bottom of the background panel. Use low-tack tape to cover the excess verbiage. Ink the stamp with embossing ink, remove the tape, and stamp. Add gold embossing powder, dump the excess, and heat set.

Position the word "Shine" from the Marilyn Clear Stamp Set 475 by Janet Klein for AALL and Create on the upper left side of the image panel. Ink the stamp with shimmery gold ink and stamp. 

Sponge shimmery gold ink along the out perimeter .5" of a  A2 card created from white textured cardstock.. Heat set. Cut another piece of the white textured cardstock .25" larger than the image panel. Sponge shimmery gold ink along the outside perimeter of the panel then heat set. Use the small panel to mat the image panel.

Adhere the background panel to the gold A2 card. Adhere the matted image panel to complete the card.

Please pop over to my blog, Kat's Tales of Stamping, for more detailed instructions and complete supply lists.

Topflight Stamps Products Used:


Thanks for visiting today!

Monday, July 1, 2024

Shine Bright with Visible Image

 Hi friends. Alanna back here with you on the blog today and this week, are focus is on stars. I had this Shining Star set, from Visible Image in my stash and decided it was the perfect time for it to see ink.

I started by stamping the large star image with alcohol marker friendly ink using my Misti stamping tool. I then colored it with my OLO markers. I then restamped the image with Versafine Claire Nocturne ink to really deepen and darken the stamped outline. I love doing this when I am coloring. As long as you have some sort of stamping tool, you are good to go.

After my images were colored, I stamped one of the sentiments from the set with the same Versafine Claire Nocturne ink in the bottom left corner. I trimmed my panels down and added them with foam tape to a coordinating A2 card base from some deep yellow card stock. I finished off the cards by adding in some sequin confetti.


Find the products I used in this post below in the Topflight Stamps store. 
Crafty hugs! ~ Alanna
01 09 10