Hello friends! Ericka from Strangely Creative here, and today I’m thrilled to share with you an inky card project using the vibrant Lavinia Elements Inks and the whimsical Rogue stamp. If you love getting creative with your supplies and enjoy a bit of ink blending magic, this project is just for you!
Let's Dive Into the Inky Fun!
For this card, I wanted to create a dreamy, textured background that would make the Rogue stamp truly pop. Here's how you can recreate this card step by step.
Start by blending your Lavinia Elements Inks onto a piece of smooth cardstock. I used Confetti for a soft, pinkish hue, Dark Denim for a deep blue tone, Pine for a rich green, Lime Punch for a zesty twist, and a touch of Sundance to add a golden glow. Blend the colors together in a circular motion, making sure to overlap them slightly for a seamless transition.
Once you’re happy with your blended background, take a spray bottle filled with water and lightly mist the paper. This will lift some of the ink and create a beautiful, mottled texture. Let the water sit for a few seconds, then blot off the excess with a paper towel. This technique adds a dreamy, ethereal quality to your background.
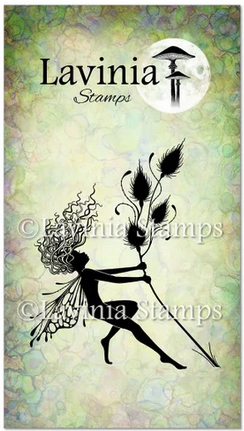
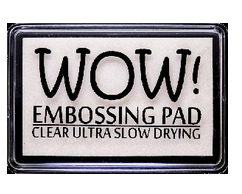
Next, it’s time to add the star of the show — the Rogue stamp. Using an embossing ink pad, stamp the Rogue image onto your inked background. Sprinkle WOW! Pea Coat embossing powder over the stamped image, tap off the excess, and heat set it with your heat gun. The deep navy embossing powder adds a stunning contrast to the colorful background, making the Rogue image stand out beautifully.
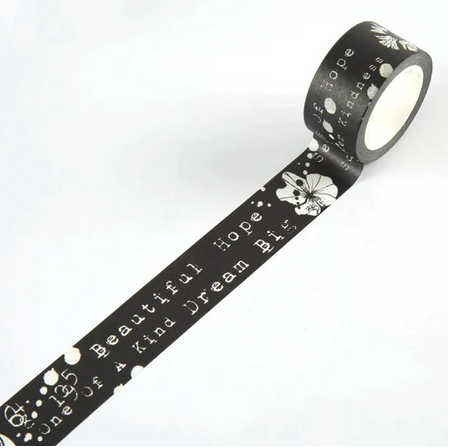
To give your card an extra touch of creativity, I incorporated some words from the AALL & Create Nightshade washi tape. Cut out the words or phrases you want to use and adhere them around the Rogue image. The text adds a whimsical, storybook feel to the card.
To complete your card, add a border around the edges. You can use a border stamp or simply draw one freehand with a marker or pen. This frames your artwork and gives it a polished look.
And there you have it — a beautiful, inky card that’s sure to delight anyone who receives it. I hope this step-by-step guide inspires you to get creative with your inks and stamps. Thank you for stopping by, and I hope you find some time to get inky this weekend!
Happy crafting! Ericka from Strangely Creative
Topflight Stamp Supplies
 Lavinia - Rogue Shop at: TP |
 AALL & Create - Night Shade Shop at: TP |
 WOW! Embossing - Clear Embossing Pad Shop at: TP |
 WOW! Embossing - Tracy Scott Pea Coat Shop at: TP |
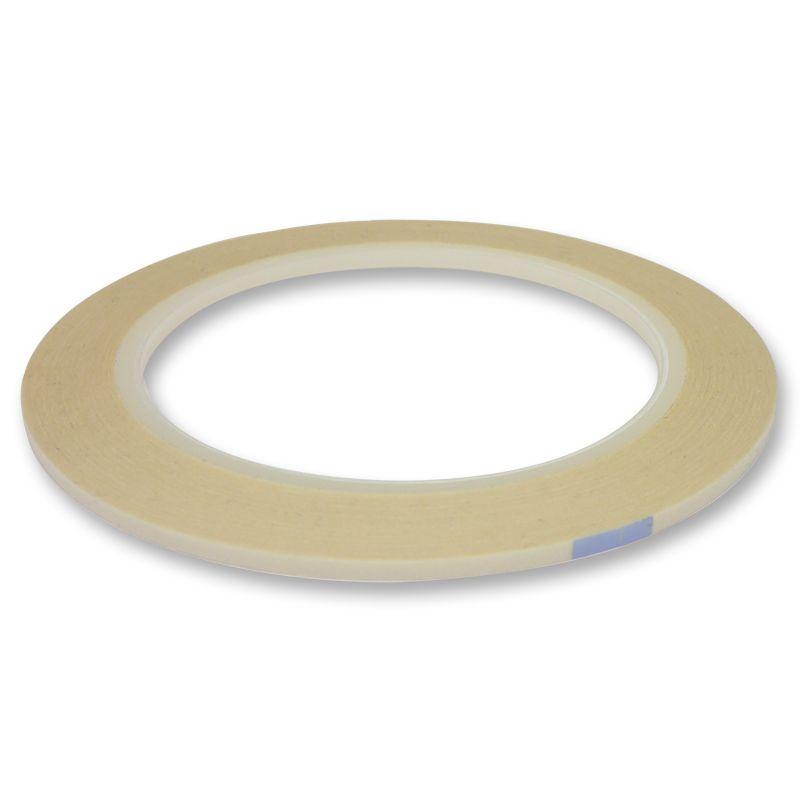
 Double Sided Tape Shop at: TP |
 Lavinia - Elements Dye Ink - Confetti Shop at: TP |
 Lavinia - Elements Dye Ink - Dark Denim Shop at: TP |
 Lavinia - Elements Dye Ink - Lime Punch Shop at: TP |
 Lavinia - Elements Dye Ink - Pine Shop at: TP | |
 Lavinia - Elements Dye Ink - Sundance Shop at: TP |
 Lavinia - Elements Dye Ink - Truffle Shop at: TP |
 Lavinia 5/8 Stencil Brush Shop at: TP |
||


No comments:
Post a Comment