
Greetings! It's Kathi here to share a project with you. This week the Topflight Stamps Design team is showcasing products by Visible Image.
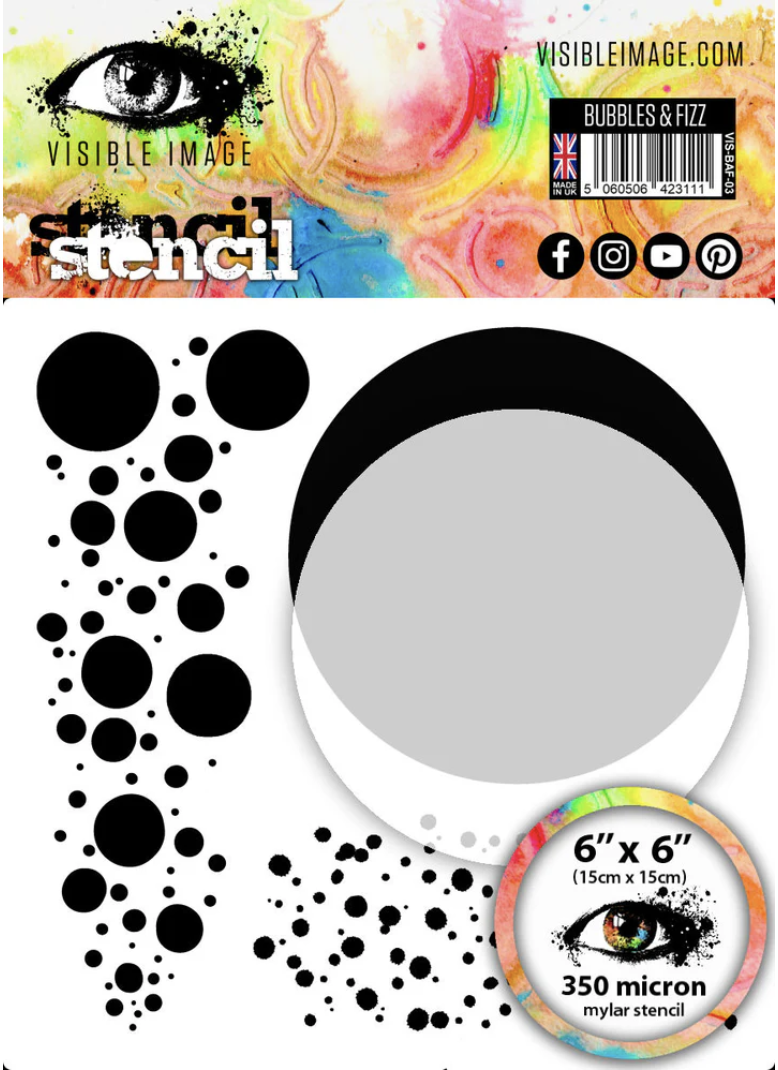
Here's an encouragement card created with Visible Image's Where Dreams Take You Clear Polymer Stamp Set, the Time Tunnel Stencil, and the Bubbles and Fizz Stencil.

Using a stamping platform and Tuxedo Black Memento Ink by Imagine Crafts/Tsukineko, stamp the eye from the Where Dreams Take You Clear Polymer Stamp Set by Visible Image twice — once onto Copic-friendly white cardstock and once onto repositionable sticker paper.
Keeping the image panel on the stamping platform, color the eye with Copic markers. Ink the eye stamp with Nocturne VersaFine Clair Inks by Imagine Crafts/Tsukineko and stamp. Remove the image panel from the stamping platform and heat set.
Fussy-cut the sticker paper version of the eye and place it atop its counterpart on the image panel. Randomly sponge or brush Della Blue, Violet Chalk, Confetti, and Sundance Elements Inks by Lavinia Stamps over the masked image until the image panel is covered. Use Fine Spray Misters by Spectrum Noir to mist 91% Isopropyl Alcohol then water onto the panel. Heat set.
Place the Time Tunnel Stencil by Visible Image onto the image panel. Brush or sponge Violet Chalk Elements Ink over the stencil onto the image panel.
Die-cut the image panel and place the panel die-cut back onto the stamping platform. Use Nocturne VersaFine Clair Inks by Imagine Crafts/Tsukineko to stamp the "go where dreams..." sentiment onto the image panel die-cut. Use Della Blue Elements Ink by Lavinia Stamps to stamp the "Vision" definition sentiment as shown.
Use Della Blue Elements Ink and the Bubbles and Fizz Stencil by Visible Image to randomly stencil blobs into the empty areas of the image panel.
Die-cut black and violet cardstock, then use to mat the image panel die-cut. Adhere to a black A6 card.
Please pop over to my blog, Kat's Tales of Stamping, for step-by-step instructions and complete supply lists.
Topflight Stamps Products Used:
.png)


Thanks for visiting today!
No comments:
Post a Comment