Showing posts with label Visible Image Live Life Now. Show all posts

Thursday, March 18, 2021

Darkroom Door combined with Visible Image

    Hi Everyone,

Cornelia here today! 
I made a gel press background with Fresco chalk paints for this weeks card.


Before I stamped the butterflies, I sanded the background to make it nice and smooth. Stamped the butterflies and sentiment. I let some color drip down from the wings. Added white accents to the wings as well as some turquois Stickles. Splattered some black paint (Tattered Angels)


I also sponged around the edges and added some gems for extra interest. Trimmed off a tiny bit from the bottom and added a small strip of black paper.


I hope you liked this. Thanks for visiting. 
See you next week with more Topflight Stamps inspiration.


Here are the stamp supplies I used:
Use code FUNSTAMPING to get 12% discount at Topflight Stamps


Thursday, May 21, 2020

Gel Printing with Visible Image

Hi Everyone,

Cornelia here today!
This week we are featuring gel plates.


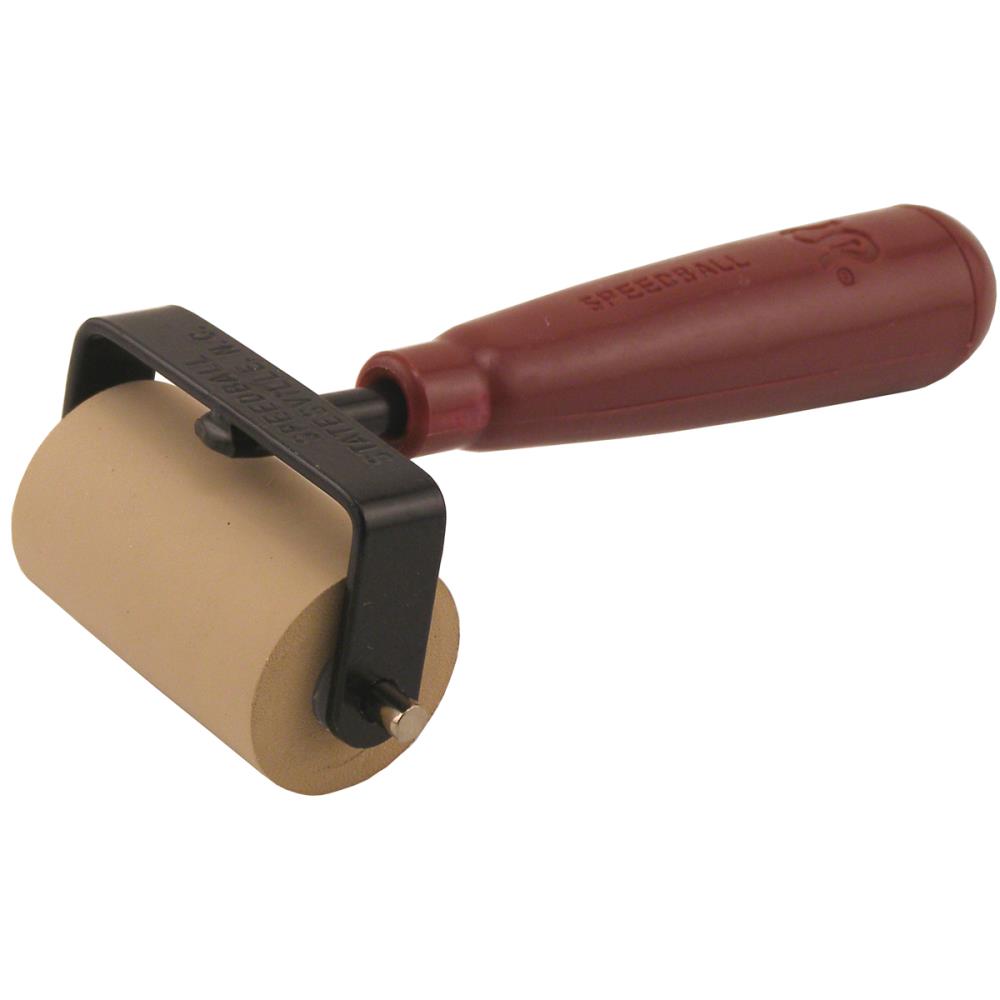
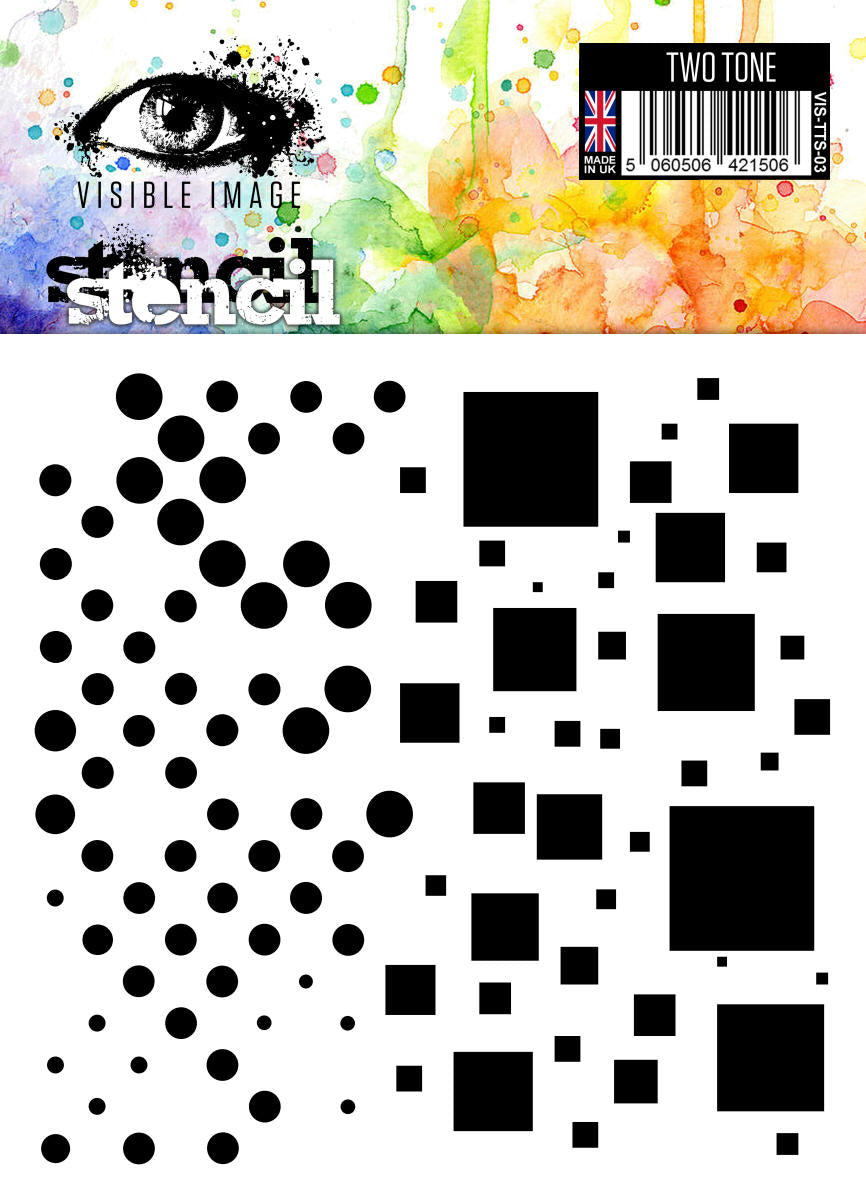
I started out putting small drops of yellow and red acrylic paint on the gel plate and distributing the paint with the brayer evenly. I then put the stencil onto the plate and brayered over it form dark to light color. This shifts some of the darker color onto the lighter color. I lifted the stencil off. I put a sheet of paper onto the plate and rubbed it evenly with  my hands to lift the color of the plate and transfer it onto the paper. I let the paper dry. But you can get a second print off that stencil. Just put it paint down onto a fresh piece of paper and brayer over it. The brayer rub off also can make quite some interesting papers. The best way to get an idea of how to do this is go to youtube and watch some videos. There is a myriad of great videos out there with all sorts of different techniques.

Once the paper was dry I actually put the stencil back and sponged with distress ink over the stencil to add a bit more color (I know, this is called cheating....) Added the butterfly, some white gel pen accents, the sentiment and a few gems. Trimmed the base card and mounted it onto dark card stock.

I know that everyone uses cheap copy paper for printing, but I use card stock, as it does not warp and can be used without problems. Gluing cheap, warped copy paper is a bit problematic....Besides, if you don't like your first print, you can always print on the backside. Nobody will know and you won't waste as much paper.


I hope you liked this! See you next week with more Topflight Stamps inspiration.
Use code FUNSTAMPING to get 12% discount at Topflight Stamps.

Here are the stamp supplies I used:


Thursday, April 19, 2018

Feminine Feline Mother's Day Card

Hey Topflight fans! I have several very strong women in my life whom I treasure and for whom I am so thankful. Today I'm sharing a feminine card that is also a little edgy. I used the Visible Image Live Life Now butterfly stamp as the focal point of the card. For the background, I started with Strathmore Bristol Paper to sprinkle on and spray with water some Ken Oliver Color Bursts in Merlot and Lemon Yellow. I also wanted a bit of soft pink so I water colored on some Tim Holtz Distress Ink in Spun Sugar. After achieving a splotchy look I made sure it was totally dry before I moved on to the stamping.


I used a MISTI to repeatedly stamp the butterfly until I got a pretty dark saturated image. Then for good measure, I used a Momento Tuxedo Black Marker to fill in some areas that weren't quite as dark as I wanted due to the now slightly irregular card front texture. I wasn't totally satisfied with the dull black butterfly so ultimately I used VersaMark Ink and some Ranger Black Embossing Powder to fully emboss the splattery butterfly. Ohhh and all of a sudden it seemed to come to life!


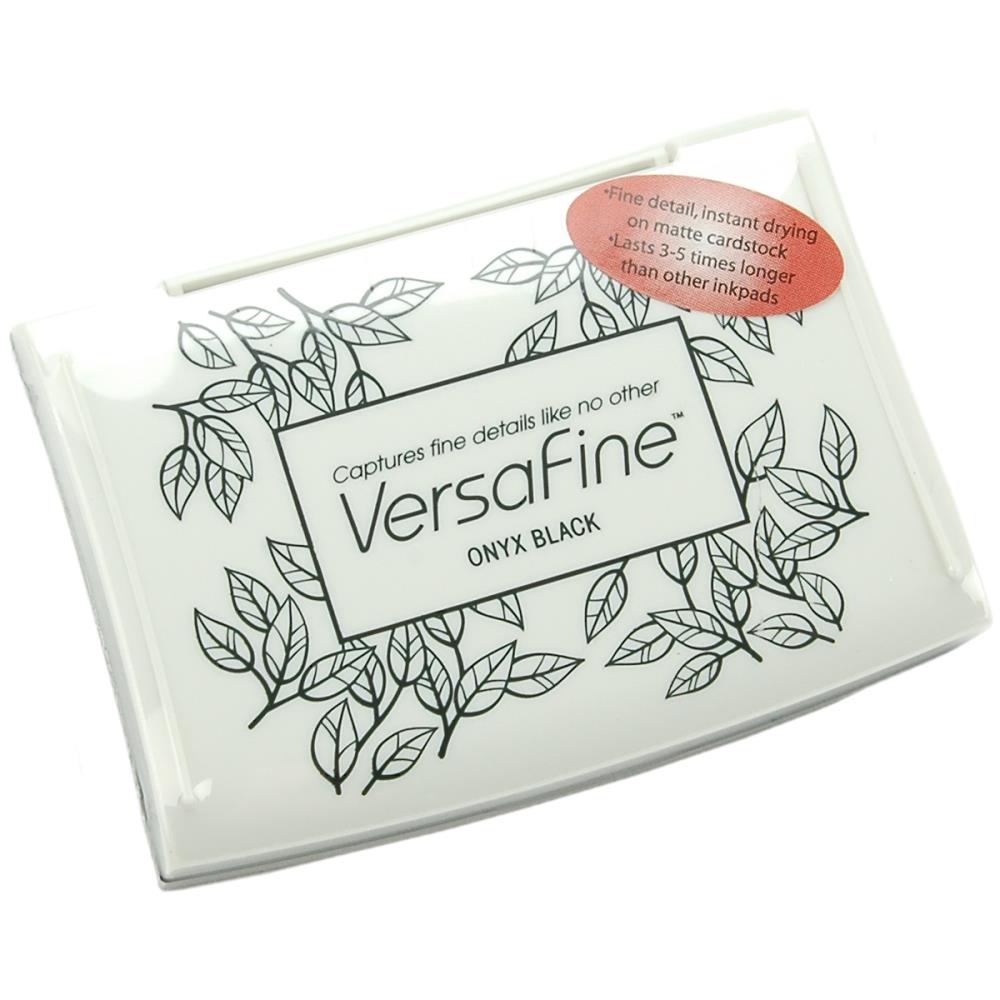
For the sentiment, I dug through a stash of rub on sentiments and found the word "CHERISH" in a beautiful swirly font that I thought would complement and not distract from the butterfly. I carefully rubbed it onto the whole lower part of the card front. Next I inked the edges of the card front with some Versafine Black Onyx Ink before popping the whole piece onto a soft pink card base using fun foam scraps for a bit of dimension.


For finishing touches and a bit of sparkle, I added sequins in black, pale pink, true pink, yellow gold and lemon yellow. I placed the appropriately colored sequins on the background areas to match the watercolored background. I also used a bit of ebony black glitter glue to add a bit of extra sparkle and texture on top of the black sequins, along the body of the butterfly, and strategically on some of the splattery parts of the butterfly.

I hope you've enjoyed this fast and feminine card share as much as I enjoyed crafting it! If you'd like more details about the products or to watch the card making process video, please check out my blog HERE.
01 09 10