Friday, March 31, 2023

PaperArtsy Gel Press Flowers


Hello crafty friends! Ericka from Strangely Creative here and today I am playing with some gel press prints and a new stamp from PaperArtsy Tracy Scott 78.


I love this beautiful floral stamp from Tracy Scott and stamped it on a leftover gel press print and used my colored pencils to add more color to the flowers. I was experimenting with my gel press with fresco paint and Lavinia Acrylic Spray in Teal.

I finished my card with some embossing and gemstones, along with a sentiment from PaperArtsy Alison Bomber Dreaming and Doing. Thank you for stopping by and don't forget to check out the Birthday Blog Hop along with sale going on until April 2nd.

Topflight Stamps Supplies Used


Thursday, March 30, 2023

Hippety Hoppety Party Time

   Hi Everyone,

Cornelia here today. This week the theme is "anything goes" at the Topflight blog

I used my gel plate to make the background. Stamped the fine grid stamp onto the card. I stamped the flowers and carrots onto the background and stamped the bunnies onto scrap paper, as well as the carrots again. Colored everything with alcohol ink markers. Cut them out and added them to the stamped images on the background.  Heat embossed the sentiment and added it. 

I hope you liked this. Thanks for visiting. 
See you next week with more Topflight Stamps inspiration.

And here are the stamp supplies I used: 

Wednesday, March 29, 2023

Collage Stamping with AALL & Create


Hi friends! I just love to use collage elements on my mixed media cards! if you're not familiar with collages in the stamping world, they are a mixed media style composed of several design elements, all in one stamp. Some crafters like to create their own collage using design elements from several stamps, and this is the same concept. But collage stamps make it SO easy to create a beautiful mixed media piece because they've done the work for you! You don't have to figure out where to place images or if your design will get too busy. All the work is done for you!!! Below is an example using one of my products for today by AALL & Create, called Through the Meadows:


This is a HUGE stamp and each one of the collages (3 in all) will fit an A2 sized card panel! If you look carefully at the images above, you will see all the various individual design elements that are coordinated into one stamp. Amazing, right?  I admire anyone that can do this technique! 

Now let me show you how I used one of the collage stamps from the stamp above for my card! 


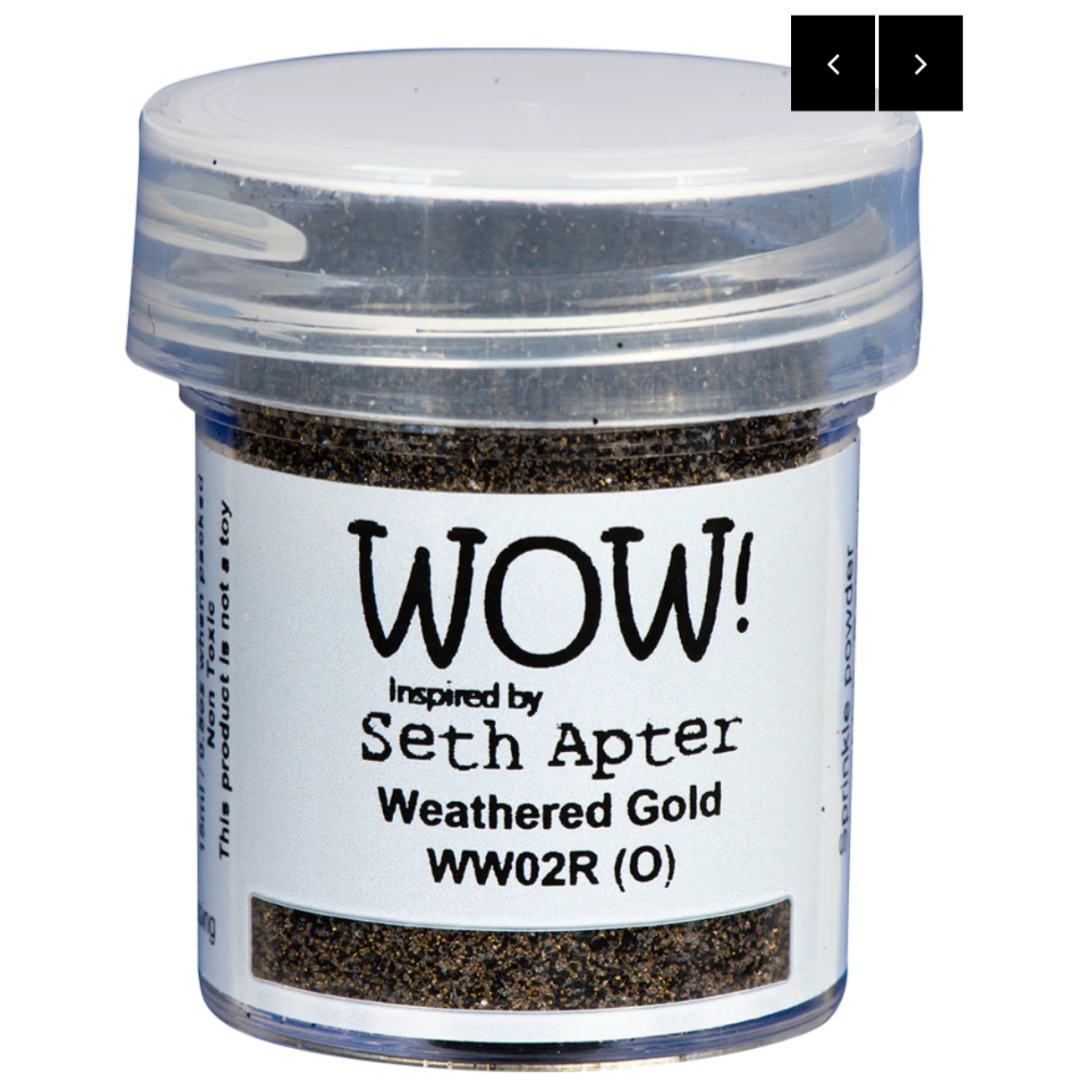
First step was to stamp one of the images onto an A2 (5.5x4.25) white card panel. To keep things interesting, I stamped the image about 4 times using Lavinia dye inks in Lime Punch, Greensleeves, and Violet Chalk. I love the depth of color that brought my image to 3d! Next, I stamped the butterfly from the same set on another piece of cardstock in the same way but also added WOW! Weathered Gold embossing powder to a few places. Then I fussy cut it out and placed it over the other butterfly using foam tape to add dimension. Finally, I trimmed the edge of the card panel using my deckled paper trimmer and then ink blended around the edges with Violet Chalk. Ink blending around the edges seems to bring the entire design together! 


I stamped a few sentiments from this set and the Darkroom Door Sympathy set using Violet Chalk ink, ink blended the edges, and placed them around the butterfly to help frame it. Then I added a few more elements from the collage image using Wow Weathered Gold embossing powder. I stamped a few elements using just the edge of the stamp and then added my embossing powder. So here is another way to use these stamps! Also, I love the shine and texture that embossing powder brings to a mixed media card! I finished by adhering the card panel over a gold 5.5x4.25 card base.  This card took me perhaps an hour from start to finish, and there is SO MUCH detail to it that I really didn't need to add much to complete the look! 


Topflight Stamps has a variety of collage stamps in their shop, so next time you're there, google collage stamps and see what pops up! You'll love working with them! Thanks for stopping by! 

SUPPLIES USED:


Tuesday, March 28, 2023

6th Annual Birthday Blog Hop at Topflight Stamps!


It's Topflight Stamps 6th birthday and to celebrate, we’ve teamed up with some great designers to showcase celebratory projects using the unique products available at Topflight Stamps. Please hop along with us and see all the beautiful talent from this group of amazing designers! (List of Hop stops below!) We are also Hopping on Instagram! You can start at the Topflight Stamps account @topflightstamps .

Did we mention there will be prizes?
GIVEAWAY DETAILS
Of course, it wouldn’t be a birthday celebration without prizes! Topflight Stamps is giving four lucky winners $50 Gift Certificates to the store. Two winners will be chosen from commenters on the blog hop and two will be chosen from commenters on the IG hop. For a chance to win, make sure to visit the stops on the hop and leave a comment by April 1st. Winners will be announced on the Topflight Stamps blog on Monday, April 3rd. U.S.A winners only due to shipping issues. Good Luck!


Check out this beautiful make from one of our talented designers! This is just a taste of the inspiration in store for you! Follow the links below to see it all and comment for a chance to win a prize.


Don't forget we're also having a SALE in the store during the celebration. Check out the selection of stamps and other goodies sourced from all around the world!


Monday, March 27, 2023

TAG ART - Rescue Mission

 Hi  Mel Pilling  here today with an art tag tutorial featuring the Katzelkraft bugs and insects - set and the Dark room door bottles. These tags can be kept on a loose binder ring as a small art journal.


For this art tag, I did a quick, watercolour background wash with a paintbrush, using watered down Elements ink pads on my craft surface in  BLUE LAGOON and  TRUFFLE .  Once dry, I stamped the bottles in VERSAFINE CLAIR INK in MORNING MIST.  You don’t need to mask here as you want to “see” through the glass.  I darkened the edges of the bottles with a fine black pen. Do not darken any areas that would be showing through another bottle. This gives you depth.  I drew in the corks freehand. I ran some pale blue and grey lines to colour the glass.  

 I stamped all the bugs directly onto the project in   VERSAFINE CLAIR - NOCTURNE , then again, onto clean mixed media card. I water-coloured them, then fussy cut and glued them over the stamped images on the project.  By doing this, you don’t have to cut around all the details like legs and eyes, as they already appear on the project.  TIP: I always darken the edges of my fussy cuts from behind with a dark marker. It makes your fussy cuts look perfect. 


STAMP SETS USED


 Topflight stamps carries many beautiful sets to create these comical tags. Have fun with it, and happy stamping. Thank you for joining us today. See you soon.


Saturday, March 25, 2023

Piggy Get Together - Bookmark

 Hi everyone, MEL PILLING here with a masking technique. Today’s project is a bookmark.  I love doing bookmarks.  It is a quick but welcome gift for the avid readers in your life.  I am using the lovely PINK INK DESIGNS guinea wig set.


'


I began by stamping the lower guinea pig in VERSAFINE CLAIR INK  in NOCTURNE .   I then made a mask for him, placed it over the top and stamped the upper left piggy.  I then made a mask for the second piggy.  I installed both masks, then stamped the upper right piggy.  I then made a mask for that third piggy.  For this job I used MASKING SHEETS .  

Once all three guinea pigs were masked,  I used a   STENCIL BRUSH and a hill mask made with torn paper using  ELEMENTS INK   in  LIME PUNCH,  PINE  and OLIVE.   I brushed in the hills, then used the hill mask to block the hills so that I could do the sky.  I did the sun using elements ink in SUNDANCE . I used light circular motions with a stencil brush for the sun, then I used DELLA BLUE and BLUE LAGOON  to lightly stencil in the sky.  Choppy movements here create a cloud effect.  

I removed all the masks and coloured in the guinea pigs with watercolour markers.   I covered the project with acetate to preserve the watercolour ink when the bookmark is being used.  I then added assorted ribbons to decorate and a small brad at the bottom to keep the acetate in place.   I moved this acetate so I could get a clear picture to show you, but the brad holds it in place at the end.

STAMPS USED


I hope you enjoyed today’s tutorial on masking.  Thanks for checking out the Topflight Stamps blog. I’ll see you guys soon.


Friday, March 24, 2023

Visible Image Mother's Day Card


Hello friends! Ericka with Strangely Creative here today I have a gel press card with some Visible Image stamps. I started with a gel press background I made using PaperArtsy Fresco Paints in Mermaid and applied an old magazine page to my gel press. I applied Fresco paint in Beach Hut to pull a up a pretty print with faint text print.

I took a seperate piece of paper and sprayed it with Lavinia Sun Yellow Acrylic Spray and Golden Temple Mystical Spray. I stamped the Visible Image Golden Daffodil on the paper and fussy cut out the flower. I then stamped the same flower on my background with Versafine Clair Nocture ink and clean embossed it. I attached the beautiful petals and colored up the stems with some pencils.

I stamped the circles from the Visible Image Round In Circles with Versafine Clair Midnight and clear heat embossed it. I also used the Visible Image Chain Reaction set and heat embossed it with WOW! Embossing in Pea Coat.


I finished my card with the Visible Image Golden Daffodil sentiment to on the paper. Thank you for stopping by and I hope you have a wonderful weekend and a chance to get crafty.

Topflight Stamps Supplies Used


Thursday, March 23, 2023

You Talkin' to me

  Hi Everyone,

Cornelia here today. This week the theme is "media" at the Topflight blog
I used my gel plate and a Visible Image stencil to make the background. I stamped the birds onto the background and stamped them again onto scrap paper, as well as the cat. Cut them out and added them to the stamped images on the background. Heat embossed the sentiment and added it. Trimmed the card and added a strip of patterned paper to the side. 
I hope you liked this. Thanks for visiting. 
See you next week with more Topflight Stamps inspiration.

And here are the stamp supplies I used: 


01 09 10