Showing posts with label WOW Embossing. Show all posts

Sunday, September 13, 2026

Golden Autumn Layers: A Mixed Media Fall Card


Hello friends! Ericka from Strangely Creative here, and today I’m welcoming a little bit of fall into my craft room with a colorful mixed media card featuring the beautiful leaves from PaperArtsy Alison Bomber 53.

There’s something about fall crafting that makes me want to pull out all those rich colors, layered backgrounds, and touches of gold. For this card, I found a watercolor background made with leftover Lindy’s Gang Magicals and a fall-colored gel print in my stash.

Sometimes the perfect beginning to a project is already sitting on your craft desk!

Starting with a Leftover Watercolor Background

I started with a watercolor background I had previously created using some leftover Lindy’s Gang Magicals.


If you’ve followed me for a while, you know I hate wasting beautiful color! When I have Magicals, sprays, or paints left over from another project, I love using them to create backgrounds that I can save for later. This one had the perfect colors and movement for an autumn card, so it finally found its purpose.

Adding Golden Details

Next, I reached for the PaperArtsy Alison Bomber 53 stamp set. I stamped the leaves and number details directly onto my watercolor background and heat embossed them in gold.

The metallic embossing adds such a beautiful contrast against the loose watercolor. I especially love the way the gold catches the light while still allowing all those colors underneath to show through.

Creating the Layered Leaves

I wanted the leaves to have even more dimension, so I searched through my stash again and found a gel press print filled with beautiful fall colors.


I stamped the same leaves onto the gel print and heat embossed them in gold to coordinate with the background. After fussy cutting the leaves, I arranged them over the watercolor panel to create my focal point. Using the same stamp on both the background and the dimensional pieces helps connect all the layers, while the different backgrounds keep everything interesting.

Finishing Touches

To complete the card, I added a sentiment from the Alison Bomber 53 stamp set and finished everything with a simple gold frame. I didn’t want to add too much more. Between the watercolor, gel print, detailed stamping, and metallic embossing, there was already plenty of color and texture to enjoy.

Sometimes knowing when to stop is part of the creative process too!


Thank you so much for stopping by today! I hope this card inspires you to dig through your stash, rediscover some forgotten backgrounds, and add a little golden autumn magic to your next project.

Have a wonderful week and happy creating! 🍂✨


 Topflight Stamp Supplies

PaperArtsy - Alison Bomber 53 - Twisted Leaves
Shop at:
TP
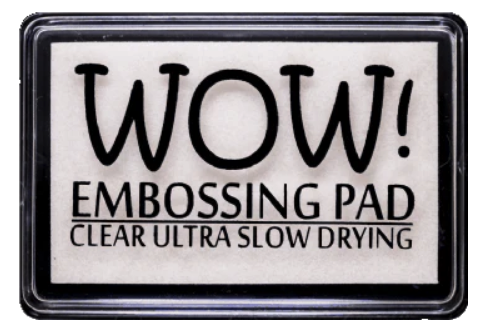
WOW! Embossing - Clear Embossing Pad
Shop at:
TP
WOW! Embossing - Metallic Gold Rich Pale
Shop at:
TP
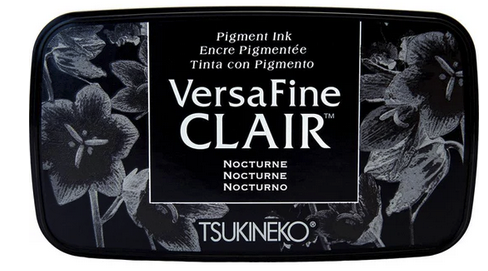
Tsukineko - VersaFine Clair - Nocturn
Shop at:
TP
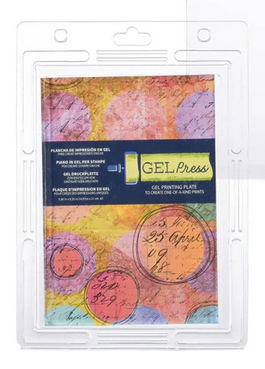
Gel Press - Reusable Gel Printing Plate
Shop at:
TP 
Speedball - 2
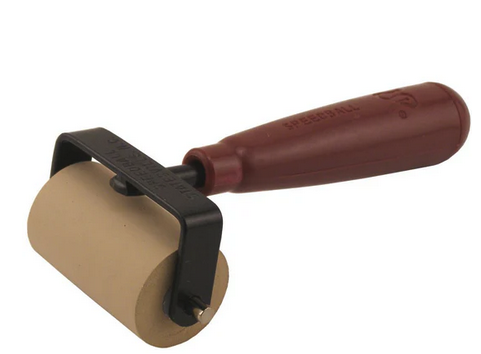
Speedball - 2" Brayer
Shop at:
TP

Sunday, September 6, 2026

Create a Garden: Turning Gel Prints into a Journal Page & Bookmark


Hello friends! Ericka from Strangely Creative here, and today I’m sharing not one, but two projects created with the beautiful Tracy Evans Boutique Designs Create a Garden stamp set: a mixed media journal page and a coordinating bookmark.

I love the versatility of this collection. With flowers and birds in a variety of sizes, there are so many possibilities for cards, tags, journal pages, bookmarks, and more.

And, of course, I couldn’t resist pairing these stamps with some colorful gel prints from my stash!

Creating a Garden from a Gel Print

I started by digging through my collection of gel prints and choosing one that I thought would make an interesting background. One of my favorite things about keeping gel prints on hand is that I can pull one out whenever I want to create without having to start completely from scratch. The layers of color and texture are already there—you just have to decide what story you want to tell on top of them. For this page, I decided to create a bold silhouette-style garden scene using the flowers from the Create a Garden set.


Creating the Silhouettes with Embossing Powder

Instead of stamping the flowers in traditional black ink, I reached for WOW! Embossing Powder in Pea Coat. The deep blue creates a beautiful silhouette effect against the colorful gel print while still allowing the background to remain part of the design.


I love how the detailed flowers stand out against all those loose, unpredictable layers underneath. It’s that contrast between structured stamped images and free-flowing gel prints that makes mixed media so much fun.

Adding the Birds & Sentiments

Next, I added the birds and sentiments from the set using clear embossing powder. The clear embossing creates a more subtle layer that catches the light without competing with the bold floral silhouettes.


Those little differences in finish help create depth and encourage you to look a little closer at the page to discover all the details.

Don't Forget the Scraps!

After finishing my journal page, I still wasn’t ready to put these stamps away. I had a leftover piece from one of my recent gel prints sitting on my desk, so rather than adding it back to my scrap container, I decided to turn it into a bookmark.


I stamped the leftover piece with images from the Create a Garden set and heat embossed them with WOW! Vintage Gold Embossing Powder. That beautiful metallic gold completely changed the look of the same stamps and gave the scrap a second life as something useful.

One stamp set, two gel prints, and two completely different looks!


Thank you so much for stopping by today! I had so much fun creating with the Tracy Evans Boutique Designs Create a Garden set, and I already have ideas for how I want to use these beautiful flowers and birds in future projects. I hope this inspires you to dig into your gel print stash, play with your embossing powders, and see how many different ways you can use your favorite stamps.

Have a wonderful day and happy creating! 

And don’t forget to check out the sale going on now while you’re shopping!


Topflight Stamp Supplies 

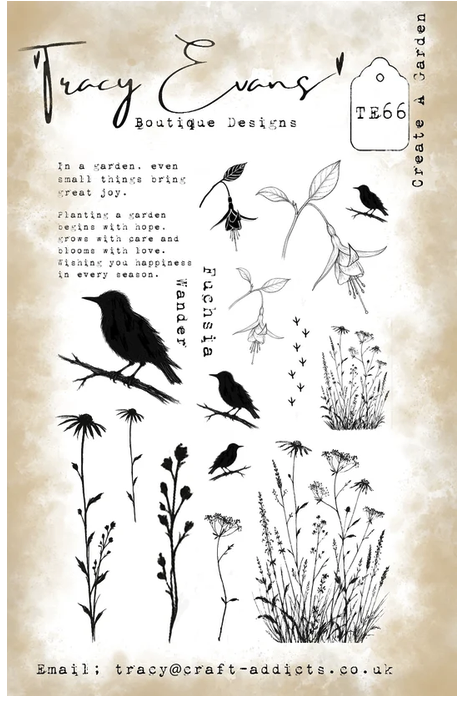
Tracy Evans Boutique Designs - Create a Garden
Shop at:
TP
WOW! Embossing - Clear
Shop at:
TP
WOW! Embossing - Clear Embossing Pad
Shop at:
TP
WOW! Embossing - Tracy Scott Gold Vintage Lace
Shop at:
TP
WOW! Embossing - Tracy Scott Pea Coat
Shop at:
TP
Lavinia - Sentiment Stickers - Uplifting Collection
Shop at:
TP
Tsukineko - Versafine Clair - Twilight
Shop at:
TP
Lavinia - Elements Dye Ink - Henna
Shop at:
TP
Tsukineko - VersaFine Clair - Nocturn
Shop at:
TP


Gel Press - Reusable Gel Printing Plate
Shop at:
TP
Speedball - 2
Speedball - 2" Brayer
Shop at:
TP
Lavinia 5/8 Stencil Brush
Shop at:
TP


Friday, July 24, 2026

Bright, Bold & Beautiful: A Mixed Media Floral Card


Hello Topflight friends! Ericka from Strangely Creative here, and today I'm sharing a bright, colorful card that combines some of my favorite things: gel printing, embossing powder, texture, and lots of sparkle!

One of the things I love most about mixed media is discovering new ways to use the supplies already sitting on my craft desk. This project not only added beautiful shimmer to a gel print, but it also gave new purpose to a well-loved embossing pad that was almost ready for retirement.


🎨 Starting with a Colorful Gel Print

Every great mixed media project starts with an interesting background, and for this card I chose one of my vibrant gel press prints.


It already had plenty of color, but I wanted to add another layer of texture that would catch the light and make the background feel even more dynamic.


✨ Adding Texture & Sparkle

To create that extra dimension, I reached for the PaperArtsy Tracy Scott PS519 stencil and my trusty WOW! Embossing Pad.

If you're trying this technique, the safest way to apply embossing ink through a stencil is with an ink blending sponge or dauber. It helps protect your embossing pad while giving you great control over the design.

But here's where this project took a slightly different turn...

I have an old WOW! embossing pad that's been on my craft table for well over ten years. It's definitely showing its age, but it's still just juicy enough to be useful. Rather than throwing it away, I've officially promoted it to my mixed media embossing pad!

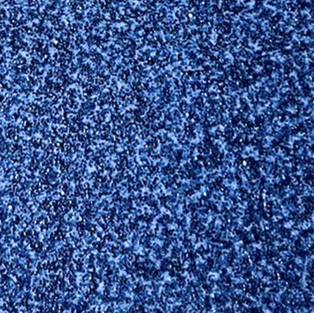
Since it's nearing the end of its life anyway, I simply pressed it directly through the stencil before sprinkling on WOW! Blue Diamond and Cerulean embossing powders.


The result is a beautifully textured background with layers of shimmer that change as the light hits the card. Sometimes our oldest supplies still have plenty of creative life left in them.


🌸 Creating the Focal Point

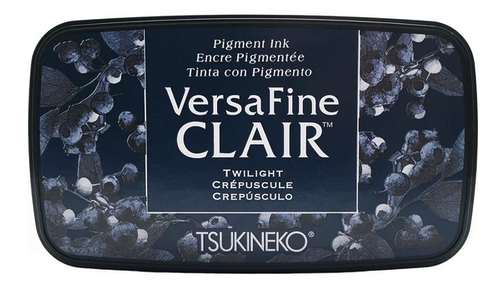
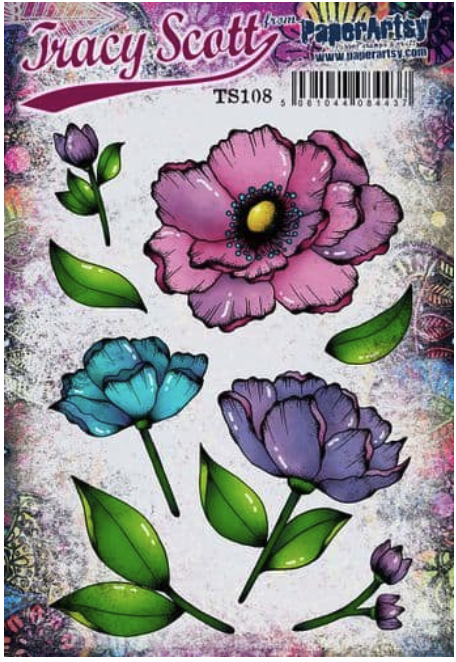
For the focal image, I stamped the beautiful PaperArtsy Tracy Scott 108 bloom onto another gel print that featured Nuvo Drops, creating a soft, sparkly texture behind the flower. Using Versafine Clair Twilight ink allowed the detailed lines of the bloom to stand out beautifully against the colorful background.


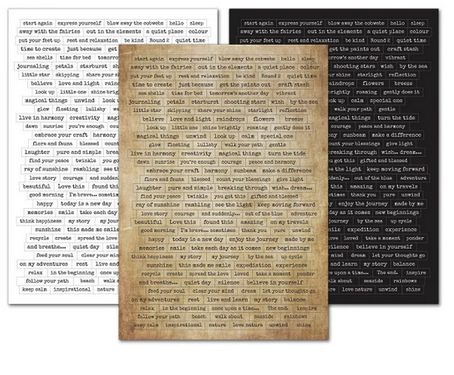
Once everything was trimmed, I layered the flower onto the embossed background and finished the card with a sentiment from the Lavinia Uplifting Collection.


💌 Finishing Touches

This card came together with just a few simple elements:

  • A colorful gel print background
  • Embossed texture through a stencil
  • Sparkling embossing powders
  • A bold floral focal image
  • A simple sentiment to finish the design

It's proof that layering color, texture, and shine can create plenty of impact without adding lots of embellishments.


Thank you so much for stopping by today! I hope this project inspires you to experiment with texture, embrace a little sparkle, and find new ways to enjoy the supplies you already own.


Have a wonderful weekend, and happy creating! ✨💙🌸


Topflight Stamp Supplies 

PaperArtsy - Tracy Scott 108
Shop at:
TP
PaperArtsy - Tracy Scott PS519
Shop at:
TP
WOW! Embossing - Clear Embossing Pad
Shop at:
TP
WOW! Embossing - Tracy Scott Pea Coat
Shop at:
TP
Lavinia - Sentiment Stickers - Uplifting Collection
Shop at:
TP
Tsukineko - Versafine Clair - Twilight
Shop at:
TP
Gel Press - Reusable Gel Printing Plate
Shop at:
TP
Speedball - 2
Speedball - 2" Brayer
Shop at:
TP

Saturday, July 18, 2026

Beautiful Bits: Turning Gel Print Scraps into Art


Hello friends! Ericka from Strangely Creative here, and today I'm sharing one of my favorite ways to stretch my supplies and make the most of every creative session.

If you've been following me for a while, you already know I have a hard time throwing away anything colorful that comes off my gel plate. Every little strip, corner, or leftover piece finds its way into a small container on my craft desk. Today, that little container became the inspiration for three completely unique cards.

Sometimes the smallest scraps hold the biggest creative possibilities.


🎨 Building Backgrounds from Leftovers

Instead of starting with a fresh sheet of paper, I reached into my stash of gel print scraps and began creating small collage panels.

Using a square piece of cardstock as my base, I simply glued down the colorful scraps until the entire panel was covered.

There was no plan.

No pattern.

Just color, texture, and intuition.

One of the things I love most about this process is that every panel tells a different story. Even though they're made from leftovers, each one becomes a one-of-a-kind background.

Once the adhesive dried, I added a few random paint marks across the panels to bring in another layer of texture and movement. Sometimes those final little marks are what make everything come together.


🍃 Creating Three Different Focal Points

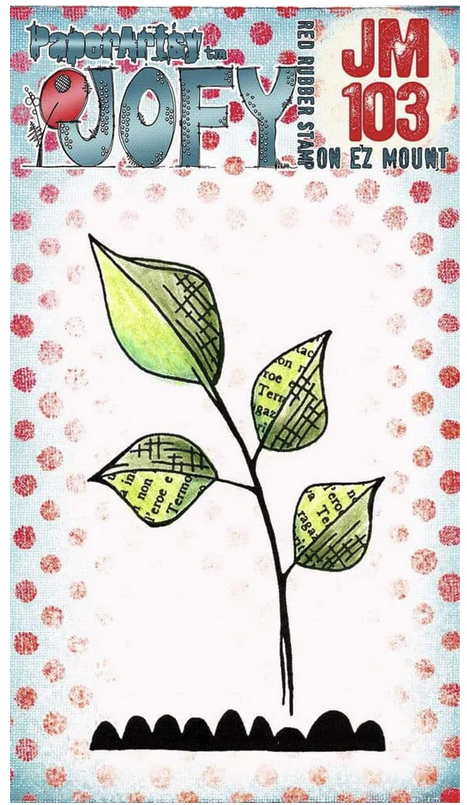
While the paint was drying, I reached for the beautiful PaperArtsy JOFY mini 103 leaf stamp and challenged myself to stamp it three different ways.

I created:

  • A classic version stamped on white cardstock using Versafine Clair Twilight ink. 


  • A soft, translucent version stamped on blue vellum and heat embossed in white. 


  • A second vellum version heat embossed in gold for a little extra elegance.


It's amazing how changing just the paper and embossing color can completely transform the same image.


Once each leaf was finished, I paired it with the collage panel that complemented it best.


✨ Finishing Touches

To complete each card, I added:

  • A simple hand-drawn frame
  • A short sentiment
  • Minimal embellishments to let the colorful backgrounds remain the star of the show

The result is three completely different cards, all created from pieces that could have easily ended up in the trash.


Thank you so much for stopping by today! I hope this project inspires you to dig into your scrap bin, embrace a little creative play, and discover the beauty hiding in those leftover pieces.

Happy creating! 💛🌿


Topflight Stamp Supplies 


PaperArtsy - JOFY Mini 103
Shop at:
TP
Embossing - Bright White Ultra Fine
Shop at:
 TP
WOW! Embossing - Clear
Shop at:
 TP
WOW! Embossing - Clear Embossing Pad
Shop at:
 TP
WOW! Embossing - Metallic Gold Rich Pale
Shop at:
 TP
Tsukineko - Versafine Clair - Twilight
Shop at:
TP
Gel Press - Reusable Gel Printing Plate
Shop at:
TP
Speedball - 2
Speedball - 2" Brayer
Shop at:
TP

01 09 10