Showing posts with label jofy. Show all posts

Saturday, July 18, 2026

Beautiful Bits: Turning Gel Print Scraps into Art


Hello friends! Ericka from Strangely Creative here, and today I'm sharing one of my favorite ways to stretch my supplies and make the most of every creative session.

If you've been following me for a while, you already know I have a hard time throwing away anything colorful that comes off my gel plate. Every little strip, corner, or leftover piece finds its way into a small container on my craft desk. Today, that little container became the inspiration for three completely unique cards.

Sometimes the smallest scraps hold the biggest creative possibilities.


🎨 Building Backgrounds from Leftovers

Instead of starting with a fresh sheet of paper, I reached into my stash of gel print scraps and began creating small collage panels.

Using a square piece of cardstock as my base, I simply glued down the colorful scraps until the entire panel was covered.

There was no plan.

No pattern.

Just color, texture, and intuition.

One of the things I love most about this process is that every panel tells a different story. Even though they're made from leftovers, each one becomes a one-of-a-kind background.

Once the adhesive dried, I added a few random paint marks across the panels to bring in another layer of texture and movement. Sometimes those final little marks are what make everything come together.


🍃 Creating Three Different Focal Points

While the paint was drying, I reached for the beautiful PaperArtsy JOFY mini 103 leaf stamp and challenged myself to stamp it three different ways.

I created:

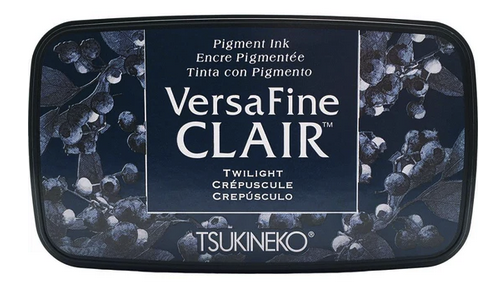
  • A classic version stamped on white cardstock using Versafine Clair Twilight ink. 


  • A soft, translucent version stamped on blue vellum and heat embossed in white. 


  • A second vellum version heat embossed in gold for a little extra elegance.


It's amazing how changing just the paper and embossing color can completely transform the same image.


Once each leaf was finished, I paired it with the collage panel that complemented it best.


✨ Finishing Touches

To complete each card, I added:

  • A simple hand-drawn frame
  • A short sentiment
  • Minimal embellishments to let the colorful backgrounds remain the star of the show

The result is three completely different cards, all created from pieces that could have easily ended up in the trash.


Thank you so much for stopping by today! I hope this project inspires you to dig into your scrap bin, embrace a little creative play, and discover the beauty hiding in those leftover pieces.

Happy creating! 💛🌿


Topflight Stamp Supplies 
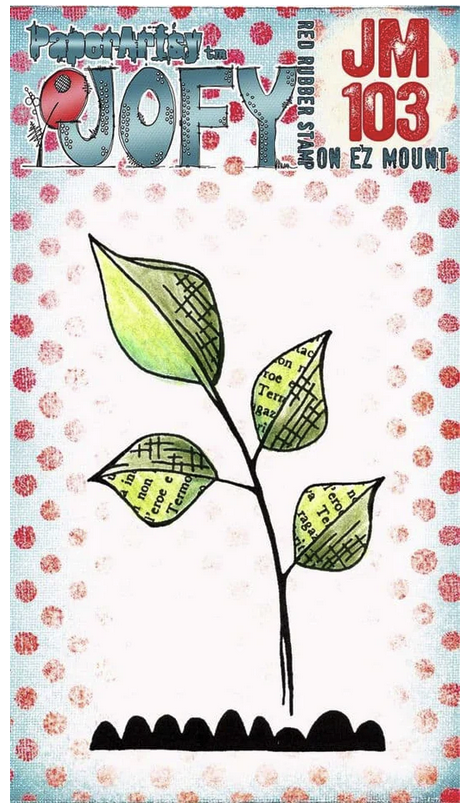
 

PaperArtsy - JOFY Mini 103
Shop at:
TP
Embossing - Bright White Ultra Fine
Shop at:
 TP
WOW! Embossing - Clear
Shop at:
 TP
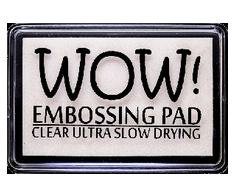
WOW! Embossing - Clear Embossing Pad
Shop at:
 TP
WOW! Embossing - Metallic Gold Rich Pale
Shop at:
 TP
Tsukineko - Versafine Clair - Twilight
Shop at:
TP
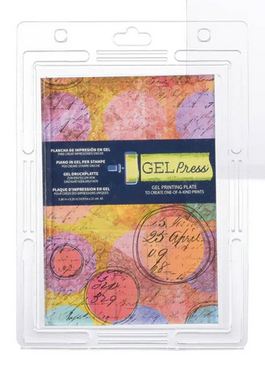
Gel Press - Reusable Gel Printing Plate
Shop at:
TP
Speedball - 2
Speedball - 2" Brayer
Shop at:
TP

Saturday, May 2, 2026

A Floral Mixed Media Card with JOFY


Hello friends! Ericka from Strangely Creative here, and today I’m sharing a mixed media card built from layered gel press prints, a bold floral, and just the right touch of gold.

This is one of those projects where the background does most of the work… and everything else builds from there.


I started with a gel press print using a mix of greens, blues, and a hint of gold.

Gel printing is one of my favorite ways to create because every print is different. You get organic textures, unexpected color blends, and a background that already feels layered before you even start.

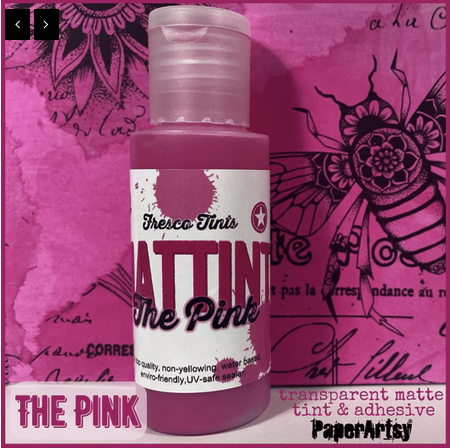
For the focal point, I stamped the flower from the JOFY 147 by PaperArtsy onto a separate gel print I created using Mattints in The Pink and Bellflower.

This gives you:

  • A bold focal image
  • Built-in color variation
  • A perfect contrast against the cooler background

After stamping, I cut out the flower and layered it onto the card for dimension. 


To bring everything together, I added:

  • A touch of WOW! Embossing Powder for subtle shimmer
  • A strip of Washi Tape #1 for a graphic layer
  • Highlights with a white and gold paint pen to add contrast and detail

These small additions help guide the eye and give the card that finished, cohesive look.


I completed the card with a sentiment from the Lavinia Sentiment Stickers. Simple. Clean. And it lets the layered background and bold flower stay the focus.

Thank you for stopping by and I hope you have a wonderful week! 


 Topflight Stamp Supplies

PaperArtsy - JOFY 147
Shop at:
TP
WOW! Embossing - Clear Embossing Pad
Shop at:
TP
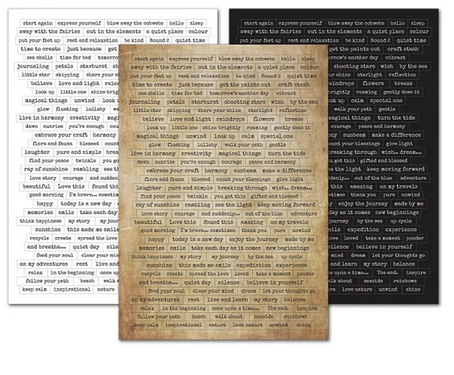
Lavinia - Sentiment Stickers - Uplifting Collection
Shop at:
TP
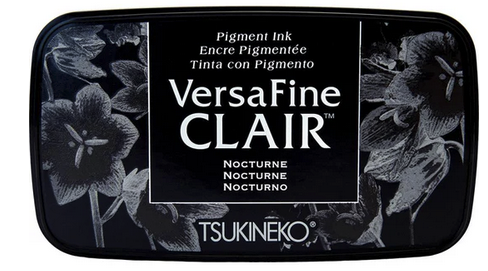
Tsukineko - VersaFine Clair - Nocturn
Shop at:
TP
PaperArtsy - Mattint Bellflower
Shop at:
TP
PaperArtsy - Mattint The Pink
Shop at:
TP
AALL & Create - Washi Tape #1 Artour de Mwa
Shop at:
TP
Gel Press - Reusable Gel Printing Plate
Shop at:
TP 
Speedball - 2
Speedball - 2" Brayer
Shop at:
TP


Friday, April 11, 2025

Spring Sparkle


Hello crafty friends!

It’s Ericka from Strangely Creative here, and today I’m bringing a little sparkle and springtime joy to your screen! I’m sharing a fun project where I dove into my gel press stash to create a cheerful, shimmery spring card — perfect for getting your creative energy flowing this weekend.


The Beauty of Leftover Prints
Raise your hand if you’ve ever gotten way too carried away with a gel press session 🙋‍♀️.
I have a whole drawer (okay, maybe two) full of prints, and I love finding ways to give them new life.
For today’s card, I grabbed a purple-toned print I made while playing with the DIY & Cie Spring Break Texture Plate — the colors felt just right for a fresh spring vibe.


Layering Up the Texture
I paired my background with the gorgeous PaperArtsy JOFY PS081 stencil and Byzantium Fresco Paint. Pro tip: If you misplace your paint sponge (like I did), your fingers work just fine for applying paint through a stencil — and it makes the project feel even more hands-on and artsy!


Adding That Magical Sparkle
Once the background was dry, it was time for some shine. ✨
I stamped the PaperArtsy Seth Apter 44 script stamp across the background using WOW! Embossing powder for a rich, golden shimmer. I loved the effect so much that I grabbed my WOW! Embossing Pen and added some extra sparkle onto the leaves. Heat embossing little touches of sparkle made the whole card glow like a spring morning!

For the sentiment, I used the PaperArtsy Alison Bomber 41 Pressed Umbels set.
I stamped it in Versafine Clair Twilight ink and heat embossed it to keep the theme of shimmer going strong — the Twilight ink helped the sentiment stand out beautifully against the colorful background.

To bring everything together, I added a hand-drawn frame for a personal, whimsical finish.


Your Turn!
I hope this project inspires you to dust off your gel prints, grab some stencils, and get a little messy this weekend! There’s something so satisfying about layering texture, color, and sparkle to create a card that feels like a little piece of spring. 🌷

Thanks for stopping by!
Wishing you a creative and wonderful spring weekend!


Topflight Stamp Supplies


DIY & Cie - Texture Plate - Spring Break
Shop at:
TP
PaperArtsy - Alison Bomber 41 Pressed Umbells
PaperArtsy - Alison Bomber 41 Pressed Umbels
Shop at:
TP
PaperArtsy - Seth Apter 44
Shop at:
TP
PaperArtsy - JOFY PS081 Leaves
Shop at:
TP
WOW! Embossing - Clear Embossing Pad
Shop at:
 TP
WOW! Embossing - Embossing Pen
Shop at:
TP
Tsukineko - Versafine Clair - Twilight
Shop at:
TP
PaperArtsy - Fresco Chalk Paint - Byzantium
Shop at:
TP

Tuesday, February 4, 2025

Lovebirds XOXOXO

 It's Tuesday so you've got Kathi here to share a project with you. It's an "Anything Goes" week and I've made yet another Valentine's Day card with the Funky Pigeons Clear Polymer Stamp Set by Hobby Art, Ltd., the Heart Layered Stencils/Masks by Studio Light, the Ink Drops - Candy Patterned Paper Pad by Craft Consortium, Strawberry VersaFine Clair Ink, and a sentiment from the JM 20 Mini Love Birds Cling Mounted Stamp Set by JOFY for PaperArtsy.

Here it is!


Use Tuxedo Black Memento Ink by Imagine Crafts/Tsukineko to stamp the pigeon pair from the Funky Pigeons Clear Polymer Stamp Set by Hobby Art, Ltd. twice — once onto white cardstock and once onto repositionable sticker paper.

Color the Funky Pigeons pair with Copic markers, fussy-cut the sticker paper version, and place it over its counterpart as a mask. Place a piece of low-tack tape horizontally across the pigeon's feet to mask them. Sponge or brush grey ink over the masked pigeons. Set the pigeon panel aside.

Use StrawberryVersaFine Clair Ink by Imagine Crafts/Tsukineko to stamp the polaroid frame from the Funky Pigeons Clear Polymer Stamp Set onto a piece of predominantly red patterned paper from the Ink Drops - Candy Patterned Paper Pad by Craft Consortium. Fussy-cut the outside of the frame. Use a craft knife to cut out the inside of the frame. Use StrawberryVersaFine Clair Ink to edge the exterior and interior of the polaroid frame. 

Place the Heart Layered Stencils/Masks by Studio Light over the fussy-cut frame. Brush StrawberryVersaFine Clair Ink over the stencil onto the frame. Move the stencil and continue to brush ink over the stencil until you're happy with the amount of hearts on the frame.

Adhere the Funky Pigeons image panel behind the stenciled and fussy-cut frame and set aside.

Use a heart die to cut a heart from the top left of the remaining piece of patterned paper left over from the frame. Place a piece of low-tack tape over the back of the heart-shaped aperture in the patterned paper. Place the heart die-cut onto the tape. 

Place the piece of the patterned paper onto a stamping platform. Position the "lovebirds" stamp from theJM 20 Mini Love Birds Cling Mounted Stamp Set by JOFY for PaperArtsy facedown onto the heart. Ink the stamp with Nocturne VersaFine Clair Ink and stamp. Edge the heart with Strawberry VersaFine Clair Ink, then use a black pen to edge it again.

Take a piece of the same patterned paper used for the frame and the heart. Trim it to 6" x 4.25", edge with Strawberry VersaFine Clair Ink, then use a black pen to edge it a second time. Use a yellow Copic marker to slightly deepen the pale yellow veins in the patterned paper on the frame, heart, and background panel to a darker yellow.

Adhere the 6" x 4.25" patterned paper to a red A6 card. Adhere the sentiment heart die-cut and the framed image panel to the patterned paper. Use an "XOXOXO" cutting die to cut red cardstock. Adhere the letters vertically to complete the card.

Please pop over to my blog, Kat's Tales of Stamping, for step-by-step instructions and complete supply lists.

Topflight Stamps Products Used:


Thanks for visiting today!

Thursday, November 28, 2024

Festive Tag-Making Fun: A Quick Project for the Holiday Season


Hello friends! Ericka from Strangely Creative here and I hope your Thanksgiving has been filled with joy, family, and delicious food—and maybe even a little holiday shopping! If you’re like me, you’ve got your eye on some crafty goodies during the Black Friday sales. Don’t forget to check out the  Topflight sale for some amazing finds, whether you’re shopping for the crafters in your life or treating yourself.


Today, I’m sharing a simple yet striking holiday tag that’s perfect for gifts, decor, or just adding a touch of handmade magic to your festivities. This tag features the whimsical PaperArtsy JOFY Mini 01 stamp paired with the vibrant Lavinia Chartreuse and Emerald Green Acrylic Sprays. Let’s dive in!


Step 1: Creating the Background

To start, I sprayed my tag with a mix of Emerald Green and Chartreuse Acrylic Sprays. These colors blend beautifully and bring a fresh, festive vibe to the project. Once the background dried, I used white embossing powder with the JOFY Mini 07 stamp to add delicate, snowy details that pop against the bold green backdrop.


Step 2: Adding Layers and Texture

Next, I brought in some pattern and texture by adhering PaperArtsy Printed Tissue 9 to the tag. For this step, I used Mattint in Greenstone as my glue—its smooth finish ensures a seamless application. I love how the tissue adds visual interest and depth without overpowering the design.

Step 3: Adding a Golden Touch

Every holiday project needs a little sparkle, right? I grabbed my Studio Light Paint Pens and added subtle gold accents to the tag. It’s amazing how a few shimmering details can elevate the entire look!


Step 4: Finishing Touches

Finally, I stamped the festive "Noel" sentiment from the PaperArtsy Kate Crane 007 set. This playful font tied the whole piece together, giving it a charming holiday flair.

Ready to Gift

And voilà! My festive tag is complete. It’s such a fun and easy project to whip up, and it’s versatile enough to use for all sorts of holiday crafting.

Thank you for stopping by today! I hope you have a wonderful holiday weekend filled with love, laughter, and maybe a little time to create. Stay tuned—I’ll be back tomorrow with more Christmas card inspiration to keep those holiday vibes going strong.

Happy crafting!


Topflight Stamps Supplies


PaperArtsy - JOFY Mini 01
Shop at:
TP
PaperArtsy - Kate Crane 007
Shop at:
TP
WOW! Embossing - Clear Embossing Pad
Shop at:
 TP
Tsukineko - VersaFine Clair - Nocturn
Shop at:
TP
PaperArtsy - Mattint Greenstone
Shop at:
TP
PaperArtsy Printed Tissue 9
Shop at:
TP
Studio Light - Paint Pen Metallic Gold
Shop at:
TP
Lavinia - Acrylic Spray - Emerald Green
Shop at:
TP
Lavinia - Acrylic Spray - Chartreuse
Shop at:
TP


01 09 10