Thursday, December 31, 2020
No Day without Laughter
Wednesday, December 30, 2020
Happy New Year with Drinky
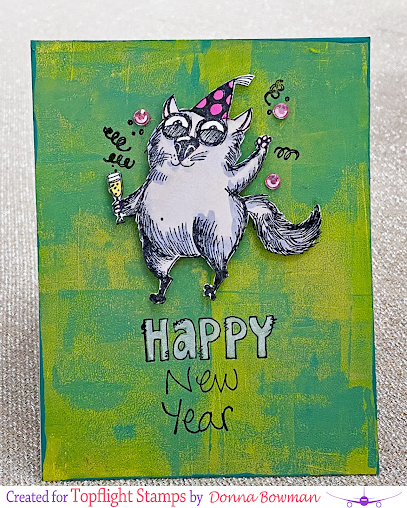
Welcome to the Topflight Stamps blog. It's Donna and I'm back again today with an easy New Years Card. I created the background using PaperArtsy Fresco Paints and my favorite brayer. I stamped the Katzelkraft cat named Drinky in black ink and colored him in with Copics. I used half the sentiment from a PaperArtsy Stamp set to get the Happy New Year. After I stamped the sentiment I colored in the HAPPY with a white gel pin and stamped back over it with the black ink to add back any lines I covered up with the white.
Tuesday, December 29, 2020
Happy New Year!
Greetings! It's Tuesday, which means that it's Kathi here to share a project with you. I don't know about you, but I'm thrilled that soon we'll all be seeing 2020 in hindsight.
Maybe I'm not quite as eager as the robot from the Robots 1 Unmounted Red Rubber Set by Katzelkraft, who couldn't wait to chuck the year into the garbage bin AND set afire!
Here's my card.
I started the card by stamping the Garbage Can and one of the robots from Robots 1 Unmounted Red Rubber Set onto white cardstock. I then fussy-cut the robot and the trash bin. I separated the lid from the trash bin to create an open receptacle.
The images were colored with Copic markers and edged with dark marker. Several layers of clear Glaze pen were added to the light bulbs, the goggle's visor, and the rivets on the robot. The trash bin and robot were set aside while I created a background for them.
The Distressed Brick 6x6 Stencil was placed over grey cardstock and brushed with Distress Inks. Details were added to the mortar and the bricks with a black chalk pencil. I also used the chalk pencil to add the sidewalk to the base of the image panel. The image panel was trimmed and a strip of plain grey cardstock was layered onto the top of the brick to finish the wall. The brick wall was then adhered to navy cardstock, which was trimmed to 4.75" x 6.75" and edged with Distress ink.
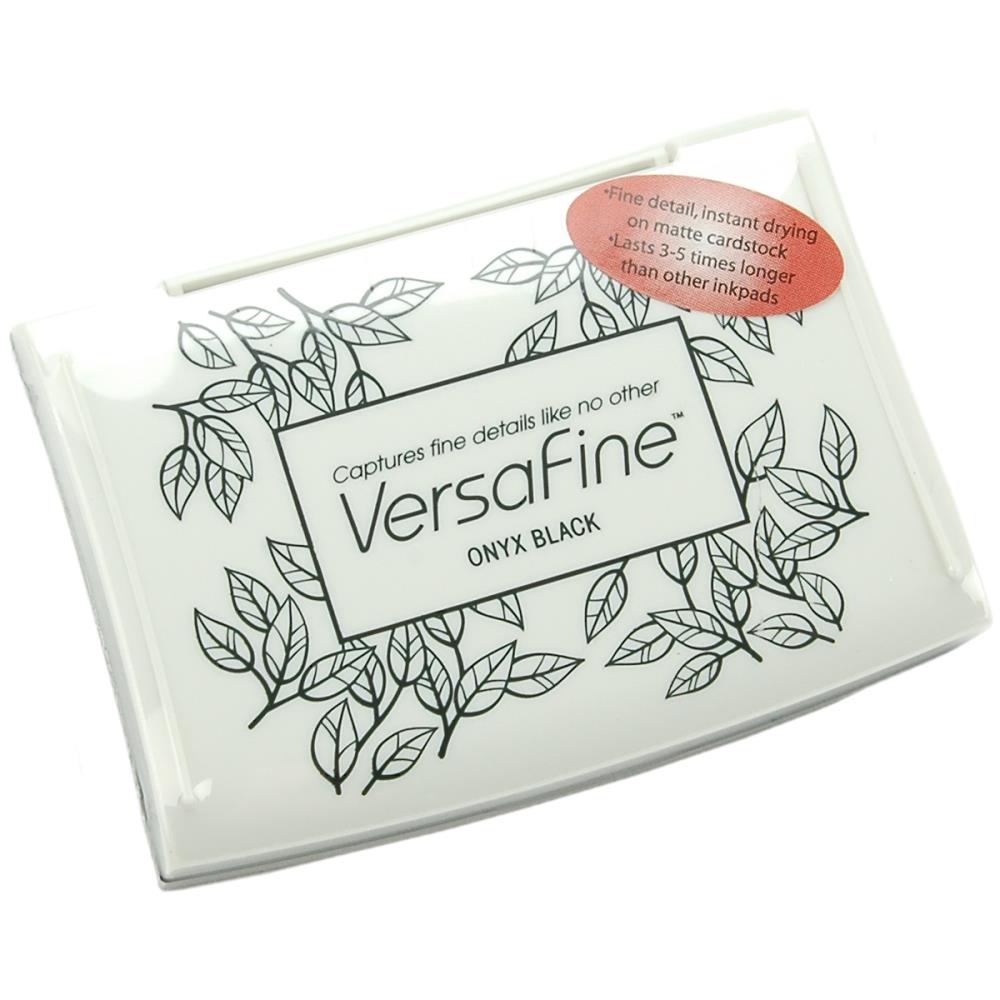
Using Onyx Black VersaFine Ink, I stamped the same robot over the stenciled brick in the position I wanted him.
Teal-ish cardstock was cut with alphabet cutting dies, lightly smudged with black Distress ink, then adhered behind the top of the garbage can.
White cardstock was brushed with Canary Yellow, Red Chili, and Fire Coral Prism Inks by Hunkydory Crafts then cut with four different flame dies. The flames were adhered behind the numbers in the trash. The flaming trash bin was then adhered to the image panel.
The robot was adhered over the his counterpart on the brick background.
The sentiment, from my beloved Classic Sentiments Clear Stamp Set by Heffy Doodle, was stamped with Onyx Black VersaFine Ink then die-cut.
The card front was adhered to a white card and the sentiment was added to complete it.
If you'd like to learn more about this card, please pop over to my blog, Kat's Tales of Stamping!
Monday, December 28, 2020
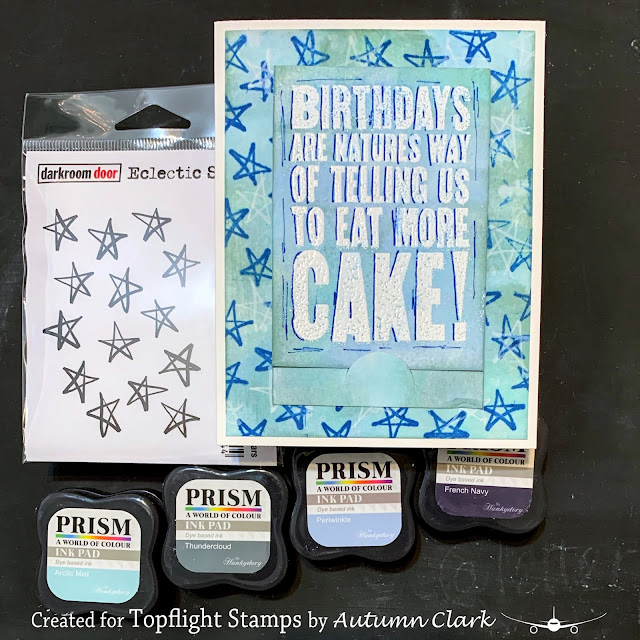
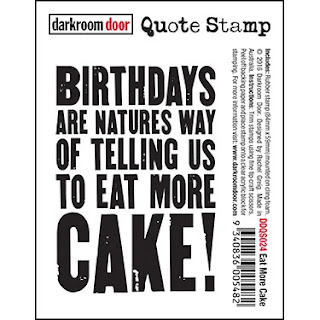
Darkroom Door Eat More CUPCAKES Flap Front Cards
I die cut a little tab to hold the flap shut. To do this, I marked the end of my top flap on the bottom panel with a pencil, then I used washi tape to position my smallest circle die in place. I pulled the top panel up from under the die and took it to the die cutting machine. I lined my top plate up a little over the line on the top of the circle to make a partial cut.
I used Prism Inks in a variety of colors using the Direct to Paper (DTP) technique to color my panels. I shared a video tutorial on this HERE. To get the cupcakes on the inside of my flaps to remain white, I stamped them in permanent ink (because dye inks will smear with this technique) and then colored over the image with the Darkroom Door Resist Crayon before using the DTP with Prism Inks. After I spritzed and blended my inks as desired, I heat set them and the crayon, which magically melts into the paper so it is no longer shiny.
Friday, December 25, 2020
Merry Christmas
Merry Christmas! Ericka here and I hope you are having a wonderful Christmas time. Here is my last Christmas cards for the year using a variety of products that can be found at Topflight Stamps.
I love the Fancy Snowflake Die from Polkadoodles and layers cut it out twice in gold paper to layer it on my card.
For my background I used the PaperArtsy Infusions in Raspberry and In The Navy paired with the Hunkeydory Prism Powders Set 2 for a little sparkle and brightness.
To finish off my cards, I used the Visible Image Classic Christmas for a big bold look.
For more information on how I created my cards, stop by my blog Strangely Creative. Thanks for stopping by and I hope all of you have a very Merry Christmas!
Thursday, December 24, 2020
Peace on Earth
Hi Everyone,
Wednesday, December 23, 2020
Happy Christmas, Peter Polar Bear
Happy Wednesday!
Welcome to the Topflight Stamps Blog!
I haven't posted here in forever. The business has grown so much in the last 4 years that I barely have time to order, enter in new products, and get everything mailed out.
I'm so excited to share this card with you today. I LOVE this stamp set by Hobby Art called Peter Polar Bear. I stamped him out and then used watercolors to created the background and color in the rest of the image. To finish the card I layered some matching card stock adhered to a square 6 x 6 card base. Just for fun I added a little white pompom to his hat and some clear glitter pen to the star and his hat.
This card was easy and fun. I hope you get some inspiration for future winter/Christmas cards.
Thanks for stopping by and I wish all of you a very Merry Christmas and a Happy New Year!!!
Donna
Tuesday, December 22, 2020
Believe in the Magic
The fairy from the Make a Wish Clear Polymer Stamp Set was stamped onto white cardstock and colored with Copic markers. Glitter pens were used to add a touch of glitter to the snowflakes and some of the small dots. A white gel pen was used to add highlights to the holly berries, then several layers of clear Glaze pen was used to dimension and shine to them and the mistletoe berries.


