Showing posts with label Polkadoodles. Show all posts

Tuesday, March 21, 2023

Birthday Card!

 It's Tuesday which means that you've got Kathi here to share a project with you. This week my teammates and I are showcasing Gel Presses, paints, inks, and sprays. 

I've made a birthday card created with the circle from the Gel Press Petites. The set includes small circle, square, and triangle gel presses. I also used the Heavenly Circles Stencil by PolkadoodlesMelina's Sketched Birds and Branches Clear Stamp Set and Melina's ATC Backgrounds Clear Stamp Set by That's Crafty with sentiments from the More Classic and Classic Sentiments Clear Stamp Sets by Heffy DoodleDella BlueConfettiMulberryHennaDark Denim, and Pine Elements Inks by Lavinia Stamps were used to add color. 

Here's the card. 


As you can see, I've used the Gel Press Petites to create a background by using it as a stamp with the Heavenly Circles Stencil and Elements Inks.

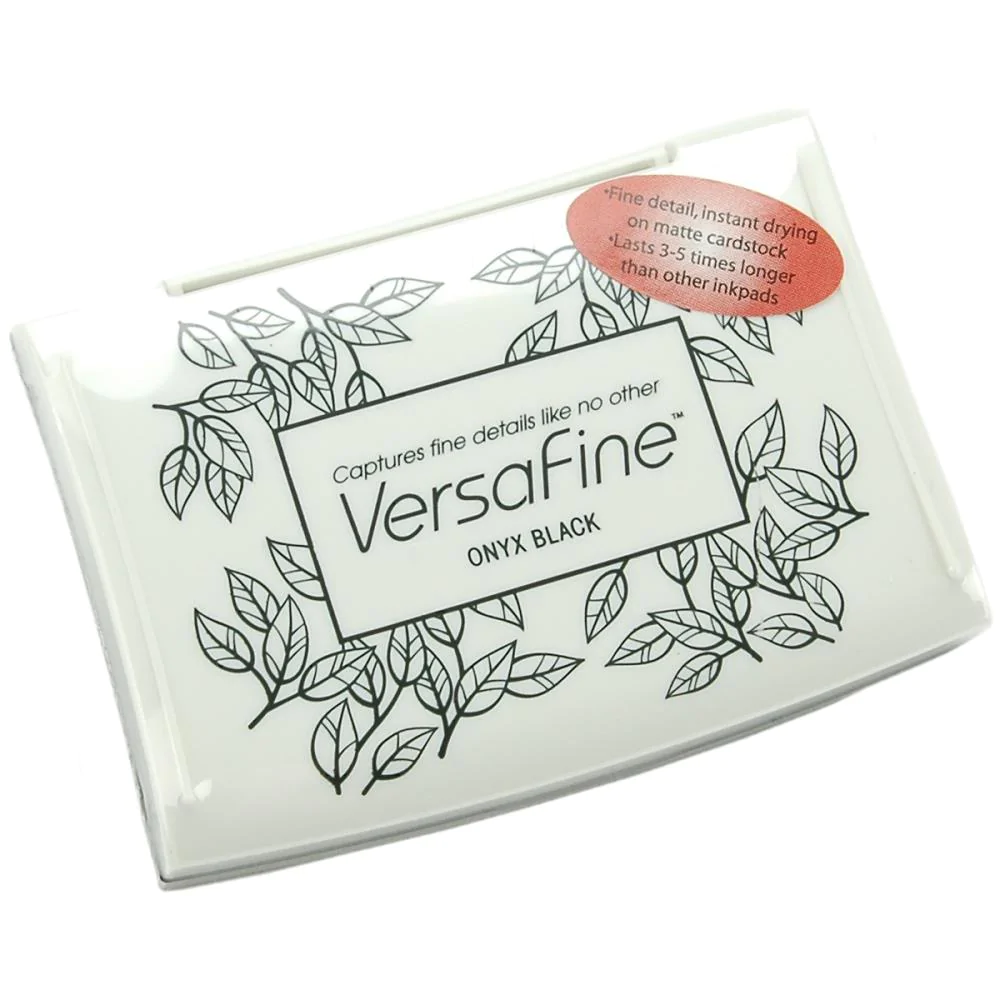
Nocturne VersaFine Clair Ink was used to stamp a bird from Melina's Sketched Birds Clear Stamp Set by That's Crafty onto a panel of Mixed Media paper and onto masking paper, which was fussy-cut and placed atop its counterpart.

Using a stamping platform, one of the branches from Melina's Sketched Birds Clear Stamp Set was positioned so that the bird would appear to be perching on it. It was stamped with Nocturne VersaFine Clair Ink onto the image panel and onto Repositionable Label Paper. The label paper version was fussy-cut and placed over its counterpart.

Della Blue Elements Ink was sponged over the masked images onto the panel then used to stamp the circles background from Melina's ATC Backgrounds Clear Stamp Set by That's Crafty over top.

The mask was lifted and the image panel was heat set. A paint brush was used with Della BlueConfettiMulberryHennaDark Denim, and Pine Elements Inks to watercolor the bird and the branch.

The 5" x 7" Gel Press2" Speedball Brayer, and Della Blue Elements Inkwere used to ink another piece of Mixed Media paper. The inked piece was cut in half. Della Blue Elements Ink was sponged over a dot stencil, then trimmed to mat the image panel.

Della Blue Elements Ink was used to stamp the "happy birthday" and "celebrate" sentiments from Heffy Doodle's Classic Sentiments Clear Stamp Set and "it's your big day" sentiment from the More Classic Sentiments Clear Stamp Set onto the second inked piece. The sentiments were all die-cut. 

Della Blue Elements Ink was sponged around the periphery of a 5" x 7" white card so that it would match the background and image panels perfectly..

The circles background panel was adhered to the card, then the sentiments and image panel were adhered to finish the card.

Please pop over to my blog, Kat's Tales of Stamping, for instructions and complete supply lists.

Topflight Stamps Products Used:


Thanks for visiting today!


Tuesday, December 13, 2022

Warm Winter Wishes

Do you still have crafty gifts to get for the holidays? Have you been nice? Or have you been naughty? Either way, you should pick up a few goodies for your crafty friends or from you to you. Topflight Stamps is holding a holiday sale that runs until midnight on December 18th EST.


It's Tuesday so you've got Kathi here to share a project with you! This week's theme is "Anything Goes". The winter holidays are rapidly approaching so I decided to make a slimline Holiday card using the Missy Merry Clear Stamp Set 607, the Holiday Fox Clear Stamp Set 608, and one of the stencils from the Scenic Winter Layering Stencil Set by Polkadoodles.

Here it is!


Missy Merry Clear Stamp Set 607 by Janet Klein for AALL and Create, the fox and the gift wagon from the Holiday Fox Clear Stamp Set 608 by Janet Klein for AALL and Create were stamped with Copic friendly ink onto white cardstock, fussy-cut, colored with Copic markers, and edged with a black pen. They were set aside while I created the background panel for them.

The snow header stencil from the Scenic Winter Layering Stencil Set by Polkadoodles was placed over a white panel. The largest brush from the Black Blending Brushes by Time for Tea Designs was used to brush Della Blue Elements Inks by Lavinia Stamps over the stencil onto the white card. 

A white paint pen, white ink, and white chalk were used to add a snowy ground to the stenciled background scene. 

The wagon's handle, from the Holiday Fox Clear Stamp Set 608 by Janet Klein was stamped directly onto the background using Nocturne VersaFine Clair Ink by Tsukineko and heat set.

Gelly Roll Bold Line Stardust Clear Glittering Ink by Sakura was used to add some sparkly glittery dots along the snowline.

Missy Merry, the fox, and the gift wagon were adhered as shown.

A scrap of white cardstock was brushed with Della Blue Elements InksNocturne VersaFine Clair Ink was used to stamp the sentiment from the Miss Merry Clear Stamp Set onto it and heat set. The sentiment was die-cut with a thin rectangle die and adhered to a white nameplate die-cut.

The background panel was matted with green cardstock and adhered to a white slimline card. The sentiment die-cut was adherered as shown. Gemstones from the Festive Selection - Diamond Sparkle Gemstones by Hunkydory Crafts were added to the sentiment die-cut to finish the card.

Please pop over to my blog, Kat's Tales of Stamping, for more detailed instructions and complete supply lists.


Thanks for visiting today!


Monday, November 21, 2022

Holiday Tags with Jane's Doodles

 Hello again! I hope you all had a lovely Thanksgiving holiday filled with family and happy memories. This is Rachel from rwkrafts.com and today I'm sharing some sweet gift tags. The tags feature stamps from Jane's Doodles and inks from Prism Ink.


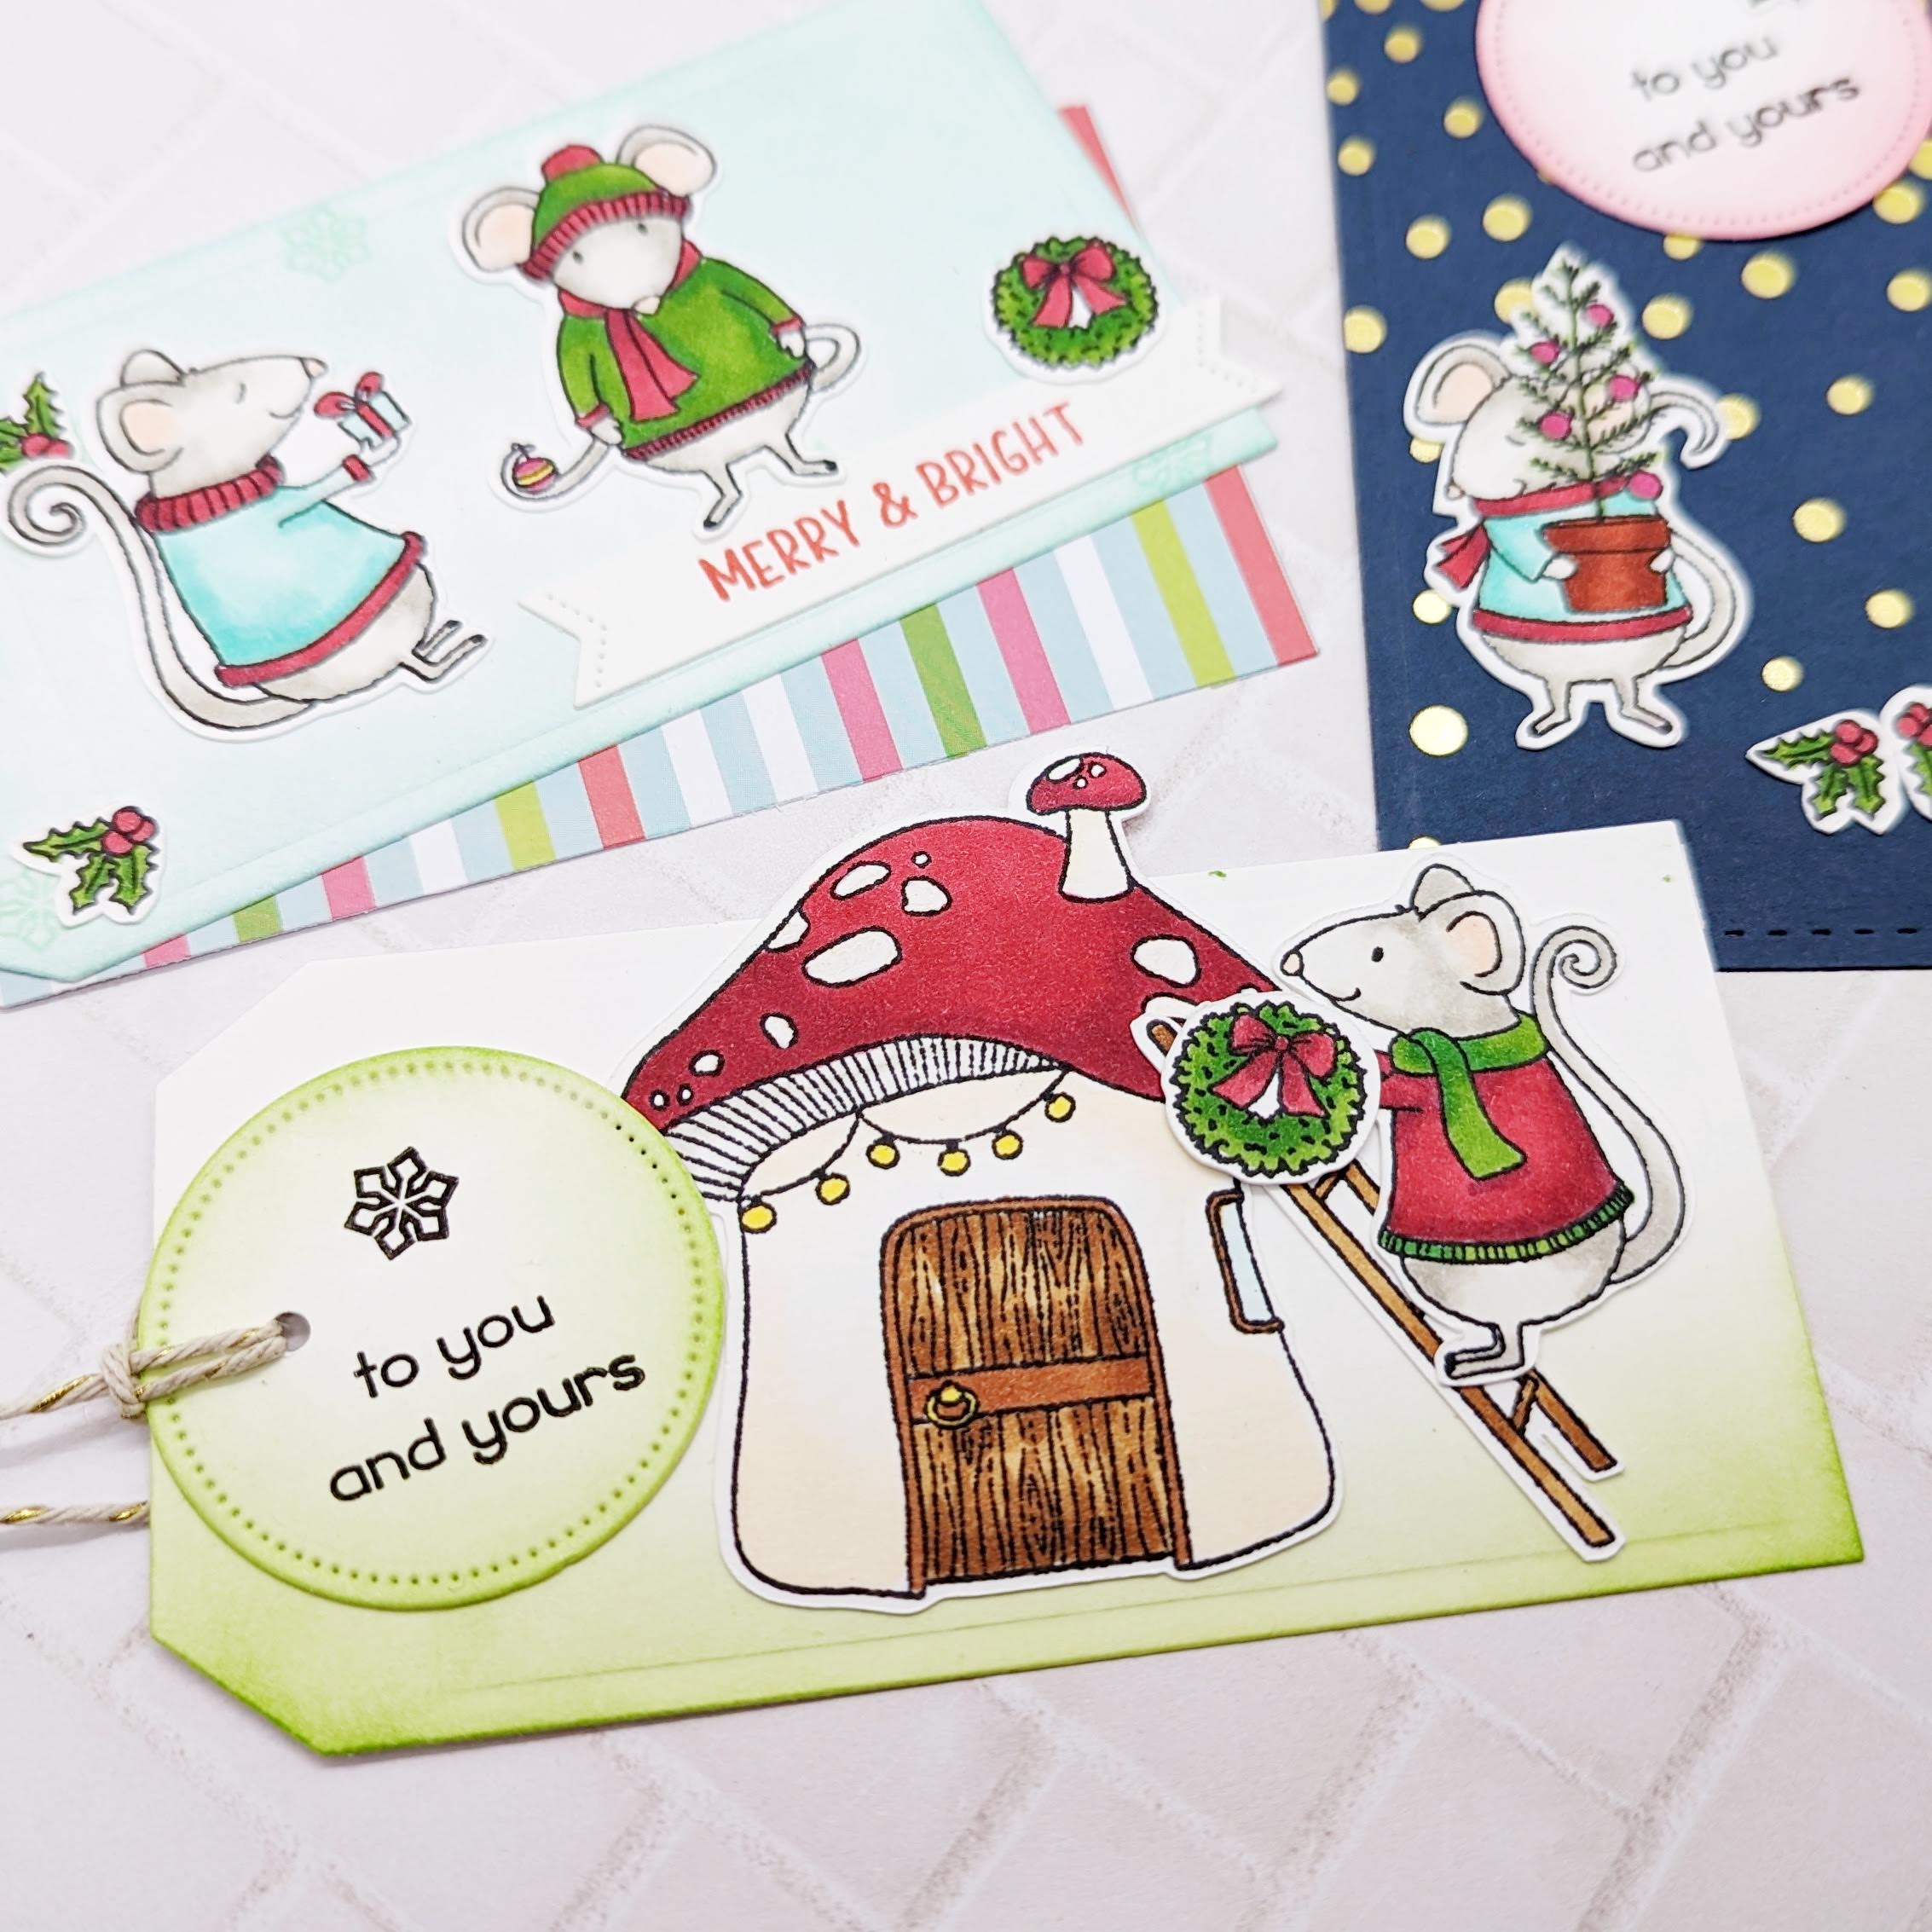
I started by stamping these sweet images from Merry Mice by Jane's Doodles. I colored all images with Copic markers and fussy cut. 


I shaded this tag with Prism Ink in Arctic Mist. I then assembled the little mice and stamped the sentiment on a banner. I also bordered this tag with holiday paper from Polkadoodles.


The next tag is shaded with Rainforest Green Prism Ink and the mice assembled on top.


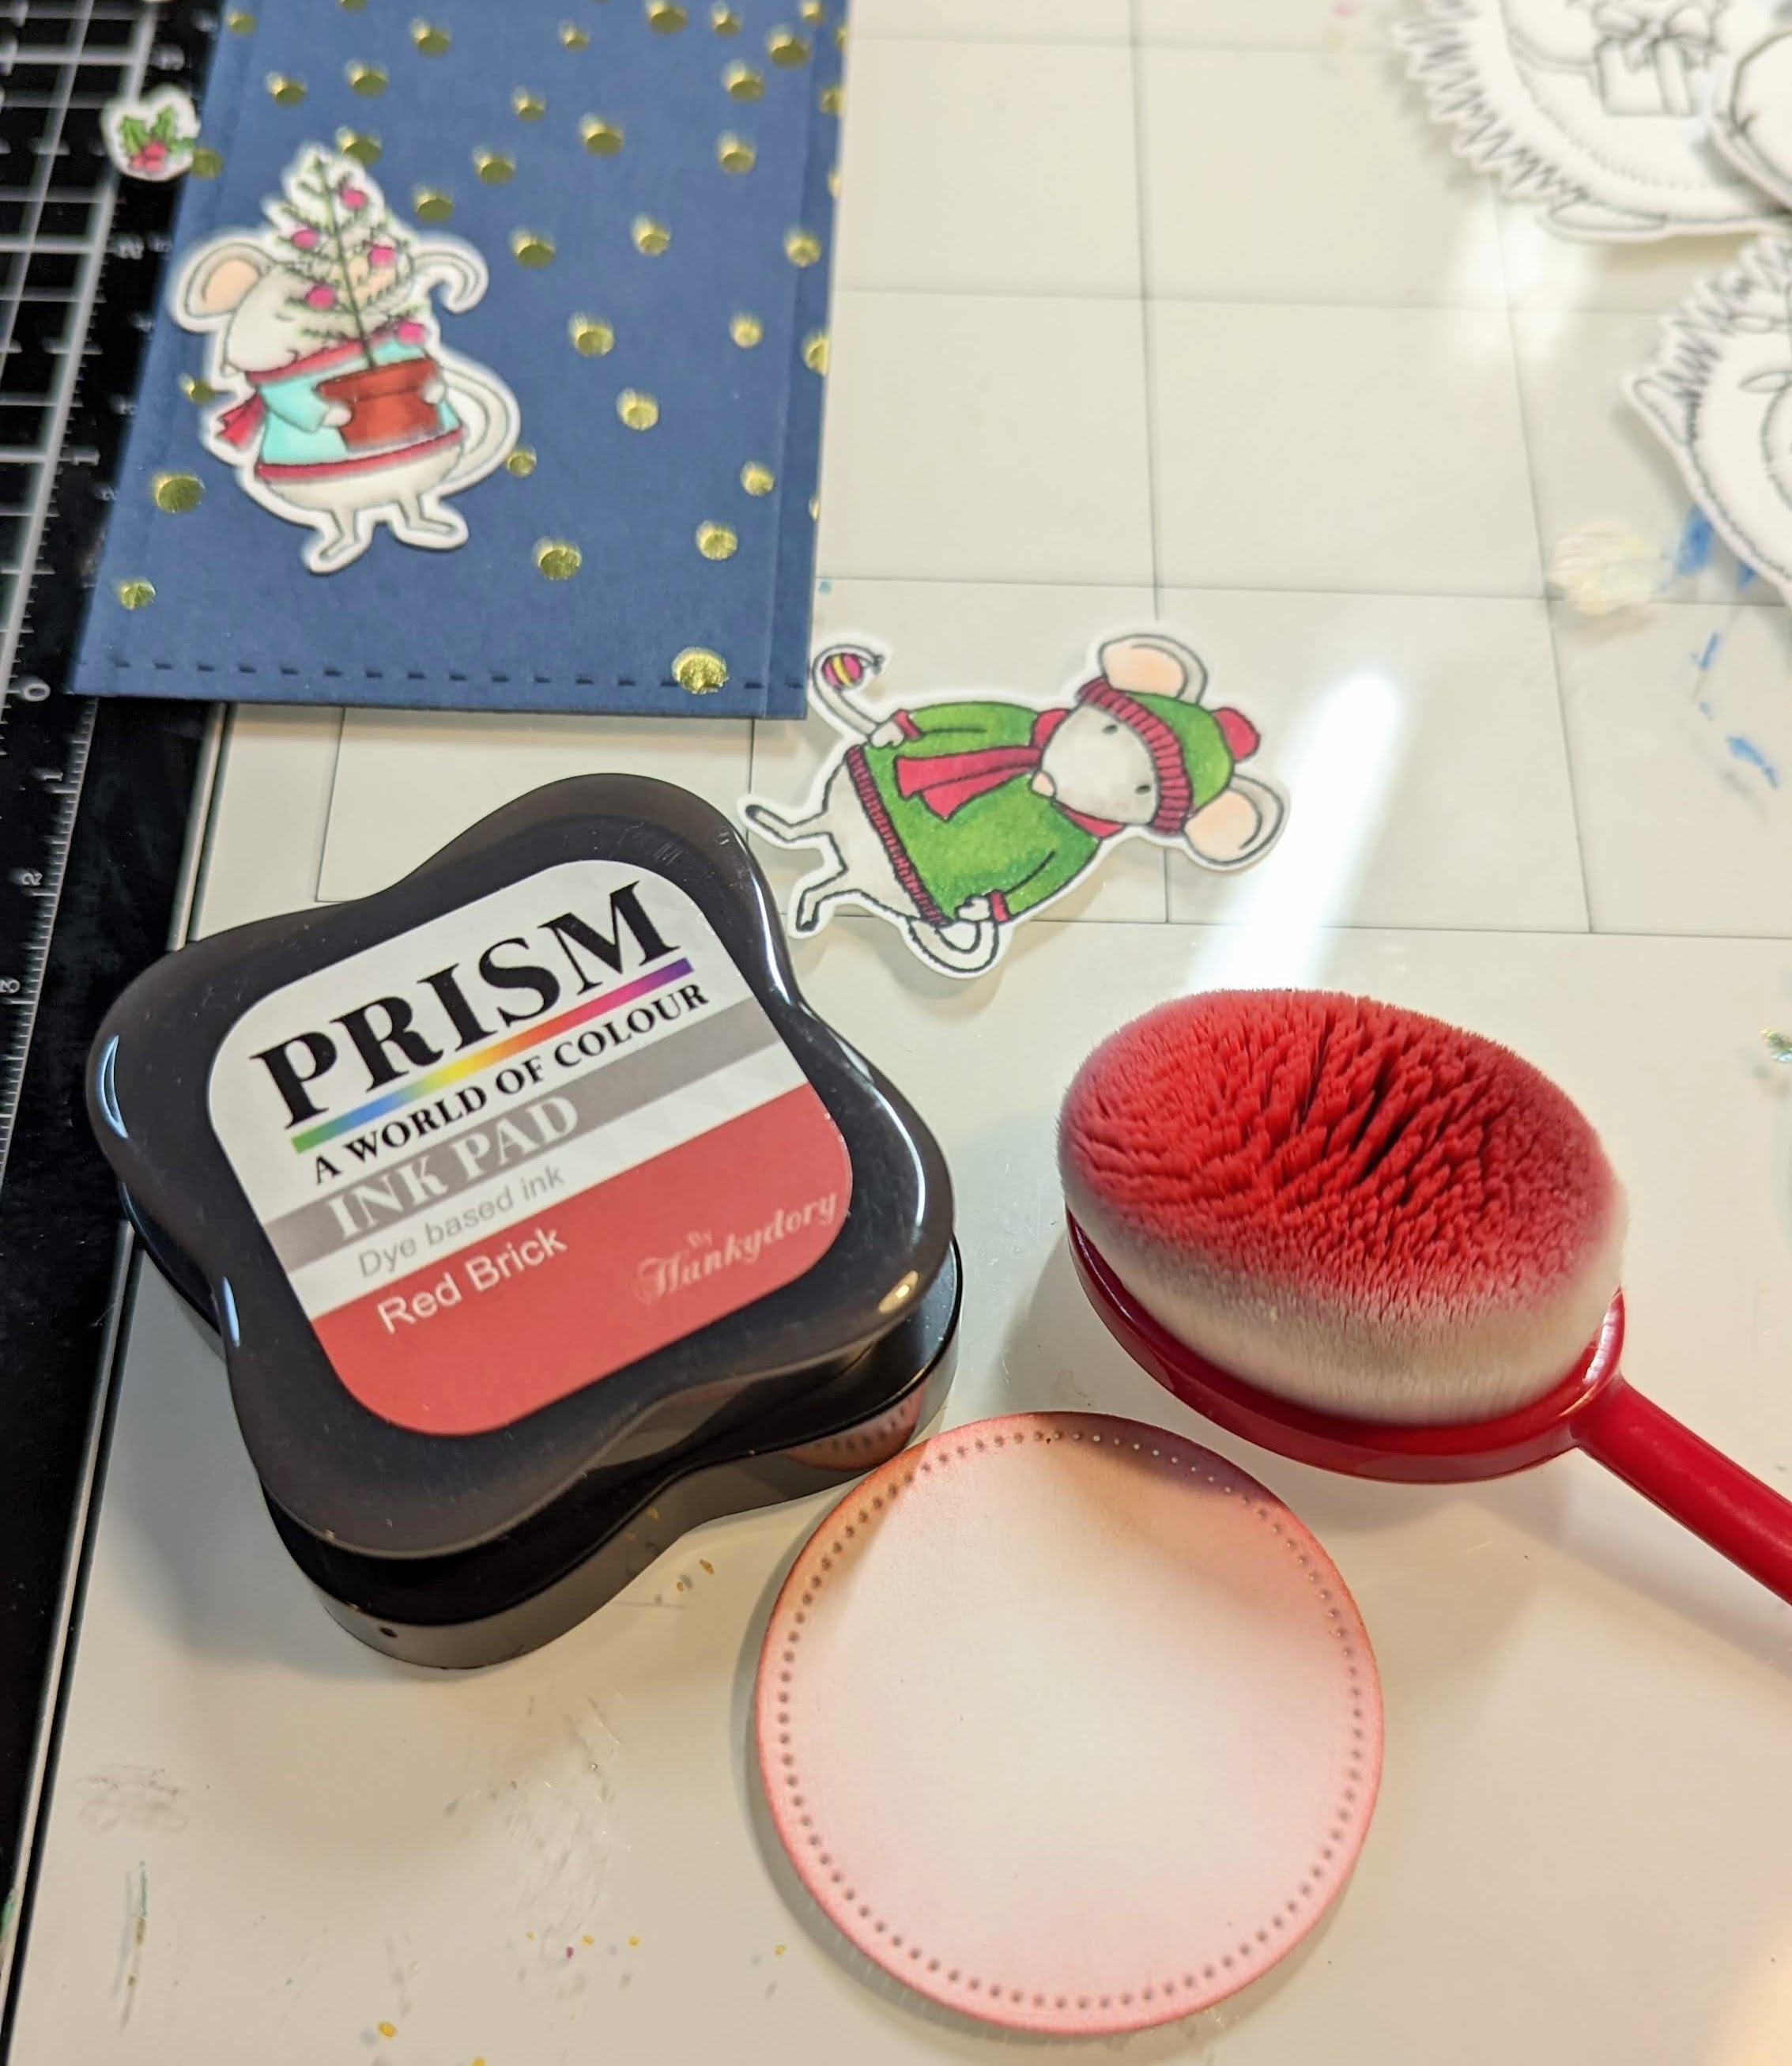
For the last tag, I used a foiled piece of cardstock from my stash. The little die cut circle was shaded with Prism Ink in Red Brick.


Thanks for stopping by!

Topflight Stamps Supplies Used:


Monday, October 31, 2022

Happy Halloween!

 Happy Halloween everyone! This is Rachel from rwkrafts.com and I have one final Halloween card to share with you all.


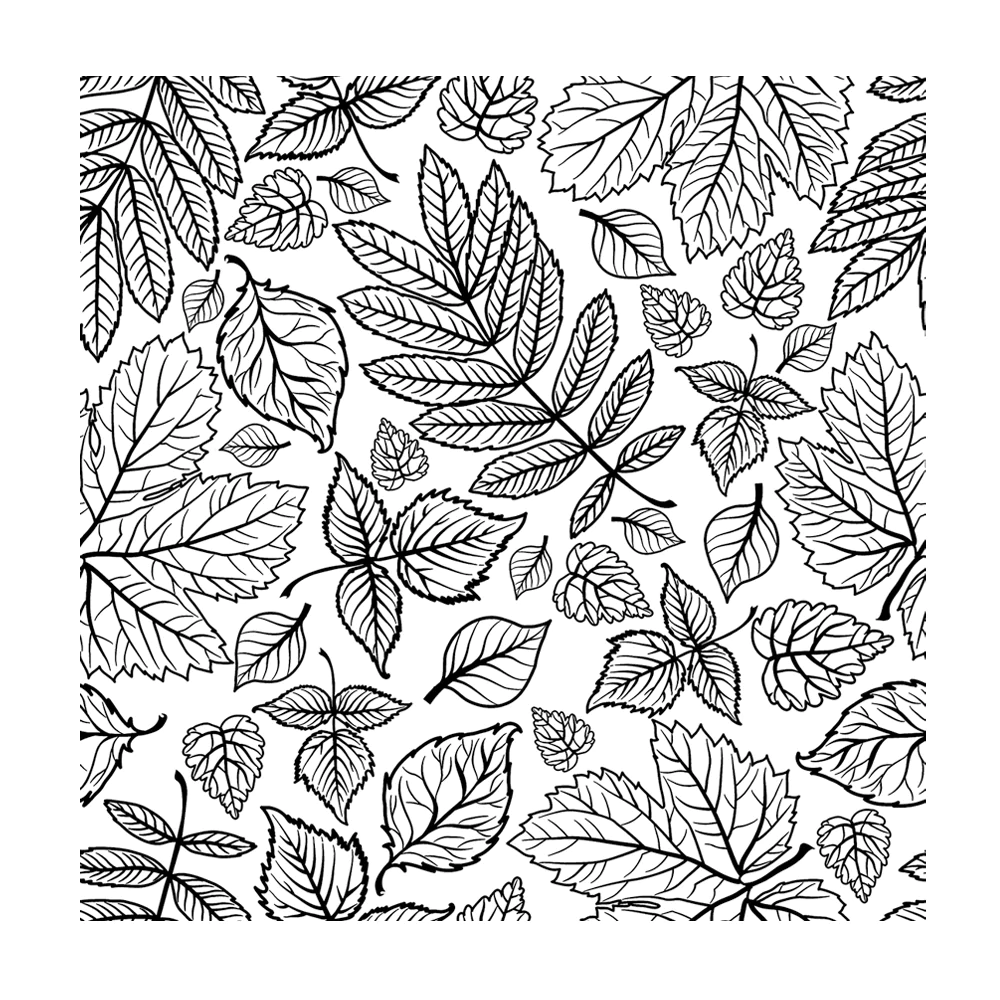
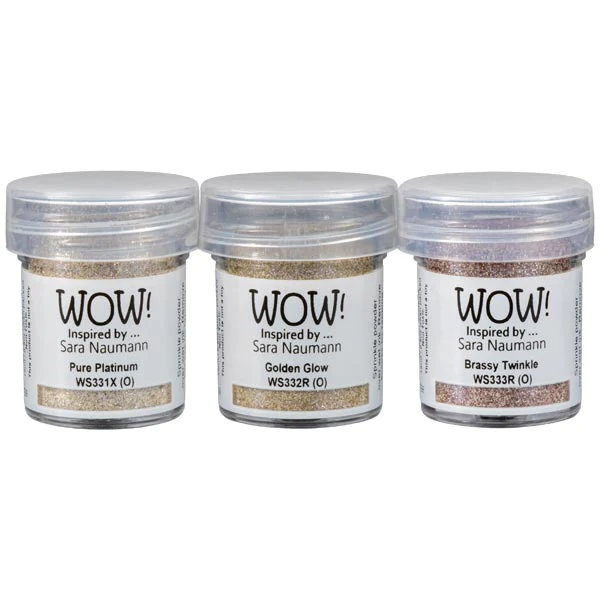
I started by stamping and embossing the leaves background. I used the Crafty Individuals 'Falling Leaves' stamp and heat embossed it with Wow! 'Golden Glow' powder. I also shaded the edges of the cardstock with some brown Distress Inks.


The darling little werewolf stamp is from Polkadoodles 'Happy Howl-oween' stamp set. I also used that stamp set in this fun Halloween card from a couple weeks ago. I colored the images with Copic markers and fussy cut to add to the card.


Thanks for stopping in and have a fun and safe Halloween night!

Topflight Stamps Supplies Used:


Monday, September 26, 2022

Cutesy Halloween with Polkadoodles

 It's clear to see that the Halloween creations are taking over this week! This is Rachel from rwkrafts.com and today I'm sharing a super cute card using stamps by Polkadoodles.


I was super inspired by the latest Halloween color combo that's been floating around the craft community... pale pink and pale orange. So adorable! I just had to color this sweet trick-or-treater in those colors.


I created the background by inking the cardstock panel pink, then went over the Stamperia Compass stencil in a darker pink. The ground was created by just tearing some cardstock and inking it green.


Every image used is from the Polkadoodles Happy Howl-oween stamp set, colored with Copics, and then fussy cut. The derpy little bat is my favorite :)


To finish off the card, the cute sentiment was stamped inside...


Thanks for stopping by! Have a wonderful final week of September!

Topflight Stamps Supplies Used:


01 09 10