Showing posts with label Prism Ink. Show all posts

Monday, November 21, 2022

Holiday Tags with Jane's Doodles

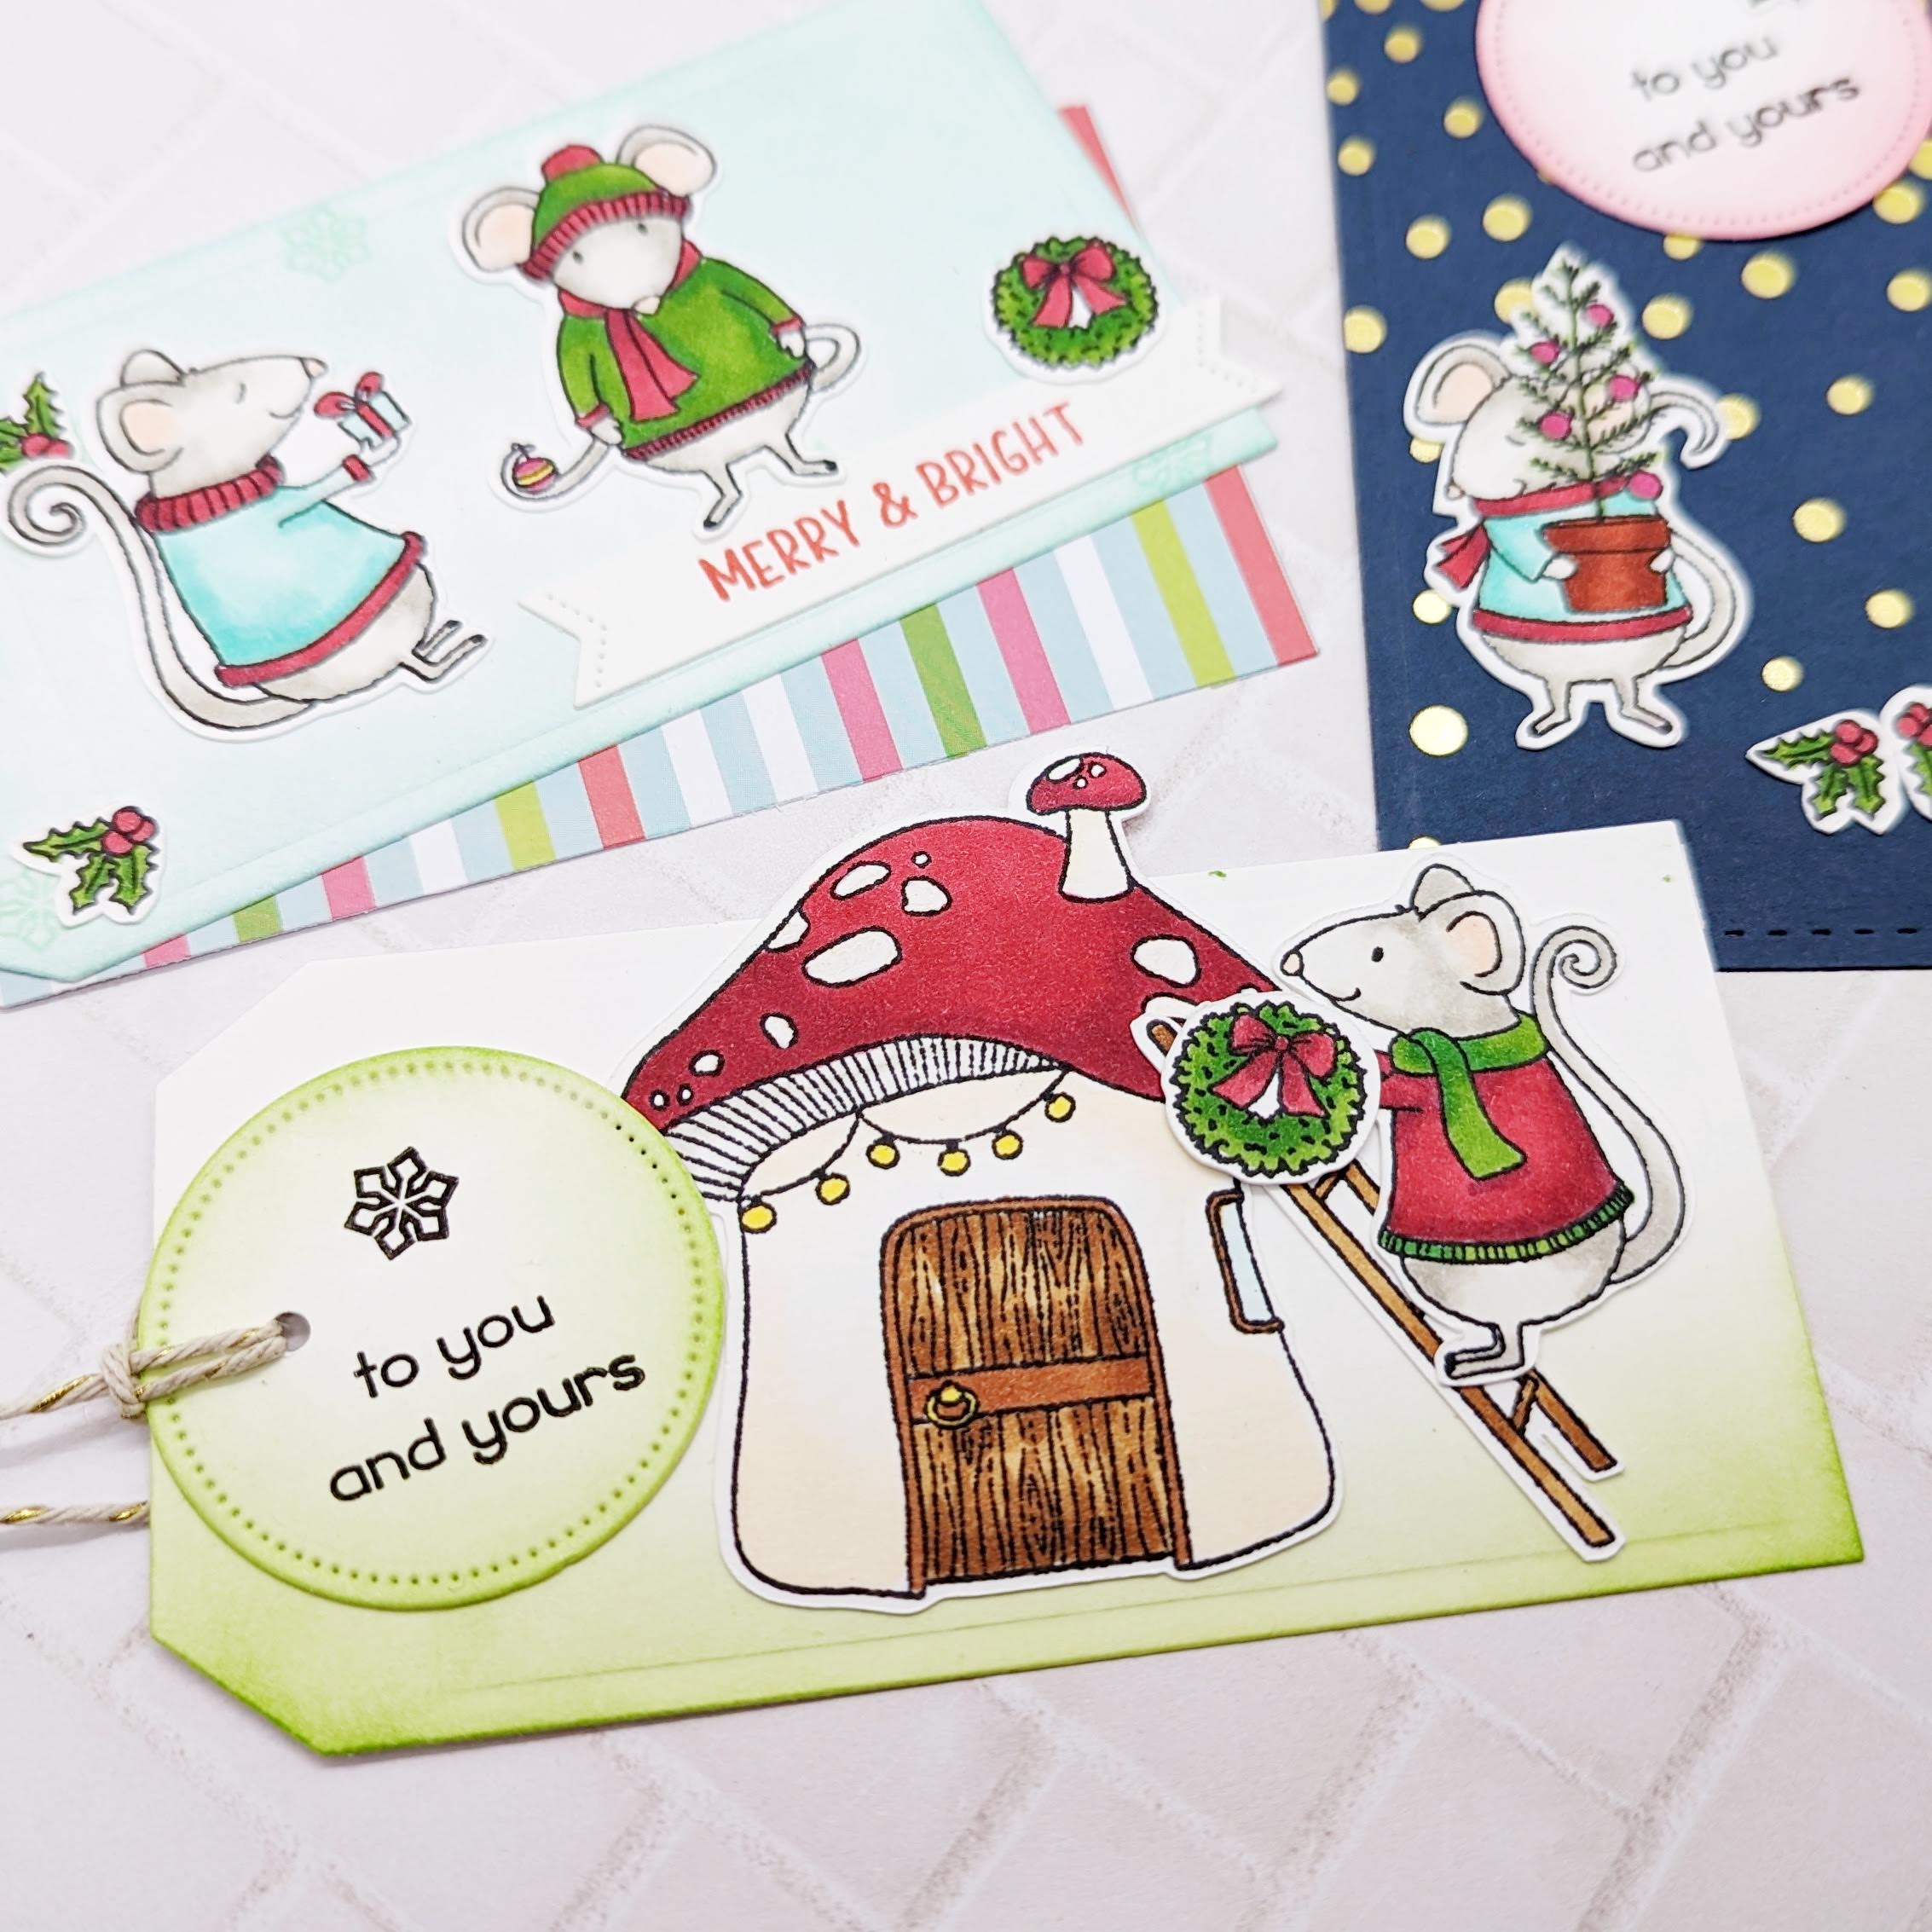
 Hello again! I hope you all had a lovely Thanksgiving holiday filled with family and happy memories. This is Rachel from rwkrafts.com and today I'm sharing some sweet gift tags. The tags feature stamps from Jane's Doodles and inks from Prism Ink.


I started by stamping these sweet images from Merry Mice by Jane's Doodles. I colored all images with Copic markers and fussy cut. 


I shaded this tag with Prism Ink in Arctic Mist. I then assembled the little mice and stamped the sentiment on a banner. I also bordered this tag with holiday paper from Polkadoodles.


The next tag is shaded with Rainforest Green Prism Ink and the mice assembled on top.


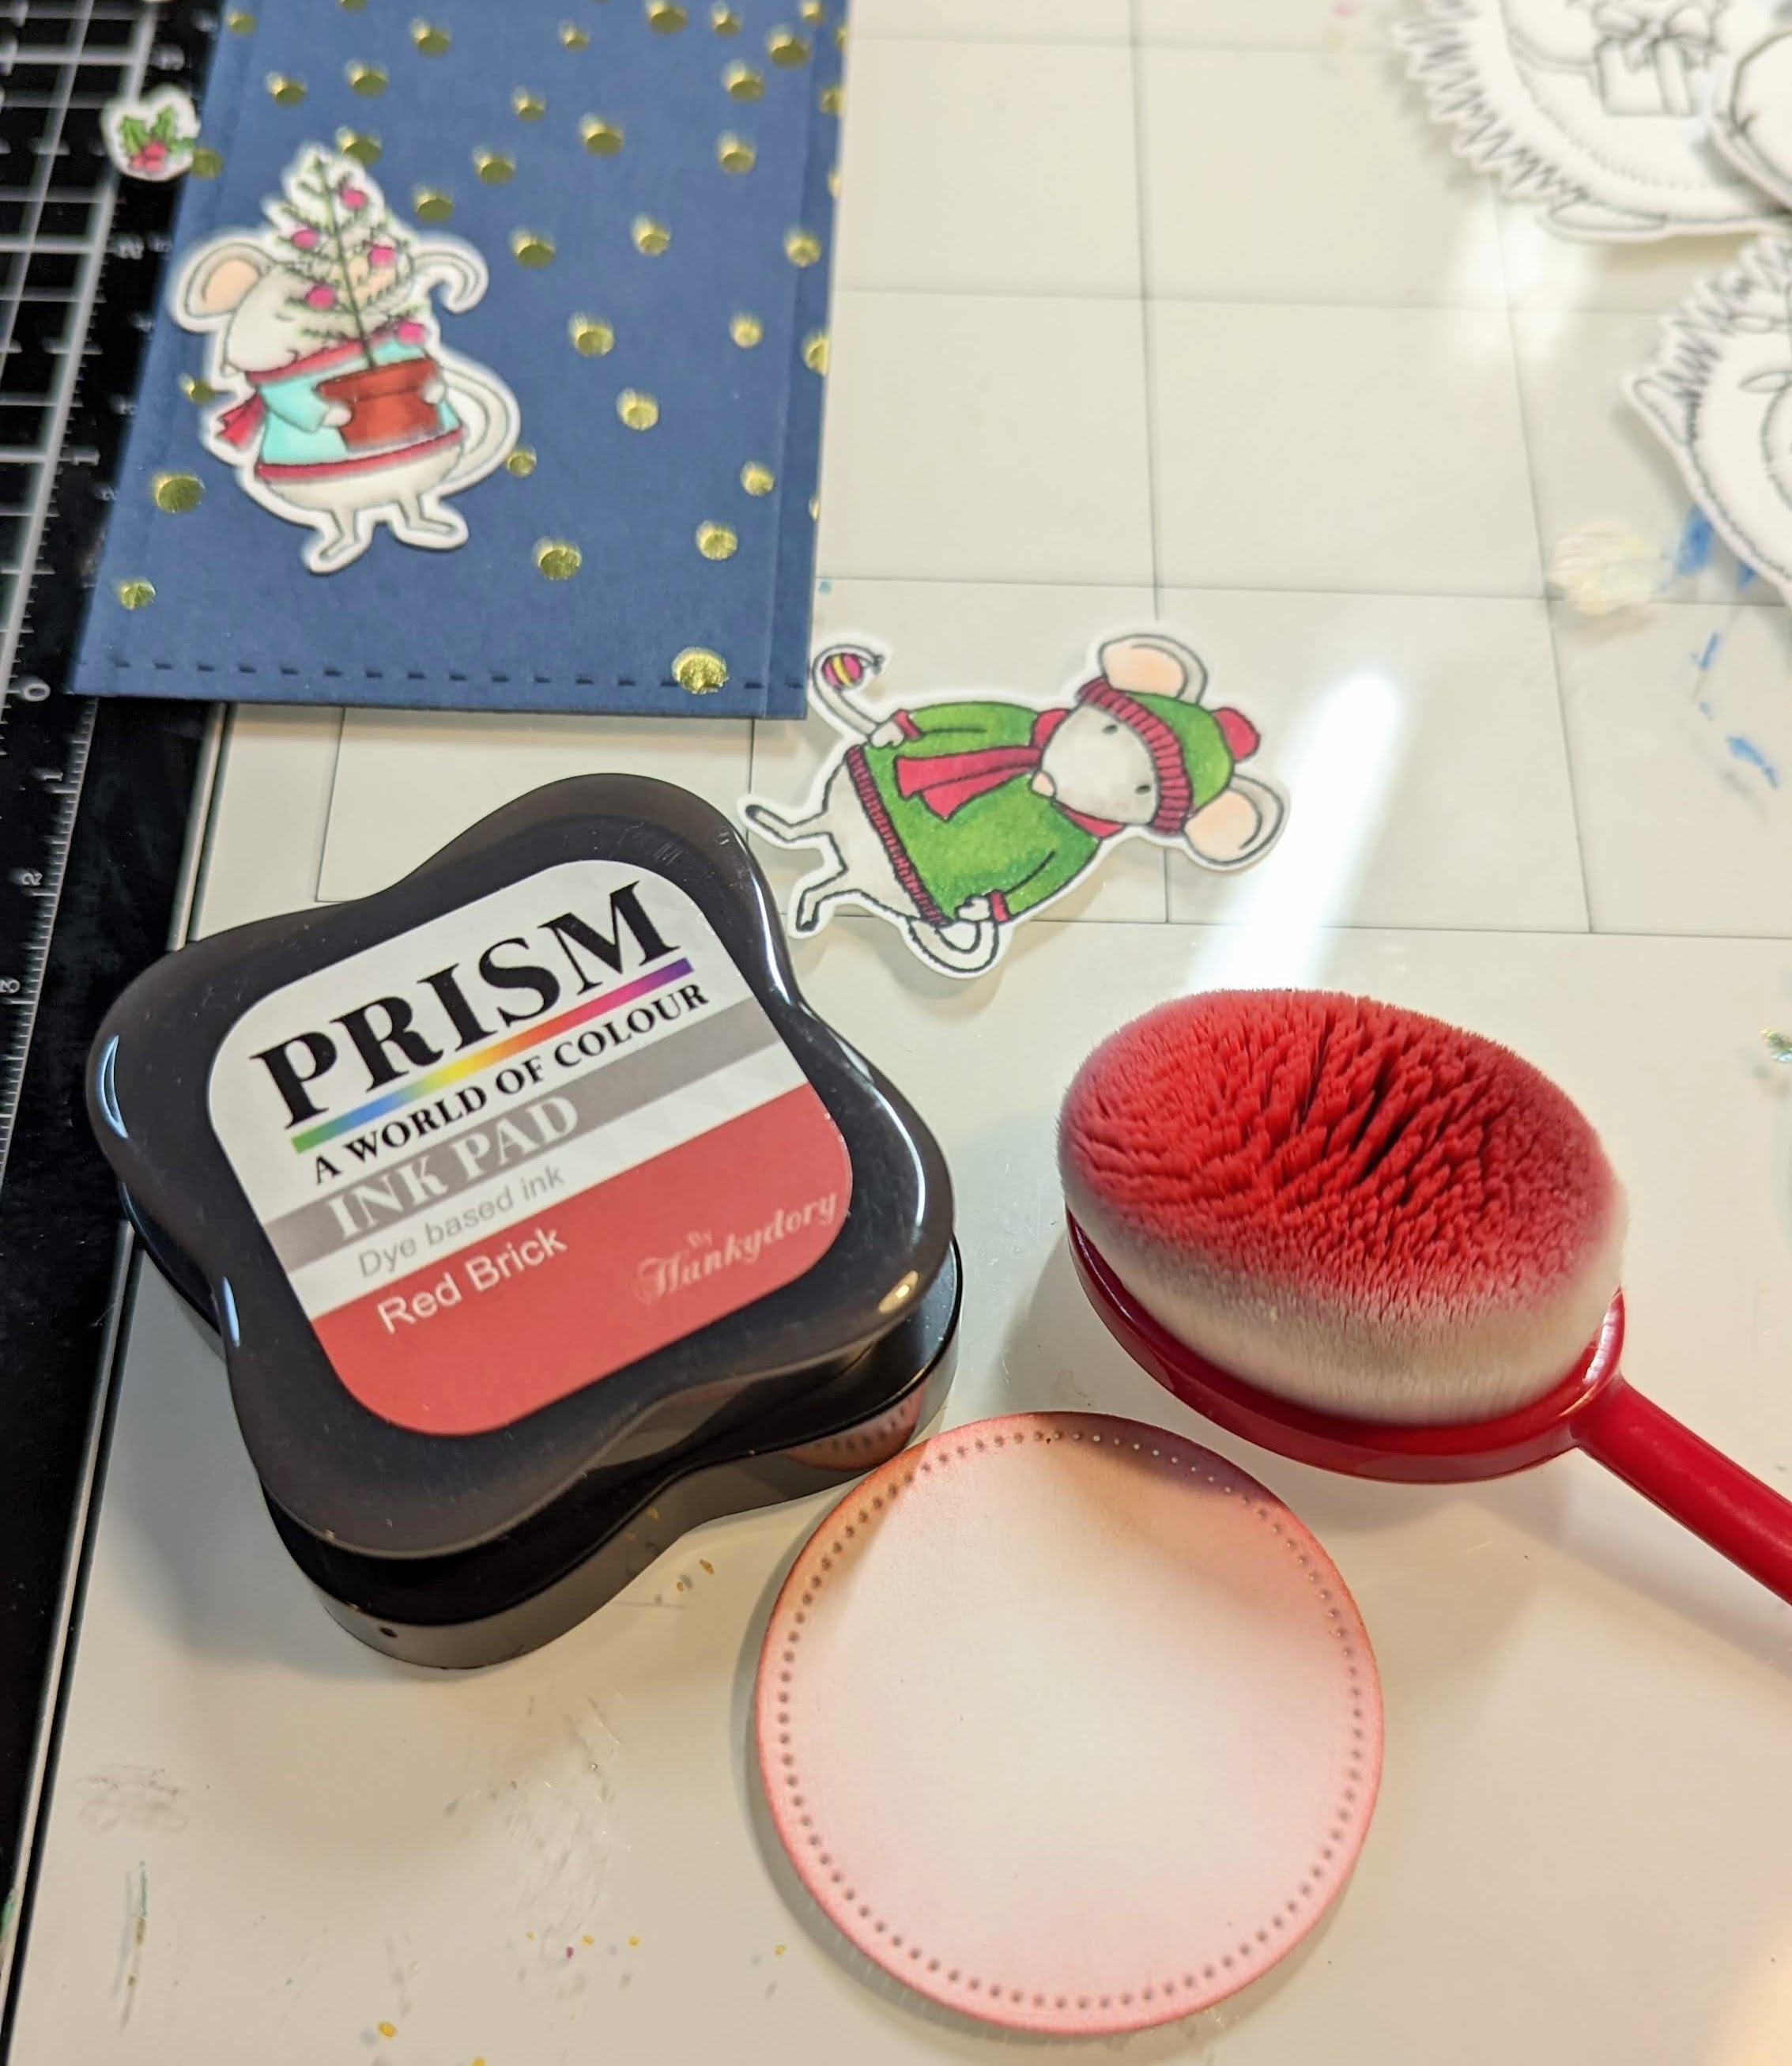
For the last tag, I used a foiled piece of cardstock from my stash. The little die cut circle was shaded with Prism Ink in Red Brick.


Thanks for stopping by!

Topflight Stamps Supplies Used:


Sunday, November 13, 2022

Coffee Lovers Blog Hop


Topflight Stamps is one of the super sponsors of the Fall Winter Coffee Lovers Blog Hop. It wouldn't be a blog hop without a chance to win great prizes. Click the link above for information on the hop and how you can enter to win $25 gift card to the Topflight Store and other great prizes. The hop ends on November 18th! Enjoy the hop!

My name is Kathi and I am a coffee addict! I decided to participate in the blog hop and created a shaker card using the Perfect Blend Clear Stamp Set by Heffy Doodle, the coffee patterned paper from the Travel Light 6x6 Patterned Paper Pad by Paper Favourites, the Scalloped Rectangles Frame Die Set by Paper Rose, and six  Prism  Inks by Hunkydory Crafts.

Here's my card!


The to-go cup from the Perfect Blend Clear Stamp Set by Heffy Doodle was stamped onto white cardstock, colored it with Copic markers, fussy-cut, and edged with a dark marker. Red Brick Prism Ink by Hunkydory Crafts was used to stamp the tiny heart from the You Go Gull Clear Stamp Set by Heffy Doodle onto the cup sleeve.

Dusky RosePink Jelly BeanFlamingo ParadiseCamelia Pink,  Red ChiliRed Brick,  Prism  Inks by Hunkydory Crafts were brushed onto a piece of white Bristol paper, misted with water, and heat set.

The smaller frame die from the Scalloped Rectangles Frame Die Set by Paper Rose was used to cut the inked paper. The center part of the frame was removed and reserved to use for the sentiment. The aperture of the frame and the frame's scalloped edges were sponged with Red Brick Prism Ink.

Acetate was adhered to the back of the die-cut covering the aperture. Foam tape and shaker contents were added, then coffee-cup patterned paper from the Travel Light 6x6 Patterned Paper Pad by Paper Favourites was used to seal the the shaker.

 The sentiment was stamped with Monarch VersaFine Clair Ink by Tsukineko onto white paper, heat set, and die-cut with a circle die. Little sparkly hearts were adhered around the sentiment. The inked paper, from the inside of the frame, was die-cut a the scalloped circle die.

Another piece of the same coffee-cup patterned paper was trimmed to 5.25" square and adhered to a 5.5" square card. The shaker frame and sentiment were adhered to the card. The fussy-cut coffee-cup was adhered to finish the card. 

Please pop over to my blog, Kat's Tales of Stamping, for instructions and complete supply lists. 

Topflight Stamps Products Used: 


Thanks for visiting!

Tuesday, September 13, 2022

Thinking of You

 Greetings! It's Tuesday so you've got Kathi here to share a project with you. This week my teammates and I are showcasing stamps and products by Crafty Individuals. One of my friends is going through a rough patch so I had to take a break from Halloween cards to create a card for him.


Here it is!


I also decided to go "old school" with this card. I placed the Dawn Hideaway Unmounted Rubber Stamp 552 by Crafty Individuals on my stamping platform, used a yellow watercolor marker to apply color directly to the flowers portion of the rubber stamp, then stamped the image onto paper. This step was repeated til I was happy with the coverage.

The next step was to apply green watercolor markers directly onto the greenery on the stamp. This step was repeated with different green watercolor markers to build and deepen the colors.

I tried to use the same technique for the kingfisher and his stump, but it didn't work well, so I covered the scenery bits of the rubber stamp with Post-Its, then inked the stamp with Morning Mist VersaFine Clair Ink by Tsukineko, removed the Post-Its, and stamped.

The image panel was heat set to dry the ink. 

Watercolor markers were used to color the bird, the stump, touch up the images, and add the flower centers. 

Two colors of blue chalk pencils were scribbled onto a paper scrap, then a cotton bud was used to apply the chalk to the image panel.

The image panel was torn into a rough square, then edged with a green marker.

The background patterned paper, from the Sir Vagabond Aviator Background Selection Paper Pad by Stamperia, was lightly enhanced with a yellow Copic marker, trimmed to 4" x 5.25", and edged with Wild Mushroom Prism Ink by Hunkydory Crafts.

The grommeted border was cut from one of the patterned papers from the Sir Vagabond Aviator 8x8 Paper Pad by Stamperia, edged with a Copic marker, and adhered as shown.

Fallen Leaves VersaFine Clair Inks by Tsukineko was used to stamp the sentiment, from the More Classic Sentiments Clear Stamp Set by Heffy Doodle, onto one of the tags from the Sir Vagabond Aviator 8x8 Paper Pad by Stamperia. It was die-cut, edged with Wild Mushroom Prism Ink by Hunkydory Crafts, and adhered to the top border strip.

The image panel was adhered to the background paper, which was adhered to a brown A2 card.

Please pop over to my blog, Kat's Tales of Stamping, for step-by-step instructions and complete supply lists.

Topflight Stamps Products Used:


Thanks for visiting! 

Monday, August 29, 2022

Falling Leaves - Autumn Cards

Does it feel like autumn yet where you live? Here in the bay area, September and October are actually our hottest months... but the leaves still change color and fall! This is Rachel from rwkrafts.com and today I'm sharing a couple of autumnal cards with you all.


 I paired a couple of beautiful leaf-themed stamp sets from the Topflight Stamps store to create these cards. For the base of the panel, I stamped Crafty Individuals "Falling Leaves" with Red Brick Prism ink.


To create the larger leaves, I used the stamp set "Erika's Maple" by Visible Image. I heat embossed the maple leaves using Wow! powder in Brassy Twinkle. The stamped and embossed leaves were then sprayed with Lavinia Mysticals Mist in Bumble Bee and Indian Sunset. Once dried, I fussy cut the leaves and glued to the card panel.


Lastly, the sentiment was stamped with Prism Ink in Slate Gray and added to the panel with foam tape.

Thanks for stopping in! Happy almost-September!

Topflight Stamps supplies used:

Monday, August 22, 2022

Merry Christmas with Jane's Doodles

 Welcome back crafters! This is Rachel from rwkrafts.com and this week the whole Topflight Stamps team is celebrating Jane's Doodles products. For my card today, I'm using a couple Jane's Doodles set to create a holiday card.


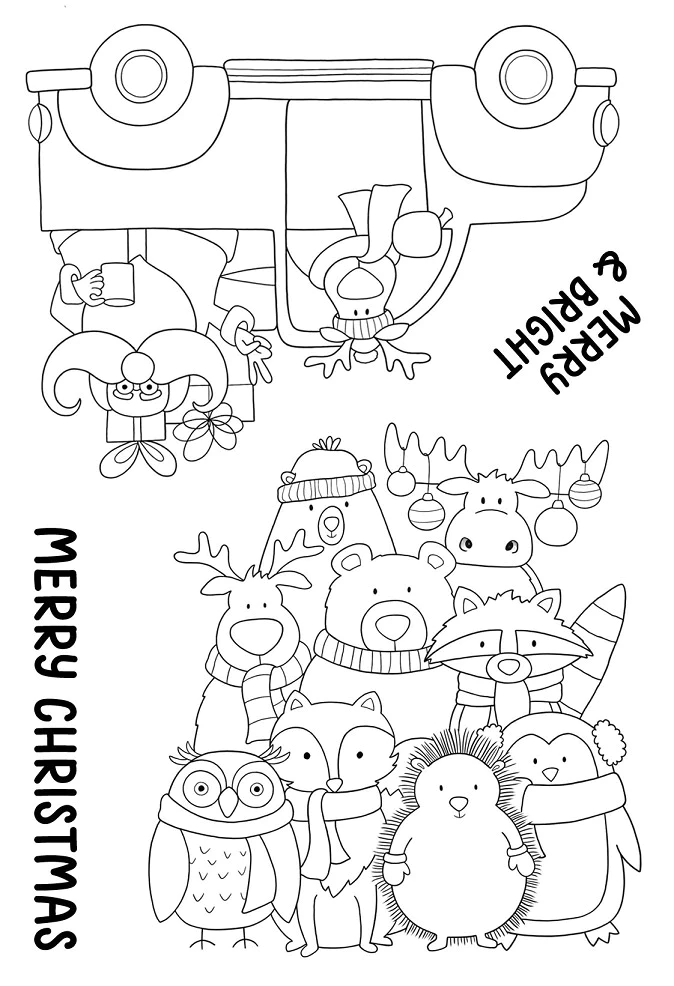
I used the fun Santa truck image from Jane's Doodles "Be Merry" stamp set. I colored the image with Copics and fussy cut. I also stamped the pine trees from Jane's Doodles "Happy Camper" set, which were colored with Copics and fussy cut.


I put the scene together with a snowy hillside at the base. The sentiment was stamped with Prism Ink in "Red Brick".

It's never too early to work on those holiday cards! The winter season will be here before we know it :)

Topflight Stamps Supplies Used:


Monday, August 15, 2022

Awaken + Grow + Blossom

Hello and I hope you're all having a great start to the week! This is Rachel from rwkrafts.com and today I'm sharing a super quick card using stamps from Visible Image.

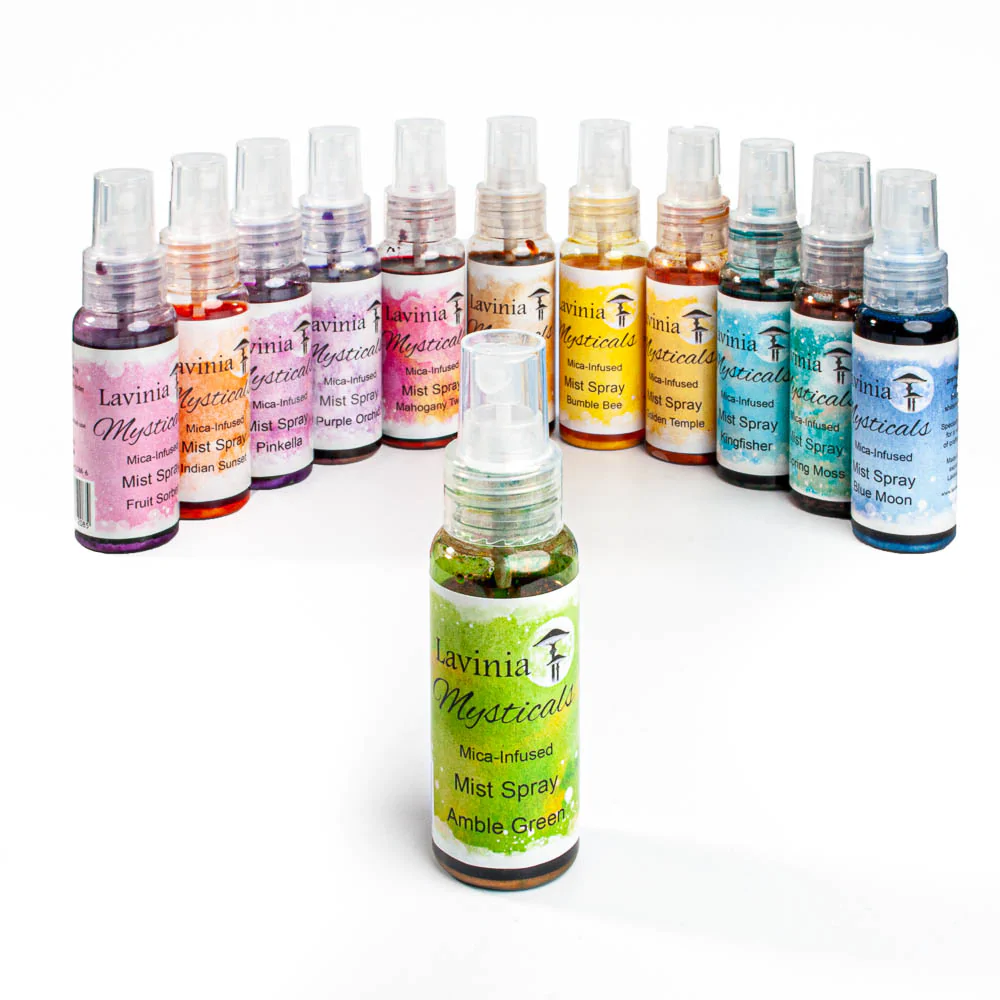
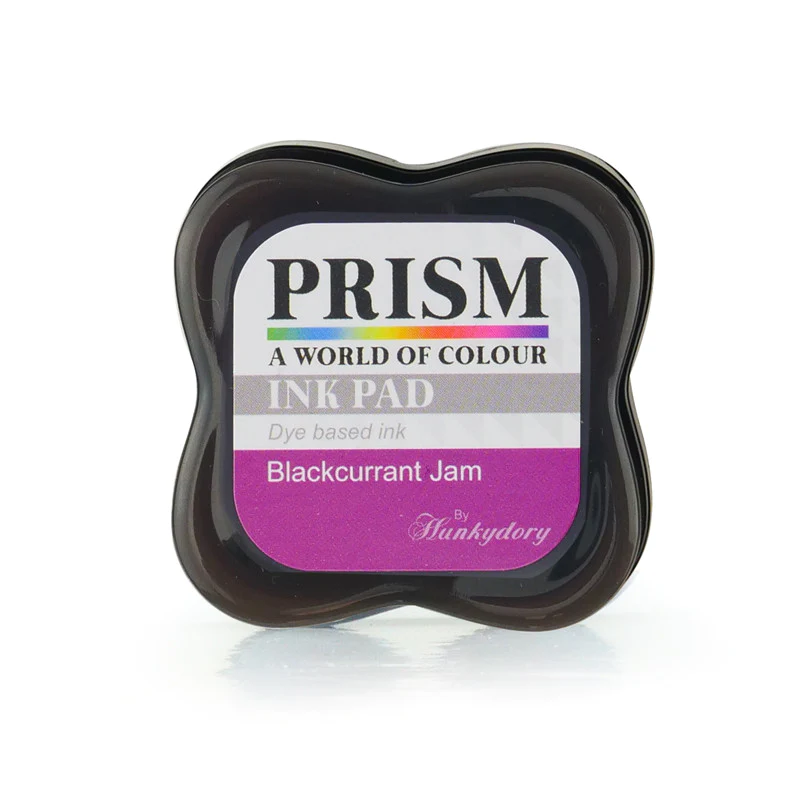
It's so helpful to have any-occasion cards on hand to send out to friends and family. To create this card, I first stamped the floral image from Spring Awakening by Visible Image onto white cardstock. I then colored with Copic markers and fussy cut the image. Then I stamped the sentiment in Prism Ink Blackcurrant Jam and splattered the green dots using Lavinia Mysticals Mists in Amble Green. The main panel was placed on a black card front to help make the images really pop.


The entire card came together in about 15 minutes! I love when stamps can take center stage and be the star of the card... it makes creating so much quicker.

Thanks for joining in. Have a creative week!

Topflight Stamps supplies used:


01 09 10