Monday, August 31, 2020

Making Fall Paperclip Embellishments

Hello Fans of Topflight Stamps, Karen Bearse here on Mixed Media Monday. This week is all about fall for the design team on the eve of September! I really wanted to make these very usable decorated paper clips so I went with fall colors. Any stamp can be made to look like fall just by your color choice. 


These embellishments can be used in your planner, Junk Journal or just a nice way to clip some papers together. These Carabelle Studio stamps make this project really easy. Love that bee!

The Great Outdoors has some wonderful images to play with. I also got the lady stamp from the Fantasy set.


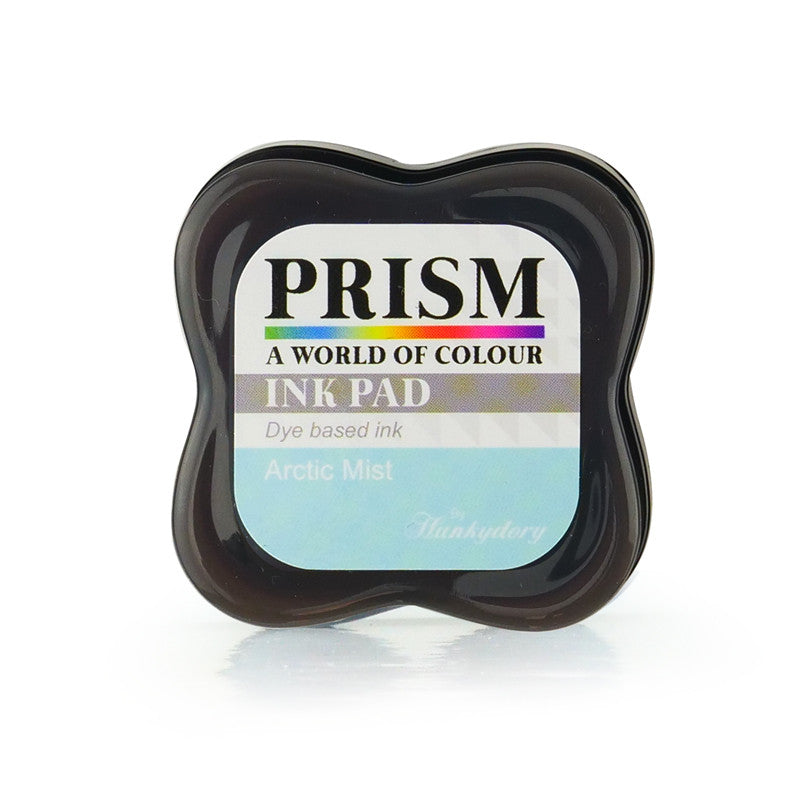
Using your Prism Ink pads to create a water color look works well & so many color choices! I used Peacock Green, Fire Coral, Cinnamon Swirl & Roasted Coffee. You could also pull out a water color palette.


Covering with Glistening Glass emboss is a great way to seal & protect these embellishments. I hope you get a chance to make some of these fun additions to your stash. The possibilities are endless! Hop on over to my blog for the full tutorial with links to all the products. Have a wonderful inky day!

Friday, August 28, 2020

You Perk Me Up

Happy Friday! Ericka here with a colorful coffee card using the Darkroom Door Coffee Time set with Distress Oxide blending.


I love this fun stamp set and can't wait to use it to make some more coffee cards. 


I also used the Visible Image Ripples Stencil for the background to make coffee rings.


Isn't this embossed coffee cup yummy?  I especially love the detail of the cup holder.

Thanks for stopping by and for more information on how I created my card, feel free to stop by my blog Strangely Creative. Have a great weekend!


Thursday, August 27, 2020

Darkroom Door Buttons Background

Hi Everyone,

Cornelia here today! 


I used this wonderful  Buttons Background  by Darkroom Door stamps. I inked it up with Versamark and heat embossed it in white. I sponged over it with various green and blue inks. I then cut off a strip from the side and turned it upside down. I added a small scalloped die cut strip in between and added paper buttons (an ancient die from my stash)


I hope you liked this! See you next week with more Topflight Stamps inspiration.


Here are the stamp supplies I used:
Use code FUNSTAMPING to get 12% discount at Topflight Stamps.


Wednesday, August 26, 2020

Trust Fall


Hi, everyone! Toni with you today sharing a humorous one layer card.


I stamped the Katzelkraft City Rats then watercolored them with Zig pens.


I drew a line using a Copic multiliner then used the Visible Image Geometric Maze stencil with Prism Ink Apple Green to create wall paper.


I used my Copic airbrush to add a purple carpet. How glam!


Finally, I stamped the Katzelkraft Relax Sentiment with Versafine Onyx Black.


I'll be back with you next week. Until then, why don't you check out the new products that have come into the TFS shop!  You can shop your heart out using this 12% off coupon!

You can also check out my other creations by visiting my blog, Frankie Helps Craft, my Instagram, or my Pinterest Board.

Tuesday, August 25, 2020

Happy Birthday from a Posh Ostrich!

It's Tuesday, which that it's Kathi here to share a project. I've been on a bit of a bird kick so I decided to use my new Poshtrich Clear Stamp Set by Pink Ink Designs to create a birthday card. There are ten stamps included in the set. There's this posh and fabulous ostrich , an ostrich with his head buried in the sand, a flower, a feather, two crowns, a butterfly, and three sentiments -- all of which make this set very versatile and fun!

Here's the card that also uses Heffy Doodle's Classic Sentiments Clear Stamp Set


The posh ostrich was stamped with Copic friendly ink and colored with Copic markers. Since the image is so frilly and fabulous, I opted to use blues, pinks, and purples, with just a touch of green on leaves and her eyes. There are some glitter ink dots above on the three dots attached to the flowers on her neck, but the photo doesn't show them. Such a bummer.

The image panel was die cut, left in the die, and ink was sponged over the die onto the image panel as shown.

Mixed media paper was sponged with blue Distress ink, then pink and purple Distress inks were sponged over a stencil to create a background.

The image panel was trimmed and the sentiment from Heffy Doodle's wonderful Classic Sentiments Clear Stamp Set was stamped with Onyx Black VersaFine ink by Tsukineko.

The image panel was adhered to a 5"x7 white card and the sentiment was added as shown.

If you'd like more information about this card, please pop over to my blog, Kat's Tales of Stamping!

Topflight Stamps Products Used:


PSA: There are lots of fantastic new products at Topflight Stamps, so you should definitely click over to the store! BTW, if you'd like to get 12% off your order at Topflight Stamps use THIS LINK!

See you next Tuesday!

Monday, August 24, 2020

AALL & Create Hexagon Stems Gel Printed Card


Hi friends!  It's Autumn Clark from SewPaperPaint with you today to share a mixed media card made from gel prints.  I shared a video tutorial in THIS post if you need a refresher.  For this card I used some of the off prints I made on vintage French book pages and a few of the main prints.  I wanted to make a dimensional flower from the Hexagon Stems stamp.  I stamped it twice onto a couple of my prints.  I cut the center petals apart to build dimension and embossed the top flower with clear powder to strengthen the book page.  I added bakers twine as a stem.  


I wanted to add some petals to weigh down the string stem, so I folded extra book page in half and cut stems free handed.  I drew around the front and backs, then used tape to attach around the string.


For framing I doodled along the corners.  I layered a bit of vintage trim over my layers atop embossed flowers from an older AALL & Create stamp set.  A sentiment from one of Olga's set, die cut from another print, finishes it off.  I hope this card has inspired you to play with your gel prints and stamps today!


Find these AALL & Create Stamps


Friday, August 21, 2020

Making Petals with PaperArtsy

 Happy Friday! Ericka here and I hope you are all doing well. Today I'm playing with some more PaperArtsy and making petals with the new Tracy Scott 45 set.


I was going to originally make a card with these fun petals that I doodled on with white pen, but instead turned it into a 7x7 panel.

I love the beautiful designs on these petals and it was so fun adding white gel pen to the different designs.

I also used the PaperArtsy Sara Naumann 45 set for the background and sentiment. I love the scripty writing in this set.

For more information on how I created my design, stop by my blog Strangely Creative. Thanks for stopping by and have a wonderful weekend!


Thursday, August 20, 2020

Paper Artsy - Don't Let Things Bug You

Hi Everyone,

Cornelia here today!
We are featuring Paper Artsy Stamps this week and I could not resist to use those funky insects by Elena Zinski again.....I used them before and you can see that card HERE


I first stenciled the Stamperia Forest Flower. I stamped the insects on a piece of scrap paper, colored them and fuzzy cut them without their legs. I then stamped the insects onto the card and glued the cut out over the stamping. I added some white gel pen accents. The sentiment is from a different set, see below.

Here are the stamp supplies I used:
Use code FUNSTAMPING to get 12% discount at Topflight Stamps.


01 09 10