Showing posts with label Pink Ink Design. Show all posts

Tuesday, February 20, 2024

Happy Birthday from a Crow

 It's Tuesday so you've got Kathi here to share a project with you. This week is an "Anything Goes" theme so I've made a birthday card with Pink Ink Designs' Rook and Roll Clear Photopolymer Stamp Set and Lavinia Stamps' Vine Branch Clear Polymer Stamp. I also used the Frayed Frames Die Set #26 by AALL and Create and patterned paper from the Ink Drops - Midnight 6x6 Paper Pad by Craft Consortium.

Here's the card!


Create a 6"x6" card from black cardstock. Set aside.

Use Tuxedo Black Memento Ink to stamp the left-facing crow from the Rook and Roll Clear Photopolymer Stamp Set twice — once onto white cardstock and once onto repositionable sticker paper. Fussy-cut the sticker paper version and place it over its counterpart on the image panel as a mask.

Position the Vine Branch under the crow's feet. Use Tuxedo Black Memento Ink to stamp the Vine Branch twice — once onto the image panel and once onto repositionable sticker paper. Fussy-cut the sticker paper version and place it over its counterpart on the image panel as a mask.

Use Copic-friendly blue ink, a cloud edger stencil, and a brush or sponge to create a cloudy sky background behind the masked stamped images.

Lift the masks. Color the images with Copic markers. Use a green glitter pen or a paint marker to add sparkly green to the leaves. Use a purple glitter pen or a paint marker to add sparkly purple. 

Use the Frayed Frames Die Set #26 to cut the image panel.

Trim a piece of black cardstock so it's slightly larger than the die-cut. Use to mat the image panel. 

Use a stamping platform and Tuxedo Black Memento Ink to stamp the leaf ornament stamp from the Rook and Roll Clear Photopolymer Stamp Set. Remove the leaf ornament stamp. 

Use a stamping platform and  Green Oasis VersaFine Clair Ink to stamp the "Happy Birthday" sentiment from the Rook and Roll Clear Photopolymer Stamp Set. trim the sentiment and mat with black cardstock.

Trim a piece of patterned paper from the Ink Drops - Midnight 6x6 Paper Pad to 5.875" square and edge with black marker.

Adhere the patterned paper to the reserved 6" square black card then adhere the image panel as shown. Adhere the sentiment strip to finish tge card

Please pop over to my blog, Kat's Tales of Stamping, for step by step instructions and complete supply lists. 

Topflight Stamps Products Used:


Thanks for visiting today!


Tuesday, May 30, 2023

Adventure

 It's Tuesday which is my day to share a project with you. This week is an "Anything Goes" week and I decided to go quasi-Steampunk with a slimline card featuring the "I Saw a Ship" Clear Photopolymer Stamp Set by Pink Ink Designs. This is a really cool stamp set with a gorgeous hot air balloon and a basket, sailing ship, house, and cake that you can suspend beneath it. The set also includes two sentiments and three banners. 

Here's my card.


The ship from the "I Saw a Ship" Clear Photopolymer Stamp Set by Pink Ink Designs with Copic-friendly ink towards the bottom of a 4" x 9" panel of white cardstock and onto repositionable label paper. The label paper version was fussy-cut then placed over its counterpart on the image panel as a mask.

The hot air balloon from the set was positioned (a bit off center because perfection is overrated) and stamped onto the image panel and onto repositionable label paper.

Light blue ink was brushed horizontally over the masked images to create a cloudy sky.

The masks were lifted and the images were colored with Copic markers. The image panel was trimmed to 3.75" wide and edged with light blue ink. 

Using a stamping platform, the Cityscape Reflections Rubber Cling Stamp by Andy Skinner for Creative Expressions was positioned against the edge of the platform. The image panel was positioned so that it was a bit more than .5" from the edge of the platform so that the city's reflection would be omitted. The stamp was inked with Grey Copic-friendly ink, then stamped.

A banner die was used to cut white cardstock. The die-cut was brushed with the same blue ink used previously. The "Adventure" sentiment was stamped with grey ink onto the die-cut.

The image panel was adhered to a slimline card created from grey cardstock. The banner was adhered at the top as shown.

Please pop over to my blog, Kat's Tales of Stamping, for in depth instructions and complete supply lists.

Topflight Stamps Products Used:


Thanks for visiting today!


Tuesday, January 3, 2023

Have a Super New Year!

Happy New Year! It's Tuesday which means you've got Kathi here to share a project with you. I haven't been around for the last several weeks due to a nasty bout with Covid. This week's theme is "Anything Goes" and I've created a slimline New Year's card with the Super Hero Clear Photopolymer Stamp Set by Pink Ink Designs, the Simply Radiant Stencil by Heffy Doodle, sentiments from both the Purrfect Day Clear Stamp Set and the Classic Sentiments Clear Stamp Set by Heffy Doodle, the Acetate Circle, Acetate Hills Masks, and Elements Inks by Lavinia Stamps.

Here's the card!


The Super Meerkat from the Super Hero Clear Photopolymer Stamp Set by Pink Ink Designs was stamped onto white cardstock and onto mask paper using black ink. 

The mask paper version was fussy-cut and placed over its counterpart on the image panel. The flattest mask from the Acetate Hills Masks by Lavinia Stamps was placed over the bottom part of the masked meerkat. The largest circle mask from the Acetate Circle Masks by Lavinia Stamps was placed behind the head and shoulders of the masked meerkat.

Using the largest brush from the Black Blending Brush Set by Time for Tea Designs, Della Blue, Violet Chalk, and  Dark Denim Elements Inks by Lavinia Stamps were brushed over the acetate masks and the masked image onto the image panel until I was happy with the coverage.

The Simply Radiant Stencil by Heffy Doodle was placed over the image panel and Violet Chalk Elements Ink was brushed over the stencil onto the image panel.

The Acetate Hills Mask was moved downward and Lime Punch Elements Inks was brushed upwards from the mask onto the image panel. The Acetate Hills Mask was moved downwards and Lime Punch Elements Inks was brushed upwards from the mask onto the image panel.

When the entire bottom of the image panel was covered, I repeated the above steps using Pine Elements Ink to add some shading to the grass.

I placed the largest circle stencil over the moon and used the smallest of the brushes from the Black Blending Brush Set to lightly brush Sundance Elements Ink along the circle's edge. I also used a moon mask and grey ink to add some dimension to the moon.

The masks were all removed and the Super Meerkat image was colored with Copic markers. White gel pen was used to add highlights to his nose and his eyes.

Chalk pencils were used to add more shading to the grassy area of the image panel. The Gelly Roll Bold Line Stardust Clear Glittering Ink by Sakura was used to add some glittery accents to the edge of the moon.

Using Nocturne VersaFine Clair Ink by Tsukineko, a stamping platform, and Post-It Notes to cover the excess verbiage, "have a" from the Purrfect Day Clear Stamp Set by Heffy Doodle, "super" from the Super Hero Clear Photopolymer Stamp Set by Pink Ink Designs, and "new year" from the Classic Sentiments Clear Stamp Set by Heffy Doodle were stamped onto white cardstock. The sentiment was cut with a circle die and matted with a silver pinked circle die-cut. 

The image panel, stitched silver flag die-cut, and the matted sentiment circle die-cut were adhered to a black slimline card. 

Please pop over to my blog, Kat's Tales of Stamping, for more detailed instructions and complete supply lists. 

Topflight Stamps Products Used:


Thanks for visiting today!

Sunday, October 9, 2022

Another Pink Ink Halloween Card!

Greetings! It's Kathi here on a Sunday to share a project with you! I've been especially inspired by my latest Pink Ink Designs® Halloween stamp sets and had to create another Halloween card. This card was created with their Bewitched and Harvest Moon Clear Photopolymer Stamp Sets. I've used the Happy Halloween sentiment from the ever useful Classic Sentiments Clear Stamp Set by Heffy Doodle.

Here it is:


The beautiful witch from the Bewitched Clear Photopolymer Stamp Set by Pink Ink Designs® was stamped onto white cardstock with black ink, then colored with Copic markers. I used a white gel pen to add the white spots back onto the mushroom and to add a highlight to the red apple on her hat. 

I stamped the oak leaf cluster from the Harvest Moon Clear Photopolymer Stamp Set by Pink Ink Designs® on the left side and the small leaf cluster from the Bewitched Clear Photopolymer Stamp Set by Pink Ink Designs® on the right side. Both sets of leaves were colored with Copic markers.

The pumpkin, the pumpkin leaves, and the cat from the Harvest Moon Clear Photopolymer Stamp Set by Pink Ink Designs® were stamped onto white cardstock, fussy-cut, colored with Copic markers, and edged with a dark pen. 

I used a scalloped frame die to cut bluish/purplish cardstock and used it to frame the image panel. This was adhered to a bluish/purplish 5" x 7" card. The colored fussy-cut pumpkins, pumpkin leaf, and cat were adhered as shown.

A scrap of white cardstock was die-cut. Fantasia VersaFine Clair Ink by Tsukineko was used to stamp "Happy Halloween" from the lassic Sentiments Clear Stamp Set by Heffy Doodle onto the die-cut.

The sentiment die-cut was adhered to finish the card. 

Please pop over to my blog, Kat's Tales of Stamping, for detailed instructions and complete supply lists.

Topflight Stamps Products Used:


Thanks for visiting today! See you Tuesday!

Tuesday, September 27, 2022

Enjoy the Owl Witch's Magic

 It's Tuesday so you've got Kathi here to share a project with you! I'm firmly in Halloween mode and just received some seriously cool Halloween stamps by Pink Ink Designs®. I heartily recommend you pop over to Topflight Stamps and check them out all and all the other great new products!


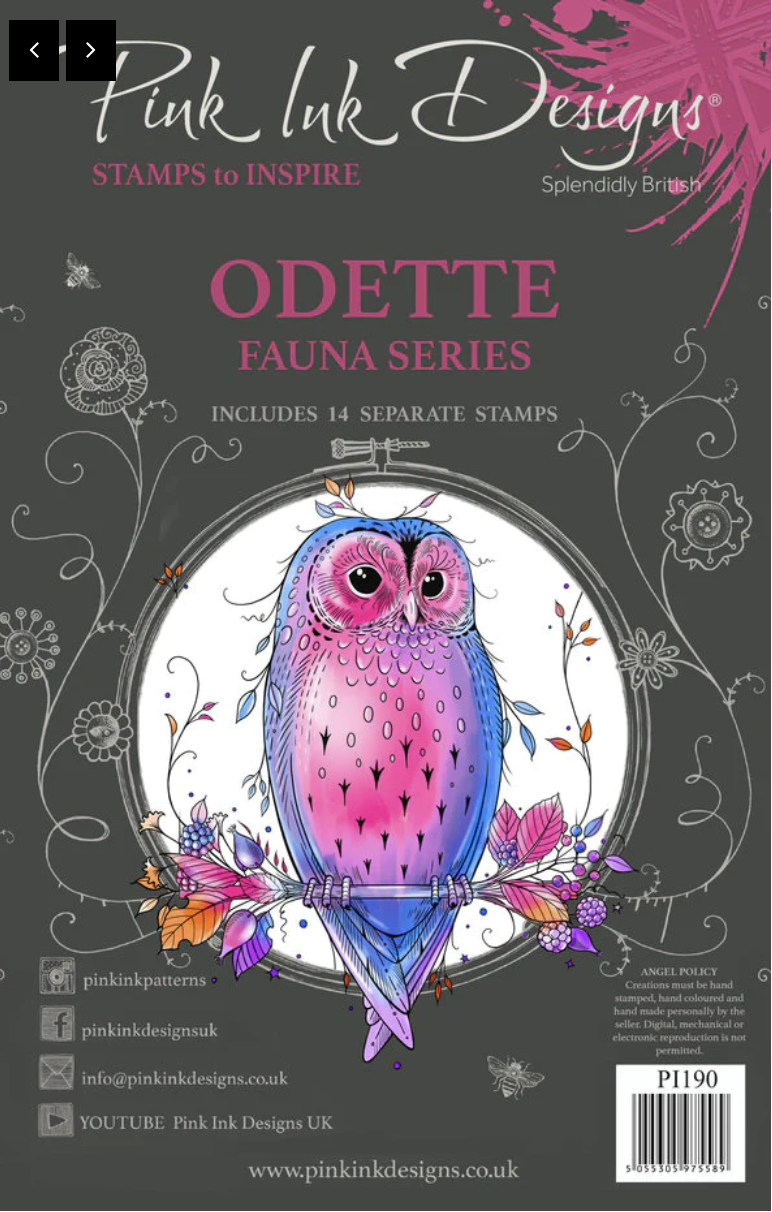
The owl from the Odette Owl Clear Photopolymer Stamp Set by Pink Ink Designs (which has fourteen stamps, including two sentiments) was stamped onto a 5.5" x 8.5" piece of white cardstock with Copic friendly ink. It was also stamped onto repositionable label paper, which was fussy-cut to be used as a mask. 

Since I wanted the witch hat from the set to be perched on her head with the brim over her forehead, I cut off the top of the mask, then adhered the mask over her image.

The witch hat from the set was positioned and stamped over the masked image and again onto repositionable label paper, which was fussy-cut, and used to mask the witch hat.

Two colors of Distress Ink were brushed over the image panel to start the background. This ink was used because I wanted to use my Copic markers. If I had opted to use watercolors as a colorant, I probably would have selected by beloved Elements Inks by Lavinia Stamps.

The masks were removed and reserved for another use then the images were colored with Copic markers.

Blue Distress ink was somewhat randomly brushed over the Divine 8x8 Stencil by Lavinia Stamps to add some interest to the background.

The image panel was trimmed to 4.75" x 6.75" and edged with black ink. The strip that was left was used for the sentiment.

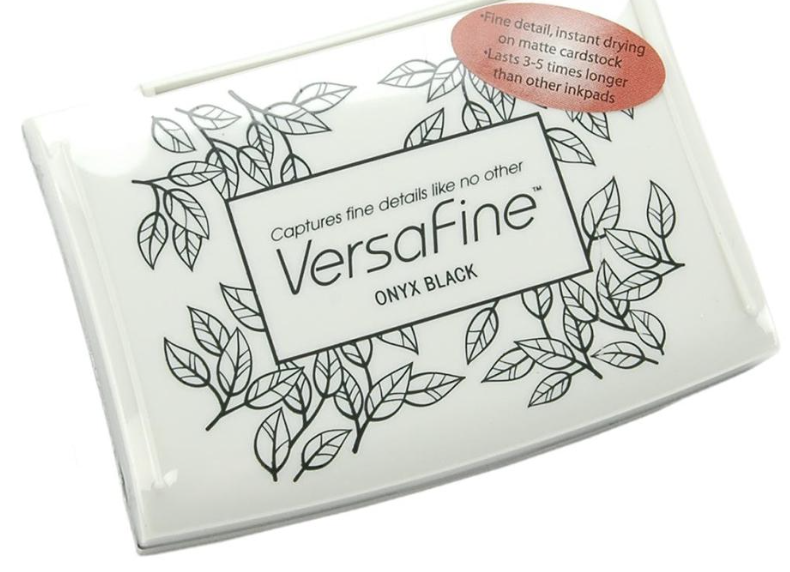
A Post-It Note was used to cover "Happy Holidays" from the Holiday Sentiment Duos Clear Stamp Set by Heffy Doodle, Onyx Black VersaFine Ink by Tsukineko was used to ink the stamp, the PostIt Note was removed, the sentiment was stamped onto the leftover strip, die-cut, trimmed, and edged with black ink.

The sentiment die-cut was adhered to the image panel as shown, then the image panel was adhered to a black 5" x 7" card.

Please pop over to my blog, Kat's Tales of Stamping, for detailed instructions and complete supply lists.

Topflight Stamps Products Used:


Thanks for visiting!

Thursday, February 17, 2022

Pink Ink Designs Diver Mouse

      Hi Everyone,

Cornelia here today! 
This week it's anything goes at the blog. 

I recently discovered those cute little mouse stamps by Pink Ink Designs in the store. Could not pass them.... Besides, I love making under water scenes. Such an adorable little creature! 
This card actually was a fair amount of "work". I colored the mouse and fish with Copics and cut them out.


Used one of my old gel press backgrounds and stamped the mouse and fish again. Glued on the colored ones. Made the port hole with some generic round dies and a little round punch. The outer ring I cut three times and glued it together for more dimension. I used bronze shimmer paper, but then I found it a bit too dark and wiped Inka Gold over it, once it was assembled. 


Glued everything onto wood paper. Added the heat embossed sentiment. Lastly I added Crystal Laquer onto the goggles.

I hope you liked this. Thanks for visiting. 
See you next week with more Topflight Stamps inspiration.
And here are the stamp supplies I used: 

Friday, September 24, 2021

Pink Ink Beary Christmas

 Hello crafty friends! Ericka here from Strangely Creative and today I wanted to create a fun winter card using the Pink Ink Beary Christmas. I love this playful bear and his fun ice skates.


I stamped my bear in Versafine Vintage Sepia in my MISTI and heat embossed it with WOW! Disco Ball to add sparkle. Then I watercolored him up with my Zig brushmarker pens.

After my image dried, I used Distress Ink in Prize Ribbon to stamp some snowflakes around my image. I also used the included sentiment and heat embossed it in the same embossing powder.


Thanks for stopping by and I hope you have a wonderful weekend.


Topflight Stamps Supplies Used: 


01 09 10