Tuesday, May 31, 2022

Happy Bird-Day!

Greetings! It's Tuesday so you've got Kathi here to share a project with you. Today is May 31st which is World Parrot Day so I decided to celebrate this holiday with a slimline birthday card featuring the wonder Wingman Clear Stamp Set by Heffy Doodle

Here's the card!


I started the card by stamping three of the adorable parrots onto Copic-friendly cardstock and onto respositionable label paper. The label paper versions of the all three were fussy-cut but the two left-facing parrots were cut so that their bodies and wings would be on one piece and their tails would be on the other. The body/wing masks for the left-facing parrots and the entire flying parrot placed over their counterparts on the image panel.

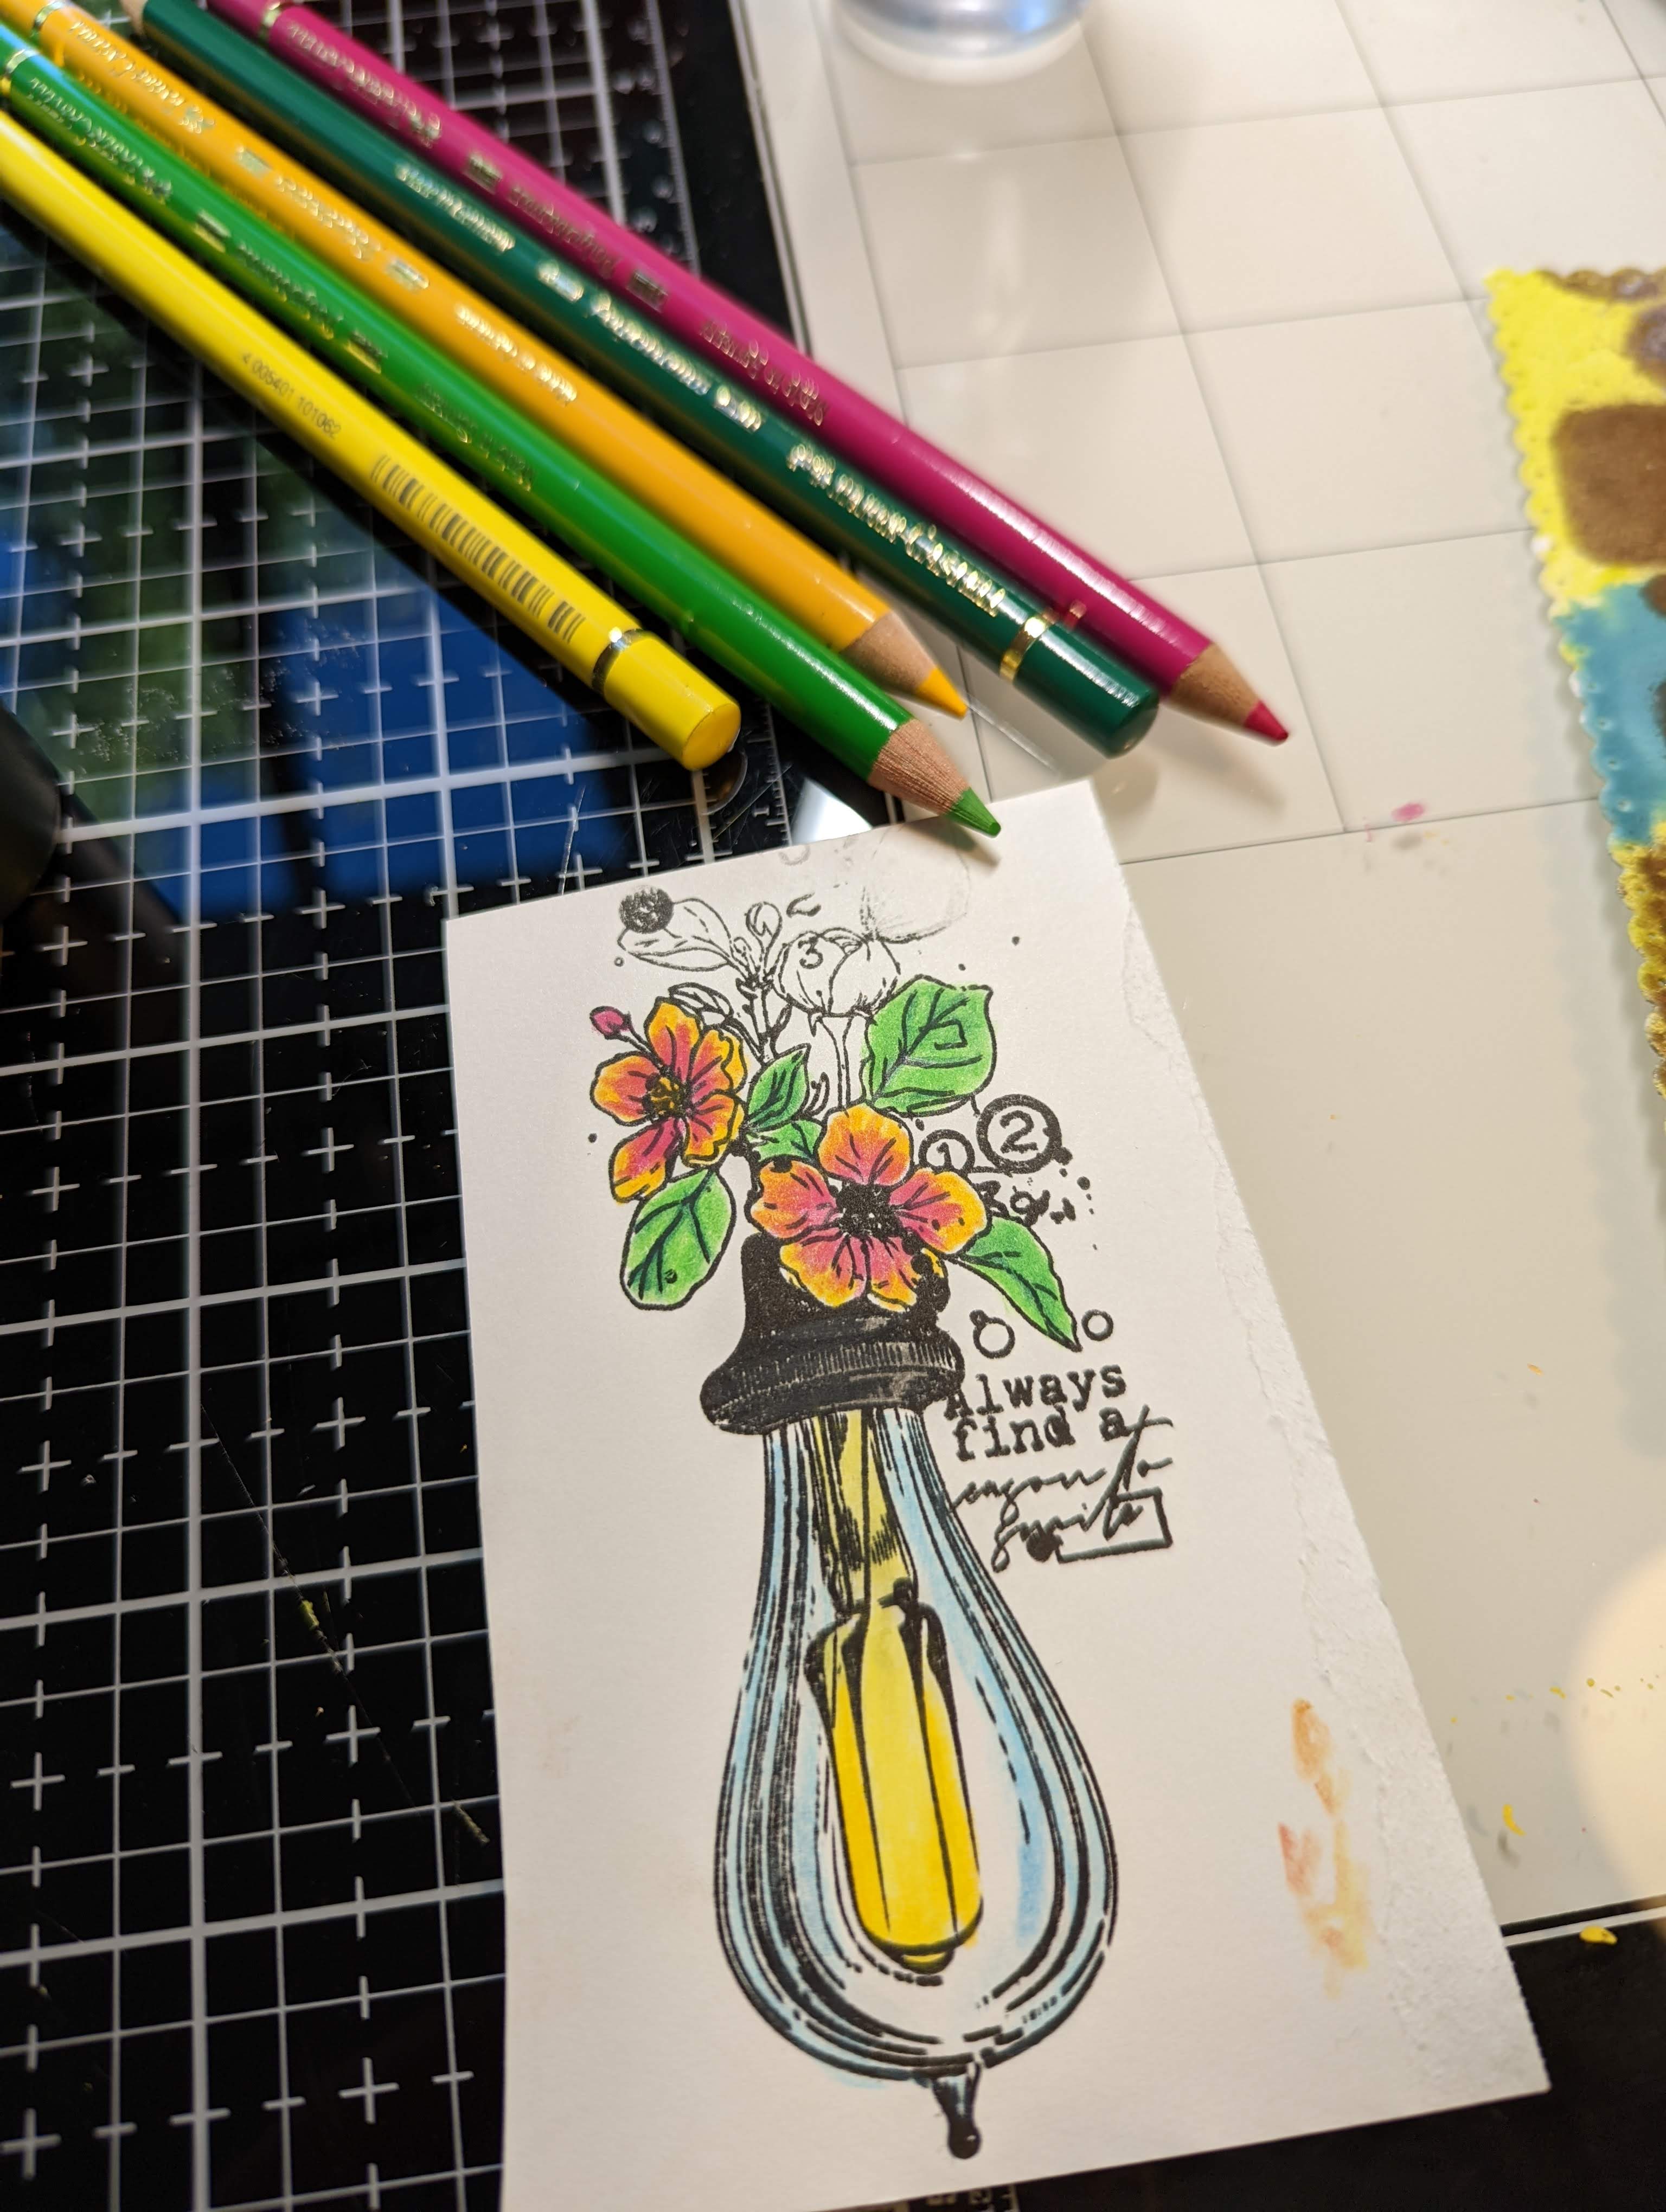
Using a stamping platform, the stand and the swing were stamped onto the image panel and onto label paper, which was fussy-cut for masks and placed atop their counterparts. The tail masks for the two left-facing parrots were adhered in place.

The three image panels were trimmed to 2.5" square and brushed with Jersey Cream Prism Ink by Hunkydory Crafts to create a colored background.  Jersey Cream Prism Ink was brushed over the corner flourish from the Found in the Woods - Scrapcosy Stencil PS190 by PaperArtsy on the upper right corner of the swinging parrot. The stencil was cleaned, then flipped and Jersey Cream Prism Ink was brushed over the corner flourish on the upper left of the parrot on the stand. Jersey Cream Prism Ink was brushed over the plain flourish onto the top of the panel with the flying parrot.

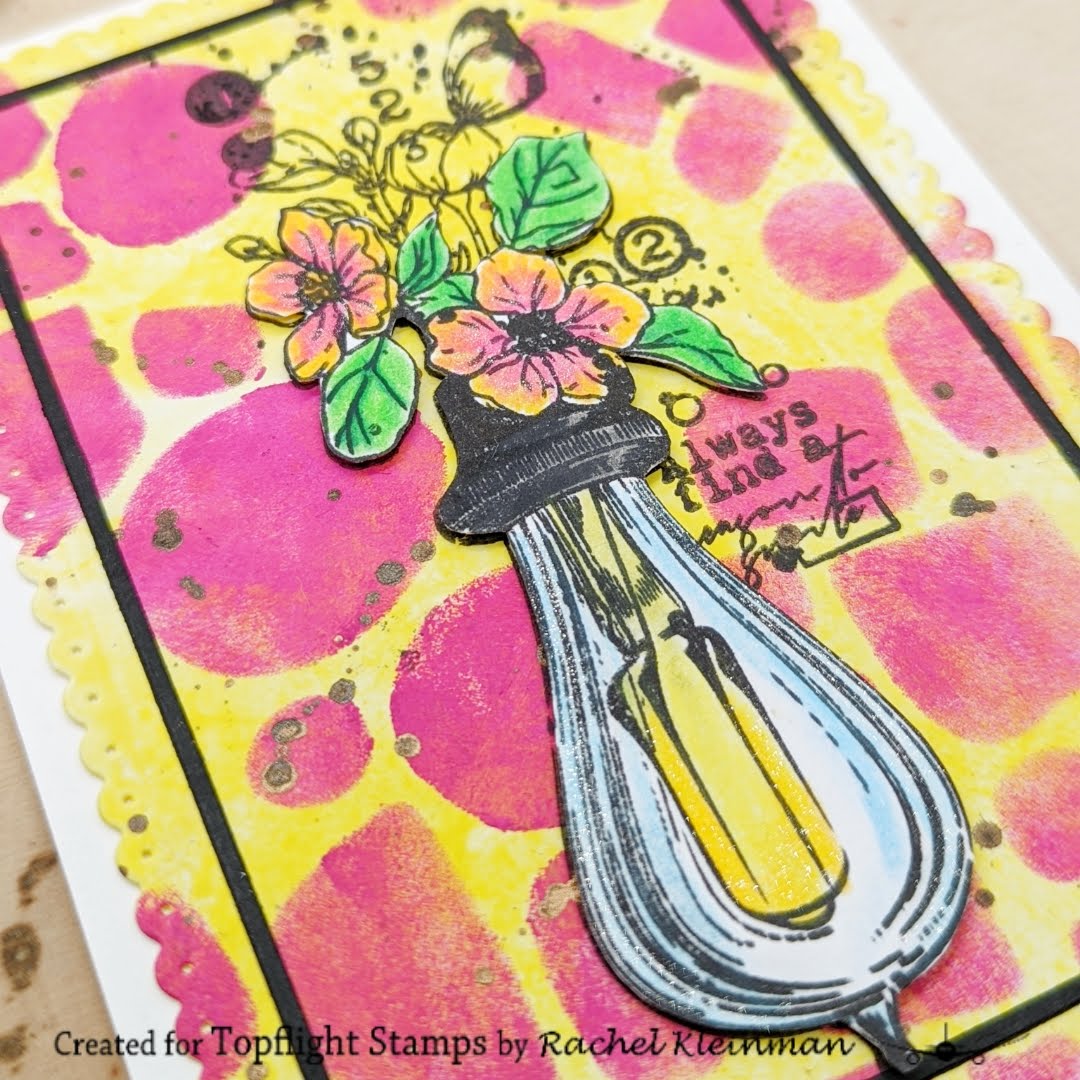
A piece of clear acetate was placed across the base of the parrot on the stand and brown ink was brushed across the base of the panel to ground the stand. 

PineLime Punch, and Sundance Elements Inks by Lavinia Stamps were brushed over a piece of mixed media paper and heat set to create the background panel. 

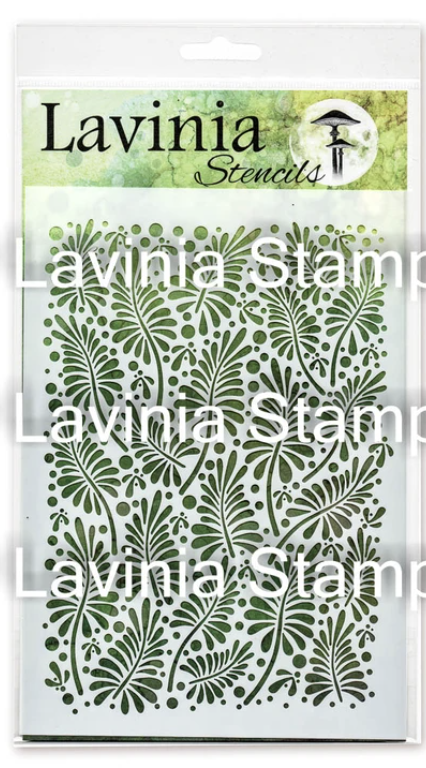
Green Oasis VersaFine Clair Ink by Tsukineko was brushed over the Glory Stencil by Lavinia Stamps onto the background panel. The panel was cut with a slimline die then edged with Green Oasis VersaFine Clair Ink.

All three of the parrot squares were edged with the Green Oasis VersaFine Clair Ink, then adhered to the background panel.

Jersey Cream Prism Ink was brushed onto a strip of white cardstock then  Green Oasis VersaFine Clair Ink was used to stamp the sentiment. The sentiment was die-cut. and adhered to the cardfront with foam adhesive popping up the center of the sentiment strip and the ends glued down.  

Please visit my blog, Kat's Tales of Stamping, for detailed instructions and complete supply lists. 

Topflight Stamps Products Used:


Thanks for visiting!

Monday, May 30, 2022

Find a Reason to Smile with AALL&Create

 Hello everyone, I hope you're having a creative 3-day weekend! This is Rachel from rwkrafts.com and I'm sharing a colorful mixed media card that's perfect for any occasion.


I've gotten a lot of use out of the AALL & Create "Filaments and Feathers" stamp set! This time I used the beautiful lightbulb stamp for this card. Here's how I created it:


First I put some Zesty Zing paint on my craft mat and sprayed it with water. I then sprayed my mixed media paper with water and dipped it on the pool of paint...


Once the paint dried, I added the stencil Paper Artsy PS310 using Bougainvillea paint.


I then stamped the lightbulb onto the panel and also splattered some Glimmer Mist in Bronze Penny.


I stamped the lightbulb a second time on white cardstock and colored with Polychromos pencils. I fussy cut the main portion of the image and added it to the panel with foam adhesive.


The panel is complete and ready for a card base! This card came together really quickly and will be easy to recreate. Thanks for joining!


Topflight Stamps Products Used:


Sunday, May 29, 2022

Hobby Art Poppy Meadow Watercolor Card


Hi friends, it's Autumn Clark from SewPaperPaint with you today to share a little scene stamping.  I fell in love with the Hobby Art Poppies stamp set and can't wait to do a more mixed media, layered project.  But first I decided to do some simple one layered stamping and repeat stamped the tall blossoms across the bottom of an inky panel.  I used Blue Lagoon, Sundance and Olive Elements dye ink pads with water to dip my watercolor paper panel and make the background.  I then colored the flowers with Paprika and Olive.  This is such a beautiful color and it really pops against the background.  Finally, I embossed the Hobby Art Words dream sentiment in white over my panel and added a sticker sentiment just below.  

HERE is an older project I made below with the Hobby Art Words stamp set if you're looking for more inspiration.  I hope these cards have made you smile today.  xx, Autumn

Visit Topflight Stamps today!


Friday, May 27, 2022

Craft Emotions Baby Boy Card


Hello friends! Ericka from Strangely Creative here continuing the Craft Emotions theme on the blog today with the Baby Boy set.


I love this fun little set and for my card today decided to use the toy airplane for the main focus of my card.

I created my card by stamping the images with Versafine Claire black ink and heat embossed it with a clear sparkle. I watercolored the images with the Hunkydory Prism Markers in a variety of blues.

I stamped the sentiment and heat embossed it with the same sparkle powder to complete my card. Thanks for stopping by and I hope you have a wonderful weekend.


Topflight Stamp Supplies Used:


Thursday, May 26, 2022

Craft Emotions - You're my Cup of Tea

     Hi Everyone,

Cornelia here today. This week we are featuring Craft Emotions on the Topflight blog
They make a variety of stamps - a lot of really cute ones. I have used them numerous times in the past. I f you want to see my prior projects click HERE. Anyhow, I wasn't in a cute mood, so I decided to go with the Tea Time set. I stamped a lot of the stamps from this set onto my white background. Die cut myself some round shapes with fun foam and stamped loosely over my stamped images. You can use any kind of lightly colored inks for that. Lastly I stamped the sentiment on blue vellum and heat embossed it in black. Secured the vellum on the back of the card. Trimmed the card. Outlined the card with a black Sharpie and mounted it onto powder blue card stock.


I hope you liked this. Thanks for visiting. 
See you next week with more Topflight Stamps inspiration.

And here are the stamp supplies I used: 
Jersey Cream                  Versafine


Wednesday, May 25, 2022

Thank you with Craft Emotions


Good morning!

The team is focusing on the sweet stamps from Craft Emotions this week. I found this adorable set named Savannah 2 and immediately saw this cute rhino!


Products used


Technique

Start with one A2-sized cardstock and cut out a circle. Next, use the stencil and modeling paste for added, but subtle interest to the front.


On another A2 Sized cardstock, that will serve as the base, stamp the clouds that are included in the stamp set. I used Copic color BG10 as the background color.


Stamp, color, and cut out the cute rhino. Add double-sided foam tape underneath.


White heat emboss the sentiment on black cardstock.


Adhere it all together and you are done!


Isn't he adorable? Thanks for stopping by today!

Charmaine


Tuesday, May 24, 2022

Penguin Cards with Craft Emotions!

 This week my teammates and I are showcasing Craft Emotions' wonderful products. I've created two cards using the Penguins 2 Clear Polymer Stamp Set and the Stardots Stencil by Craft Emotions.

Here are the two cards, the stencil, and the stamp set.


Here's the 4" square card.


Here's the 5" square card, which can be used for a wedding, an anniversary, or Valentine's Day -- so there's no sentiment yet!


I started the cards by stamping the penguin and penguin pair onto two white cardstock panels and onto respositionable label paper to be fussy-cut and used as to mask the images.

I die-cut the masked image panel for the top card, then sprayed the  image with Frost Glimmer Spray by Hunkydory Crafts. The mask was lifted and the penguin was colored with Copic markers. The image panel was matted with black cardstock. 

The background for this card was created by sponging white cardstock with BermudaMermaid, and Blue Lagoon Elements Inks by Lavinia Stamps. The background panel was trimmed to 3.75" square and edged with Graphite Elements Ink by Lavinia Stamps

Graphite Elements Ink was sponged/brushed over the Stardots Stencil by Craft Emotions onto the remaining strip of sponged paper, die-cut using a fishtail flag die, and edged with Graphite Elements Ink

Onyx Black VersaFine Ink by Tsukineko was used to stamp the "Hi there" sentiment from the stamp set onto a scrap of sponged cardstock, die-cut with a tiny oval die, and edged with Graphite Elements Ink

The background panel was adhered to a 4" square white card, then the flag die-cut, image panel, and sentiment were adhered.

For the second card, I decided that I wanted to experiment to see if my Gel Press Petites would work to add a background to a masked image. 

I placed the circle from the the circle Gel Press Petites on a clear stamping block. Using the 2" Speedball BrayerDella Blue then Bermuda Elements Inks were applied gel press, taking care to clean the brayer between the colors. I left a little space between the colors on the gel and used a paint brush to add horizontal stripes of Sundance  and Confetti Elements Inks to the gel press. Then I stamped the gel press over the masked penguin couple on the image panel.

I kept the masks on and used paint brushes with Elements Inks (smushed on my craft mat and misted with water) to add a bit more color and even the ink application on the gel printed circle. When I was happy(ish) with the results, I heat set the image and removed the mask covering the penguins.

The penguins were colored with Copic markers. White gel pen was used to add some whitecaps to the sea, then Confetti Elements Ink was brushed over one of the hearts on the Cascading Hearts Medium Stencil by Darkroom Door.

The image panel was cut with a die from the same die-cut set as the first card, then matted with black cardstock.

The background paper was created by sponging Della Blue and Confetti Elements Inks over the Stardots Stencil by Craft Emotions onto white cardstock. The background was trimmed to 4.75" square, edged with Della Blue Elements Ink, and adhered to a 5" square white card. The image panel was adhered to finish the card.

Please pop over to my blog, Kat's Tales of Stamping, for more detailed instructions and for complete supply lists.

Topflight Stamps Products Used:


Thanks for visiting! 
01 09 10