Sunday, July 31, 2022

Sending you smiles - from the Shark

 Hi there! It's Kathi here. I know that it's not Tuesday which is my regular day to share projects with you, but since it's "Shark Week" on various American television stations AND it's still way too hot outside for me, I decided to share a cool underwater scene starring one of two sharks included in Craft EmotionsCarla Creaties Ocean 7 Clear Polymer Stamp Set  and the gorgeous waves from their Carla Creaties Ocean 11 Polymer Stamp Set. The sentiment is from the Everyday Sentiments Clear Stamp Set 666 by Janet Klein for AALL and Create.

Here it is!


This card came together rather quickly for me and wasn't overly complicated.

I stamped this smiling shark with Copic-friendly inks and fussy-cut him. He was colored with Copic markers and edged with a black pen.

He was dusted with a sprinkle of anti-static powder then the sentiment from the Everyday Sentiments Clear Stamp Set 666 by Janet Klein for AALL and Create was stamped with VersaMark ink. Fine detail embossing powder was used to emboss the sentiment.

There are two stamps included in the Ocean 11 Polymer Stamp Set. A stamping platform and Copic-friendly ink were used to stamp the straight-ish ocean stamp twice, I first stamped it towards the bottom of a panel of white cardstock, then cleaned the stamp before repositioning it, re-inking it, and stamping it again. The ocean waves stamp was then stamped into position towards the top of the panel. 

The ocean image panel was trimmed to 5.25" x 4", then the ocean and sky were colored with Copic markers.

When done, the image panel was adhered to a white A2 card and the shark was adhered.

Please pop over to my blog, Kat's Tales of Stamping, for detailed instructions and complete supply lists.

By the way, I'd be remiss if I didn't tell you that there are positively oodles of great new products over at Topflight Stamps! Click here to check them out!

Topflight Stamps Products Used:


Thanks for visiting! See you Tuesday!


Friday, July 29, 2022

Visible Image Daisy Grunge


Happy Friday crafty friends! Ericka from Strangely Creative here and today I'm playing with some more Visible Image. I love the unique stamps and stencils from this company and combined several in my card today.


I started by stamping the Visible Image Daisy Grunge on a gel press paper I had in my stash. I clear heat embossed the flower and cut it out. I then started working on my background. I took a book page and started stamping the Visible Image Transmission Glitch set for additional grunge. I used various inks in my background including Versafine Clair Morning Mist and Charming Pink, as well as Distress ink in Uncharted Mariner and Salvaged Patina. 


I then blended Distress Ink in Antique Linen and Walnut Stain to add the look of my book page. I added some leftover pieces to my card and then used the Visible Image Seeing Stars stencil with black and white pens. 

I finished my card with the sentiment from the Visible Image Affirmations set and splattered white paint around my card. Thank you for stopping by and I hope you have a wonderful weekend!

Topfight Stamps Supplies Used


Thursday, July 28, 2022

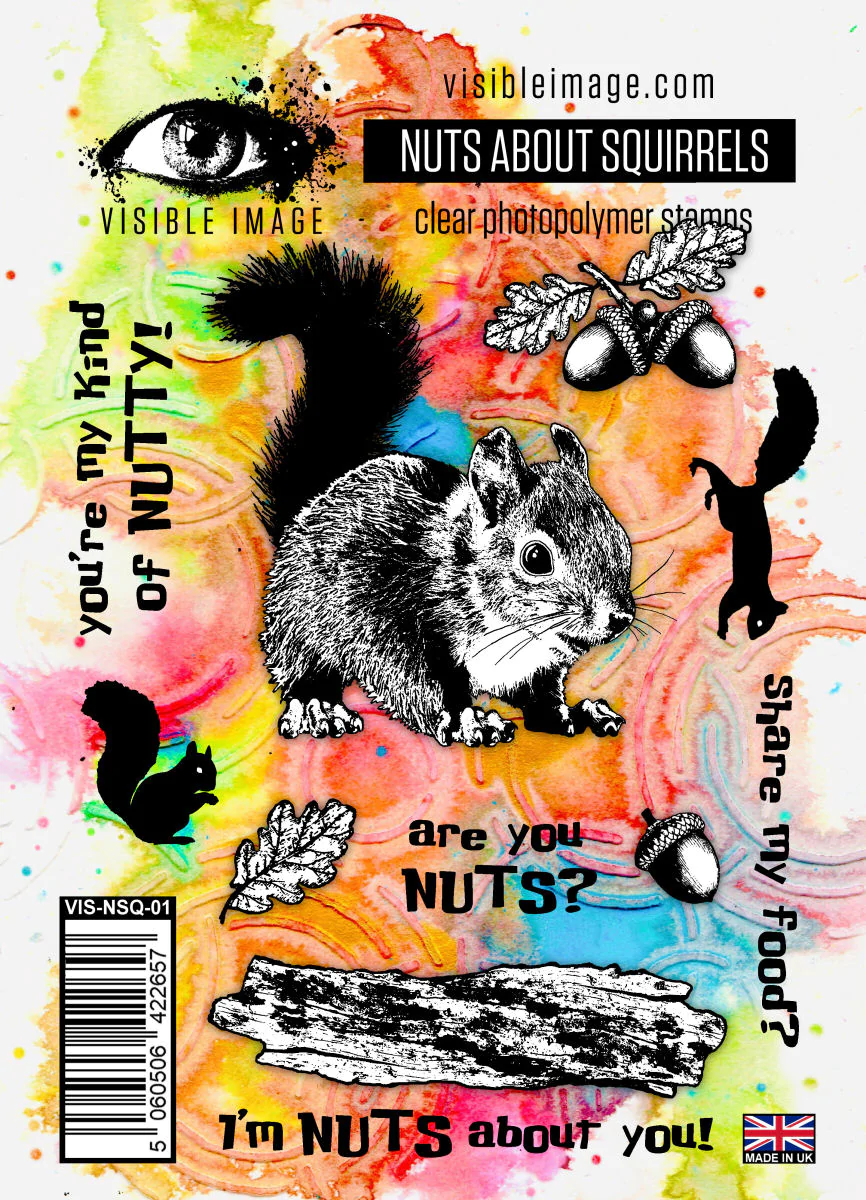
Visible Image - You are my Kind of Nutty

 Hi Everyone,

This week we are showcasing Visible Image stamps on the Topflight blog.  And since August is almost over I thought a somewhat fall inspired card is appropriate. 
I stamped the squirrel and log, mad a mask for them and smooshed the background. Added the acorns and leaves. Colored them with Copics. Didn't really like my background. So I decided to add some sponging. Got some accidental black splatters on my card, but I didn't mind them, after all it has kind of a messy look anyhow. Added the sentiment. I also added some white accents to my squirrel to bring it better to life. Trimmed the card and added a strip of patterned paper to the side.
I hope you liked this. Thanks for visiting. 
See you next week with more Topflight Stamps inspiration.

And here are the stamp supplies I used: 

Wednesday, July 27, 2022

Imitation is the highest form of flattery - Visible Image


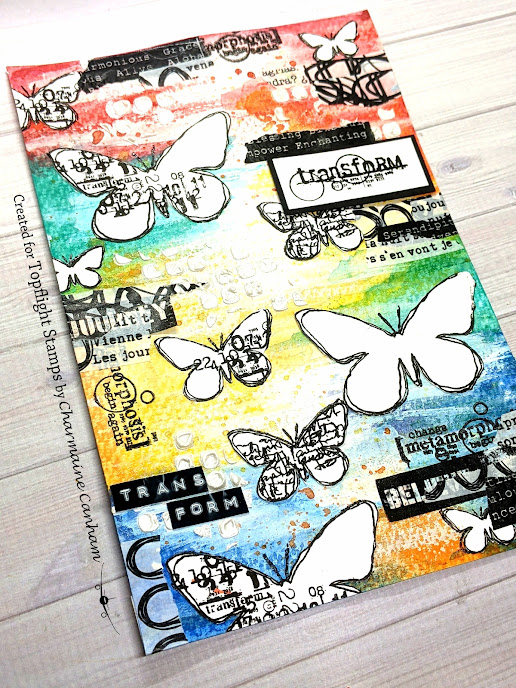
What draws you to something? The color? Texture? For me, it is color and whimsy. When I first saw this stamp set from Visible Image, I knew I wanted to recreate the packaging. I wondered how I could replicate the color and free-flowing feeling. See how I recreated this page below.
( I hope they don't mind!)


I found these Stabilo Woody pencils on Amazon (in the children's section) and used them in my journal and here, on watercolor paper. I mimicked the colors from the packaging but played with a variation of colors.
.

Add water with a brush, but make sure to wash your brush in between colors to prevent making mud


So the colors were too bright and filled the whole page. Add white gesso with a brush to mute the page a bit. 


Add drops of watercolor for that spotty look.


Stamp the butterflies with Versafine Onyx black ink and then clear heat emboss with WOW Clear Gloss embossing powder. This will prevent smearing.


Stamp the matching butterflies on white heavy cardstock and fussy cut them all. Glue them on with liquid glue. 
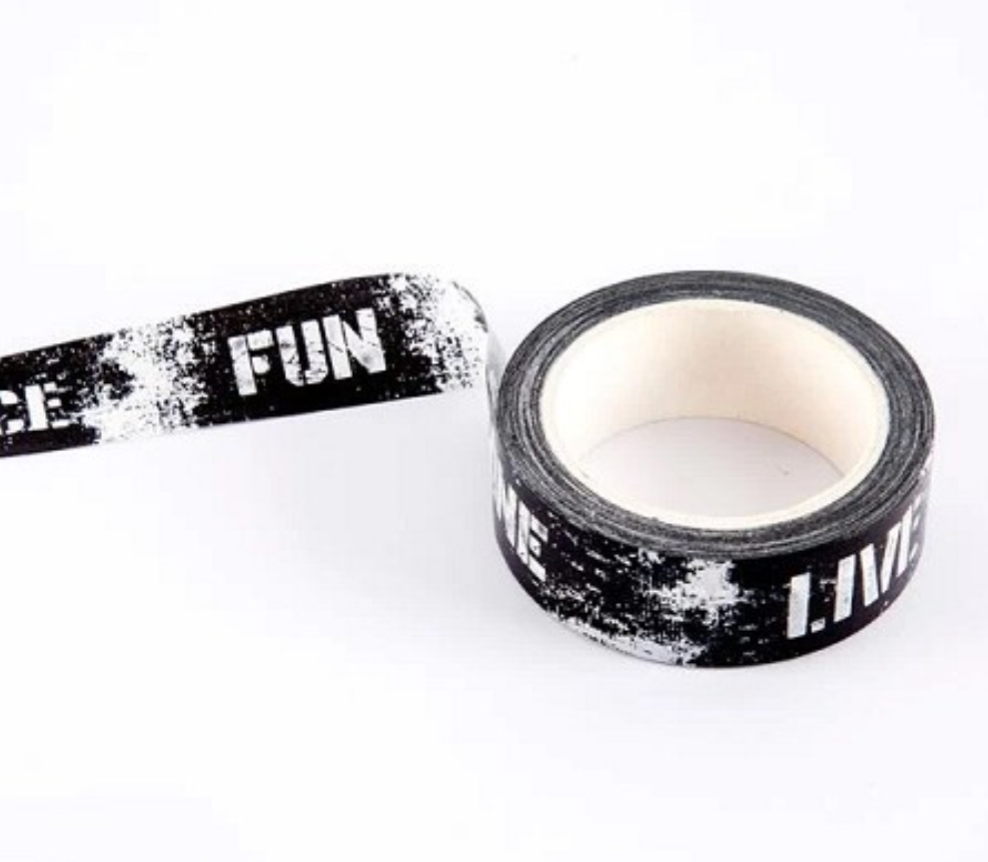
Add washi tape in layers and add your sentiments. You can even add some more color for more contrast. 


I used modeling paste and a stencil for added texture on the page.
 

Isn't this so cool?


Thank you for stopping by and remember to check out the whole team's Visible Image stamp projects on the blog!

Charmaine

Tuesday, July 26, 2022

Stay Cool - Like a Mermaid!

It's Tuesday so you've got Kathi here to share a project with you! This week my teammates and I are showcasing Visible Image's fantastic products. Since we're still in a heat spell, I decided to make a cool ocean scene with Visible Image's Mythical Mermaid Clear Polymer Stamp SetDare to Swim Clear Polymer Stamp Set, and the Mr. Bone Jangles Clear Polymer Stamp Set.


Using my stamp platform and Copic friendly ink, I stamped the mermaid and one of the dolphins from the Mythical Mermaid Clear Polymer Stamp Setonto white cardstock and onto repositionable label paper. The label paper were fussy-cut and placed over their counterparts as masks. 

The dolphin stamp was cleaned, then stamped again onto the image panel and onto label paper, which was fussy-cut and placed over the second dolphin on the image panel.

The other dolphin from the Mythical Mermaid Clear Polymer Stamp Set was stamped to the left of the mermaid and onto repositionable label paper, which was fussy-cut and placed over its counterpart.

The shells from the Mythical Mermaid Clear Polymer Stamp Set were stamped along the bottom of the image panel and onto the label paper. The label paper versions of the scallop shell and the crab were fussy-cut and placed over their counterparts.

The small skulls from the Mr. Bone Jangles Clear Polymer Stamp Set were stamped onto the bottom of the image panel and onto label paper, which was fussy-cut and placed over their counterparts.

The Jellyfish from the Dare to Swim Clear Polymer Stamp Set was stamped onto the right side of the image panel and onto label paper. Only the dome of the jelly-fish was masked with the fussy-cut label paper.

A clear piece of plastic was placed horizontally across the image panel, slightly above the mermaid's shoulders.  Della Blue Elements Inks by Lavinia Stamps was brushed over the the mermaid's head, trident, and the dolphins to create the sky.

The plastic was moved to cover the sky. Scrap paper was torn into a hilly shape and placed over the base of the image panel. Three colors of Distress ink were brushed across the masked images to create the sea.

The negative part of the torn hilly shape was placed over the sea and Copic-friendly sand-colored ink was brushed over torn paper to create a sandy sea bottom.

All masks were removed and the images were colored with Copic markers, taking care to use colors that were dark enough cover the Distress ink on the tentacles. The sandy sea bottom was also colored with Copic markers to add shading and dimension.

When the coloring was done, the sky portion of the image panel was covered and the same three Distress inks were brushed across the sea and sea bottom parts of the image panel and the images to add the tint of the sea overtop.

White Gelly Roll Gel pen was used to add touches of sea foam and other white accents. Gelly Roll Bold Line Stardust Clear Glittering Ink Pen by Sakura was used to add glittery touches to the dots around the tentacles and the water bubbles.  Several layers of Clear Glaze 3D Glossy Gel pen was added to the bubbles and the dolphins to simulate droplets.

Shady Lane VersaFine Clair Ink by Tsukineko was used to randomly stamp the small fern from the Woodland Fern Clear Polymer Stamp Set by Lavinia Stamps around the objects on the sea floor.

The image panel was outlined with a black pen and adhered to a 5" x 7" white card.

Please pop over to my blog, Kat's Tales of Stamping, for more detailed instructions and complete supply lists. 

Topflight Stamps Products Used:


Thanks for visiting today!

Monday, July 25, 2022

Art Journal with Visible Image + Video

 Welcome back from what I hope was a creative weekend for you all! This is Rachel from www.rwkrafts.com and today I'm sharing an art journal page featuring stamps from Visible Image. I also played around with the new Lavinia Mystical sprays (love!).


I started with a gesso'd art journal page and sprayed Lavinia sprays in Kingfisher and Amble Green. I was so happy to see that the Kingfisher color has mixes of copper mica as well... such a pretty surprise! Once the sprays dried, I added Paper Artsy Coral paint over the AALL & Create Totally Dotty Stencil. 


Next I used modeling paste over the AALL & Create Digits Checked stencil, which I placed a few times over the page. I then heat embossed the modeling paste using Wow! Golden Glow powder.


Next, I sprayed some white cardstock with Lavinia Mystical spray in Bumble Bee, Kingfisher, and Indian Sunset. I then stamped the Visible Image Spring Awakening stamps on the cardstock. I fussy cut the images and arranged them throughout my journal page.


This page came together really quickly! I departed from my usual colors (a bit) so I might remake the same page with my usual pink, teal, orange :)

I also put together a process video, you can watch it here! Thank you for your support!


Topflight Stamps supplies used:


AALL & Create - Totally Dotty


Lavinia Spray - Kingfisher


01 09 10