Monday, November 30, 2020

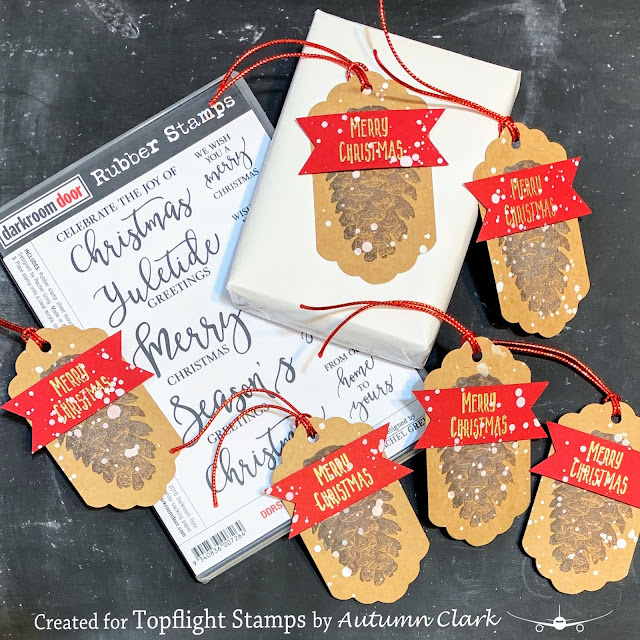
Darkroom Door Handmade Christmas Gift Tags


Happy Monday friends!  It's Autumn Clark from SewPaperPaint with you today to share a few fun tags made with stamps and ink.  I love the way handmade gift tags add uniqueness to packages and that "personal touch."  I grabbed several of my favorite Darkroom Door stamps and tried to puzzle piece them with various die cuts I had to see which stamps would work best for each size.
  

For my first set, I used the Pine Cones stamp set and Ground Espresso Distress Oxide, then embossed the sentiment in gold and gave everything a splash of watery gesso to resemble snow.


For my next set of tags, I stamped a sentiment from the Yuletide Greetings stamp set in black on my kraft tags, then restamped the sentiment on green and fussy cut the bottom word into a little banner.  I used a punch for the greenery spray and die cut a little berry.


My next set was made by dipping my circle cutouts into Broken Glass and Cracked Pistachio Distress Inks, then stamping the Snowflakes background stamp on the larger circle.  I used a punch for the large snowflake, then a smaller sentiment from the Yuletide Greetings set for the smaller circle.  These tags god a little sprinkle of glitter to make them sparkle!


For my last set of tags, I dipped a larger square into watery Peeled Paint Distress Ink.  Then I stamped the smaller square with the Abstract 07 Dots stamp and spritzed the stamping with water to let the dots bleed a bit, blotting the center so my overstamped sentiment would stand out more.  I hope your Christmas season is off to a great start and you will take the time to add a few handmade touches to your holidays.  Hugs, Autumn


Find these stamps and more at TopflightStamps.com!


Friday, November 27, 2020

Visible Image New Year

 Happy Black Friday! Ericka here and I hope you have some good deals in your shopping cart today and if you need a couple more check out the sale below. Today I'm also making a New Year's card and used the Visible Image Ahead of Our Time set as well as a little Cosmic Shimmer Strata Paste.

Great minds think a like, so check out Toni's blog post and the way she used this set as well.

I love the images of this set and thought it would be perfect for New Year's. I also used the Visible Image Count Me In Stencil with the Cosmic Shimmer Strata Paste which is like an embossing paste but chunkier.

The paste is the perfect way to add layers to your projects and best of all you can ink it up after it is dry.

I added the sentiment from the Visible Image Classic Christmas to finish my card.


Thanks for stopping by and for more details on how I created my card check out my website at Strangely Creative.


Check out the great Black Friday Sale going on now till November 28th!


Thursday, November 26, 2020

Happy New Year

  Hi Everyone,
Cornelia here today! 

This week we focus on New Year cards. 
Lets just hope  2021 will be better than 2020....


I started out with one page from the Dots to Diamonds Paper Pad for the background. I used Blender Brushes to create the ombre gradient. I stamped the little Zini on scrap paper twice and colored it with markers. I made it a bit taller than it is in real life. Fuzzy cut it. Stamped the sentiment on another piece of scrap paper and used it to cover up the  "defect" in my Zini. Added the gemstones.


I hope you liked this! See you next week with more Topflight Stamps inspiration.


Here are the stamp supplies I used:
Use code FUNSTAMPING to get 12% discount at Topflight Stamps.


Wednesday, November 25, 2020

Hello, New Year


Hello there, Topflight fans.  This week we're focusing on New Year cards. Let's jump right in.


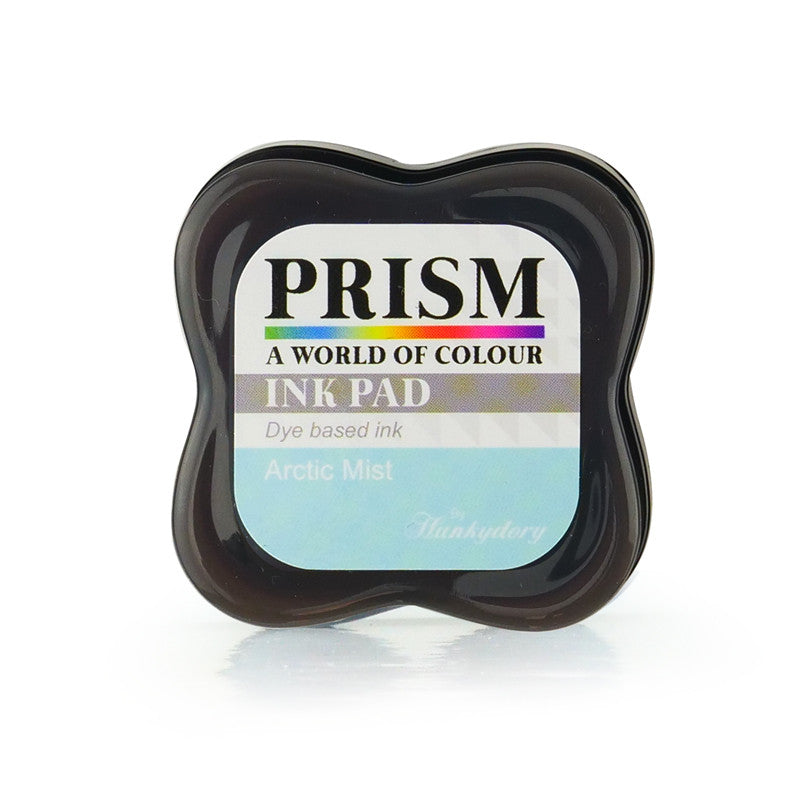
I embossed the Visible Image Ahead of Our Time spiral clock onto a background randomly sponged and spattered with Prism Inks (Camellia Pink, Orange Zest, Midnight Black, Canary Yellow, Blue Lagoon, and French Navy)


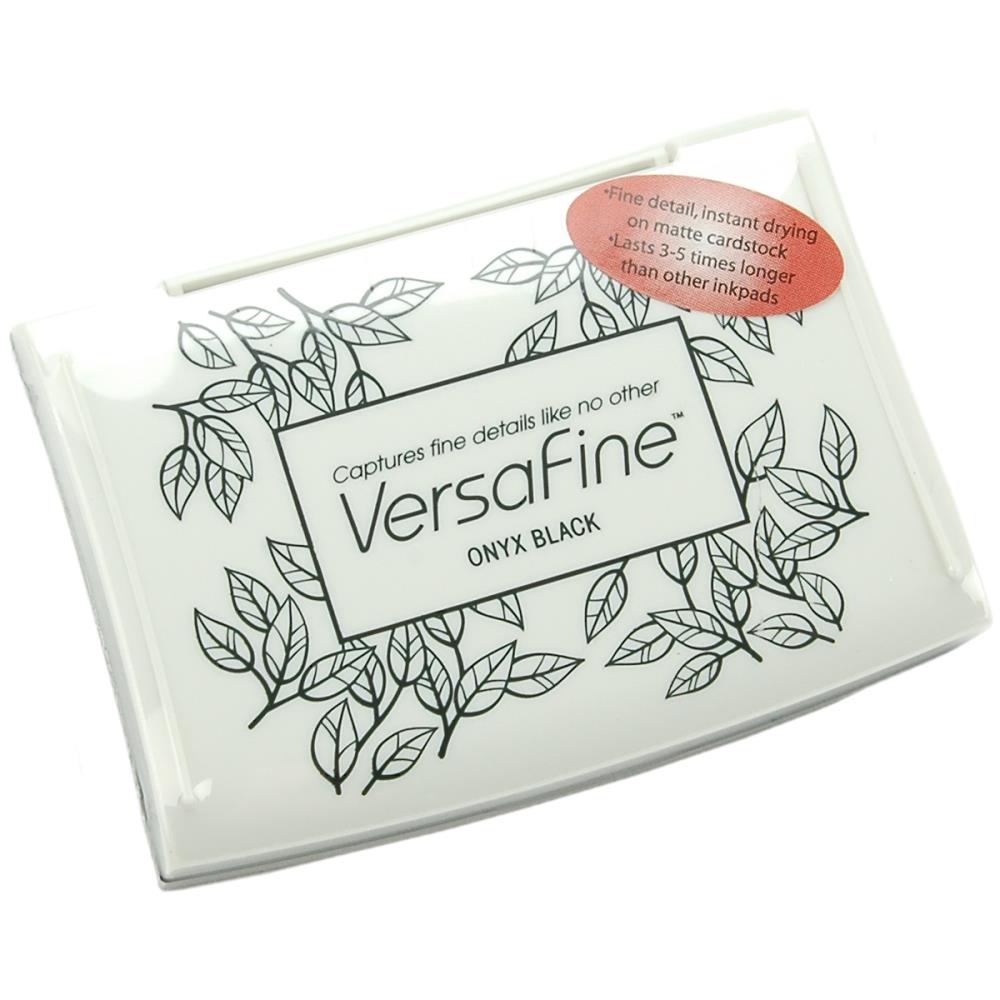
I then stamped the Visible Image Ahead of Our Time head and crow using Versafine Onyx Black. A rub with a paper towel removed the ink from the white embossed clock quite easily.

I stamped, colored and fussy cut the door image. I also fussy cut the Past (ombre inked with Prism Inks) and Future (Hero Arts Ombre Red to Purple Neon).  Hopefully we can open the door and find a brighter future!


I'll be back with you next week. Until then, why don't you check out the new products that have come into the TFS shop.  You can shop your heart out using this 12% off coupon

You can also check out my other creations by visiting my blog, Frankie Helps Craft, my Instagram, or my Pinterest Board.

Tuesday, November 24, 2020

New Year Card from the Meerkats!

Greetings! It's Tuesday, so it's Kathi here sharing a project with you. This week my teammies and I are getting ready for the New Year. I'd imagine you're ready for 2021 too! 

The Katzelkraft Meerkats always look like they're having a great time, so I decided to use that set to create my card. In the interest of full disclosure, I had planned a shaker card and was 85% done when I made a huge mistake that couldn't be repaired, so I've gone with "Plan B". I will revisit that specific card and will share it with you all. Eventually. 

Anyway, here's the salvaged card.


The meerkat in the middle was stamped onto white paper and onto repositionable label paper, which was fussy-cut to become a mask. The other two meerkats were then stamped onto the image panel and onto the label paper, which was also fussy-cut for masks. I had stamped another two meerkats onto the image panel, but when I tried to salvage them, the paper tore. Alas.

A ruler was placed over the bottom of the image covering the meerkats paws, then blue Distress ink was brushed over the masked meerkats. The next step was to position the Super Hero stencil over the meerkats and brush lilac and raspberry Distress ink over the stencil onto the image panel.

The ruler was repositioned to cover the top part of the image and blue Distress ink was brushed over the bottom part of the image panel. The Stone stencil was positioned, then darker blue ink was brushed over that. I ended up trimming off most of that part, but it's a very cool stencil. 

All the masks were lifted and reserved for another use. The three meerkats were colored with Copic markers and any missing linework was touched up with a fine point black pen.

The image panel was die-cut and matted on a grey die-cut and adhered to a patterned paper panel, which was in turn adhered to a grey A2 card.

The sentiment, from my oft-used Classic Sentiments Clear Stamp Set by Heffy Doodle was stamped onto light blue patterned paper using Onyx Black VersaFine Ink by Tsukineko which is my *go to* ink for fine-lined images and sentiments. The sentiment was die-cut and adhered to finish the card.

If you'd like to see the full supply lists, including marker choices, please visit my blog, Kat's Tales of Stamping. 

PSA: There are lots of fantastic new products at Topflight Stamps, so you should definitely click on over there after reading my instructions! BTW, if you'd like to get 12% off your order at Topflight Stamps use THIS LINK!

Monday, November 23, 2020

Fun & Games For New Year's

 Hello Topflight Stamp Fans, Karen Bearse here with a December Daily page that is fun & games! The theme this week is New Year's so make sure you check back & see what the team is coming up with.  I am prepping pages for my album and thought I would work on a page for that. There is a full tutorial on my blog which you can find here.  


Here is my very mixed media looking page. I love that it is prepped just waiting for photos & the story of our New Year's. I am pretty sure I am not alone that 2020 was not the best year & it will be great to see it go. 


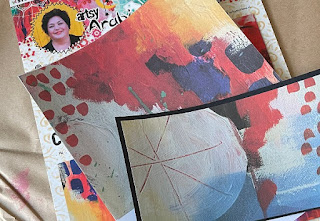
The brilliance of this page is there is not a drop of paint on it. If you love that art journal background look but aren't into paint you can still get the effect by using Art By Marlene's Collage papers. There are 2 different packs & they come with 2x10 patterns. It is printed on light weight paper which is perfect for collage. 

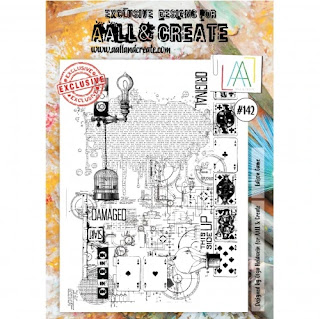
In my opinion every mixed media page needs some stamping . We tend to board game with the family on New Year's Eve & AALL & Create have the perfect sets for that theme. I used Edison Game #142 for both the back ground & some of the white cut out images. 

Next up was a set that has this lovely unique chess set incorporated into it. Even though we don't normally play chess it is the theme of game that counts! I love the layers on these stamps. Chess Art #115 has subtle stitching in the background, along with different styled words & numbers, so fun.  

For the title, this wonderful alphabet set by Tracy Evans was used. Grungy Alphabet #397 is exactly as it's title suggests & is perfect for a mixed media page.  

To give my title that wow factor it was stamped with ink & embossed with Seth Apter's Aegean Sea Emboss Powder. I also used Prism Inks with the powder to create a dynamic embossed look. While trying to decide what color to use I created this swatch sheet. This helps me see at a glance what the color combo results are. The top stamp is with the embossing, below that is just the ink with the name of the color underneath. Seth's Baked Velvet are translucent which changes the colors of the inks used underneath. So fun!


Did you see the great Black Friday sale we are having? Click on the photo to save, save, save! 


Thanks so much for joining me today. I hope you have a great week & get the chance to get inky!

Friday, November 20, 2020

Distress Dragonfly Dreams

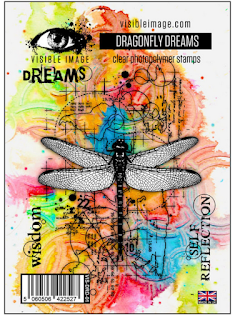
Happy Friday! Ericka here with another card I made using the new Visible Image release Dragonfly Dreams. I love this set and the wonderful details of the dragonfly and the background.


The sentiments included in this set is also amazing and I love how well they all go together.


I also used the Time for Tea Blending Brushes to blend the Distress Oxides for my background. These brushes are a great way to easily blend color on your backgrounds.

For more details on how I created my card, check out my blog, Strangely Creative. Thanks for stopping by and have a great weekend!


01 09 10