Showing posts with label mixed media. Show all posts

Wednesday, September 2, 2026

Mixed Media Collage Card with PaperArtsy

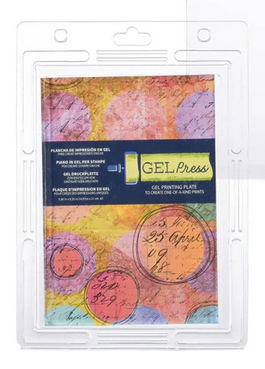
Hello, Lisa Hoel here. Welcome to September! This week at Topflight Stamps our theme is Anything Goes. I decided to dig through my box of scraps (you guys keep little scraps of paper "just in case" too right? right?) to make a collage. Can't let those good bits go to waste! ;-) I added stamped elements from PaperArtsy stamp sets to the collage and used a Gel Press print for the background.


Lisa Hoel for Topflight Stamps #creativejuicefreshsqueezed #topflightstamps


Thanks for stopping by and be sure to check out the Topflight Stamps store for a wide selection of different and hard to find stamps, stencils and other paper crafting supplies from all around the world! Also keep an eye here on the Topflight Stamps blog. There is new inspiration posted often!

Topflight Stamps Supplies Used:

PaperArtsy Lynne Perrella stamp set - LPC048

PaperArtsy Lynne Perrella stamp set - LPC043

PaperArtsy Seth Apter stamp set - ESA08

Studio Light mask - X Background

Gel Press print
Versafine Clair ink - Nocturne
AALL & Create stamp set - Everyday Sentiments
watercolors
black texture paste


Monday, August 3, 2026

Cheers for Mixed Media!

Hi, friends!  It's another Monday with Walter.  This week's theme for the Topflight Stamps Design Team is mixed media.  It's a theme that lends itself so well to many, many different brands.  However, when I think of mixed media and Topflight Stamps . . . my mind turns to Paper Artsy.  Their stencils and their stamps are so easy to use with various mixed media techniques.  I decided to use the beautiful background stencil PS529 by Scrapcosy and stamp set ESC58 also by Scrapcosy this week.


I knew that this background stencil would look absolutely beautiful as a background created with paste and watercolored.  I used an A2 size piece of watercolor paper and spread Ranger Opaque Crackle Texture Paste across the paper through the stencil.  Once dry, I used various colors from Lindy's Magicals Nantucket Pearls to create a Moroccan-like pattern.  I sprinkled the powders around the panel, spritzed it with water, and then moved it water around the panel with a paint brush.  The end result is a rich array of green, orange, and a little bit of blue.


I then used a combination of water and Peacock Feathers Distressed Oxide Ink with a paint brush to add little bits of oxidation throughout the panel.

I cut another A2 watercolor panel and cut an arch from it using a stacking arch die set from my stash.  I wanted this to be a darker color so as to not take any attention away from the stenciled panel.  I used Lavinia Dinkles Paynes Grey mixed with some water to color it.  The end result is a beautiful stone looking arch, I added double-sided foam tape to the back of arch and adhered it down to the stenciled panel.  I love the rich texture and colors!  I selected the sentiments CHEERS! ON YOUR DAY and stamped them onto the panel with Versafine Claire ink.

The final step was stamping my florals from the ESC58 Stamp Set with Versafine Claire ink onto watercolor paper and, once the ink was dry, watercolored the florals using a mixture of Nantucket Pearls & water.  I chose to use orange, pink, and blue for my flowers to maintain a balance with the color of the background panel.


I let the florals dry and then fussy cut them with details scissors.  I glued them down to the bottom of the arch and the design was complete.  It's such a pretty scene and a card that may be given to either a woman or a man!

I hope that you enjoy this design!  I'd love to hear what you think in the comments.  I'll be back on the blog again next Monday.  Until then . . . be well!

Topflight Products Used


Saturday, May 30, 2026

Whimsical Wings & Magical Light


Hello friends! Ericka from Strangely Creative here, and today I'm sharing a whimsical fairy card featuring the beautiful Serene stamp from Lavinia. Whenever I pull out my Lavinia stamps, I can't help but imagine magical woodland scenes filled with light, wonder, and a touch of fairy dust.

For this card, I wanted to create a background that looked as though Serene was standing in a soft beam of enchanted light.

I started by creating a gel press print using soft pink paints to form the base of my background. Pinks always seem to bring a dreamy, magical feeling to a project, and I knew they would be the perfect backdrop for this fairy scene.


🌟 Creating Magic with Cornstarch

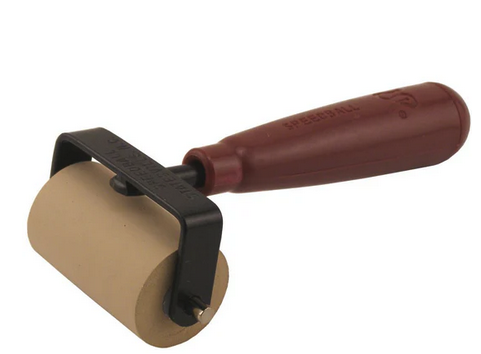
One of my favorite ways to create unexpected texture on a gel print is with a simple kitchen staple, cornstarch! After pulling my pink background, I brayered a layer of blue paint onto my gel plate and lightly sprinkled cornstarch across the surface. When the print is pulled, the cornstarch reacts with the paint to create beautiful organic patterns that look almost like glowing mist, magical clouds, or distant fairy lights.

The best part? Every print is completely unique.

It's one of those techniques that reminds me why I love mixed media so much. Sometimes the most interesting effects happen when you let go of control and simply play.


🧚 Bringing Serene to Life

Once my background was dry, I stamped the gorgeous Serene fairy and heat embossed her in gold.

The gold embossing instantly transformed the image, adding a warm glow that perfectly complemented the magical feel of the background. It catches the light beautifully and creates an elegant focal point against the soft colors.

To build my fairy garden scene, I added additional foliage using several Lavinia stamps and Lavinia Dye Ink. Layering these smaller elements around the fairy helps create depth and gives the impression that she is tucked away in an enchanted woodland.


✨ Finishing Touches

No magical card is complete without a few special details!

I used white and gold gel pens to add tiny highlights and accents throughout the design. These little touches help draw the eye around the card and create the illusion of sparkling light. To finish everything off, I added one of my signature hand-drawn frames and a Lavinia sentiment to complete the scene.


Thank you so much for stopping by today! I hope this project inspires you to pull out your gel plate, experiment with texture, and create your own little bit of magic.

Have a wonderful week filled with creativity, imagination, and plenty of crafty play!


 Topflight Stamp Supplies

Lavinia - Forest Moss
Shop at:
TP
Lavinia - Foliage
Lavinia - Foliage
Shop at:
TP
Lavinia - Magic Around Us
Shop at:
TP
Lavinia - Serene
Lavinia - Serene
Shop at:
TP
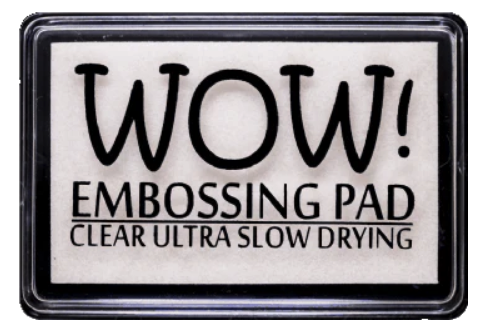
WOW! Embossing - Clear Embossing Pad
Shop at:
TP
WOW! Embossing - Metallic Gold Rich Pale
Shop at:
TP
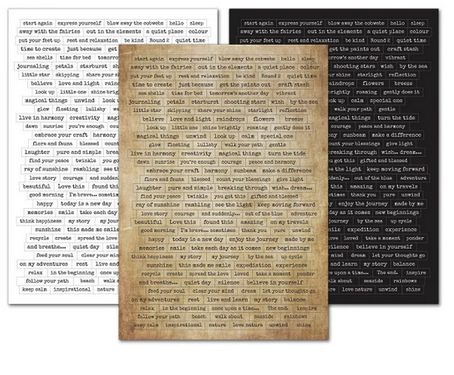
Lavinia - Sentiment Stickers - Uplifting Collection
Shop at:
TP
Lavinia - Elements Dye Ink - Blue Lagoon
Shop at:
TP
Lavinia - Elements Dye Ink - Dark Denim
Shop at:
TP
Lavinia - Elements Dye Ink - Pine
Shop at:
TP
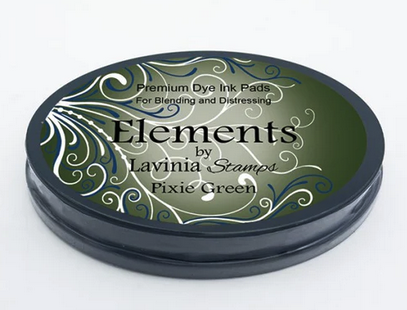
Lavinia - Elements Dye Ink - Pixie Green
Shop at:
TP
Gel Press - Reusable Gel Printing Plate
Shop at:
TP
Speedball - 2
Speedball - 2" Brayer
Shop at:
TP


Saturday, May 16, 2026

Mixed Media Envelope Magic with Chou & Flowers


Hello fellow crafters! Ericka from Strangely Creative here, and today I’m sharing a little mixed media goodness featuring the beautiful Chou & Flowers Envelope stamp along with some fabulous AALL & Create dies.

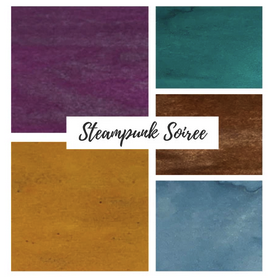
For this project, I started with a leftover piece of patterned paper from my stash. You know I love using up those extra bits that are too pretty to toss! To add more depth and shimmer, I sprayed the background with Lindy’s Gang Steampunk Soirée Shimmer Spray. It gave the paper such a gorgeous layered glow and instantly made the background feel more artsy and aged.


Next, I stamped the Chou & Flowers Envelope onto watercolor paper and white heat embossed it. I love how white embossing gives an image a soft, raised outline while still letting the color take center stage. To color the envelope, I used some leftover paint that was sitting on my craft table. Sometimes the best color combinations come from what is already there, and this was one of those happy little moments.

For added texture, I used the AALL & Create Layers of Air die on both my background and a piece of black cardstock. I absolutely love the worn folder look this die creates. It gives the project that perfectly distressed, tucked-away-paper feel that works so well with mixed media.


I also had some leftover deli paper that I had used to clean off my brayer during a gel print session. Rather than let that colorful paper go to waste, I ran it through my die cut machine using the foliage pieces included in the AALL & Create die set. The result was a beautiful mix of soft color and texture that was perfect for layering.

Before placing my die cuts, I added a little white gesso behind the focal area to help everything stand out from the background. Then I layered the foliage and placed my watercolored envelope on top. To finish the project, I added sentiments from the Lavinia Uplifting Collection, which gave the piece the perfect touch.


I love how this project came together from leftover papers, extra paint, and pieces that could have easily been forgotten. It is always fun to turn scraps into something beautiful and meaningful.

Thank you so much for stopping by, and I hope you have a wonderful and creative week!


Topflight Stamp Supplies 

Chou & Flowers - Envelopes
Shop at:
TP
AALL & Create - 106 - Layers of Air
Shop at:
TP
WOW! Embossing - Clear Embossing Pad
Shop at:
TP
Lavinia - Sentiment Stickers - Uplifting Collection
Shop at:
TP
Lindy's Gang - Steampunk Soiree Shimmer Spray
Shop at:
TP

Wednesday, May 6, 2026

Anything Goes! PaperArtsy Mixed Media Card with Lynne Perrella

Hello, Lisa Hoel here. This week at Topflight Stamps our theme is Anything Goes! My sewing machine is out so I thought I'd make a mixed media card with a scrappy fabric base.


Lisa Hoel for Topflight Stamps #creativejuicefreshsqueezed #topflightstamps


First I sprayed some strips of plain muslin fabric using Lindy's Stamp Gang Moon Shadow Mist - Smoky Sapphire. When it was dry, I tore it into strips and stitched them onto the card base. I also stenciled onto the background with Parisian blue paint, then stitched on my focal image from the Lynne Perrella 71 stamp set.

Thanks for stopping by and be sure to check out the Topflight Stamps store for a wide selection of different and hard to find stamps, stencils and other paper crafting supplies from all around the world! Also keep an eye here on the Topflight Stamps blog. There is new inspiration posted often!

Topflight Stamps Supplies Used:

PaperArtsy stamp set - Lynne Perrella 71

Studio Light Mask - X Background

Lindy's Stamp Gang Moon Shadow Mist - Smoky Sapphire

AALL & Create stencil - Microscope Views #62
VersaFine Clair ink pad - Nocturne
Lavinia paint - Parisian
watercolors
black texture paste


Friday, March 13, 2026

Washi Tape Magic: Creating a Floral Coffee Memory Dex


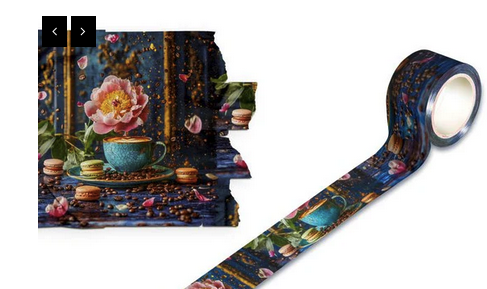
Hello crafty friends! Ericka from Strangely Creative here and today I’m playing with the gorgeous Glacier Grace Washi Tape from AALL & Create.

This beautiful tape immediately caught my eye because it features two of my favorite things… flowers and coffee. It’s the perfect combination for a quick but eye-catching project.


Creating the Washi Background

To begin, I lined up strips of the Glacier Grace washi tape across a piece of cardstock. This is such an easy way to create a bold background without needing paints or inks.

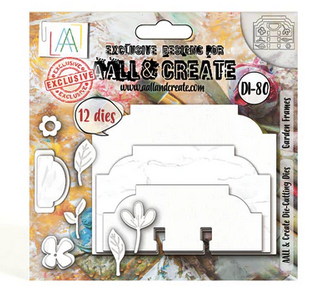
Once the background was complete, I used the Garden Frame Die to die cut the floral image from the panel. The die frames the artwork beautifully and instantly creates a focal point for the card.


Adding Extra Layers

I always love sneaking in a little mixed media texture when I can. I had some leftover gel press strips from previous projects, both on regular paper and tissue paper.

Using the AALL & Create Code #12 Die (discontinued), I cut a few shapes from those gel printed pieces and layered them. The soft textures and color variation add just enough contrast to make the design more interesting.


Finishing Touches

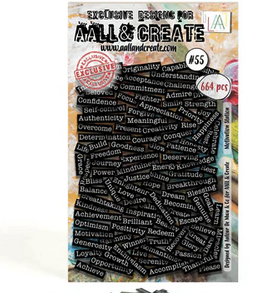
To complete the card, I added a sentiment from the Motivation Station Ephemera collection.

The final result is a card that feels layered and artistic while still being quick to put together. Washi tape backgrounds are one of my favorite tricks when I want something beautiful without a lot of extra steps.


Thank you so much for stopping by today. I hope this inspires you to pull out your favorite washi tapes and create something fun this weekend.

Wishing you a wonderful weekend filled with creativity and a little peace. ☕🌸


AALL & Create - 80 - Garden Frames
Shop at:
TP
AALL & Create - Motivation Station
Shop at:
TP
AALL & Create - 139 - Glacier Grace
Shop at:
TP
01 09 10