Tuesday, June 30, 2020

Have a Magical Adventure!

Hi there! It's Kathi here sharing a project. This week my lovely teammates and I are sharing projects made with stencils. Topflight Stamps carries lots of wonderful stencils by a variety of companies, so you should mosey over there, have a magical adventure discovering new stencils.


Here's my project.


The Steampunkesque Cling Rubber Stamp Set has four wonderful Steampunk images and three sentiments.

I chose the flying man image, which is kind iconic. If you have a Trader Joe's supermarket near you, they used to have that image on their shopping bags. Anyway, I stamped the image onto white cardstock and onto mask paper. The mask was fussy-cut and placed over its counterpart on the image panel.

Periwinkle Prism Ink was sponged over the clouds portion of the Great Outdoors Stencil by PolkaDoodles. I start at the top and work my way downwards. I then went back and did the same thing, a bit more randomly Pink Jellybean Prism Ink. 

When I was happy with the coverage, the stencil was removed and I placed the Kay Carley PS080 Stencil by PaperArtsy stencil at the base of the image panel and sponged  Rainforest GreenDusky RoseFire CoralPurple Velvet Prism Ink by Hunkydory Crafts over it.

The mask was lifted and the image was colored with Copic markers and some glitter pens. The image panel was matted with silver cardstock, then set aside while I worked on the background for the piece. 

Moving from left to right, several colors of Distress Oxide inks were sponged over the Cogged Up Stencil onto Silver Metallic Cardstock and heat set. The piece was trimmed into three pieces and edged with more Distress Oxide Inks, adhered to black cardstock, then matted as shown.

Black Modeling Paste was scraped over the Journey Stencil onto die-cut black cardstock. The stencil was removed and silver embossing powder was sprinkled onto the wet paste. The excess powder was dumped off, and the sentiment was heat set. An embossing pen was used to add some fluid randomly to the letters, then rust embossing powder was applied, removed, then heat set. The sentiment was matted with silver cardstock, then it and the image panel were added to complete the piece.

If you're curious about this project, I will have some step-out photos and a more complete (totally boringly verbose) set of instructions on my blog, Kat's Tales of Stamping

Topflight Products Used:


The Cogged Up Stencil by Andy Skinner for Creative Expressions


Thanks for visiting! See you next Tuesday!

Monday, June 29, 2020

AALL & Create Flourish Bird Stenciled Card


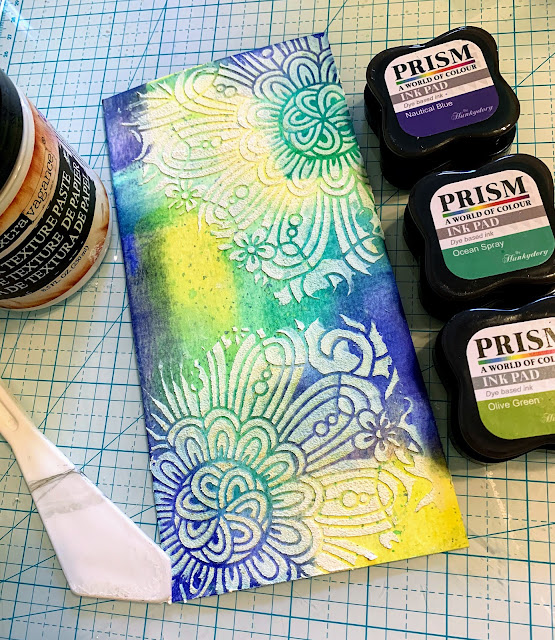
Happy Monday!  This week our design team is showcasing the Topflight Stamps stencil collection.  I used the Abundance stencil by AALL & Create and texture paste over a bit of direct to paper using Prism Dye Ink Pads in Ocean Spray, Nautical Blue and Olive Green.  Even though the direct to paper is a bit geometric, the addition of the stencil covers the "harsh lines."


I added the watercolored bird image from the Flourish stamp set, with an extra bird cut out and popped up for dimension.  I brushed my Prism pads in green and blue on a scrap of paper and stamped a few flowers from the Blooming Field set, which I fussy cut and tucked under the bird.  I thought the sentiment strip would be perfect to encourage a friend in times like these.  I hope you've enjoyed this card and are inspired to play with your stencils today!  Hugs, Autumn


Click to shop for these products:


Friday, June 26, 2020

Gel Press Embossing

Happy Friday! Ericka here and I hope your week went well. Today, I'm playing with the Carabelle Studio Postcard and some gel press prints I had saved in my stash. I also am using embossing powders to add texture and shine to my cards.


 For my first card I used embossing ink to stamp the Postcard image.

https://topflightstamps.com/products/carabelle-studio-rubber-cling-stamp-a6-background-postcard-jen-bishop?_pos=14&_sid=28a70dcfe&_ss=r&ref=xuzipf8pid

I used the Sunflower WOW! Embossing Powder part of the Parc Floral set to heat emboss the image.


I then took the Carabelle Texture 3 Stencil and applied embossing ink with a blending tool to add WOW! Curacao embossing power for green texture.


I also added the Carabelle Butterfly Letter stamp to the card for some fun.


I created the other two cards in a similar way using gel prints I had previously made.


I used the same stencils as well but played with Distress Glaze for a fun texture and color.


I stamped the Darkroom Door Dream Big Sentiment Strip and cut it into pieces to use on all of my cards.


For more information on how I created my cards along with the supplies I used, check out my blog Strangely Creative. Thanks for stopping by and have a wonderful weekend!

Thursday, June 25, 2020

Simple Elegance

Hi Everyone,

It's Topflight Stamps day! 


I used one of my Gel Press backgrounds that I made recently. And since I got a new addition to my Zini family I had to put him on this cards. I colored him with markers and fuzzy cut him. Added the sentiment. Trimmed the card and added two small strips of patterned paper on the sides.


I hope you liked this! See you next week with more Topflight Stamps inspiration.

Here are the stamp supplies I used:
Use code FUNSTAMPING to get 12% discount at Topflight Stamps.


Wednesday, June 24, 2020

Cray Cray Chickens


Hello, TFS fans! I hope you're having a fabulous week.  Toni here with you today sharing a super fun and colorful oddball of a card. Oh, how I love these PaperArtsy Zinski Art 58 Chickens!


I stamped the chickens and colored them up with Copics. I used a white pigment pen to add lots of little dots and circles. So cute!


I added grass using the Polkadoodles Grass Lawn Stencil and Prism Ink Apple Green and Rainforest Green.


I thought the Visible Image Ripples Stencil added a sense of movement so I added that with a bit of Prism Ink Arctic Mist.  Of course, I had to add some of my favorite Pronty A5 Pretty and Cool Stars using Prism Ink Canary Yellow.


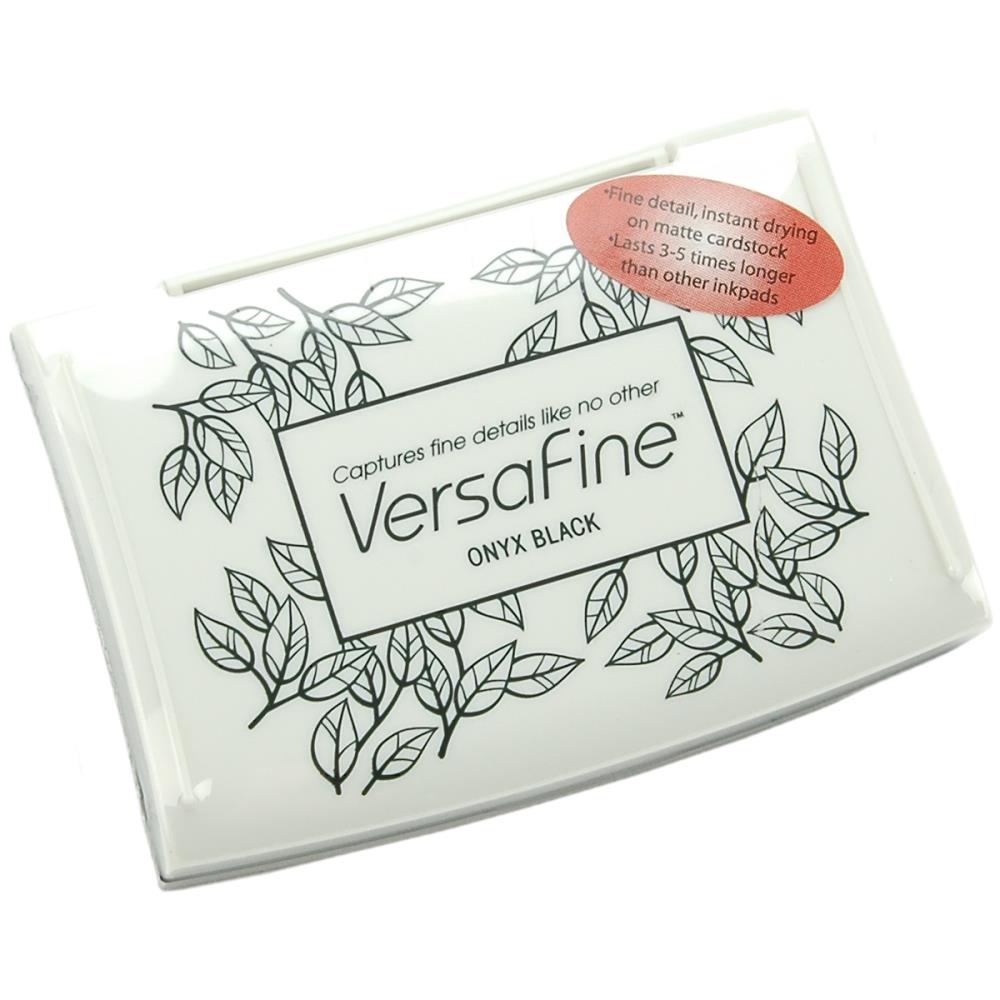
I stamped the Katzelkraft Relax Sentiment using Versafine Onyx Black.


It was just so very perfect for these cray cray chickens!


I'll be back with you next week. Until then, why don't you check out the new products that have come into the TFS shop!  You can shop your heart out using this 12% off coupon!

You can also check out my other creations by visiting my blog, Frankie Helps Craft, my Instagram, or my Pinterest Board.

Tuesday, June 23, 2020

Never Too Late!

Greetings! It's Kathi here with an encouragement card. I like making this kind of cards to send to my daughter, friends, and family. You never know when people might need an uplifting message, especially lately. 


Here's my card:


I decided to try something a bit different to create this card. I pulled out my 5" x 7" Gel Press, dripped some drops of Spun Sugar Distress Re-Inker onto it, misted it with water, then sprinkled Yellow, Yellow Ochre, White, and Orange Brusho Crystals onto the Gel Plate, misted it lightly, and pressed a piece of mixed media paper onto the gel plate. I repeated the process again to pull a second print. Both prints were misted with water to further activate the crystal and clean sheets of mixed media paper were pressed onto the prints to transfer the color. 

I decided that the prints were a bit blah, so I sprinkled Prussian Blue and Purple Brusho Crystals onto the prints and misted all four prints with water to activate the color crystals. I heat set them until they were dry. They needed to be flattened out, so I sandwiched them between clean sheets of paper, placed the sandwich onto the Big Shot platform,  added both cutting plates over them, and cranked them through the machine several times. 

Background Clocks was stamped with Onyx Black VersaFine Ink onto one of the gel prints, then heat set. It was trimmed down, edged Black Shimmer Delicata Ink, and matted with blue cardstock.

Another gel print was die-cut, then the sentiment, from the Dreamer Sentiments set, was stamped with Onyx Black VersaFine Ink onto it. The panel was edged with Black Shimmer Delicata ink, double matted, and adhered to the 5"x7" card. The matted clock panel was adhered as shown.

White metallic paper from the Premium Metallic Creative Collection Cardstock and vellum that had been backed with double sided tape were cut with a hourglass die. The white cardstock was colored with a black marker, which made its shimmer match the edges of the layers. Tiny beads were added to the adhesive on the vellum hourglass die-cut and a second vellum hour glass die-cut was adhered to its counterpart. The assembled hourglass was added to the card using dimensional foam adhesive.

Please visit my blog, Kat's Tales of Stamping, to find out more about my card.

Topflight Products Used:


Thanks for visiting today! See you next Tuesday!

01 09 10