Showing posts with label Pronty. Show all posts

Wednesday, May 5, 2021

Cardmaking with KatzelKraft

Hi, Connie here with an easy cardmaking idea using silhouette 
stamps by KatzelKraft.  I love easy and I'm going to show you why.
Easy makes a great looking card!!!

To create an easy background, for the silhouette flowers and deer, to be stamped
on I applied Distress Oxide (two different shades of blue) to the card base.  Then
water was sprinkled on and then dabbed off.  You get some really cool effects.
The stencil was applied next using Prism/Slate Grey ink. 
Next the magic happens!!!

Use a stamping platform to stamp the silhouette flowers to the card front.  I stamp mine up 3
 and 4 times to get solid coverage and clean stamping lines. Versafine/Onyx Black is
perfect for this.  I love the simplicity of this technique and it looks so crisp!!


Next do the same with the silhouette deer and silhouette butterflies. 
 Add the sentiment stickers to the card front and adhere to a folded card base.
Project complete!!!
Told you it would be easy and CUTE!!!

Products used:


Thanks for stopping by~
Connie Mercer

Saturday, May 1, 2021

It's Panda Time for Tea!

Greetings! It's Kathi here. On Tuesday I told you that I was confused about whether to use Time for Tea Designs products or to create a tea-themed project, so I made both. Well I'm back today with a tea-themed tag!


My first step was to stamp the To Go Cup from the Coffee and Tea To Go Unmounted Red Rubber Stamp Set by Katzelkraft with Memento ink onto white cardstock. Using a stamping platform, I positioned one of the adorable pandas from the Pandamonium Party Clear Stamp Set onto the cup, then stamped him with Memento ink. I fussy-cut the cup, then colored the entire image with Copic markers, and edged it with a dark marker. The cup was set aside while I worked on the tag.

The tag, overlay, and the bit that covers the tag's aperture were die-cut from mixed media cardstock. 

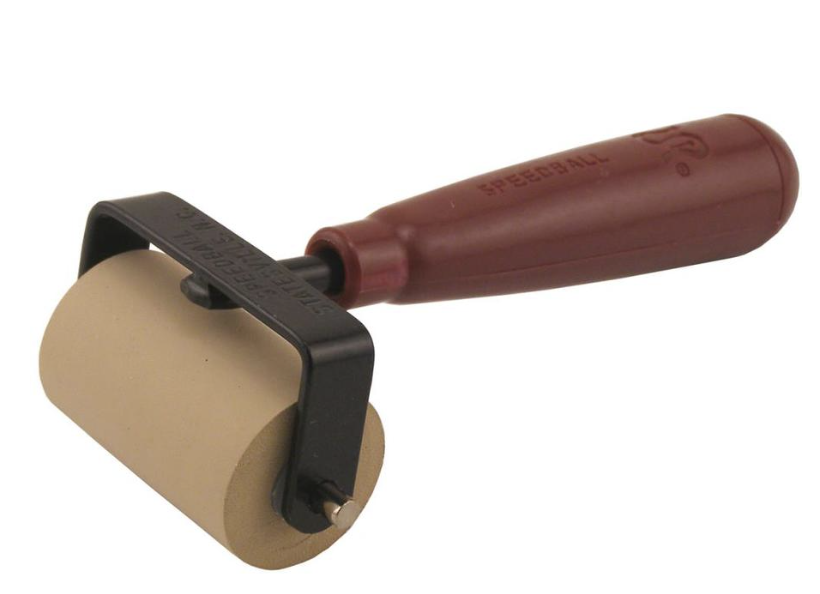
Graphite Elements Ink was applied to my 2" Speedball Brayer. Some ink was rolled off, then the remaining ink was applied to the 5" X 7" Gel Press . The tag base was placed onto the Gel Press, then a print was pulled, and both the Gel Press and brayer were cleaned. I repeated this step with Blue Lagoon, then more lightly with Merlot, and Paprika Elements Inks.

I repeated the above process with the stitched tag overlay to build up some color, then placed the Pattern 4 Stencil by Pronty Crafts onto the Gel Press, brayered Blue Lagoon over the stencil, placed the tag overlay onto the Gel Press, and pulled a print. Both the tag and the overlay were heat set to ensure that they were dry.

The tag overlay was placed onto a stamping platform, the sentiment from the Coffee and Tea To Go Unmounted Red Rubber Stamp Set was positioned as shown, and the platform's lid was lifted. A Post-It Note was used to cover the words "You, Me, &", the stamp was inked with Onyx Black VersaFine Ink by Tsukineko, and the sentiment was stamped.

A fine-tipped black pen was used to ink the stitch patterns on the tag overlay, then Clock themed Washi tape was applied to the bottom of it. The overlay was adhered to the tag, the Panda Tea-To-Go Cup was adhered, a vellum tea vapor die-cut was adhered, and the tag topper was adhered. Ribbon was threaded through the tag's opening to finish it all up.

If you'd like to learn more about this tag, please visit my blog Kat's Tales of Stamping!

Topflight Stamps Products Used:


See you on Tuesday!


Wednesday, March 3, 2021

Having fun with Paper Rose!

Hi, Connie here to share a fun card set using Fish & Bubbles 
from Paper Rose.  The set is created in a mixed media style
so I hope you enjoy.  


        I started by creating the background for the image to stamped
             on.  I used stencils and Distress Oxide ink in coordinating
       colors.  The image was stamped with Versafine ink which is a great
          ink when you want the fine details to show up.  So perfect!!


A stamp platform was used also, so the image could be
re-stamped several times, to insure a rich image.


This set was so easy to create with. I love the little fish!!
Such whimsical.  
Products used:


PaperArtsy / P145
(This is a great stencil for water bubbles and added
interest). Looks great outlined with a white gel pen.

I also used the stencil by AALL & Create #42 (currently out of stock).

Thanks for stopping by
 and 
just for you
get 12% off by using the code
conniemercer at the Topflight Stamps Store.
Connie

Tuesday, October 13, 2020

Upon the Highest Bough


Hello, everyone!  Toni here with you today sharing a super fun mixed media holiday card. Mixed media, you say?  Yep yep!
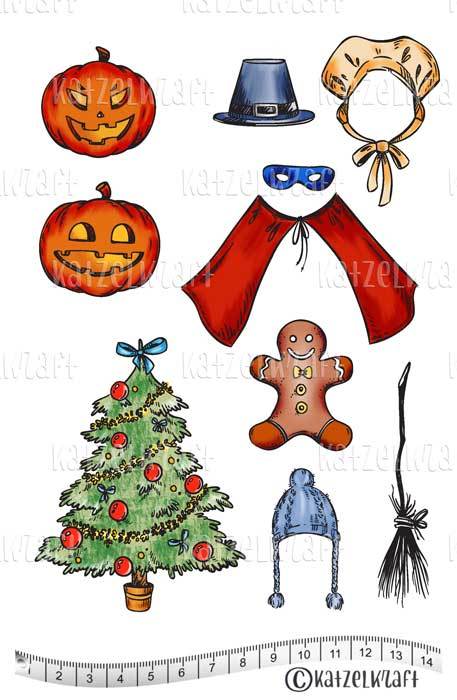
I stamped the Katzelkraft Pilgrim Holiday Accessories tree and masked it before stamping the Craft Emotions Savannah Christmas giraffe.


I then colored up the tree using watercolors as well as Polychromos pencils. I used a glaze pen to create the fabulous shiny red garland and ribbons. I even used it on the giraffe's hat.


I used Peerless liquid metallic watercolor for the ornaments. Next I colored up the giraffe with watercolors, applying a snow pen to the hat brim and pom which I then heated to puff it up. The dimension is so fun!

Btw, I had used the Pronty A5 Pretty and Cool Stars Stencil with Prism Ink Canary Yellow for the background.


I accidentally inky fingered the bottom of the card so trimmed it off and added a bit of washi ground.


I'll be back with you next week. Until then, why don't you check out the new products that have come into the TFS shop!  You can shop your heart out using this 12% off coupon

You can also check out my other creations by visiting my blog, Frankie Helps Craft, my Instagram, or my Pinterest Board.

Wednesday, September 16, 2020

Skull Spiders


It's getting all spooky up on in this house!  LOL. Halloween cards are so fun, especially for those of us who love a good scare.

I started both cards using the Creative Expressions Redemption Stencil on the card base. The first (white) I sponged using Prism Ink Blackcurrant Jam, Purple Velvet, and Olive Green.  For the black one, I used white pigment ink.


I then embossed the That's Crafty Skull Bugs spider using Wow Perissa embossing powder and fussy cut it out. Yes, both spiders use the same powder so this just shows you the variation.


For the black and spatters I used the Pronty A4 Grunge Objects Stencil.


I'll be back with you next week. Until then, why don't you check out the new products that have come into the TFS shop!  You can shop your heart out using this 12% off coupon!

You can also check out my other creations by visiting my blog, Frankie Helps Craft, my Instagram, or my Pinterest Board.

Wednesday, July 1, 2020

Crackle Dreamer


Hello, everyone!  A couple of weeks ago I had made a card using this same Darkroom Door Butterflies Stencil. This time I actually let the crackle embossing paste dry naturally.  Guess what?  It turned out perfectly with the crackles and not the funky bubbles!


I used the stencil as a mask as well, rubbing various Prism Inks over the butterfly to add color and emphasize the crackles.


I sponged the background with Prism Ink then used the PaperArtsy JOFY PS147 Stencil with a damp paper towel to remove some of that ink. I removed the stencil mask and spattered the card front with water. Yum!


I also sponged a few Pronty A5 Pretty and Cool Stars Stencil with more Prism Ink.


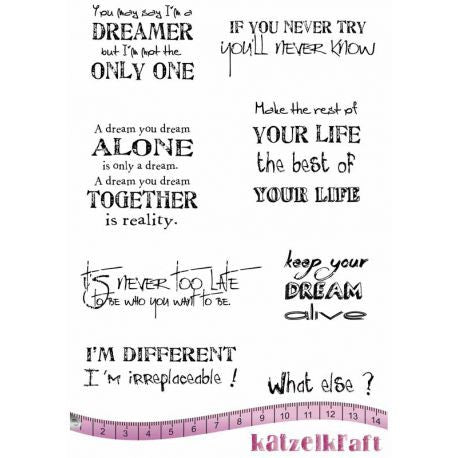
Finally I stamped the Katzelkraft Dreamer sentiment using Versafine Onyx Black.

Katzelkraft - Dreamer - Sentiments - Unmounted Red Rubber Stamp Set

Talk about dreamy!


I'll be back with you next week. Until then, why don't you check out the new products that have come into the TFS shop!  You can shop your heart out using this 12% off coupon!

You can also check out my other creations by visiting my blog, Frankie Helps Craft, my Instagram, or my Pinterest Board.
01 09 10