Greetings! It's Tuesday so you've got Kathi here to share a project with you! This week our focus is on the stars! Here's a birthday card inspired by a song created with the Swing Clear Polymer Stamp, the Pris Clear Polymer Stamp, the Musical Notes Small Clear Polymer Stamp Set, the Treble Clef from the Musical Notes Large Clear Polymer Stamp Set, a sentiment from the Heartfelt Verses Clear Polymer Stamp Set, the Dynamic Stencil, and four colors of Elements Premium Dye Inks — all by Lavinia Stamps. The focal images were stamped with Nocturne VersaFine Clair Ink by Imagine Crafts/Tsukineko and shimmer was added with Scintillating Silver Glitz Spray from the Glitz Spritz Spray Set by Lindy's Stamp Gang.

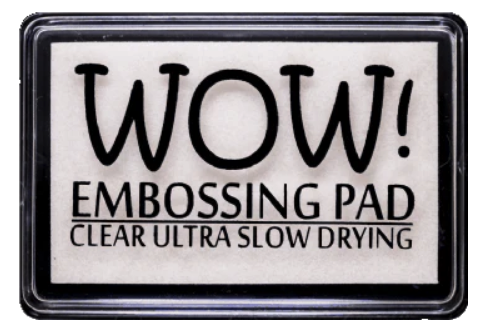
Apply embossing ink over a star opening on a stencil onto a 5" x 7" panel of Mixed Media paper. Add detail white embossing powder to the wet ink, dump the excess back into its container, and heat emboss. Re-apply the embossing ink over the star opening again. Add sparkly clear embossing powder to the wet ink, dump the excess back into its container, and heat emboss.
Sponge or brush Dark Denim Elements Premium Dye Ink by Lavinia Stamps over the embossed star applying the ink more heavily around the edges of the panel. Sponge or brush Blue Lagoon Elements Premium Dye Ink over the panel, blending as you go. Thoroughly heat set the panel. Use a wet cotton swab to remove the excess ink from the star.
Use a Post-It Note to cover the bottom parts of the star. Position the Swing Clear Polymer Stamp by Lavinia Stamps facedown with the top of the swing's ropes on the Post-It Note covering the base of the star. Ink the stamp with Nocturne VersaFine Clair Ink by Imagine Crafts/Tsukineko and stamp. Position Pris Clear Polymer Stamp by Lavinia Stamps facedown so that her posterior is sitting on the swing and her hands are on the ropes. Ink the stamp with Nocturne VersaFine Clair Ink by Imagine Crafts/Tsukineko and stamp.
Working in small segments, use a water-laden tiny paintbrush to apply water to the swing seat and ropes. Use a tissue or paper towel to dab off the water and bleach the area. Smoosh the lid of the Henna Elements Premium Dye Inkpad onto the ink pad. Use the tiny paintbrush to apply the ink to the seat of the swing. Smoosh the lid of the Sahara Elements Premium Dye Inkpad onto the ink pad. Use the tiny paintbrush to apply the ink to the swing's ropes. Use watercolor pens to correct the color if you'd like.
Use a white chalk pencil to add small highlights to Pris.
Position the Dynamic Stencil by Lavinia Stamps over the image panel. Sponge or brush Blue Lagoon Elements Premium Dye Ink over the stencil onto the image panel avoiding Pris and the Swing.
Use Dark Denim Elements Premium Dye Ink to randomly stamp the treble clef from the Musical Notes Large Clear Polymer Stamp Set by Lavinia Stamps around the image panel. Use the same ink to stamp a variety of notes from the Musical Notes Small Clear Polymer Stamp Set by Lavinia Stamps as well.
Spray Scintillating Silver Glitz Spray from the Glitz Spritz Spray Set by Lindy's Stamp Gang over the panel. Dab off the big blobs and heat set.
I realized that the shimmer mostly obliterated the stenciling, so I re-did repeated the stenciling but you might not be bothered by it.
Trim the image panel to 4.75" x 6.75", edge with Dark Denim Elements Premium Dye Ink, and adhere it to a 5" x 7" black card.
Edge the sentiment stickers with a black pen. My stickers are on the old side so I adhered them with the Quickie Glue Pin Point Roller Pen by Sakura.
Use embossing ink to stamp the "Birthday Wishes" sentiment from the Heartfelt Verses Clear Polymer Stamp Set by Lavinia Stamps. Add detail white embossing powder to the wet ink, dump the excess back into its container, and heat emboss. Use a cutting die to cut the sentiment and adhere it as shown.
Use a white paint pen to randomly add white "stars" to the background to finish the card.
Please pop over to my blog, Kat's Tales of Stamping, for step-by-step instructions, complete supply lists, and notes.
Topflight Stamps Products Used:


.png)


Thanks for visiting today!