Showing posts with label PaperArtsy Tracy Scott. Show all posts

Friday, July 24, 2026

Bright, Bold & Beautiful: A Mixed Media Floral Card


Hello Topflight friends! Ericka from Strangely Creative here, and today I'm sharing a bright, colorful card that combines some of my favorite things: gel printing, embossing powder, texture, and lots of sparkle!

One of the things I love most about mixed media is discovering new ways to use the supplies already sitting on my craft desk. This project not only added beautiful shimmer to a gel print, but it also gave new purpose to a well-loved embossing pad that was almost ready for retirement.


🎨 Starting with a Colorful Gel Print

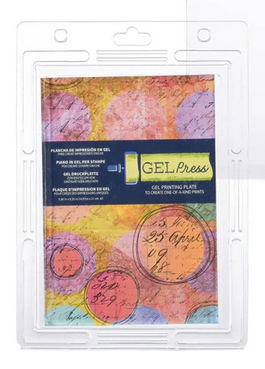
Every great mixed media project starts with an interesting background, and for this card I chose one of my vibrant gel press prints.


It already had plenty of color, but I wanted to add another layer of texture that would catch the light and make the background feel even more dynamic.


✨ Adding Texture & Sparkle

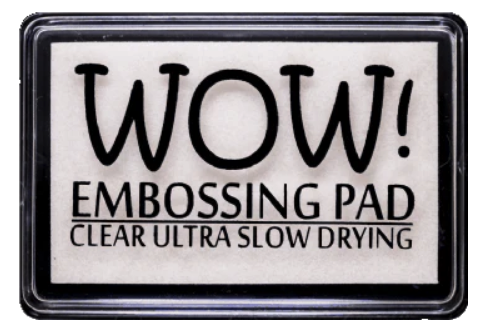
To create that extra dimension, I reached for the PaperArtsy Tracy Scott PS519 stencil and my trusty WOW! Embossing Pad.

If you're trying this technique, the safest way to apply embossing ink through a stencil is with an ink blending sponge or dauber. It helps protect your embossing pad while giving you great control over the design.

But here's where this project took a slightly different turn...

I have an old WOW! embossing pad that's been on my craft table for well over ten years. It's definitely showing its age, but it's still just juicy enough to be useful. Rather than throwing it away, I've officially promoted it to my mixed media embossing pad!

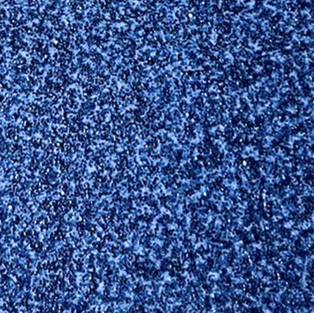
Since it's nearing the end of its life anyway, I simply pressed it directly through the stencil before sprinkling on WOW! Blue Diamond and Cerulean embossing powders.


The result is a beautifully textured background with layers of shimmer that change as the light hits the card. Sometimes our oldest supplies still have plenty of creative life left in them.


🌸 Creating the Focal Point

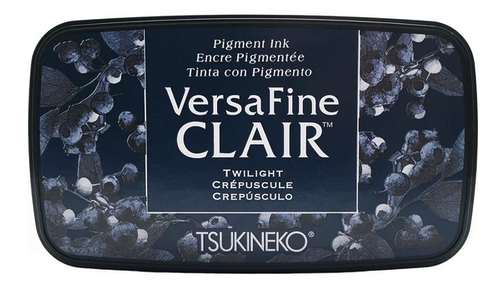
For the focal image, I stamped the beautiful PaperArtsy Tracy Scott 108 bloom onto another gel print that featured Nuvo Drops, creating a soft, sparkly texture behind the flower. Using Versafine Clair Twilight ink allowed the detailed lines of the bloom to stand out beautifully against the colorful background.


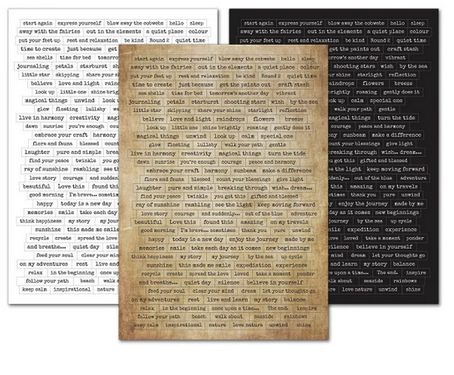
Once everything was trimmed, I layered the flower onto the embossed background and finished the card with a sentiment from the Lavinia Uplifting Collection.


💌 Finishing Touches

This card came together with just a few simple elements:

  • A colorful gel print background
  • Embossed texture through a stencil
  • Sparkling embossing powders
  • A bold floral focal image
  • A simple sentiment to finish the design

It's proof that layering color, texture, and shine can create plenty of impact without adding lots of embellishments.


Thank you so much for stopping by today! I hope this project inspires you to experiment with texture, embrace a little sparkle, and find new ways to enjoy the supplies you already own.


Have a wonderful weekend, and happy creating! ✨💙🌸


Topflight Stamp Supplies 
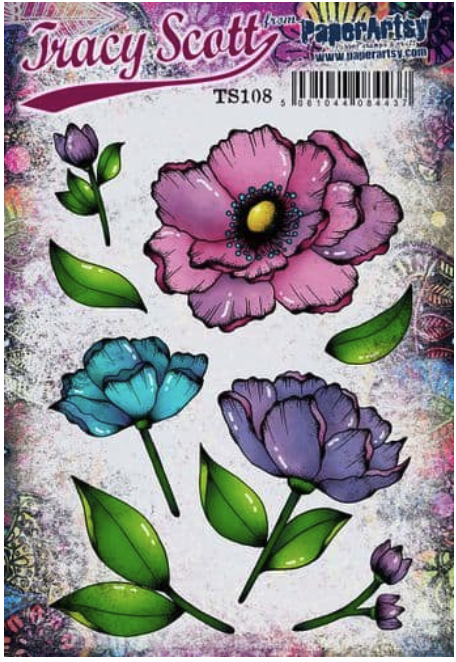
PaperArtsy - Tracy Scott 108
Shop at:
TP
PaperArtsy - Tracy Scott PS519
Shop at:
TP
WOW! Embossing - Clear Embossing Pad
Shop at:
TP
WOW! Embossing - Tracy Scott Pea Coat
Shop at:
TP
Lavinia - Sentiment Stickers - Uplifting Collection
Shop at:
TP
Tsukineko - Versafine Clair - Twilight
Shop at:
TP
Gel Press - Reusable Gel Printing Plate
Shop at:
TP
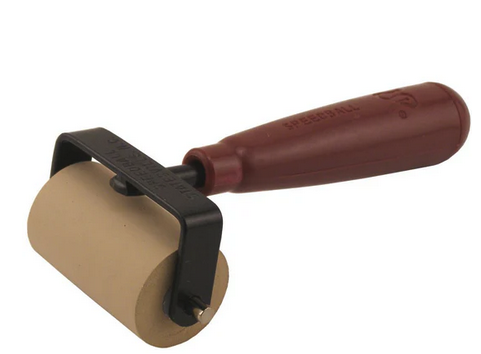
Speedball - 2
Speedball - 2" Brayer
Shop at:
TP

Friday, June 19, 2026

One Stamp, Two Looks: Summer Watercolor Play with Tracy Scott 108


Hello friends! Ericka from Strangely Creative here, and today I'm sharing a project that combines two of my favorite things: summer crafting and watercolor play.

One of the things I love most about summer break is finding a little extra time to experiment in my craft room. Between running kids to activities and enjoying the slower pace of the season, I've been spending some time practicing watercolor techniques and exploring different ways to use my supplies.

For today's project, I pulled out the beautiful PaperArtsy Tracy Scott 108 set and challenged myself to create two completely different cards using the same image and the same Lindy's Gang Magicals.


🎨 Card One: Soft & Dreamy Watercolor

For my first card, I stamped and heat embossed the floral image using white embossing powder.


I wanted a soft, flowing look, so I used a simple wet-on-wet watercolor technique. First, I applied clean water to each petal, then dropped in color from my Lindy's Gang Magicals and let the pigments move naturally across the image.

This technique is one of my favorites because it creates beautiful blends without requiring a lot of effort. The colors soften into one another and create a delicate, almost dreamy effect.

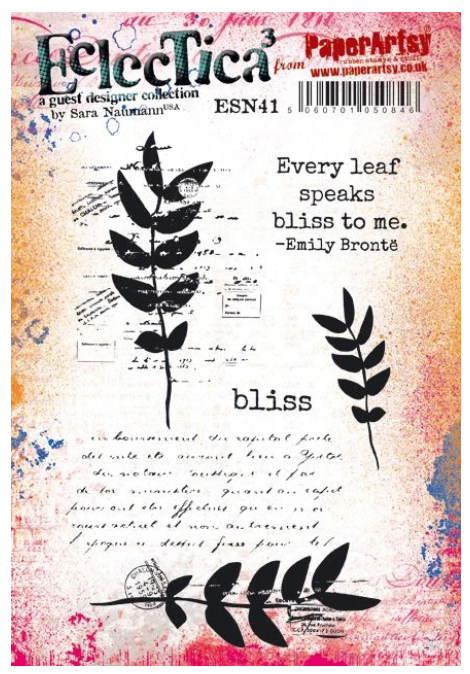
Once the flower was dry, I added a sentiment from the PaperArtsy Sara Naumann 41 set and finished the card with splatters of gold acrylic paint.

There is something so satisfying about those final splatters. They always seem to bring everything together.


✨ Card Two: Bold & Bright

For my second card, I wanted to create something with a little more contrast and drama.


This time, I heat embossed the floral image using gold embossing powder, which immediately gave the design a warmer and more elegant feel.

I used the same watercolor technique but reached for slightly brighter, more vibrant colors. It's amazing how simply changing the embossing color and increasing the color intensity can completely transform the look of a project.


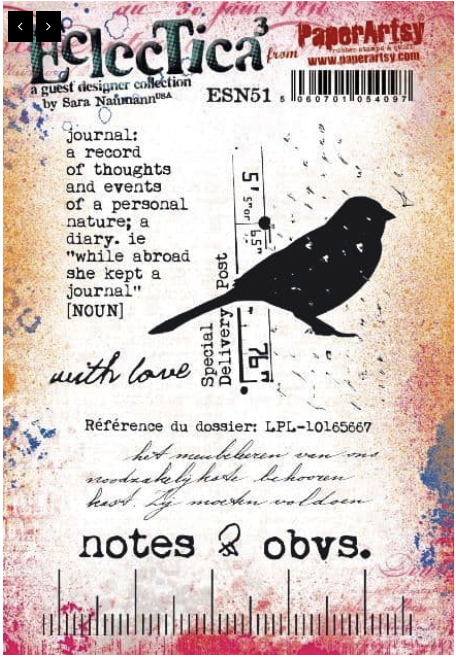
To finish the card, I added a sentiment from the PaperArtsy Sara Naumann 51 set and repeated the gold paint splatters to tie everything together.


🌿 Same Stamp, Different Results

This project was a wonderful reminder that you don't always need new supplies to create something fresh.

By changing:

  • The embossing color
  • The intensity of the watercolor
  • The sentiment

you can create a completely different mood with the exact same stamp.


One card feels soft and peaceful.

The other feels bright and bold.

And honestly, I love them both.


Thank you so much for stopping by today! I'd love to know which version you prefer: the soft white embossed flower or the bold gold embossed one?

Have a wonderful weekend filled with creativity, sunshine, and a little time to play.


Topflight Stamp Supplies 

PaperArtsy - Sara Naumann 41
Shop at:
TP
PaperArtsy - Sara Naumann 51
Shop at:
TP
PaperArtsy - Tracy Scott 108
Shop at:
TP
Embossing - Bright White Ultra Fine
Shop at:
TP
WOW! Embossing - Clear Embossing Pad
Shop at:
TP
WOW! Embossing - Metallic Gold Rich Pale
Shop at:
 TP


Friday, June 12, 2026

Swimming in Color: A Mixed Media Ocean Card


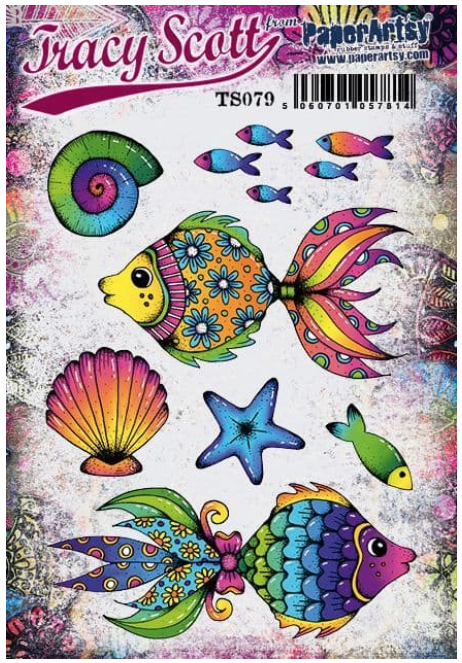
Hello friends! Ericka from Strangely Creative here, and today I'm sharing a project that feels perfectly suited for summer. When I think of summer, I immediately think of sunshine, beach days, and of course, the ocean. So I couldn't resist pulling out one of my favorite fish stamps from PaperArtsy Tracy Scott 79 and creating a colorful underwater scene filled with texture and layers.


🎨 Starting with Gel Prints

One of my favorite ways to create unique cards is by digging through my stash of gel prints. Every print has its own personality, and it's always fun finding new ways to use them.

For this card, I selected one gel print for my background (using Lavina Inks and Lindy's Gang Sprays) and two additional prints for my fish. The variety of colors and textures gave the project an instant underwater feel without requiring a lot of extra work.


That's one of the things I love most about gel printing—the background is already doing a lot of the heavy lifting.


🐟 Building the Ocean Scene

After choosing my prints, I stamped the fish images onto the gel prints and began creating my focal point. To help the main fish stand out, I added color with colored pencils. The extra shading and highlights brought the image to life and created a beautiful contrast against the printed background.

This is one of my favorite tricks when working with gel prints. Even a small amount of coloring can completely transform a stamped image and make it the star of the card.


✂️ Layering for Dimension

Once everything was colored, I fussy cut the fish and began arranging them across the background.

Layering multiple fish instantly created movement and made the card feel more like a lively underwater scene. It's amazing how a few simple layers can add so much depth and interest. To help frame the design, I added one of my signature hand-drawn borders around the card.


✨ Finishing Touches

No summer card is complete without a little sparkle.

To finish the project, I added:

  • Sentiments from the Lavinia Sentiment Collection
  • A few gems for shine and dimension
  • Final details to help guide the eye around the design  


The result is a bright, cheerful card that captures everything I love about summer creativity.


Thank you so much for stopping by today! I hope this project inspires you to dive into your stash, play with your gel prints, and create something colorful this weekend.

Have a wonderful crafty weekend and happy creating! 🌊🐟💙


Topflight Stamp Supplies


PaperArtsy - Tracy Scott 79
Shop at:
TP
Lavinia - Sentiment Stickers - Uplifting Collection
Shop at:
TP
Lavinia - Elements Dye Ink - Blue Atoll
Shop at:
TP
Lavinia - Elements Dye Ink - Mermaid
Shop at:
TP


Lindy's Gang - Glitz Spritz Set
Shop at:
TP
Lindy's Gang - TiffanyLou's Blue Starburst Shimmer Spray
Shop at:
TP
Gel Press - Reusable Gel Printing Plate
Shop at:
TP
Speedball - 2
Speedball - 2" Brayer
Shop at:
TP

Saturday, April 25, 2026

From Leftover to Lovely: A Quick Watercolor Thank You Card


Hello friends! Ericka from Strangely Creative here, and today I’m sharing a quick watercolor card that came together using something I already had on hand—a leftover panel from a previous project.

This is one of my favorite ways to create:
👉 No pressure. No waste. Just build on what’s already started.


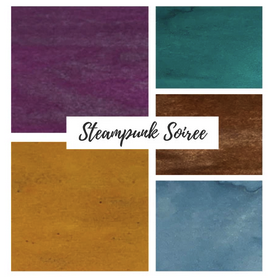
My background was created earlier using the Steampunk Soiree Magicals from Lindy's Gang.

These powders give such rich, moody tones and layered color variation—perfect for building texture without extra effort.

To add depth, I stamped over the panel using the Sara Naumann 51 with Versafine Clair Twilight. This subtle stamping helps break up the background and adds visual interest.


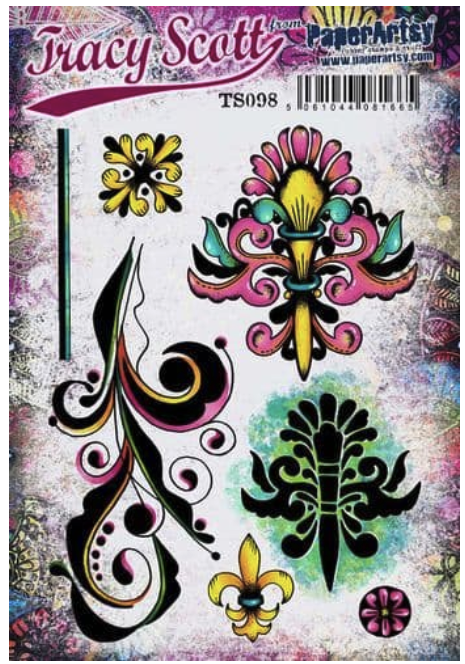
Next, I brought in a focal image using the Tracy Scott 98. I stamped and heat embossed the design using WOW! Embossing Powder, which adds that elegant shimmer and helps the image stand out against the textured background.

To complete the card, I added:

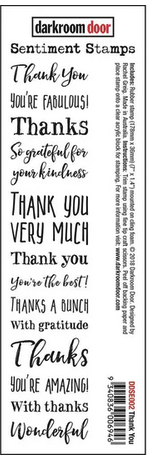
  • A sentiment from Darkroom Door
  • A couple of Hunkydory gems for sparkle
  • Simple layering to keep the focus on the textures

Thank you so much for stopping by today. I hope this inspires you to use those leftover pieces and turn them into something beautiful.

Have a wonderful week creating. 


Topflight Stamp Supplies   

Darkroom Door - Sentiment Strip Thank You
Shop at:
TP
PaperArtsy - Sara Naumann 51
Shop at:
TP
PaperArtsy - Tracy Scott 98
Shop at:
TP
WOW! Embossing - Clear Embossing Pad
Shop at:
 TP
Tsukineko - Versafine Clair - Twilight
Shop at:
TP
Lindy's Gang - Steampunk Soiree Shimmer Spray
Shop at:
 TP

Saturday, February 7, 2026

Mixed Media Mini Book From One Gel Print


Hello crafty friends! Ericka from Strangely Creative here, and today I’m sharing a fun little experiment that turned into one of my favorite projects lately: a mixed media mini book made from one single gel print.

I went into this project curious. Could one gel press print really become a mini book? Spoiler alert: absolutely yes.

Starting With the Gel Print

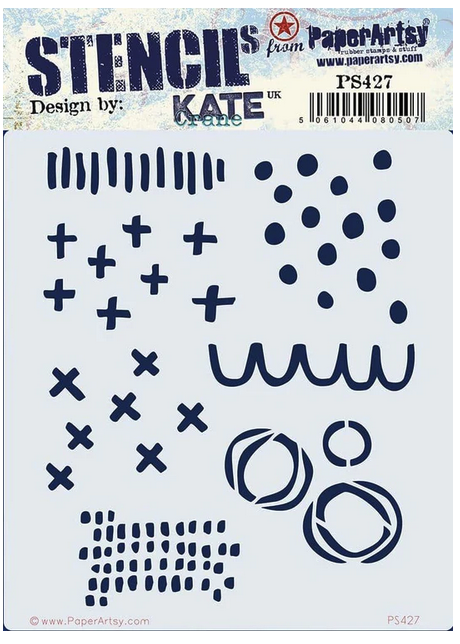
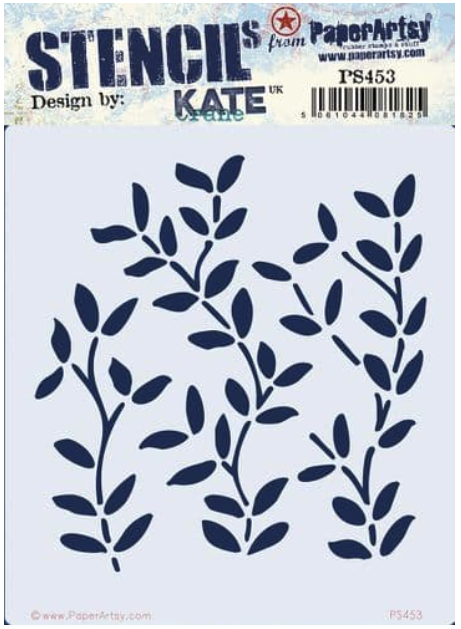
I began with a gel press print that I created purely as an experiment. Once the print was dry, I added layers using the PaperArtsy Kate Crane 427 and 453 stencils, applying paint along with black embossing paste for texture and contrast. That embossing paste adds instant drama and gives the surface just enough grit to keep things interesting.


After everything dried, the real fun started.

Folding and Cutting the Page

Instead of trimming the page down right away, I folded the print several different ways to see how the patterns landed. Once I liked the flow, I cut into a few sections and suddenly had this playful little one-page book taking shape.


If you’ve got a stack of gel prints sitting around, this is a fantastic way to use them. One page. No pressure. Lots of payoff. There are so many variations on one-page books, and I already know I’ll be making more.


Adding the Details

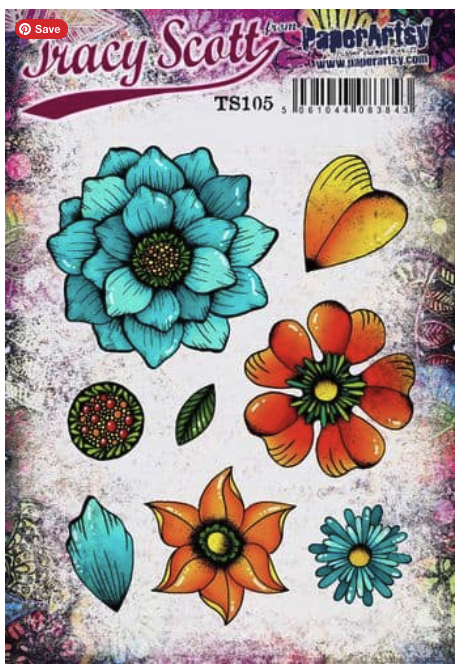
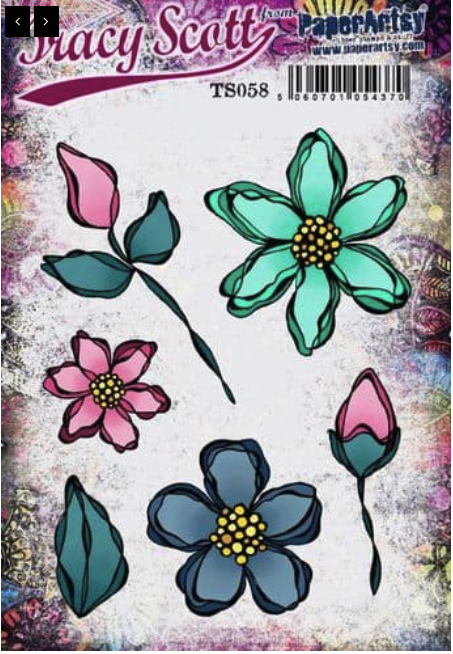
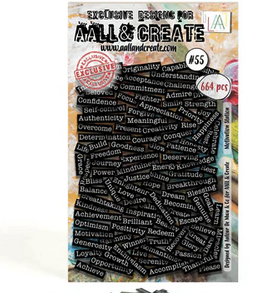
With the structure finished, I moved on to the embellishing stage. I stamped and watercolored images from PaperArtsy Tracy Scott 58 and 105, then added them throughout the book for focal points and movement. To finish it off, I layered in elements from AALL & Create Motivation Station, which tied everything together beautifully.


Each page feels connected, but still has its own little moment.

Want to See the Full Flip-Through?

This project really comes to life when you can see it in motion. Be sure to check out the Instagram video where I share the full mini book from start to finish.


Thanks so much for stopping by today. I hope this inspires you to pull out a gel print and try turning it into something unexpected.

Have a wonderful weekend and happy creating.

Topflight Stamp Supplies


PaperArtsy - Tracy Scott 105
Shop at:
TP
PaperArtsy - Tracy Scott 58
Shop at:
TP
PaperArtsy - Kate Crane PS427
Shop at:
TP
PaperArtsy - Kate Crane PS453
Shop at:
TP
AALL & Create - Motivation Station
Shop at:
TP
Tsukineko - Versafine Clair - Twilight
Shop at:
TP


Gel Press - Reusable Gel Printing Plate
Shop at:
TP 
01 09 10