Showing posts with label Hobby Art Ltd.. Show all posts

Thursday, July 2, 2026

Stars & Hydrangea

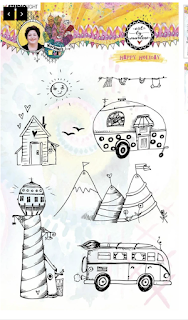
Hello all!  You've got Colleen here today, sharing a card that features STARS.  That's our theme this week at Topflight Stamps!  The base layer of the card has a piece of patterned paper from Craft Consortium Ink Drops - Ocean.  Then I made a background of stars with the Darkroom Door Starry Night Small Stencil, and a piece of patterned paper from Craft Consortium's Test of Time paper pad.  Though I used a gold stencil paste from Studio Light, the Topflight store has silver in stock for you!  For my focal point is a hydrangea flower and leaves from Hobby Art Stamps - Hydrangea, stamped with Memento Tuxedo Black ink and fussy-cut and colored with alcohol markers.  I also stamped a postage stamp from PaperArtsy Ink and The Dog Mini 134 in the same ink and colored it as well.  This was tucked beneath a corner of the hydrangea.  The final touch is a sentiment from Lavinia's Sticker Collection - Uplifting Sentiments, mounted on foam tape.

Hope you have a wonderful week! ~ Colleen


Supplies used from Topflight Stamps:


Studio Light - Stencil Paste - Gold


Tuesday, February 4, 2025

Lovebirds XOXOXO

 It's Tuesday so you've got Kathi here to share a project with you. It's an "Anything Goes" week and I've made yet another Valentine's Day card with the Funky Pigeons Clear Polymer Stamp Set by Hobby Art, Ltd., the Heart Layered Stencils/Masks by Studio Light, the Ink Drops - Candy Patterned Paper Pad by Craft ConsortiumStrawberry VersaFine Clair Ink, and a sentiment from the JM 20 Mini Love Birds Cling Mounted Stamp Set by JOFY for PaperArtsy.

Here it is!


Use Tuxedo Black Memento Ink by Imagine Crafts/Tsukineko to stamp the pigeon pair from the Funky Pigeons Clear Polymer Stamp Set by Hobby Art, Ltd. twice — once onto white cardstock and once onto repositionable sticker paper.

Color the Funky Pigeons pair with Copic markers, fussy-cut the sticker paper version, and place it over its counterpart as a mask. Place a piece of low-tack tape horizontally across the pigeon's feet to mask them. Sponge or brush grey ink over the masked pigeons. Set the pigeon panel aside.

Use StrawberryVersaFine Clair Ink by Imagine Crafts/Tsukineko to stamp the polaroid frame from the Funky Pigeons Clear Polymer Stamp Set onto a piece of predominantly red patterned paper from the Ink Drops - Candy Patterned Paper Pad by Craft Consortium. Fussy-cut the outside of the frame. Use a craft knife to cut out the inside of the frame. Use StrawberryVersaFine Clair Ink to edge the exterior and interior of the polaroid frame. 

Place the Heart Layered Stencils/Masks by Studio Light over the fussy-cut frame. Brush StrawberryVersaFine Clair Ink over the stencil onto the frame. Move the stencil and continue to brush ink over the stencil until you're happy with the amount of hearts on the frame.

Adhere the Funky Pigeons image panel behind the stenciled and fussy-cut frame and set aside.

Use a heart die to cut a heart from the top left of the remaining piece of patterned paper left over from the frame. Place a piece of low-tack tape over the back of the heart-shaped aperture in the patterned paper. Place the heart die-cut onto the tape. 

Place the piece of the patterned paper onto a stamping platform. Position the "lovebirds" stamp from theJM 20 Mini Love Birds Cling Mounted Stamp Set by JOFY for PaperArtsy facedown onto the heart. Ink the stamp with Nocturne VersaFine Clair Ink and stamp. Edge the heart with Strawberry VersaFine Clair Ink, then use a black pen to edge it again.

Take a piece of the same patterned paper used for the frame and the heart. Trim it to 6" x 4.25", edge with Strawberry VersaFine Clair Ink, then use a black pen to edge it a second time. Use a yellow Copic marker to slightly deepen the pale yellow veins in the patterned paper on the frame, heart, and background panel to a darker yellow.

Adhere the 6" x 4.25" patterned paper to a red A6 card. Adhere the sentiment heart die-cut and the framed image panel to the patterned paper. Use an "XOXOXO" cutting die to cut red cardstock. Adhere the letters vertically to complete the card.

Please pop over to my blog, Kat's Tales of Stamping, for step-by-step instructions and complete supply lists.

Topflight Stamps Products Used:


Thanks for visiting today!

Tuesday, May 14, 2024

Happy Birthday!

Greetings! It's Tuesday so you've got Kathi here to share a project with you. This week my teammates and I are showcasing  Hobby Art Ltd..'s wonderful stamps. 

Here's my card created with the super-cute Get Your Goat Clear Polymer Stamp Set by Hobby Art Ltd.


Using a stamping platform and Tuxedo Black Memento Ink by Imagine Crafts/Tsukineko,  I stamped one of the goats-on-the-rocks and two kids from the Get Your Goat Clear Polymer Stamp Set by Hobby Art Ltd. twice — once onto white cardstock and once onto repositionable sticker paper.

The sticker paper versions were fussy-cut and placed over their counterparts on the image panel as masks. The rockpile stamp from the Get Your Goat Clear Polymer Stamp Set was positioned under the large goat as shown and stamped twice — once onto the image panel and once onto repositionable sticker paper. Once again, the sticker paper version was fussy-cut and placed over its counterpart on the image panel as a mask.

One of the hills masks from the Mini Hills Mask Set by Lavinia Stamps was placed about 2" from the bottom of the image panel to protect it. Copic-friendly blue ink was brushed over a stencil and the masked goats onto the image panel to create a cloudy sky. 

The hills mask was moved a bit downward and mid-green Copic-friendly ink was brushed over the top of the mask, the masked kids, and the masked rocks to create the top part of the lawn. 

The flattish mask from the Acetate Hills Masks  Set by Lavinia Stamps was placed a bit below the top of the hill and the mid-green Copic-friendly ink was brushed over the top of the mask onto the image panel. This was repeated until there were several mid-green curves on the bottom of the image panel. Lighter green Copic-friendly ink was brushed onto the image panel to fill in the lawn area.

The masks were removed and the goat, kids, amd the rocks were colored with Copic markers. A green Copic marker was used to add some grassy detail to the lawn area. 

Tuxedo Black Memento Ink by Imagine Crafts/Tsukineko was used to stamp the three butterflies from the Get Your Goat Clear Polymer Stamp Set by Hobby Art Ltd onto the sky area. They were colored with Copic markers.

The image panel was cut with the largest die from Card Passe Partout Essential Rectangles Die Set by Studio Light.

Using a stamping platform and Nocturne VersaFine Clair ink by Imagine Crafts Tsukineko the three sentiments were stamped onto the image panel as shown. The image panel was adhered to an A6 grey card.

Please pop over to my blog, Kat's Tales of Stamping, for step-by-step instructions and complete supply lists.

Topflight Stamps Products Used:


Thanks for visiting today!

Tuesday, May 9, 2023

Orla the Owl Card.

 It's Tuesday, so you've got Kathi here to share a project with you.. This week my teammates and I are showcasing Hobby Art Ltd.'s fabulous products

I decided to create a card with the fantastic Orla Owl Clear Polymer Stamp Set by Hobby Art Ltd. which is comprised of Orla the Owl, the moon, stars, several pieces of foliage, a wooden fence post, and a barbed wire stamps.

Here it is!


As you can see, Orla is a very large stamp, so I opted to create a slimline card with her. Since she's so detailed, I kept the design clean and simple. I will likely add a sentiment to the card when I decide who should receive it and for what occasion.

The owl from the Orla Owl Clear Polymer Stamp Set by Hobby Art Ltd was stamped onto white cardstock and onto label paper with black Copic-friendly ink.

The label paper version was fussy-cut and placed over its counterpart on the image panel as a mask. 

The moon was positioned over the owl's head and shoulders and stamped onto the image panel using grey Copic-friendly ink. It was also stamped onto label paper, fussy-cut, and placed atop the moon on the image panel.

Blue Lagoon Elements Inks by Lavinia Stamps was brushed over the masked images onto the image panel using the largest of the brushes from the Black Blending Brushes by Time for Tea Designs, Then  Dark Denim Elements Inks by Lavinia Stamps was brushed around the edges of the card towards the center of the card, taking care to blend the blues where they overlapped.

The masks were lifted and Orla and the moon were colored with Copic markers. A white gel pen was used to add catchlights to her eyes.

A piece of white cardstock was cut to 8.75" x 8", scored at 4", and folded to form a card. A piece of scrap paper was placed inside the card, then a Blender by Lavinia Stamps was used to sponge Dark Denim Elements Inks by Lavinia Stamps around the edges of card. This step created a card front that matched the image panel perfectly.

Please pop over to my blog, Kat's Tales of Stamping, for more detailed instructions and complete supply lists. 

Topflight Stamps Products Used:


Thanks for visiting today!

Sunday, May 29, 2022

Hobby Art Poppy Meadow Watercolor Card


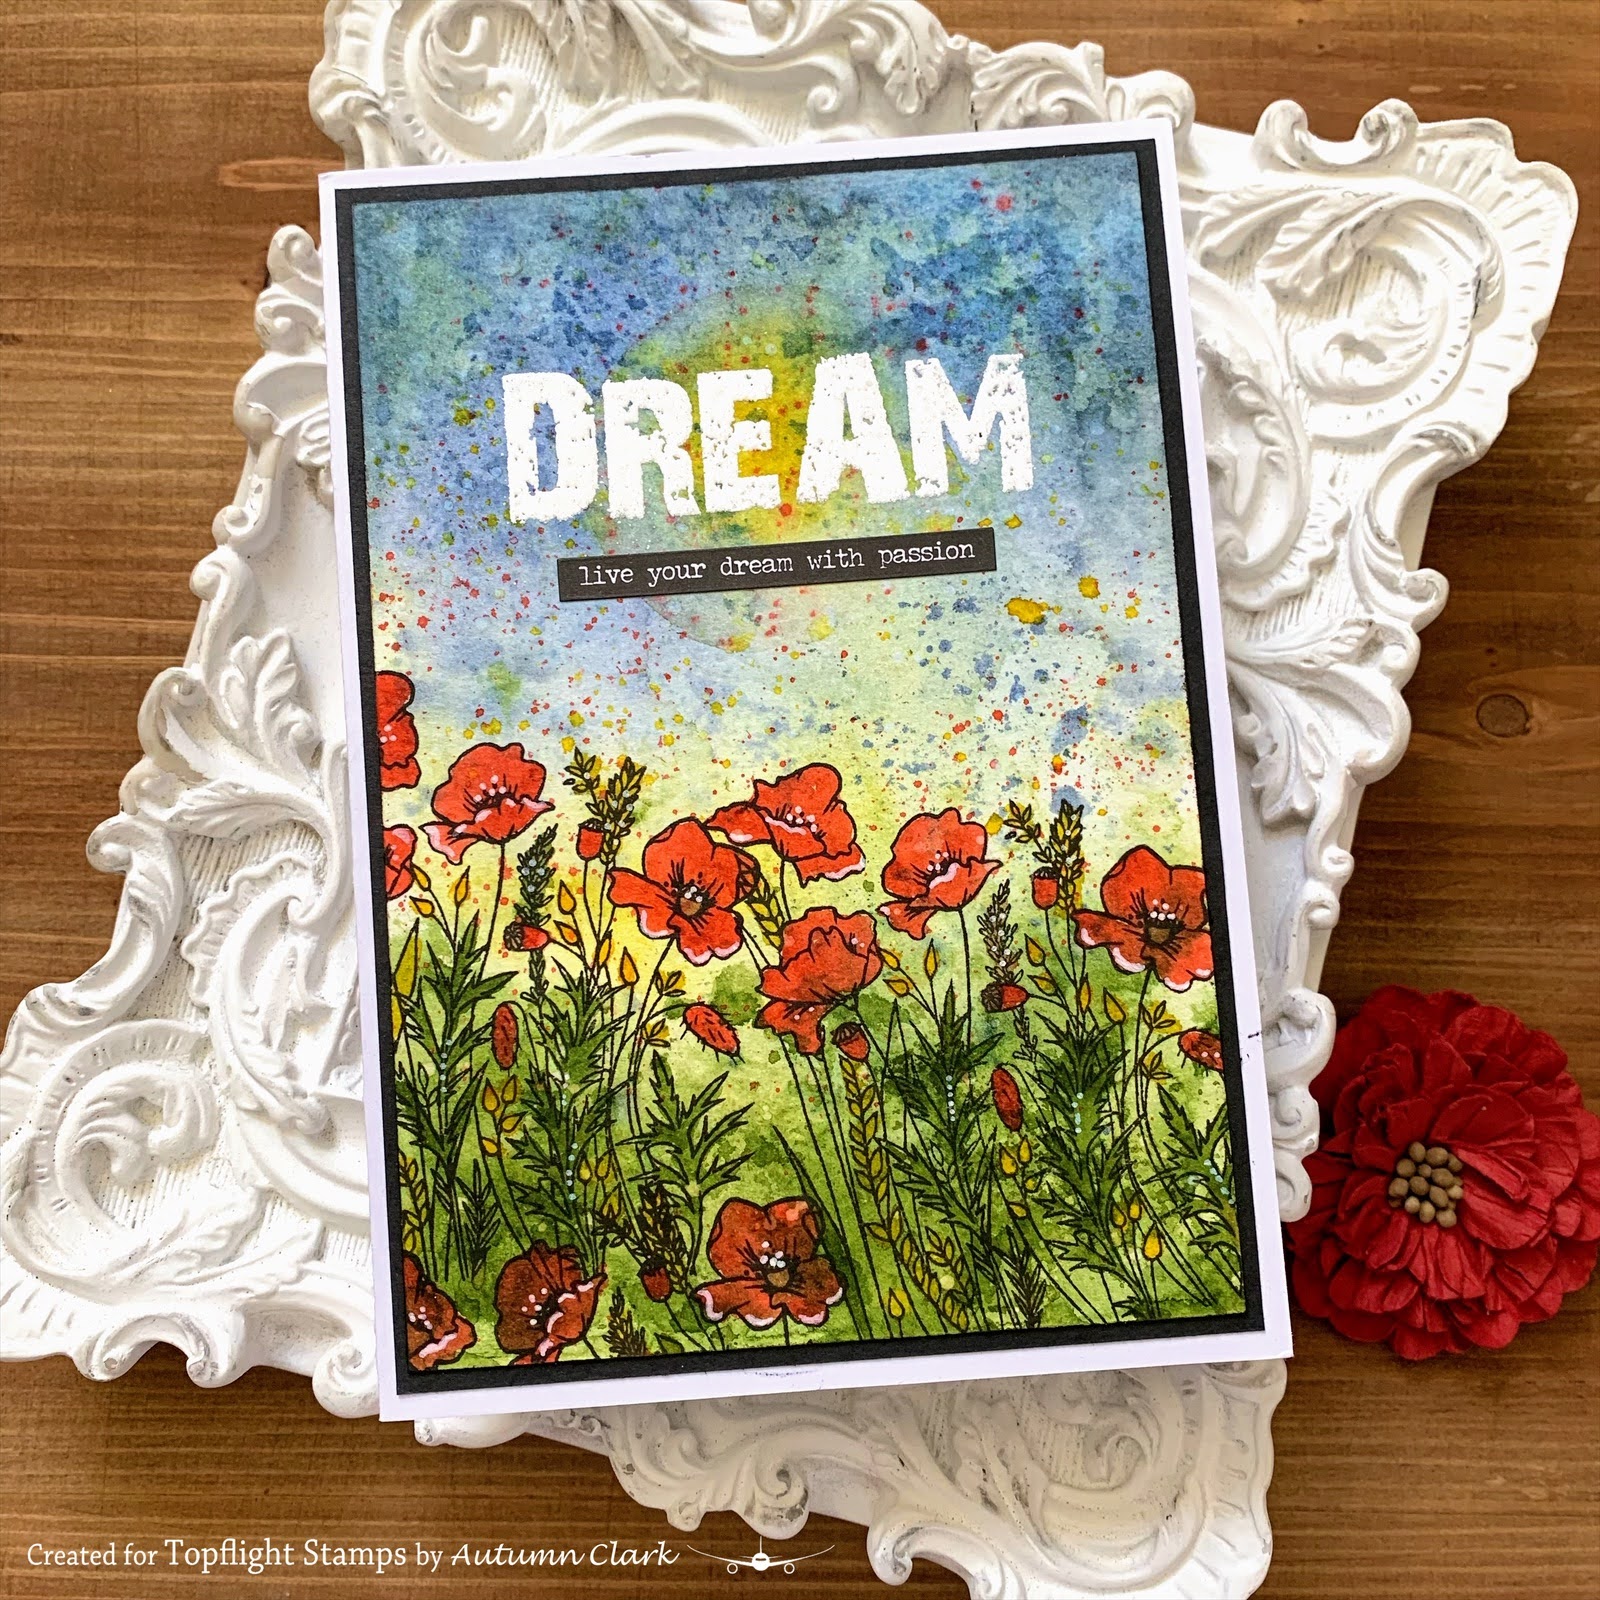
Hi friends, it's Autumn Clark from SewPaperPaint with you today to share a little scene stamping.  I fell in love with the Hobby Art Poppies stamp set and can't wait to do a more mixed media, layered project.  But first I decided to do some simple one layered stamping and repeat stamped the tall blossoms across the bottom of an inky panel.  I used Blue Lagoon, Sundance and Olive Elements dye ink pads with water to dip my watercolor paper panel and make the background.  I then colored the flowers with Paprika and Olive.  This is such a beautiful color and it really pops against the background.  Finally, I embossed the Hobby Art Words dream sentiment in white over my panel and added a sticker sentiment just below.  

HERE is an older project I made below with the Hobby Art Words stamp set if you're looking for more inspiration.  I hope these cards have made you smile today.  xx, Autumn

Visit Topflight Stamps today!


Tuesday, May 10, 2022

In My Head I'm Busy with Hobby Arts!

Greetings! It's Tuesday so you've got Kathi here to share a project with you. This week my teammates and I are showcasing Hobby Art Ltd's fabulous products. Since Topflight Stamps is a sponsor of the 2022 Spring/Summer Coffee Lovers Blog Hop, I decided to use the super-cute coffee-sipping cozy sloth from the Sloths Clear Polymer Stamp Set by Hobby Art Ltd. with the polaroid frame from the Sloths Clear Polymer Stamp Set, also by Hobby Art Ltd. I gave the polaroid a semi-tropical background which was created with Profusion Stencil #84 by AALL and Create and PineLime PunchDella Blue, and Bermuda,  Elements Inks by Lavinia Stamps.

Here's my card.


The polaroid frame, from the Funky Pigeons Clear Polymer Stamp Set, was stamped onto white cardstock and onto repositionable label paper. 

Post-It Notes were placed around the aperture in the frame, then the coffee-sipping sloth, one of five adorable sloths from the Sloths Clear Polymer Stamp Set, was stamped into the frame and onto repositionable label paper.

The label paper versions of the sloth and the polaroid frame were fussy-cut and the fussy-cut Sloth was placed atop its counterpart on the image panel.

Della Blue Elements Ink was brushed over the the masked sloth and the Post-It Notes to add a blue background to the photo portion of the Polaroid.

The fussy-cut label paper version of the polaroid frame was placed over its counterpart on the image panel.

The Profusion Stencil #84 by AALL and Create was placed over the image panel, then Lime PunchPineDella Blue, and Bermuda Elements Inks by Lavinia Stamps were brushed over the stencil onto the image panel. 

The stencil was cleaned and put away. The masks were removed and retained for a later use. 

Copic markers were used to color the sloth and his accoutrements.

Onyx Black VersaFine Ink by Tsukineko was used to stamp the sentiment onto the polaroid frame on the image panel.

Pitt Artist pens were used to add a bit of dimension inside and around the polaroid frame, then the image panel was adhered to an A2 white card.

Please pop over to my blog, Kat's Tales of Stamping, for more detailed instructions and complete supply lists. 

Click 2022 Spring/Summer Coffee Lovers Blog Hop if you'd like more information about the hop! 

Saturday, December 25, 2021

Merry Christmas!

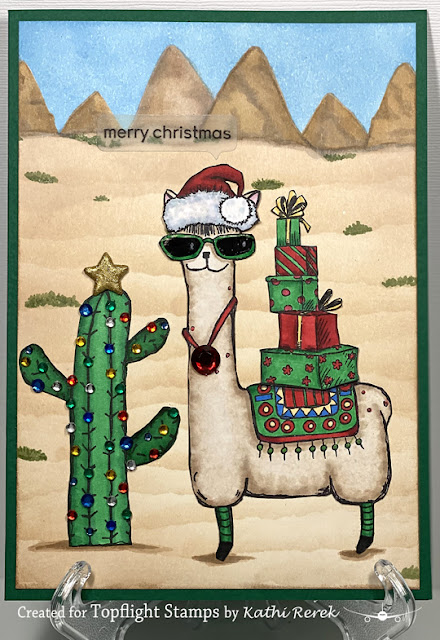
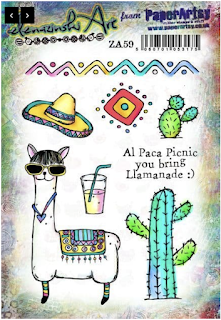
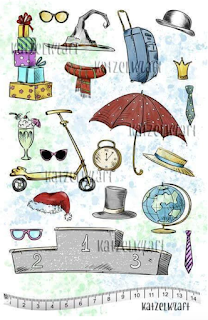
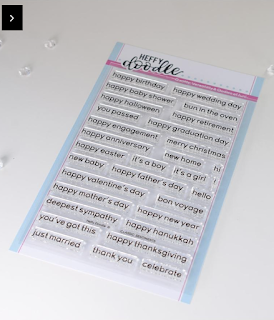
 Merry Christmas! It's Kathi here today popping by with one of my last Christmas cards for the year. This one was created with the llama and the tall cactus from the Zinski Art 59 Rubber Cling Mounted Stamp Set by PaperArtsy. The llama is wearing a Santa hat from the Baa Humbug Clear Polymer Stamp Set by Hobby Art Ltd. and carrying a pile of presents from the Funny Accessories Unmounted Stamp Set by Katzelkraft. The desert scene was created with the mountains stamp from Marlene's World Happy Holiday Clear Stamp Set by Studio Light and a sentiment from the ever useful Classic Sentiments Clear Stamp Set by Heffy Doodle.

Here it is!


The llama and cactus, from the Zinski Art 59 Rubber Cling Mounted Stamp Set by PaperArtsy,
the Santa hat, from the Baa Humbug Clear Polymer Stamp Set by Hobby Art Ltd., and the pile of presents from the Funny Accessories Unmounted Stamp Set by Katzelkraft. were stamped, fussy-cut, colored with Copic markers, then edged with a dark marker.

Santa Llama's sunglasses received several layers of clear Glaze pen to make them dimensional and shiny. Red and green glitter pens were used to highlight the llama and his blanket. 

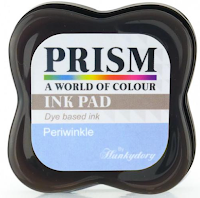
The mountains, from the from Marlene's World Happy Holiday Clear Stamp Set, were stamped onto label paper and fussy-cut so to create masks to be used to create the mountain range using Copic-friendly ink and add a blue desert sky using my beloved Periwinkle Prism Ink by Hunkydory Crafts.

The mountains were touched up and detailed with Copic markers, then the desert was added with Memento ink.

The llama, Santa hat, and cactus were adhered to the image panel, then the Christmas cactus was decorated with gemstones and topped with a gold sparkly embossed metal star.

The sentiment was stamped onto a vellum speech bubble die-cut and adhered to finish the card.

Please visit my blog, Kat's Tales of Stamping, for more detailed instructions and complete supply lists. 

Topflight Stamps Products Used:
01 09 10