
Hi everyone, MEL PILLING here this week highlighting the marvellous GEL PRESS and the fabulous LAVINIA ELEMENTS INK PADS . I consider the gel press to be an essential part of my art tools. It is so versatile. This tool will do perfect mirror images, ink smooshing, negative stamp imaging, splattering, acrylic paint layering, textured backgrounds and more. This is one tool, I would never be without. And the Lavinia Stamps Elements ink pads will surprise you with their stunning vibrancy.

I masked off outside the circle first so that no stamps went outside the circle except for those that I wanted to appear outside the circle. I also stamped the white flower heads on clean mixed media card, water-coloured., fussy cut them and glued them on top of the stamps that I had previously stamped on to the project. This makes the white flowers stand out better. Later, I used grey watercolour markers to shade the rocks and a black pen to draw the boulders below and put some cracks on them. Then I highlighted them with white gel pen.
The trees were done with the repeat, watercolour ink stamp process. Just keep stamping in different colours of watercolour ink, over top of each other. Then you can move the ink a little with a lightly damp paint brush to add dimension if needed.
I just drew the birds, as I wanted them flying in a specific way off the circle, but you can use any stamps to do this. In the garden. I chose Versafine Clair Inks that went nicely with the pink part of the ink colours. For the Lavinia bluebells, I used Blue Belle and Glamorous.
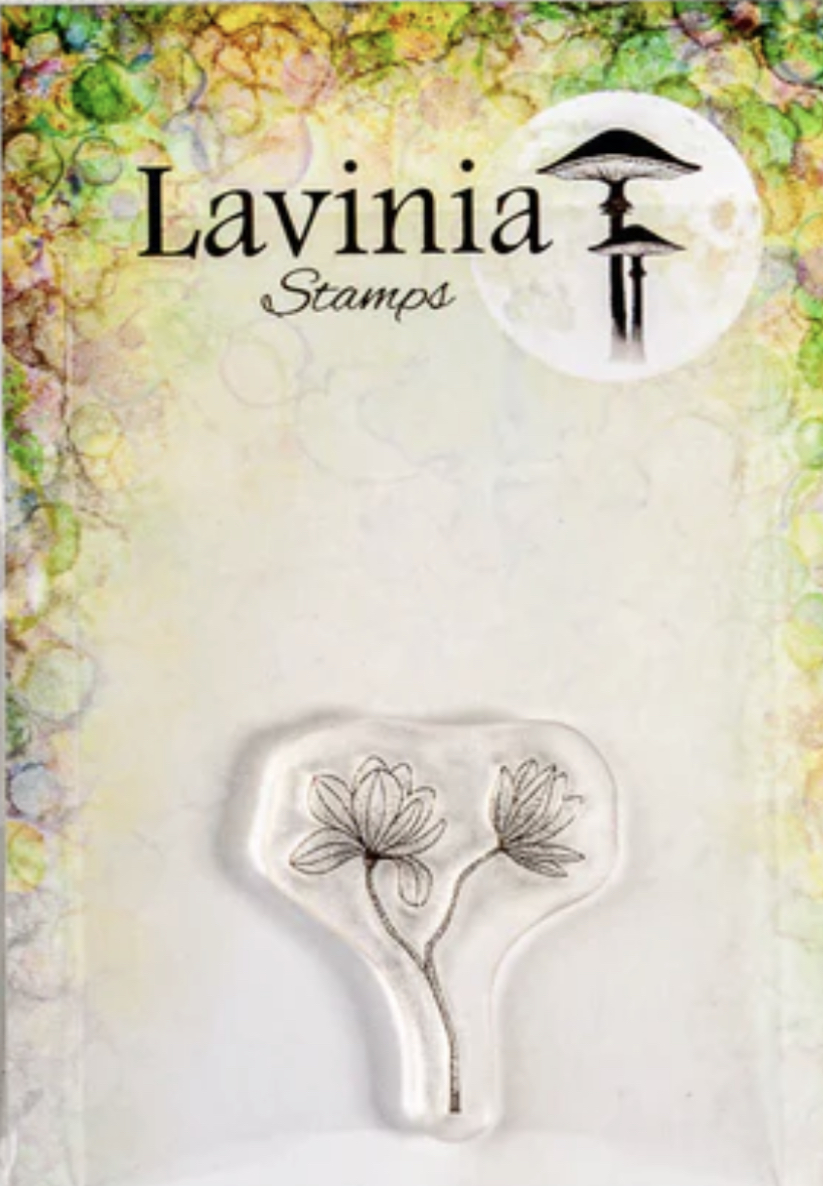
LAVINIA STAMPS USED


This GEL PRESS never ceases to amaze me!! I am never disappointed. I love this Ink spot method, where you have no idea where you are going until the background is finished. To me, it’s like free-falling. It feels satisfyingly creative. And these Elements inks by Lavinia are so very vibrant and juicy. Just bursting with vibrant colour. I hope you give it a try.
Thanks for joining us today. Bye for now.
No comments:
Post a Comment