Monday, August 19, 2024

Minimalistic Birthday Cards

 Hi friends. Alanna here with you today on the blog and this week, our focus is on the Crealies brand. To get started on these cards, I stamped the How Fragile from Visible Image with grey ink onto white card stock that had been trimmed down to 4x5.25 inches. It does look like this set is out of stock but AALL & Create has a very similar set, Shattering, that you could substitute.

I then took the Happy Birthday set from Crealies and stamped both of the sentiments. I added foam tape to the back of the panels and popped them onto A2 white notecards and that finishes off these minimalistic birthday cards.

Find these products in the Topflight Stamps store below. Crafty hugs! ~ Alanna


Friday, August 16, 2024

Lavinia Summer Hummingbird


Hello crafty friends! Ericka from Strangely Creative here, and I’m thrilled to share my latest summery card project with you all. As the sun shines brighter and the days grow longer, there’s no better time to dive into our Lavinia supplies and let the magic of summer inspire our creations.


For this card, I started with a vibrant background that captures the essence of a warm summer day. Using Lavinia Elements inks in Blue Lagoon and Merlot, I spread the colors on my gel press with a brayer, blending them together to create a rich, textured canvas. The blend of these hues reminds me of a summer sky at dusk, just as the sun dips below the horizon, leaving a trail of deep blues and purples.

Once I lifted the print, I knew I had the perfect base for a whimsical scene. I stamped the delicate Lavinia Hummingbird and the elegant Divine 1 flower using Versafine Clair in Medieval Blue. The intricate details of these stamps really pop against the textured background, creating a harmonious balance between the bold colors and the intricate designs.

To add a touch of elegance and shimmer, I highlighted the hummingbird with subtle strokes of gold. I also decided to frame the scene with a hand-drawn border using a Spectrum Noir pen. To finish off, I spritzed the card lightly to lift some ink, creating soft areas of light and shadow. For a final touch of summer magic, I sprayed the card with Lavinia Golden Temple Mystical Mist. This adds a delicate shimmer that catches the light, making the whole piece glow with a mystical aura.

Thank you so much for stopping by! I hope this card brings a bit of summer warmth to your day and inspires you to create something magical this weekend. Until next time, happy crafting!


Topflight Stamps Supplies


Lavinia - Flower Divine 1
Shop at:
TP
Lavinia - Heartfelt Verses
Shop at:
TP
Lavinia - Hummingbird Large
Shop at:
TP
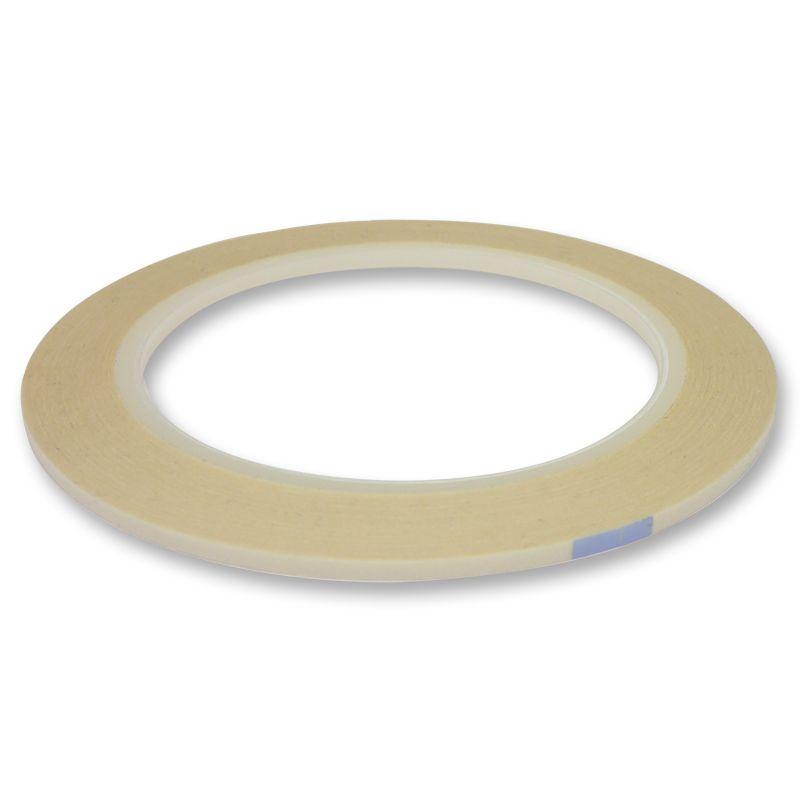
Double Sided Tape
Double Sided Tape
Shop at:
TP
Lavinia - Elements Dye Ink - Blue Lagoon
Shop at:
TP
Lavinia - Elements Dye Ink - Merlot
Shop at:
TP
Tsukineko - Versafine Clair - Medievil Blue
Tsukineko - Versafine Clair - Medieval Blue
Shop at:
TP
Lavinia - Mystical Mist Spray - Golden Temple
Shop at:
TP
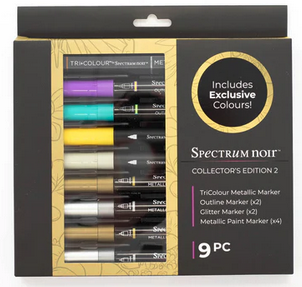
Spectrum Noir Christmas Embellishment Pen Set
Shop at:
 TP


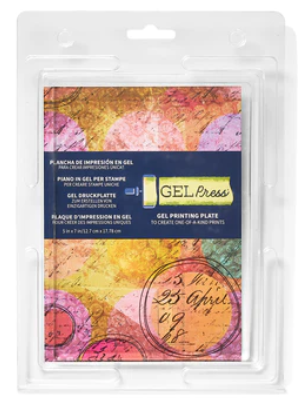
Gel Press - Reusable Gel Printing Plate
Shop at:
 TP
Speedball - 2
Speedball - 2" Brayer
Shop at:
TP

Thursday, August 15, 2024

Happy Halloween

Hi there! You''ve got Kathi here again to share another project with you! This week the Topflight Stamps Design team is showcasing products by by Lavinia Stamps. I've made another Halloween card, this time with the Sticker Stencil Set 6, Luka Cat Clear Polymer Stamp Set, the Wands and Spells Clear Polymer Stamp Set, the Corks Clear Polymer Stamp Set, and the Nightfall Sentiments Clear Polymer Stamp Set


Here's the card!


 I've always been fascinated with seeing objects enclosed in glass containers, so I had to try the Lavinia Stamps' Sticker Stencils, especially the ones that are bottles, flasks, or other containers. They are a lot of fun to use and yield great results. 

Making this card was a little complicated, but I have a feeling it will taker longer to read my explanation of its creation. 

Here's the brief version, I used both the outer part of one of the bottle stencils. I stamped the Wands and Spells Clear Polymer Stamp by Lavinia Stamps with Nocturne VersaFine Clair Ink by Imagine Crafts/Tsukineko, masked the books, and brushedElements Inks by Lavinia Stamps over the stencil towards the inside of the bottle.

Light grey ink was brushed over the Stones Stencil by Lavinia Stamps onto the middle of the bottle. Luka Cat Clear Polymer Stamp   was stamped atop the masked books with Nocturne VersaFine Clair Ink

The center sticker stencil was placed over its counterpart on the image panel and the outside sticker stencil was placed back on the carrier.

Light grey ink was brushed over the bottle shaped sticker stencil to cover the background. Light grey ink was brushed over Stones Stencil, then Graphite Elements Ink was brushed over the lighter grey to deepen the color of the stones. 

The sticker stencil covering the bottle was removed. The mask over the Wands and Spells was removed. HennaOliveRusset OrangeSahara, and Merlot Elements Inkpads were squeezed to add some ink to the inside of the cover. This ink was picked up with a wet paintbrush and used to paint the spell books. 

A wet paint brush was used to remove the ink and add a highlight to the bottle.

Acorn VersaFine Clair Ink was used to stamp one of the corks from the Corks Clear Polymer Stamp Set, heat set, then colored with a tan watercolor marker. 

The bottle didn't look glassy enough so I placed the outer stencil back onto the panel and brushed more  Blue Atoll Elements Inks over the stencil onto the interior of the bottle.That sticker stencil was removed and placed back onto its carrier. 


The image panel was trimmed to 4.5" x 6.5" and edged with Nocturne VersaFine Clair Ink. The die-cut sentiment was adhered as shown.

A piece of Aqua Kraft Core  cardstock was cut to 4.75" x 6.75" and the edges were distressed. This piece was used to mat the image panel, then adhered to a 5" x 7" black card.

Please pop over to my blog, Kat's Tales of Stamping,  where you will find more step by step and complete supply lists.!

Topflight Stamps Products Used:


Wednesday, August 14, 2024

Busy Bees Lavinia Card Duo

Hello Topflight Stamps fans, Lisa Hoel here. This week our brand focus is on Lavinia products! I thought I would try making some "clean and simple" cards which is always tough for me ha ha. It's hard to hold back; I want to keep putting more stuff on them.

Lisa Hoel for Topflight Stamps #creativejuicefreshsqueezed #topflightstamps

I definitely had to give the new Bumble & Hum bees stamp set a try. They are too cute! Lavinia stamps are always winners in my book.

Thanks for stopping by and be sure to check out the Topflight Stamps store for a wide selection of different and hard to find stamps, stencils and other paper crafting supplies from all around the world! Also keep an eye on the Topflight Stamps blog. There is new inspiration posted daily!


Topflight Stamps Supplies Used:

Versafine Ink Pad - Black Onyx
Versafine Clair Ink Pads - Arctic, Cheerful
Lavinia Elements Ink Pads - Russet Orange, Blue Atoll, Confetti


Tuesday, August 13, 2024

Halloween Scene with Lavinia Stamps

Greetings! You've got Kathi here today to share a project with you. This week the  team is showcasing products by by Lavinia Stamps. Since Halloween merch is in the stores, it's time to get ready. I've created a Halloween scene with Gus, the Witches' HatWillow Arch, and the Moon Clear Polymer Stamps on a background created with  Dark Denim, and Blue Lagoon Elements Inks.

Here's my card!


When I use clear stamps, I often use stamps' acetate index sheet and a stamping platform to position the stamps. That's what I did with this card to achieve the placement that I wanted for Witches' Hat atop Gus-the-owl's head.

Use Tuxedo Black Memento Ink by Imagine Crafts/Tsukineko to stamp the Witches' Hat Clear Polymer Stamp by Lavinia Stamps twice — once onto the image panel and once onto repositionable sticker paper.

The sticker papaer version was fussy-cut and placed over its counterpart on the image panel. I realized that Gus's feathers would overlap the witch hat, so I removed and retained the Witches' Hat mask and stamped the Witches' Hat again onto repositionable sticker paper. This time I just cut along the bottom of the brim of the witch hat, leaving the top part intact. Place the incomplete mask over its counterpart on the image panel, but keep the other Witches' Hat mask!

Place the Gus Clear Polymer Stamp facedown over the masked Witches' Hat. Ink the stamp with Tuxedo Black Memento Ink and stamp twice — once onto the image panel and once onto repositionable sticker paper.

Remove the second and incompletely cut mask from the image panel. Replace it with the reserved completely-cut mask.

Fussy-cut the sticker paper version of the owl and place it over Gus on the image panel as a mask.

Position the Willow Arch Clear Polymer Stamp by Lavinia Stamps facedown beneath Gus's feet. Ink the stamp with Tuxedo Black Memento Ink and stamp twice — once onto the image panel and once onto repositionable sticker paper.

Fussy-cut the sticker paper version of the Willow Arch and place it over its counterpart on the image panel as a mask.

Position the Moon Clear Polymer Stamp by Lavinia Stamps facedown on the upper left of the image panel. Ink the stamp with Tuxedo Black Memento Ink and stamp twice — once onto the image panel and once onto repositionable sticker paper. Fussy-cut the sticker paper and place it over its counterpart on the image panel.

Sponge or brush Dark Denim and Blue Lagoon Elements Inks by Lavinia Stamps over the masked images onto the image panel. Use a Fine Spray Misters by Spectrum Noir, filled with 91% Isopropyl Alcohol, to mist the masked image panel. This will blend the inks, add some mottling, but won't pill the paper.

Use a paint marker or white paint and brush to add white splatter to the background. 

Remove all masks and use Copic markers to color all elements of the scene. Use pearlescent white chalk to add shine to the moon.

Use a Clear Gelly Roll Stardust Glittering Pen by Sakura of America to add glittery details around the edge of the moon. 

Trim the image panel to 4.75" x 6.75" and edge with Nocturne VersaFine Clair Inks by Imagine Crafts/Tsukineko. Adhere the image panel to a black 5" x 7" card.

Please pop over to my blog, Kat's Tales of Stamping, for step-by-step instructions and complete supply lists. 

Topflight Stamps Products Used:


Thanks for visiting today!
01 09 10