Saturday, October 17, 2026

Gel Printing with Lavinia Inks


Hello crafty friends! Ericka from Strangely Creative here, and today I’m sharing a journal page that started with one question: What happens when you put those gorgeous, juicy Lavinia Dye Inks on a gel plate?

The answer? Lots of vibrant color, beautiful blending, and a background that was so much fun to make that I couldn’t stop at just one!

For this page, I combined a bright gel print with layers of stamping, washi tape, and a dramatic black-and-white bloom. I love the contrast between all that bold color and the detailed flower sitting on top.

Starting with Lavinia Inks on the Gel Plate

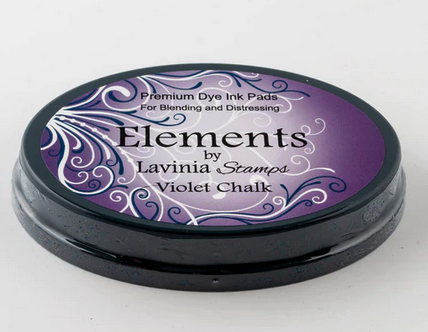
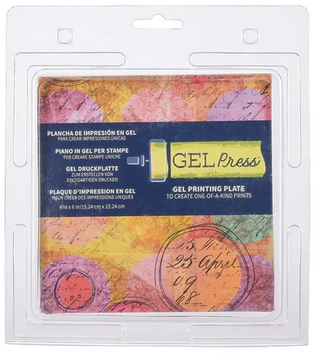
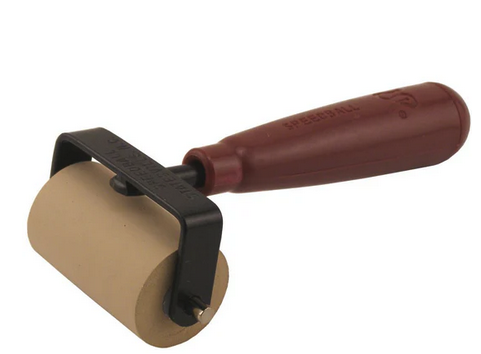
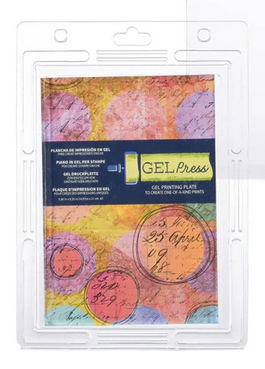
I started with my 6x6 gel plate, a brayer, and Lavinia Dye Inks in Sundance, Pink Elephant, Violet Chalk, and Blue Lagoon.

I love working with the Lavinia inks because they’re so juicy and the colors are absolutely gorgeous. I added the inks to my gel plate, used my brayer to move the colors around, and then lightly spritzed the surface with water to encourage them to blend.


For my print, I experimented with a piece of glossy recycled paper. And this is where things got interesting!

Why Glossy Paper?

Because the paper has a glossy surface, the inks don’t immediately soak into it. Instead, they have a little more time to sit on the surface, move, and blend together before drying. That gave me those wonderful transitions from sunny yellow into bright pink, purple, and blue.

I loved the result so much that, naturally, I had to make a few more backgrounds while the gel plate was out! You can never have too many colorful backgrounds waiting in your stash, right?

Adding Layers of Texture

Once my print was completely dry, I started building additional layers using the same Lavinia inks.

I reached for an older AALL & Create Background Noise stamp set and added bits of numbers, text, circles, and other marks across the page.

Using the same inks helped all those extra details feel like they belonged in the background rather than sitting on top of it.

I love this part of mixed media—the background starts with beautiful color, but every additional stamp and mark gives you something new to discover.

Creating That Bold Contrast

With such a colorful background, I decided my focal image didn’t need any more color. Instead, I added this beautiful AALL & Create bloom in black and white.


I love the contrast! The detailed flower really stands out against all those vibrant pinks, blues, purples, and yellows without competing with them.

Sometimes leaving an image uncolored can actually make it more dramatic.

I also added pieces of AALL & Create Heritage Scroll washi tape around the page. The black-and-white details help connect the flower to the background while adding another layer of texture.

Finishing Touches

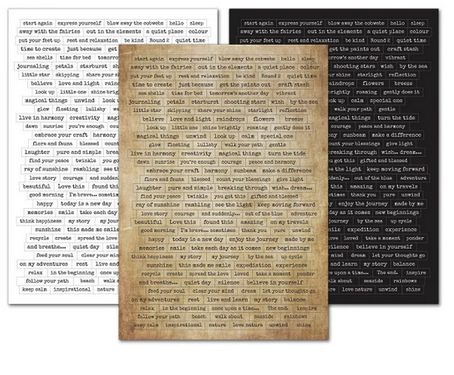
To finish the page, I added a sentiment from the Lavinia Uplifting Collection along with my signature hand-drawn frame.

The simple “follow your path” sentiment felt perfect surrounded by all those free-flowing colors and layers.


And with that, my journal page was complete!

Thank you so much for stopping by! I hope this page inspires you to pull out your gel plate, experiment with your Lavinia inks, and see what happens when you let those beautiful colors play together.

Have a wonderful weekend and happy creating! 


Topflight Stamp Supplies 
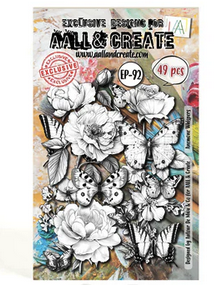
AALL & Create - 92 - Anemone Whispers
Shop at:
TP
Lavinia - Sentiment Stickers - Uplifting Collection
Shop at:
TP
Lavinia - Elements Dye Ink - Pink Elephant
Shop at:
TP
Lavinia - Elements Dye Ink - Blue Lagoon
Shop at:
TP
Lavinia - Elements Dye Ink - Sundance
Shop at:
TP
Lavinia - Elements Dye Ink - Violet Chalk
Shop at:
TP
Tsukineko - VersaFine Clair - Nocturn
Shop at:
AZ | TP
AALL & Create - Washi Tape Heritage Scroll
Shop at:
TP
Gel Press 6x6 Plate
Gel Press 6x6 Plate
Shop at:
TP
Speedball - 2
Speedball - 2" Brayer
Shop at:
TP

Wednesday, October 14, 2026

Inky Halloween Card with Lavinia + AALL & Create

Hello there, Lisa Hoel here! This week at Topflight Stamps our theme is "Inks". The store carries a veritable rainbow of colors in different brands. Lavinia's Elements Ink Pads are some of my favorites – they blend beautifully.


Lisa Hoel for Topflight Stamps #creativejuicefreshsqueezed #topflightstamps


I started with a shimmery background made with Lindy's Enchanted Forest Magicals powders. Over that, I used the Halloween House mask and Violet Chalk and Lime Punch Elements ink to blend an inky background. I stamped, watercolored and fussy cut out the cute characters from the AALL & Create Pumpkin Pals stamp set.

Thanks for stopping by and be sure to check out the Topflight Stamps store for a wide selection of different and hard to find stamps, stencils and other paper crafting supplies from all around the world! Also keep an eye here on the Topflight Stamps blog. There is new inspiration posted often!

Topflight Stamps Supplies Used:


Lavinia Elements Ink pads - Violet Chalk, Lime Punch

AALL & Create stamp set - Pumpkin Pals

Carabelle Studio Mask - The Halloween House

AALL & Create stamp set - Funny Coquelicots

AALL & Create washi - Burlap Black

Lindy's Magicals - Enchanted Forest

Versafine Clair ink - Nocturne
watercolors


Monday, October 12, 2026

Bursting with Fall Colors with Versafine Clair Inks

Happy Monday, friends!  It's Walter on the blog with you today.  Fall is in full swing where I live in the New England area.  The colors are as beautiful as it gets and full of bright shades of yellows, oranges, reds, and browns.  It's truly spectacular and it was my inspiration for today's design.  Our Design Team theme this week is a very broad one - inks - and it worked in my favor as I used Versafine Clair Inks to create a fabulous autumn colored card.  It took just a few quick and simple steps to create it - let's jump into the process.


I used a cream A2 cardstock panel as my base layer.  I thought that cream would be better than white because any bits of the panel that peek through the ink wouldn't look so stark.  I began by taking my Versafine Clair Carrot Orange ink pad and just randomly swiping it onto the cardstock.  No rhyme or reason as to where I swiped it - just random swipes.


I repeated this with my Versafine Clair Strawberry ink pad.


I repeated it yet again with my Versafine Clair Lemonade ink pad.  This time I went over the entire panel with it to make sure that much of it was covered with ink.  I applied a little pressure in some areas and just lightly swiped in others.


The result was this beautiful tapestry of vibrant autumn colors.  The next step was to take the Aall & Create Autumny Falls stencil and add yellow, orange, and red leaves to the panel.  The yellow and orange leaves are more subtle but you can see indications of them as you tilt the panel.


I added a part of the tree by stenciling the PS450 Stencil from PaperArtsy and Versafine Clair Fallen Leaves ink and went over the edges of the card panel with some of the ink to distress it a bit.


I could now do my stamping onto the panel.  I used Versafine Clair Acorn ink, a lighter shade of brown with a slight red tinge, to stamp various small falling leaves and a sentiment from the All & Create Falling for Fall stamp set, as well as a beautiful sparrow with text elements from the All & Create Sparrow stamp set.  I also stamped a second sparrow onto a scrap of cream cardstock and lightly blended ink remaining on my brown brush over it.  I proceeded to fussy cut the sparrow, put some double-sided foam tape onto the back of it, and adhere it down to the panel.  I purposely placed it a little offset from the stamped sparrow to create a shadow-like effect.  A few randomly placed small Hunkydory Gold Precious Pearls were added to finish the design.

Here's a few closeups of my favorite elements of the design:


As you can see, the Versafine Clair is so pigmented and bright and just swiping the pads onto the cardstock created such a brilliant background.  An added bonus is that there wasn't a need for coloring any images as the background provides all the color that you need.

I hope that you enjoy today's design.  Post a pic of what you create using this technique in the comments - I'd love to see it!  I'll see you here on the blog again next week.  Until then . . . be well!


Topflight Stamps Products Used:


Saturday, October 10, 2026

One Flower, Three Ways: Creating with PaperArtsy Kate Crane


How many completely different cards can you create with one flower stamp and a stash of leftover backgrounds?

Hello friends! Ericka from Strangely Creative here, and that was my challenge for today! I grabbed the fun PaperArtsy Kate Crane Mini 013 flower, colored it several times, and then went digging through my ever-growing stash of gel prints and mixed media backgrounds.

Instead of creating something new from scratch, I wanted to see how much I could change the look of the same flower simply by changing the background around it. The result? Three backgrounds, three completely different styles, and three finished cards, all from supplies I already had waiting on my desk.

Let’s see how they came together!

Starting with One Colorful Flower

I began by stamping the PaperArtsy Kate Crane Mini 013 flower several times onto watercolor paper.

For color, I reached for some Lindy’s Gang Autumn Leaves Magicals that were already sitting on my desk. I love being able to use whatever is left from another project rather than putting everything away or letting those beautiful colors go to waste. Once the flowers were painted and dry, the really fun part began—digging through my background stash!

I narrowed my choices down to three backgrounds, each with its own personality.

Card One: A Little Grungy

For my first card, I chose a leftover gel print created on printed paper.


The combination of the original printing and the layers from the gel plate already gave this background a wonderful grungy feel, so I decided to embrace it. I used Lavinia Truffle ink around the edges to add a little extra shading and depth, followed by splatters of gold acrylic paint for some shine.

Once my flower was in place, I finished the card with a sentiment from the Lavinia Uplifting Collection.


I love the contrast between the bright flower and that distressed, imperfect background. One flower down, two to go!

Card Two: Fine Texture & Simple Layers

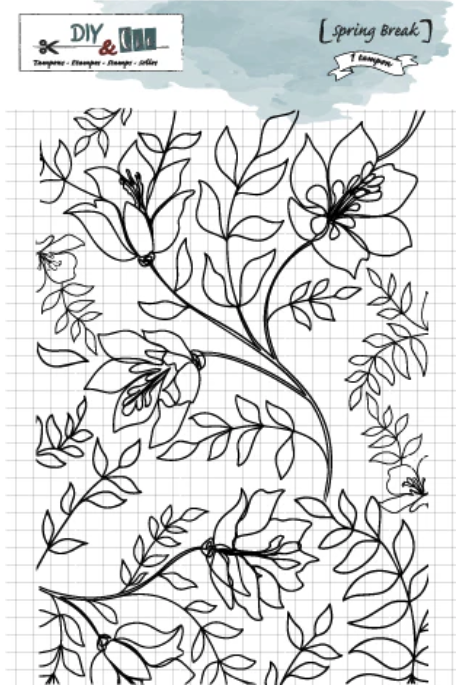
For my second card, I found a leftover gel press print I had created using the DIY & Cie Spring Break texture plate.


I love the delicate texture this plate creates. There’s plenty happening in the background when you look closely, but it’s subtle enough that it doesn’t compete with the flower.

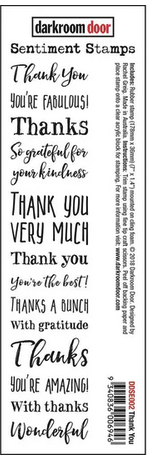
I stamped the Darkroom Door Thank You Strip along the side of the panel and added my flower as the focal point. Simple, colorful, and completely different from the first card.

Card two done!

Card Three: Paint & Printed Pages

For my final card, I went in another direction and pulled out a book page I had previously experimented on with glossy paints.


I love incorporating book pages into mixed media projects because the printed text instantly adds another layer of interest. 

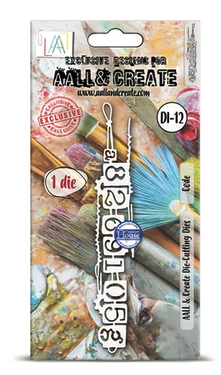
To build even more texture, I added the AALL & Create #12 Code die cut and played with white and black acrylic paint over the background.


Once everything was layered together, I added my final flower and another sentiment from the Lavinia Uplifting Collection.

Same flower—but a completely different personality!


Thank you so much for stopping by! I hope these cards inspire you to dig through your background stash, pull out a favorite stamp, and see how many different looks you can create with supplies you already have.

Have an amazing weekend and happy creating!


Topflight Stamp Supplies 

Darkroom Door - Sentiment Strip Thank You
Shop at:
TP
DIY & Cie - Texture Plate - Spring Break
Shop at:
TP
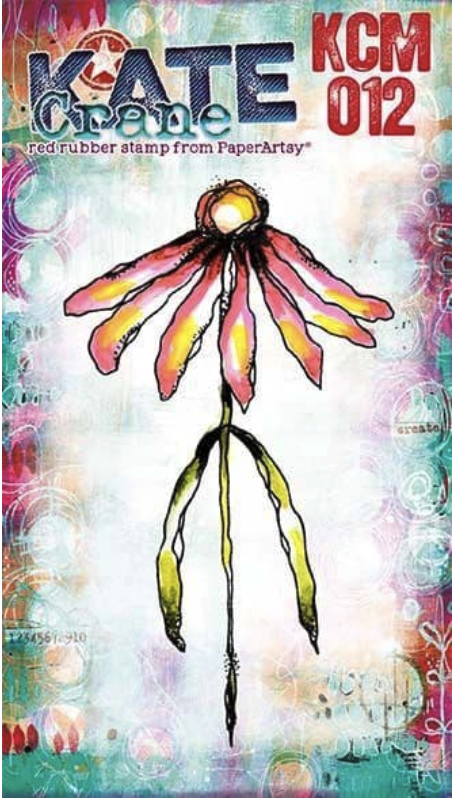
PaperArtsy - Kate Crane Mini 012
Shop at:
TP
AALL & Create - 12 - Code
Shop at:
TP
Lavinia - Sentiment Stickers - Uplifting Collection
Shop at:
TP
Lavinia - Elements Dye Ink - Truffle
Shop at:
TP
Tsukineko - VersaFine Clair - Nocturn
Shop at:
AZ | TP
PaperArtsy - Fresco Chalk Paint - Aquamarine
Shop at:
TP
PaperArtsy - Fresco Chalk Paint - Firebird
Shop at:
TP
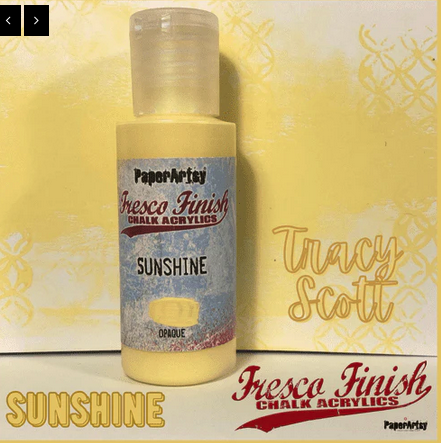
PaperArtsy - Fresco Chalk Paint - Sunshine
Shop at:
TP
PaperArtsy - Fresco Chalk Paint - Twilight
Shop at:
TP


Gel Press - Reusable Gel Printing Plate
Shop at:
TP
Speedball - 2
Speedball - 2" Brayer
Shop at:
TP
01 09 10