Showing posts with label PaperArtsy Mattints. Show all posts

Tuesday, March 31, 2026

Decorated MemoryDex Box

 It's Topflight Stamps Tuesday, the last day for you to participate in the Topflight Stamps 9th Birthday Blog Hop for the chance to win a great prize, AND it's also the last day of Topflight Stamps 9th Birthday Sale! 


This week's theme is Mixed Media and I've used PaperArtsy's Snowflake, Toffee, BoraBora, and Yellow Submarine Fresco Chalk Finish Acrylic Paints, Matte Glaze, Hot Picks Printed Tissue Paper 2 - Frames, and Squeezed Mattint Fresco Tint to decorate a premade Wooden MemoryDex box that was purchased so long ago that I can't remember where I got it!

Here's the front of it:

Here's one side: 

Here's the other side:

Here's the back:

Use a foam brush to apply Snowflake Fresco Chalk Finish Acrylic Paint by PaperArtsy to all four sides, the bottom, the top rim, and the inside of the MemoryDex box. 

Squeeze a small amount of Toffee Fresco Chalk Finish Acrylic Paint onto a craft mat. Use a foam brush to apply the Toffee Fresco Chalk Finish Acrylic Paint from the bottom edge of the all four sides towards the top. 

Squeeze a small amount of BoraBora Fresco Chalk Finish Acrylic Paint onto the craft mat and use another foam brush to apply the BoraBora Fresco Chalk Finish Acrylic Paint to the top rim of the box and from the top edges of the box towards the bottom. 

Replenish the BoraBora Fresco Chalk Finish Acrylic Paint and paint the inside of the MemoryDex box and the dowels. 

When dry, paint the bottom of the box with the same colors. 

Use a waterbrush to paint a border of water around the images you want to use from the Hot Picks Printed Tissue Paper 2 - Frames by PaperArtsy, then gently separate the images from the rest of the tissue paper. 

Use another foam brush to apply a layer of Matte Glaze by PaperArtsy to one side of the box. Smooth one of the border pieces of tissue paper onto the wet Matte Glaze to adhere it to the box. Apply another layer of Matte Glaze to seal the tissue paper. Repeat this process to apply the tissue paper images to all four sides of the box. 

Use a foam brush to apply Squeezed Mattint Fresco Tint by PaperArtsy to all four sides, the top rim, and the interior of the box to add additional color. 

Squeeze a small bit of Yellow Submarine Fresco Chalk Finish Acrylic Paint to your craft mat. Use a stipple brush to add some splatters and splotches of yellow paint to the box. 

Use a finger to apply Treasure Gold Wax to the box to add additional color and some shine to the box. Be sure to clean your finger between colors of Treasure Gold.

Place two-sided tape on the back of a piece of black cardstock. Use an alphabet die to cut the "MemoryDex" letters, then adhere them to the front of the box. 

Brush another layer of Matte Glaze over all sides, the rim, and the interior of the box to seal it. 

Please pop over to my blog, Kat's Tales of Stamping, for step-by-step instructions and complete supply lists.

Topflight Stamps Products Used:


Thank you for visiting today!

Tuesday, July 1, 2025

Best Fishes

Greetings! It's Tuesday so you've got Kathi here to share a project with you. This week we're showcasing PaperArtsy's wonderful products. Since it's been very hot, I've been wanting to go to the beach, but creating a slimline card beach scene with PaperArtsy's Kate Crane (KC006) Rubber Cling Stamp Set, the Kate Crane Mini 007 (KCM007) Cling Mounted Rubber Stamp, and the Kate Crane Mini 008 (KCM008) Cling Mounted Rubber Stamp Set is as close as I can get at the moment. The background was created with Mattints and Fresco Finish Acrylic Matte Glaze.

Here it is!


Use Tuxedo Black Memento Ink by Imagine Crafts/Tsukineko to stamp the fishhead man from the Kate Crane (KC006) Rubber Cling Stamp Set by PaperArtsy onto Copic-friendly paper. Fussy-cut the image, color with Copic markers, and edge with a black marker. Set aside.

Use Tuxedo Black Memento Ink and a stamping platform to stamp the big fish from the Kate Crane Mini 008 (KCM008) Cling Mounted Rubber Stamp by PaperArtsy and the five fish from the Kate Crane Mini 007 (KCM007) Cling Mounted Rubber Stamp by PaperArtsy onto an 8½" x 3½" panel of Bristol Paper. True confession time, I cut my Kate Crane Mini 007 (KCM007) Cling Mounted Rubber Stamp by PaperArtsy to separate the fish from one another.

Use Copic markers to color all the fish on the panel of Bristol Paper. Use a paint brush to apply Fresco Finish Acrylic Matte Glaze over the Copic-colored fish to seal them. 

Shake the Dragonfly, Greenstone, and River Deep Mattints well, add a dime-sized amount of each color Mattint to the craft mat, then use make-up sponges to apply the Mattints horizontally over the fish until the panel is tinted to your liking. Let dry. Warning: Be sure to have a relatively dust-free, cat-fur free crafting area, otherwise the cat fur and dust will be adhered to the surface of your project.

Use a slimline die to cut the stamped background panel. Edge the image panel die-cut with grey archival ink. Use the next largest die to cut greyish/purple cardstock and use to mat the image panel die-cut. Adhere the matted image panel to a grey slimline card.

Adhere the stamped, colored, and fussy-cut fishman as shown.

Cut a strip of ink jet vellum and back with two-sided tape. Use Black StazOn ink to stamp the sentiment onto vellum, cut with a speech bubble die, and adhere as shown to finish the card.

Please pop over to my blog, Kat's Tales of Stamping, for step-by-step instructions, notes, and complete supply lists.


Thanks for visiting today!
Friday, March 28, 2025

Lace & Layers: A Vintage-Inspired Mixed Media Card


Hello friends! Ericka from Strangely Creative here, and I hope you've had a chance to hop along with us for our 8th Birthday Hop! If not, no worries—there’s still time to join the fun and enter for a chance to win some fabulous prizes.
👉 [Click here to join the hop!]

Today I’m sharing a card close to my vintage-loving heart—filled with texture, earthy tones, and a lace-like layered background that all started with a bit of Gel Press playtime!

Earlier this week, I got into full-on experiment mode with the DIY & Cie Spring Break Texture Plate and my Gel Press. I decided to shake things up by using the plate horizontally (instead of the usual vertical layout), pairing it with the dreamy PaperArtsy Bermuda Fresco Paint.

That color alone is enough to make me swoon… but then I had a fun idea: vintage lace vibes! Enter: PaperArtsy Mattint in Nutty. These Mattints are so translucent on the Gel Press that I decided to build it up slowly— One layer of Nutty, dry. Another Nutty layer, dry. Then I pulled the print... and wow! It gave me the most beautiful aged-lace effect—soft, subtle, and oh-so-vintage.

To complement the old-world charm of the background, I reached for Tracy Evans’ Garden Delight stamp set. It was a match made in mixed media heaven! I stamped both the floral image and the sentiment using Versafine Clair Pine Cone and gave them a clear heat emboss to make them stand out. I also added a touch of subtle texture by stamping an additional floral image in Sand Dune and embossing it—it's hard to catch on camera, but it gives the card that quiet richness you feel more than see. 


To add a final layer of vintage flair, I used bits of AALL & Create Washi Tape in Cobalt Swallowtail. The muted blues against the warm browns worked beautifully together. I then reached for my trusty ivory and brown Posca pens for a few sketchy highlights, and blended in some Lavinia Truffle Ink for that perfect aged finish around the edges.

This card was such a joy to create—from the playful Gel Press experimentation to the final vintage-inspired details. I hope it inspires you to dig into your stash and try something new—maybe even turn a happy accident into a beautiful background!


Thanks so much for stopping by! Be sure to hop along with us and don’t forget to check out the awesome birthday sale going on now.
Happy creating! 💕


Topflight Stamp Supplies 


DIY & Cie - Texture Plate - Spring Break
Shop at:
TP
Tracy Evans - Garden Delight
Shop at:
TP
AALL & Create - Washi Tape Cobalt Swallowtail
Shop at:
TP
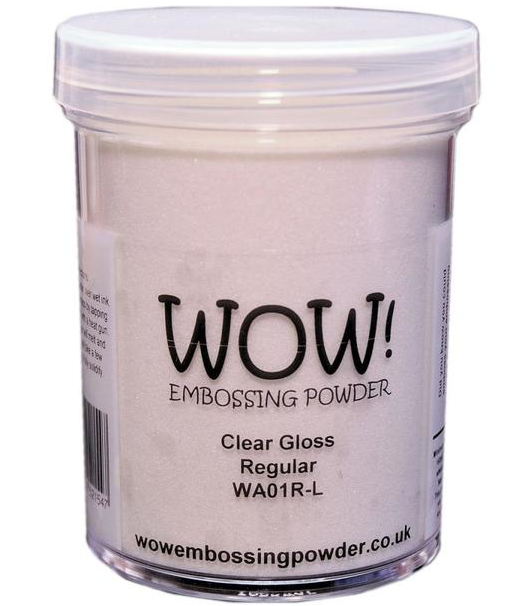
WOW! Embossing - Clear
Shop at:
TP
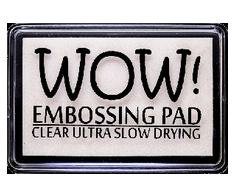
WOW! Embossing - Clear Embossing Pad
Shop at:
TP
Lavinia - Elements Dye Ink - Truffle
Shop at:
TP
Tsukineko - VersaFine Clair - Pine Cone
Shop at:
TP
Tsukineko - Versafine Clair - Sand Dune
Shop at:
TP
PaperArtsy - Fresco Chalk Paint - Bermuda
Shop at:
TP
PaperArtsy - Mattint Nutty
Shop at:
TP
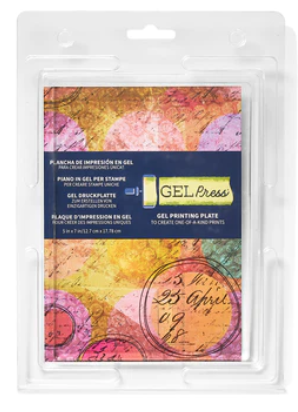
Gel Press - Reusable Gel Printing Plate
Shop at:
 TP 
Lavinia 5/8 Stencil Brush
Shop at:
TP
Speedball - 2
Speedball - 2" Brayer
Shop at:
TP

Friday, March 21, 2025

Sunflower Dreams & Blush Parcels


Hello friends! Ericka from Strangely Creative here, and today I’m sharing a card that’s bursting with color, texture, and one of my absolute favorite things… a big, bold sunflower! 🌞 I had so much fun playing with this gorgeous floral stamp by Tracy Evans, pairing it with a dreamy gel press background and some whimsical touches from AALL & Create’s Blush Parcels Washi Tape.


It all started with a gel press print I made using PaperArtsy Mattints in Ash, Jam, and Shark. (Side note: aren’t those names so deliciously moody?) The mix of deep neutrals and soft color gave me just the right amount of grunge-meets-pretty—perfect for layering!

I stamped Tracy Evans’ sunflower onto Bristol Smooth paper using Versafine Clair Sand Dune ink and gave it a touch of shimmer and dimension with clear embossing. Then came the watercoloring magic: my Spectrum Noir Watercolor Markers brought this beauty to life in warm, vibrant shades. Once dry, I fussy cut it and set it aside like a crown jewel, waiting for its grand placement.

Before gluing down my sunflower, I layered strips of AALL & Create’s Blush Parcels Washi Tape behind it—just enough to peek through and add a hint of delicate contrast. I also added a sweet sentiment and a little insect friend using Versafine Clair inks in Baby Pink and Arctic (such a dreamy combo!).

To finish, I reached for the Creative Expressions Birthday Sentiment Sheets and gave my sentiment a Mattint makeover to match the rest of the card.

I love how this card turned out—grungy, elegant, a little whimsical, and totally full of sunflower joy. 🌻 It’s amazing what happens when you combine texture, layers, and unexpected color combos!

Thanks so much for stopping by. I hope you leave feeling a little more inspired—and maybe ready to play with some bold florals yourself. Have a wonderful weekend and happy crafting, my friends!


Topflight Stamps Supplies
Tracy Evans Boutique - Sunflower
Shop at:
TP
Creative Expressions - Sentiment Sheets - Birthday
Shop at:
TP
Versafine Clair - Sand Dune
Shop at:
TP
Versafine Clair - Baby Pink
Shop at:
TP
Versafine Clair - Arctic
Shop at:
TP
AALL & Create - Washi Tape Blush Parcels
Shop at:
TP
WOW! Embossing - Clear
Shop at:
 TP
Spectrum Noir - Colorista Watercolour Markers - Botanical
Shop at:
TP
Spectrum Noir - Colorista Watercolour Markers - Vibrant
Shop at:
TP
PaperArtsy - Mattint Ash
Shop at:
TP
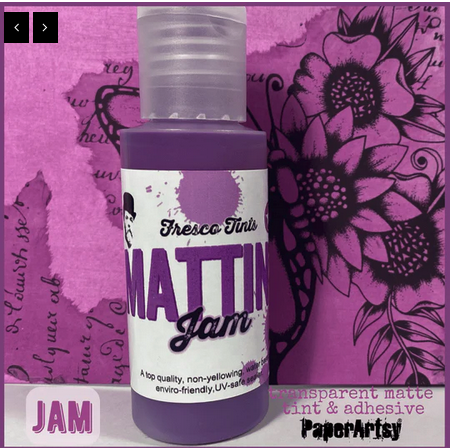
PaperArtsy - Mattint Jam
Shop at:
TP
PaperArtsy - Mattint Shark
Shop at:
TP
Gel Press - Reusable Gel Printing Plate
Shop at:
 TP 


Speedball - 2
Speedball - 2" Brayer
Shop at:
TP
01 09 10