Hello friends! Ericka from Strangely Creative here, and I hope you've had a chance to hop along with us for our 8th Birthday Hop! If not, no worries—there’s still time to join the fun and enter for a chance to win some fabulous prizes.
👉 [Click here to join the hop!]
Today I’m sharing a card close to my vintage-loving heart—filled with texture, earthy tones, and a lace-like layered background that all started with a bit of Gel Press playtime!

Earlier this week, I got into full-on experiment mode with the DIY & Cie Spring Break Texture Plate and my Gel Press. I decided to shake things up by using the plate horizontally (instead of the usual vertical layout), pairing it with the dreamy PaperArtsy Bermuda Fresco Paint.
That color alone is enough to make me swoon… but then I had a fun idea: vintage lace vibes! Enter: PaperArtsy Mattint in Nutty. These Mattints are so translucent on the Gel Press that I decided to build it up slowly— One layer of Nutty, dry. Another Nutty layer, dry. Then I pulled the print... and wow! It gave me the most beautiful aged-lace effect—soft, subtle, and oh-so-vintage.

To complement the old-world charm of the background, I reached for Tracy Evans’ Garden Delight stamp set. It was a match made in mixed media heaven! I stamped both the floral image and the sentiment using Versafine Clair Pine Cone and gave them a clear heat emboss to make them stand out. I also added a touch of subtle texture by stamping an additional floral image in Sand Dune and embossing it—it's hard to catch on camera, but it gives the card that quiet richness you feel more than see.

To add a final layer of vintage flair, I used bits of AALL & Create Washi Tape in Cobalt Swallowtail. The muted blues against the warm browns worked beautifully together. I then reached for my trusty ivory and brown Posca pens for a few sketchy highlights, and blended in some Lavinia Truffle Ink for that perfect aged finish around the edges.
This card was such a joy to create—from the playful Gel Press experimentation to the final vintage-inspired details. I hope it inspires you to dig into your stash and try something new—maybe even turn a happy accident into a beautiful background!

Thanks so much for stopping by! Be sure to hop along with us and don’t forget to check out the awesome birthday sale going on now.
Happy creating! 💕
Topflight Stamp Supplies
 DIY & Cie - Texture Plate - Spring Break Shop at: TP |
 Tracy Evans - Garden Delight Shop at: TP |
 AALL & Create - Washi Tape Cobalt Swallowtail Shop at: TP |
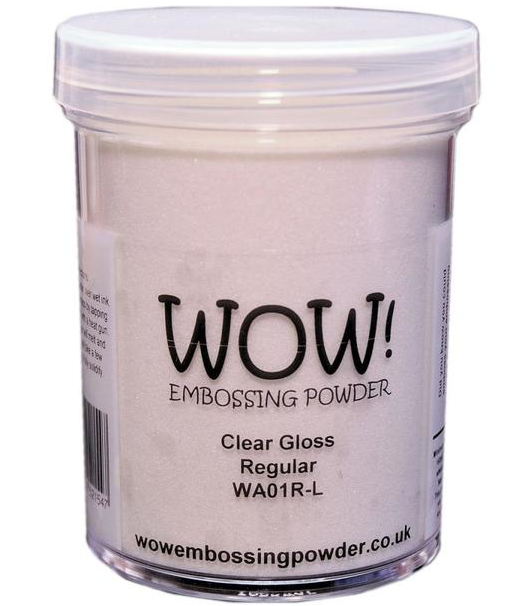 WOW! Embossing - Clear Shop at: TP |
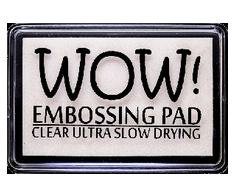 WOW! Embossing - Clear Embossing Pad Shop at: TP |
 Lavinia - Elements Dye Ink - Truffle Shop at: TP |
 Tsukineko - VersaFine Clair - Pine Cone Shop at: TP |
 Tsukineko - Versafine Clair - Sand Dune Shop at: TP |
 PaperArtsy - Fresco Chalk Paint - Bermuda Shop at: TP | |
 PaperArtsy - Mattint Nutty Shop at: TP |
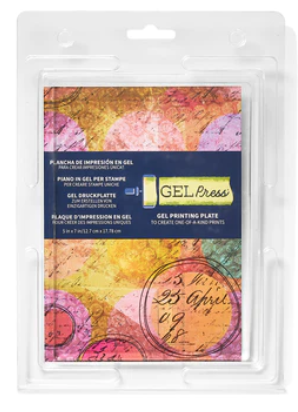 Gel Press - Reusable Gel Printing Plate Shop at: TP |
 Lavinia 5/8 Stencil Brush Shop at: TP |
 Speedball - 2" Brayer Shop at: TP | |