Friday, July 7, 2023

Visible Image Chase Your Dreams


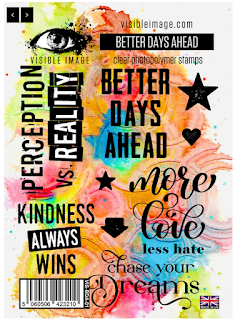
Hello crafty friends! Ericka from Strangely Creative here and today I am continuing the Design Team theme for the week and using stars! For my card today I used the Visible Image Seeing Stars stencil along with the Better Days Ahead stamp set. 


I used a gel press print I had in my stash using some PaperArtsy Fresco paints. I took embossing paste with the Visible Image Seeing Stars stencil and then sprinkled WOW! Embossing Pea Coat powder on the wet embossing paste. Once the paste was dry, I used my heat tool to melt the powder and then stamped the star from the Better Days Ahead and used WOW! Embossing in Petalicious


I finished my card by stamping the sentiment from the Better Days Ahead set on vellum and then heat embossing them in gold. Thank you for stopping by and I hope you have a wonderful week!

Topflight Stamp Supplies Used


Thursday, July 6, 2023

Space Travel with Katzelkraft

   Hi Everyone,

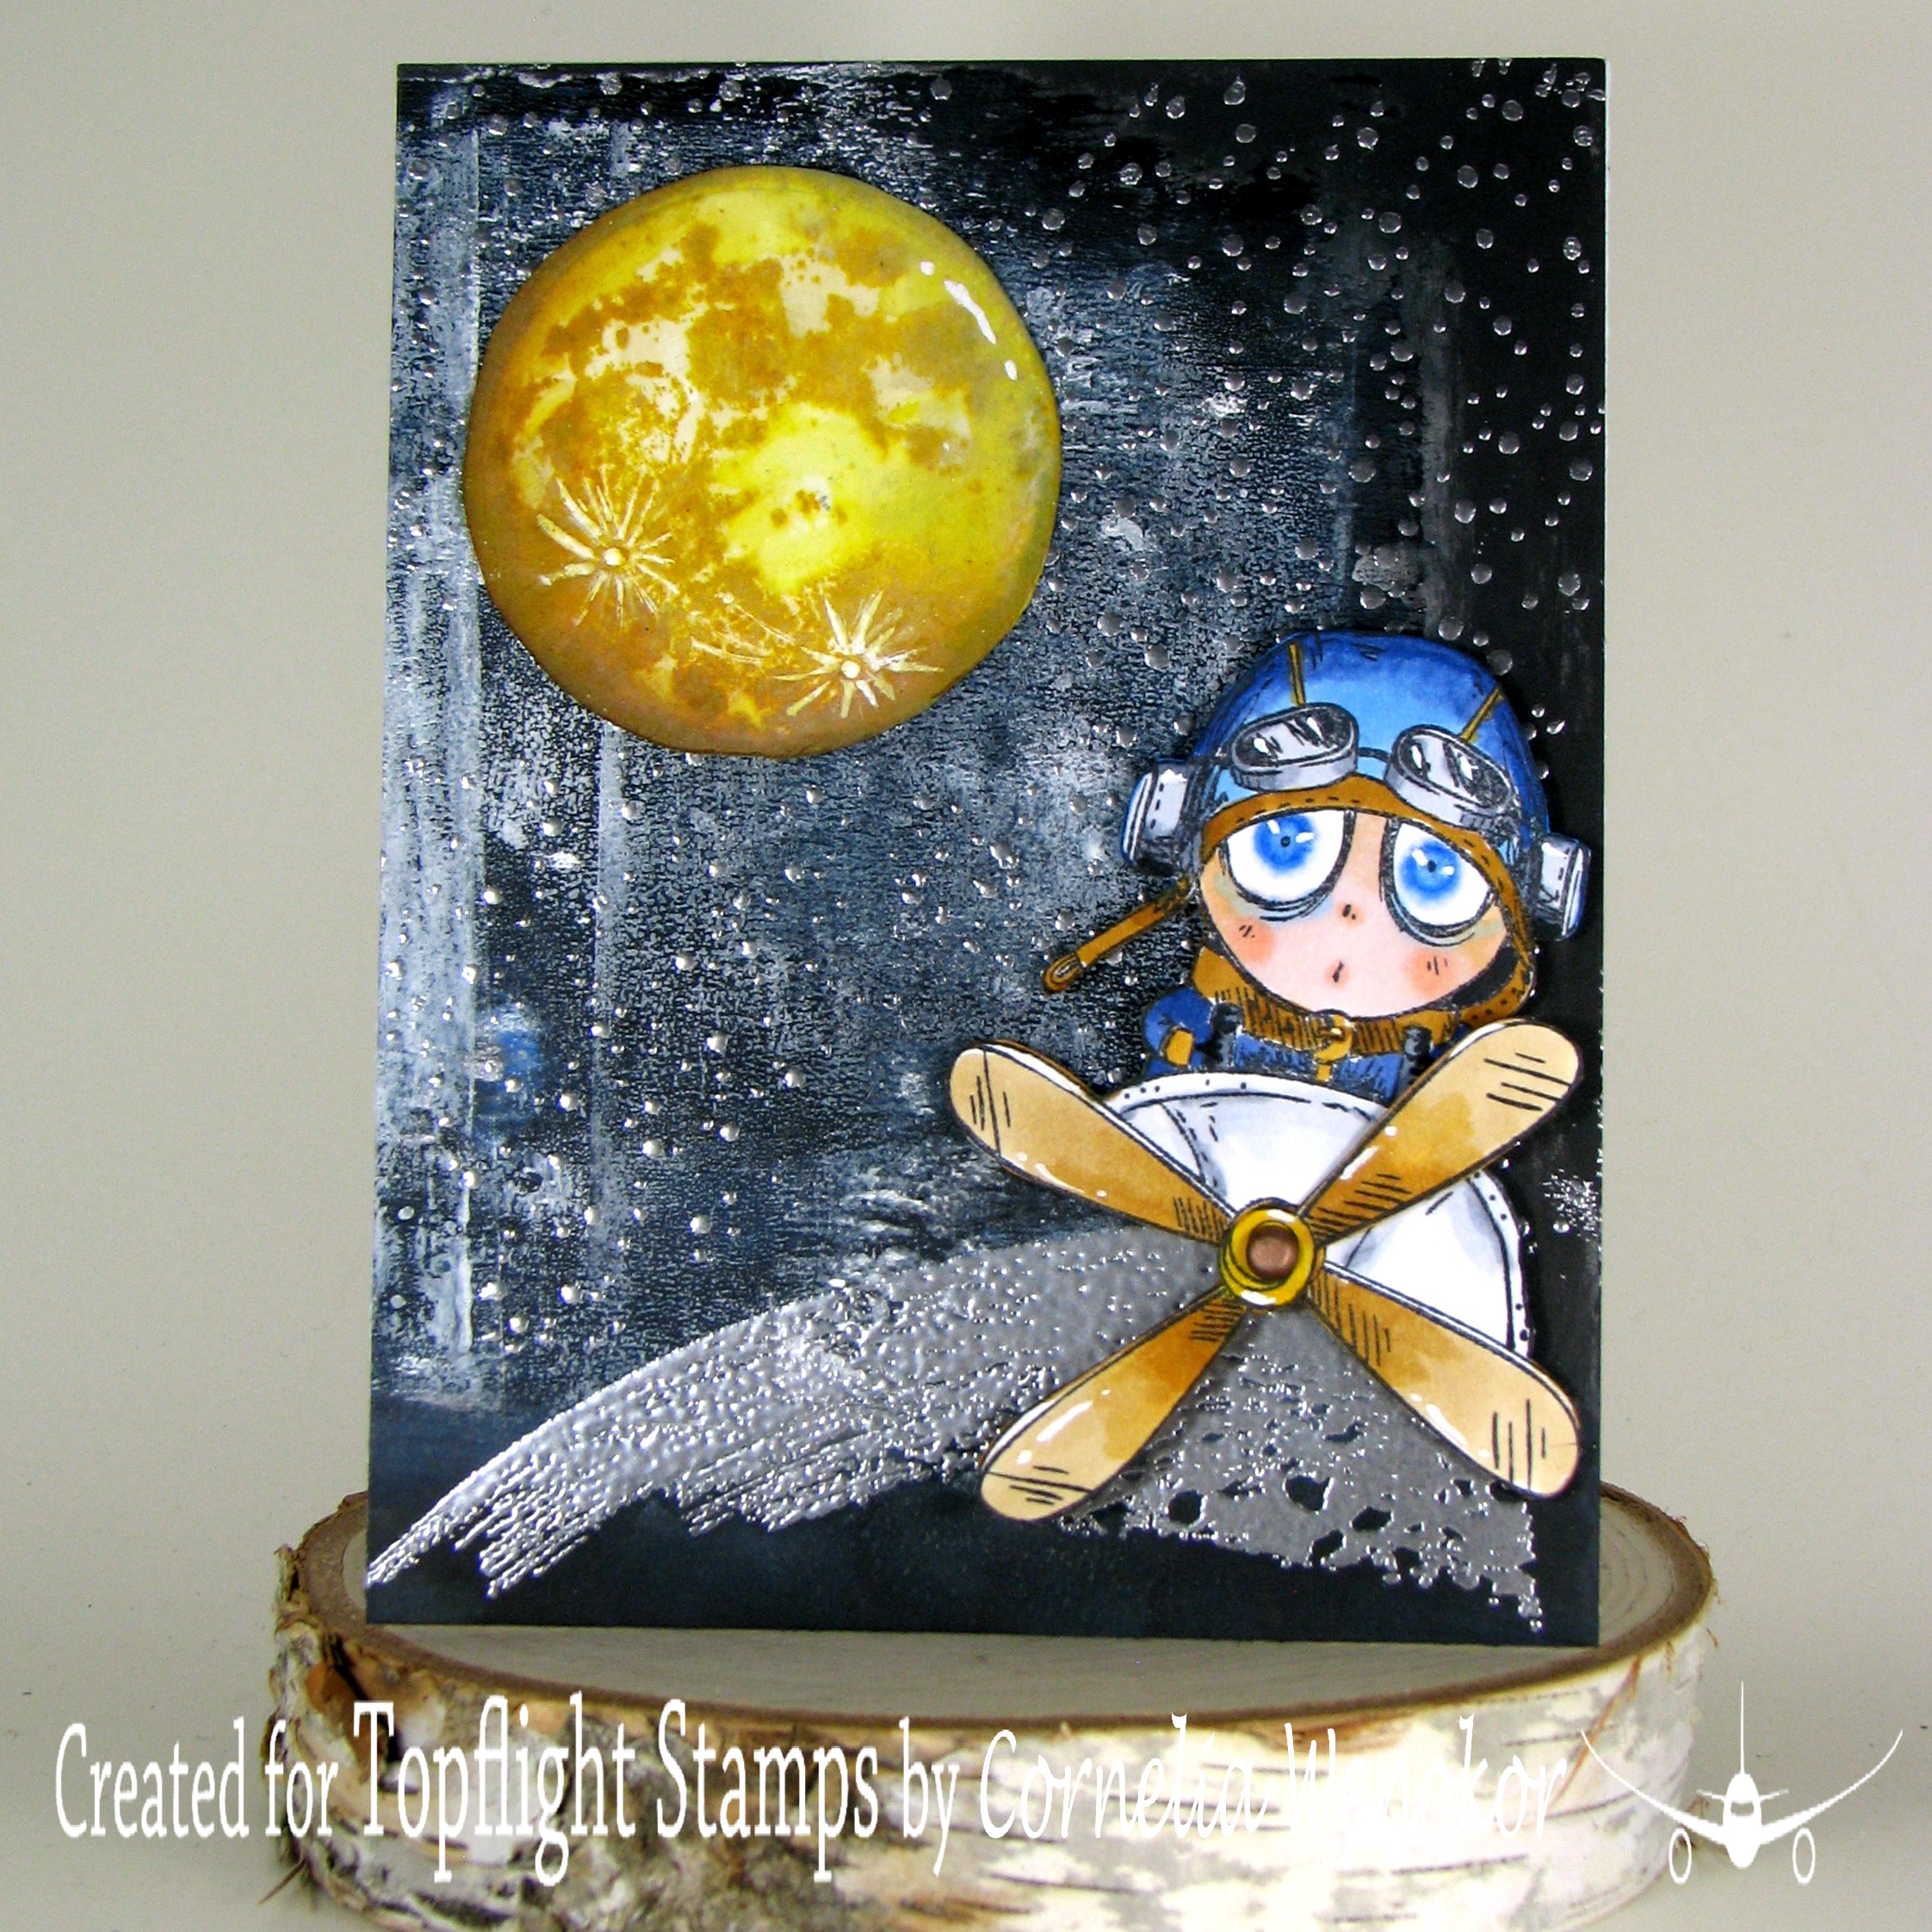
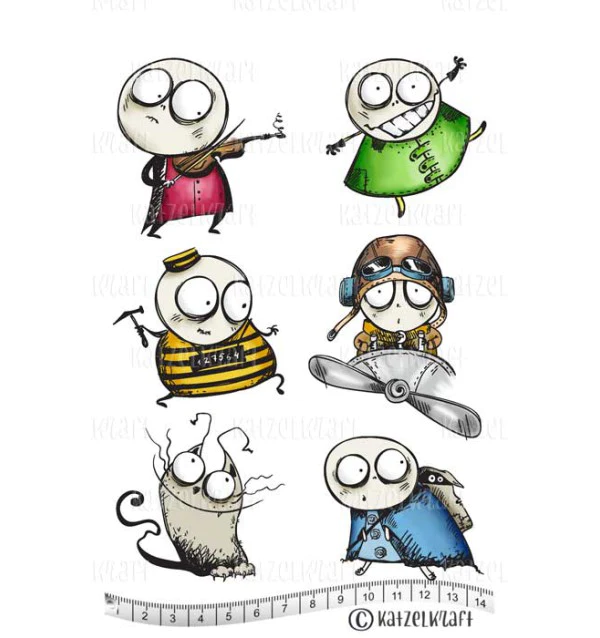
Cornelia here today. This week the theme is "Stars" at the Topflight blog. So I sent the little katzelkraft Pabos pilot on a space journey!
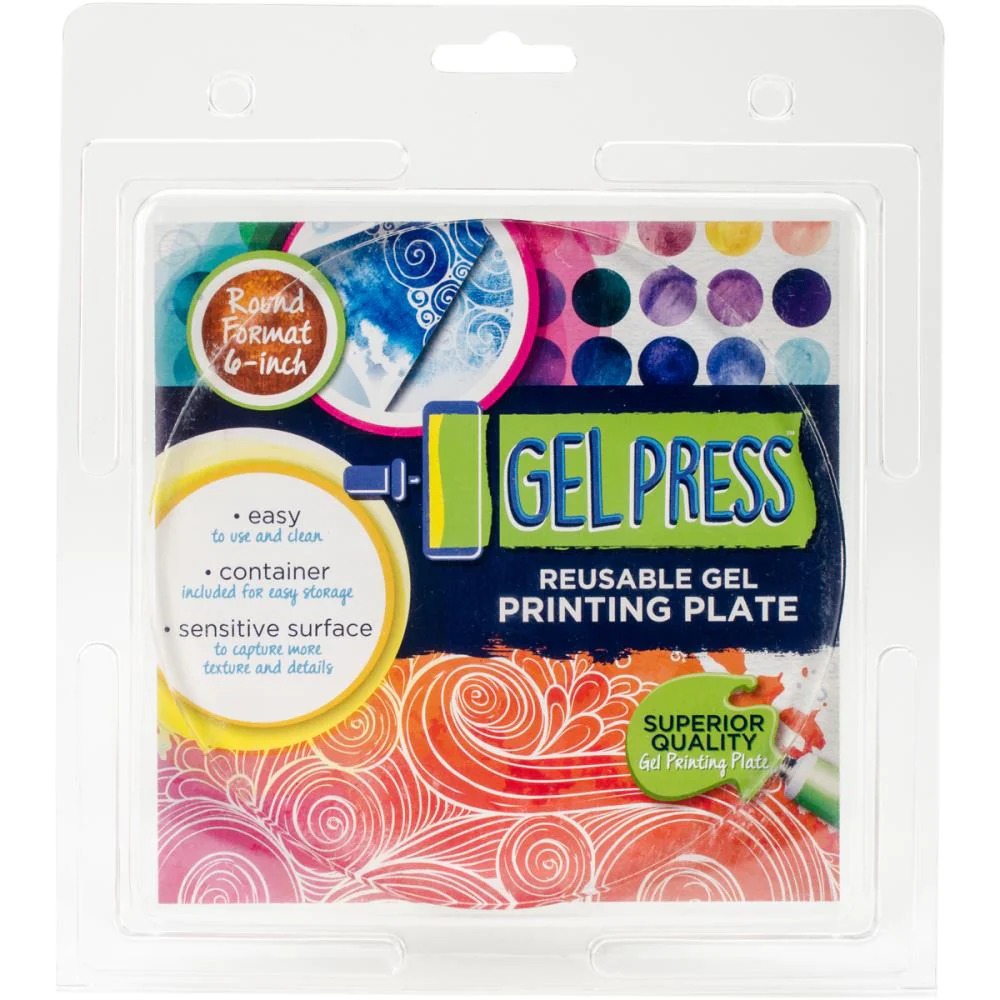
I used an old gel print background as a base. I colored the moon after a tutorial by Katzelkraft on YouTube, although Beatrice did it better....I stamped the stars and planet part with Versamark and heat embossed them in silver. Stamped the little pilot onto scrap paper and again the propeller, colored them with alcohol ink markers and cut them out. Added the extra propeller with a brad - it moves as you can see on the bottom picture.
I hope you liked this. Thanks for visiting. 
See you next week with more Topflight Stamps inspiration.

And here are the stamp supplies I used: 

Wednesday, July 5, 2023

Playing amongst the Stars

"Hello Mary Key here", today's theme is "Stars". I decided to create using stamps  from Carabelle Studio Background Stars, Carabelle Studio 3 Birds by Sylvie Belgrand, and using Lavinia Dinkles for my background and also for watercoloring the birds.

First, I created swatches and just spritz water onto my little panels just to see what the colors look like without adding a watercolor brush just some Dinkles and "wow" look at these pretty colors.  

The Lavinia Dinkles I will be using for my background are Blue Dragon, Blueberry and Paynes Grey, First of all, I stamped and heat embossed my birds onto watercolor paper and then added masking fluid to cover Carabelle Studio 3 Birds before adding water and colors.

I then spritz water to my watercolor paper and added by sprinkling Lavinia Dinkles Blue Dragon (top lid has a hole to put a push pin) and let the "magic" begin!

Next color, I sprinkle Lavinia Dinkles Blueberry and spritz a little more water.

Then added lastly Lavinia Dinkles Paynes Grey at each sides of my watercolor paper.


Then heat dry lightly and rubbed off the masking of the birds and this is what it looks like. I like how Lavinia Dinkles looks on the background. 


I then watercolor my birds with some Lavinia Dinkles Yellow, Deep Yellow, Burnt Orange, Sepia, Lime Divine and Pine Green. Then added Carabelle Studio Background Stars stamp and heat embossed with WOW! Opaque Bright White embossing powder. Put it all together and this is the final look of my card.


I hope you like what I created and enjoy creating, Thank you for visiting Topflight Stamps blog.

Tuesday, July 4, 2023

Reach for the Stars!


Happy July 4th! I hope that you're having a wonderful holiday and are celebrating with this sale!

Greetings! It's Tuesday so you've got Kathi here to share a project with you. This week my teammates and I are exploring stars, so I've made an encouragement card with lots of stars and loads of ink.


Emperor Red and Blue Lagoon Elements Inks were brushed onto the opposite corners of two pieces of white cardstock with heavier concentrations of color on the edges and minimal blending. Sundance Elements Ink was brushed onto the empty areas which served to brighten and blend the colors. 

91% Isopropyl Alcohol was spritzed onto the inked papers until the paper was completely saturated. I let the alcohol sit for a few seconds to let it blend and lighten the inks, then heat set the papers which moved the alcohol around a bit.

Blue Lagoon Elements Ink was brushed over the Time Tunnel Stencil onto one of the panels. 

Nocturne VersaFine Clair Ink by  was used to stamp the tee shirt from the Nothing To Wear Clear Polymer Stamp Set  then heat set. Paradise VersaFine Clair Ink was used to stamp the star from the stamp set into the center of the tee shirt. Chalk pencils were used to add dimension to the tee shirt, which was then fussy-cut, edged with a black marker, and set aside.

Blue Lagoon Elements Ink was used to stamp the Scripted Stars Clear Stamp 468  onto the top right and bottom left of the second piece of inked cardstock. Blue Lagoon Elements Ink was also brushed over the Smitten with Stars Stencil 121 onto the top left and bottom right of the panel.

Nocturne VersaFine Clair Ink was used to stamp the "reach for the stars" sentiment from the Voyager Clear Stamp Set 198  on the upper left of the panel.

The fussy-cut reserved tee-shirt was adhered to the background panel using dimensional foam adhesive. The background panel was edged with Blue Lagoon Elements Ink and adhered to a black 5" x 7" card.

Please pop over to my blog, Kat's Tales of Stamping, for more information.

Topflight Stamps Products Used:


Thanks for visiting today!


Monday, July 3, 2023

You are courageous!!

Hi Mel Pilling here today with an art journal page.  This week, the Topflight Stamps design team are showcasing stars.


.


Using a torn paper mask and a Stencil brush   I put in the night sky with Elements ink  in Blue Lagoon  then darkened the edges slightly with Dark Denim .  I placed a moon mask prior to stencilling this background, and I edged around the moon mask with Confetti.   Once this was completely dry, I deepened the sky tones with Pan pastels in rich blues and pink.

For the snowy hills, I brushed upwards over a torn paper hill mask lightly with a stencil brush using Blue Lagoon.

I stamped the wolves using a multi stamping process on a stamping platform.  Beginning with Versafine Clair ink  in Morning Mist and then around the edges in Nocturne. Then low lighted them with a grey water colour marker.  The stag was multi stamped also, in Acorn and Pinecone.  I  Low-lighted him with a black pen.

I then stamped the trees with Nocturne.  I highlighted all the characters and trees, with  gold  and  white gel pens. I added, a bit of glitter here and there for sparkle.

I then stamped the Lavinia North star in Versafine Clair Nocturne.  I embossed it with opaque snow embossing powder, then added the sentiment.

LAVINIA STAMPS USED


,


'


Mini Seed Head


DARKROOM DOOR STAMP USED


I chose to do a cool winter scene on this warm summer day,  because I love snow beneath a starry sky.

Thanks for joining me today.  hope you drop in again.


01 09 10