Showing posts with label Lynne Perrella. Show all posts

Tuesday, March 3, 2026

A Stained Glass Looking All Occasion Card

 It's Tuesday which means you've got Kathi here to share a project with you. It's an "Anything Goes" week. I decided that I felt like using one of Lynne Perella's wonderful PaperArtsy Cling Rubber Stamp Sets, specifically the LPC033 Cling Rubber Stamp Set

The focal image of that set reminded me of stained glass, so my objective was to try to achieve that look. Sadly, my first attempts were less than stellar, and the technique I wanted to use didn't work, so I pivoted to Plan C. I'm moderately happy with this card. 
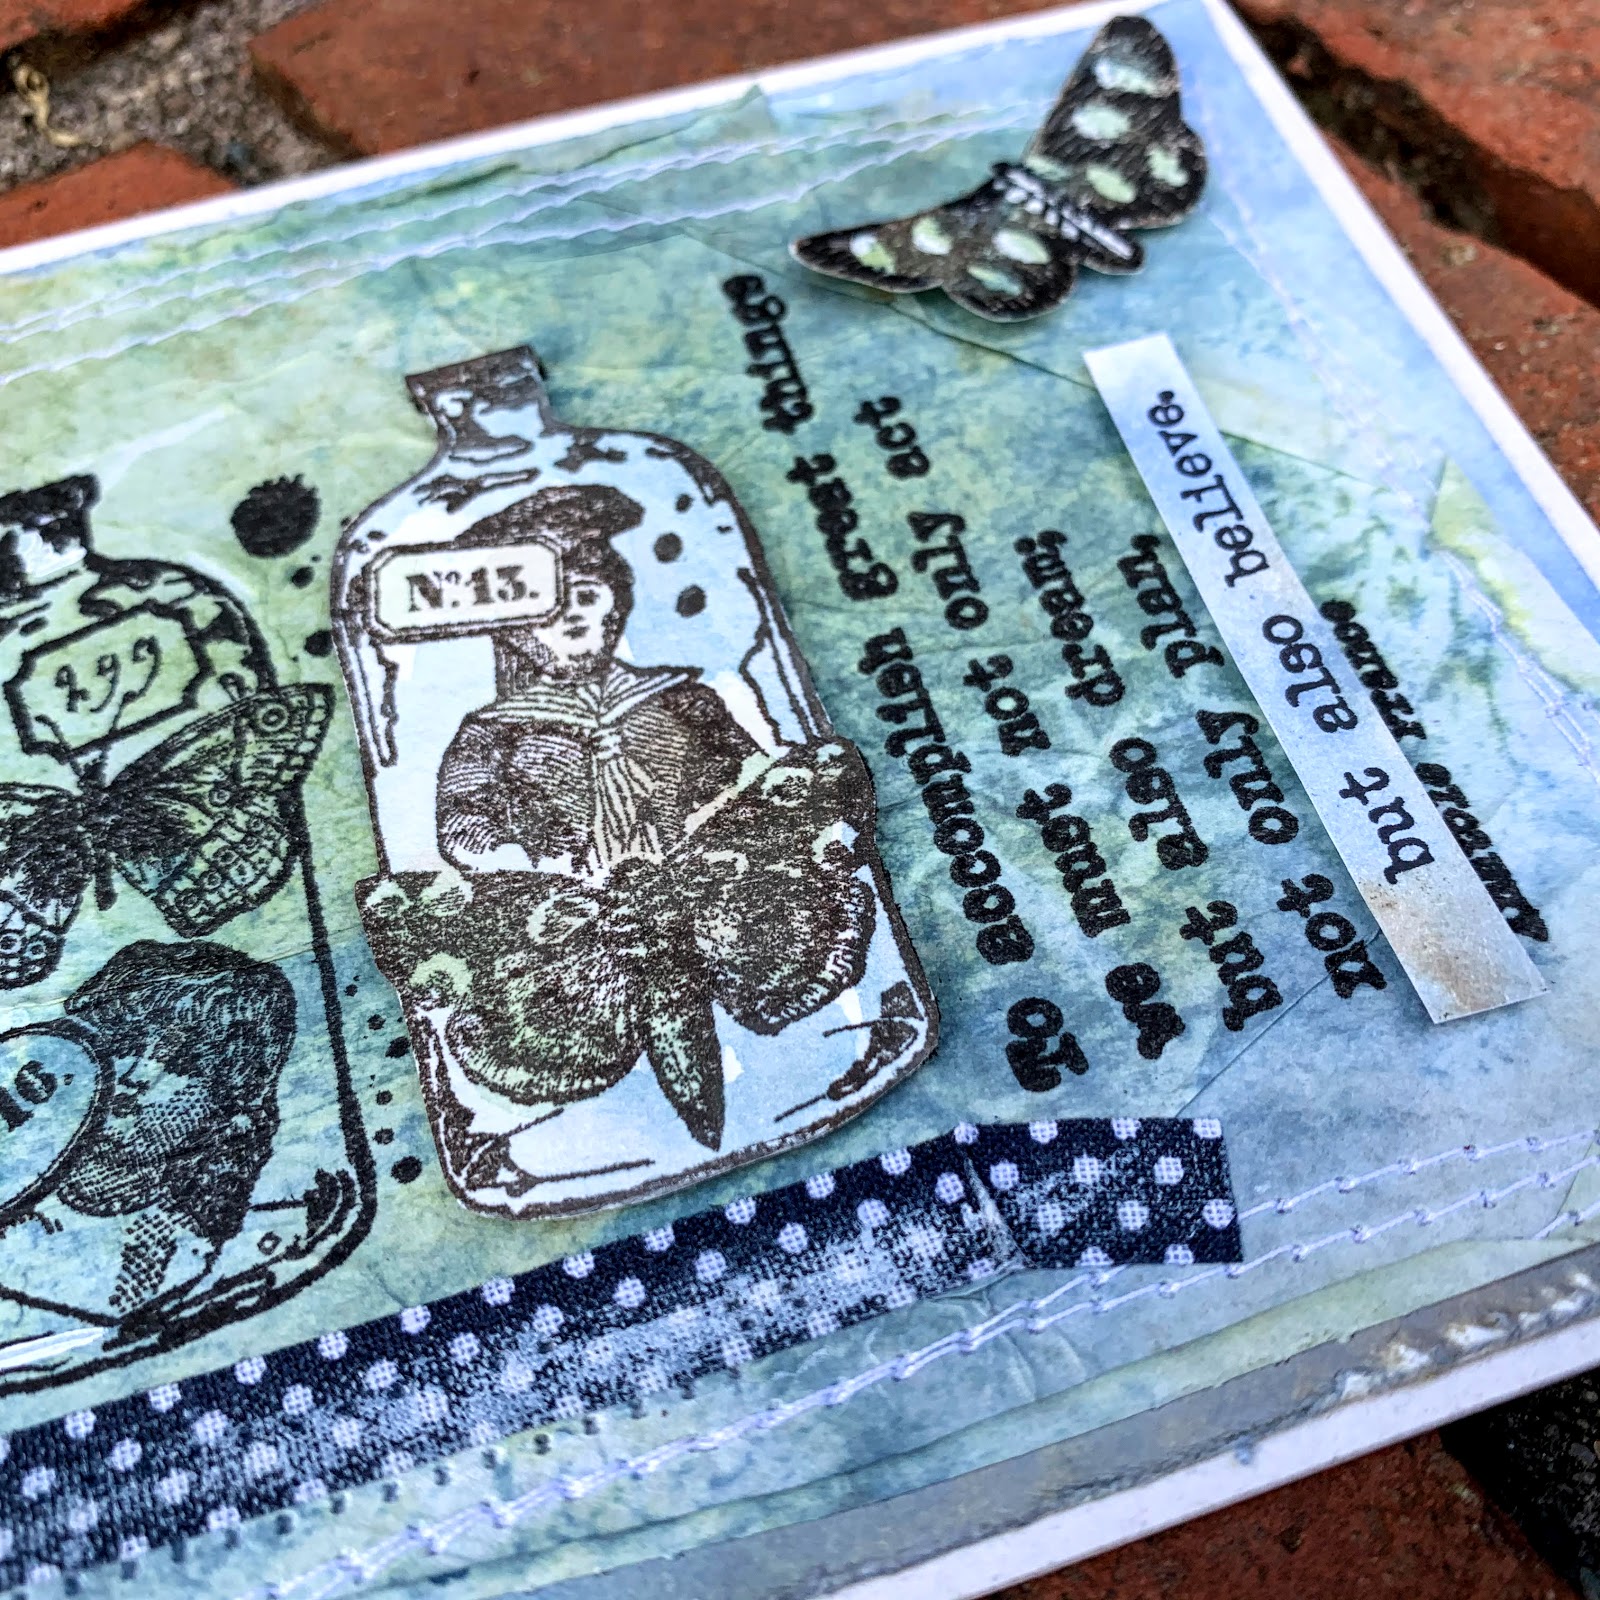
Here's the card.


Here's a close-up that shows more of the stained glass look. 


Use Tuxedo Black Memento Ink by Imagine Crafts/Tsukineko to stamp the focal image from the LPC033 Cling Rubber Stamp Set by Lynne Perrella for PaperArtsy onto Bristol Paper. It was helpful to use a stamping platform so that I could re-ink and stamp again to get a good impression. Heat set the image panel.

Use Copic markers to color the image. Trim the image panel and edge it with Nocturne VersaFine Clair Ink by Imagine Crafts/Tsukineko. Heat set the image to ensure that it is dry. 

Smoosh the image panel into an embossing ink pad. Add clear detail embossing powder to the wet ink. Dump the excess back into its container. Heat set. Repeat this process to build up three to four layers of embossing. Set the image panel aside.

Use a frame die to cut Bristol Paper. Sponge Monarch VersaFine Clair Ink onto the frame die-cut. Heat set. Sponge Fantasia VersaFine Clair Ink over the frame die-cut to deepen the color. Use a stipple brush to pounce Nocturne VersaFine Clair Ink onto the frame die-cut to add some visual interest. Heat set the frame. 

Smoosh the frame die-cut into an embossing ink pad. Add clear detail embossing powder to the wet ink. Dump the excess back into its container. Heat set. Repeat this process to build up three to four layers of embossing.

Adhere a piece of cloudy blue sky vellum to the reverse of the frame. Add metallic glittery foil border stickers to the vellum and scootch the top and bottom of the stickers under the frame. Adhere the image panel to the frame as shown. Set aside.

Use magnets to secure a 5" wide panel of Bristol Paper to the base of a large stamping platform. Place the border stamp from the LPC033 Cling Rubber Stamp Set facedown on the platform so its right edge is at the 8.5" mark on the platform. Ink the stamp with Tuxedo Black Memento Ink and stamp.

Keeping the cardstock flush against the base of the platform, slide the cardstock panel ~4" to the right and secure the panel in place with magnets. Ink the stamp again with Tuxedo Black Memento Ink and stamp. Trim the completed border height-wise. Repeat the above instructions to create a second border. 

Heat set both borders, color them with Copic markers, and edge both borders with a grey marker. 

Use light grey dye ink to stencil a cobblestone border onto a piece of 5" x 6.75" speckled grey cardstock to create the background panel. Heat set. Adhere the borders to the top and bottom of the the background panel. Trim the panel to 4.75" wide.

Adhere the frame/stained glass focal panel to the background as shown. Adhere the background panel to a dark grey 5" x 7" card.

Please pop over to my blog, Kat's Tales of Stamping, for step-by-step instructions and complete supply lists. 


 Thank you for visiting today!

Monday, July 12, 2021

Lynne Perrella Poinsettia Christmas Card


Hi everyone!  It's Autumn Clark from SewPaperPaint with you to kick off our week of Christmas in July inspiration.  If you are like me and send handmade Christmas cards to friends and family, well you need to get a jump on your crafting.  So Donna is offering a fabulous sale to get us all inspired, with 20% off Christmas and winter themed products in the shop.  See the selection HERE.  To get myself in the Christmas mood, I chose a palette of traditional rich red and winter green for today's card.


I dyed some papers to work with using Distress Inks and tea for the focal image, my absolute favorite Lynne Perrella stamp set LPC018.  For my main card panel, I stamped the script top of the small building stamp repeatedly on my background for interest.  I then mixed some Versamark ink with a bit of water and splashed it on my panel and embossed the splashes with Stampendous Frantage embossing powder.  

I used my extra inky papers to do some die cutting (Tim Holtz dies), then stitched around my focal image and layered with some old hymnal page.  I mounted the panel onto sanded metallic kraft core paper.  The finishing touch is the gorgeous scripty sentiment by Darkroom Door from the Christmas Bush stamp set, also stamped on tea stained paper.  I love this font!  I hope this card has inspired you to get a start on your Christmas cardmaking.  Make sure to check out the sale at Topflight Stamps.  Hugs, Autumn

Shop these and other products today:


Monday, April 20, 2020

Lynne Perrella Dyed & Stamped Tissue Collage Cards


Hi friends!  It's Autumn Clark from SewPaperPaint with you today to share a couple of mixed media cards, inspired by our general sense of making do and upcyling during these tough times.  I salvaged some tissue paper packaging and gave it a good old ink dip to make some funky art papers.


I tapped a combination of Stormy Sky, Bundled Sage and Frayed Burlap Distress Inks onto my kraft mat and spritzed with water, then dipped the crumpled tissue into the wet inks and allowed them to dry. 


Once they were completely dry, I was free to stamp them with Versafine black ink to create art papers from which to build my collages. 


I had enough tissue stamped to get two cards, but stamped both with the gorgeous bottle collage from PaperArtsy Lynne Perrella Collection LPC045, adding sentiments from EAB07 by Alison Bomber.  A bit of stitching, fussy cutting and watercolor were all it took to bring these images to life. 


These new PaperArtsy stamps are going fast, so make sure to click "Email When Available" if they sell out before you can add them to your cart.  Stay crafty friends and I'm looking forward to seeing how you are making do these days.  Hugs, Autumn

Instagram: @sewpaperpaint
Facebook: Autumn Clark
Pinterest: Autumn S Clark


Tuesday, July 10, 2018

Hello, Lisa Hoel here with another 'Christmas in July' project. I never seem to have enough time to make all the Christmas projects I have in my mind during the holiday season so I think it's a good idea to get a head start! ;-) This is a little mixed media canvas that will make a pretty decoration come the season…


I used the Lynne Perrella 20 stamp set from PaperArtsy:


also the Stamperia stencil Dragonfly & Butterfly:


You can see a full supply list and a short 'how-to' over on my Creative Juice blog.

AAAND…
right now there is a Christmas in July sale over at the store! Don't miss out!


01 09 10