Showing posts with label PaperArtsy JOFY. Show all posts

Sunday, April 12, 2026

Fresh Layers: A Spring Mixed Media Tag with JOFY


Hello friends! Ericka from Strangely Creative here, and today I’m sharing a simple, fresh spring tag that came together using what I already had on my desk. No complicated plan. Just paint, stamping, and a little layering.


I began by grabbing a few paints that were already out and applying them directly to my tag.

This is one of my favorite ways to start. No pressure, just color. Let the paint blend naturally and don’t overthink it. Those imperfect layers are what give your tag character.


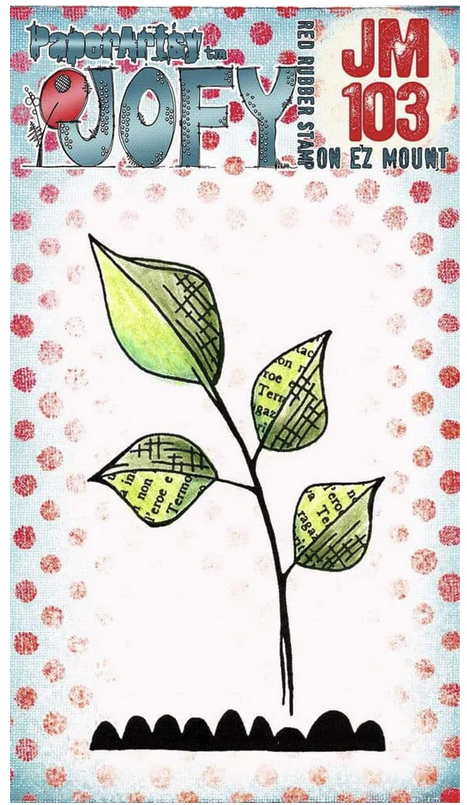
While the background dried, I stamped the leaf image from the JOFY Mini 103 by PaperArtsy onto white paper and fussy cut the leaves. Next, I stamped the same image directly onto the tag to create a base layer, then adhered the white cut-out leaves on top.

That contrast—soft painted background with crisp white elements—really makes the design pop.

I added another stamped detail from the JOFY 147 just below the leaves to ground the composition and add a bit more texture.


✨ Finishing Touches

To bring everything together, I added:

  • A hand-drawn frame for definition
  • A sentiment from the Lavinia Sentiment Collection
  • A few highlights with a white Posca pen

Those final details help guide the eye and give the tag a clean, finished look. Thanks so much for stopping by today. I hope this inspires you to carve out a little creative time this week—even if it’s just a quick tag. 💛


 Topflight Stamp Supplies
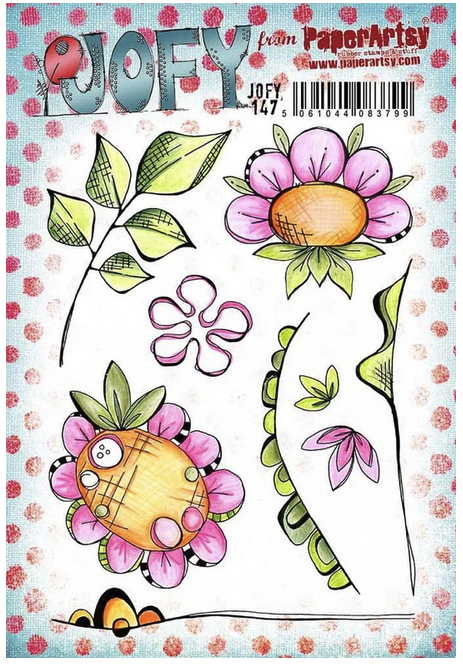
PaperArtsy - JOFY 147
Shop at:
TP
PaperArtsy - JOFY Mini 103
Shop at:
TP
WOW! Embossing - Clear
Shop at:
WOW US | TP
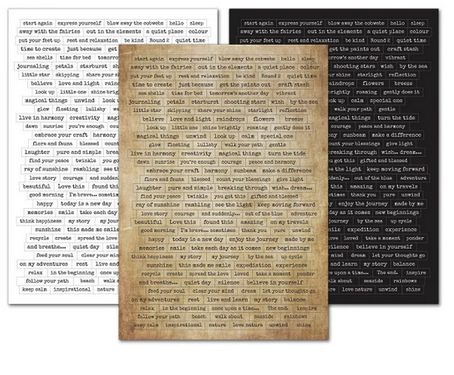
Lavinia - Sentiment Stickers - Uplifting Collection
Shop at:
TP
Tsukineko - VersaFine Clair - Nocturn
Shop at:
AZ | TP

Tuesday, April 22, 2025

Get Well Soon

 It's Tuesday you've got Kathi here to share a project with you. This week's theme is Mixed Media. I used chalk acrylic paints, watercolor markers, glitter markers, colored pencils, and gel pens on my project.


Add drops of Shutters and Pool Fresco Finish Chalk Acrylic Paints by PaperArtsy to a piece of Cut 'n' Dry Foam (or a firm foam makeup wedge). Pounce the paint onto a craft mat to blend it, then pounce the paint over a piece of Bristol or other heavy weight paper. Re-apply the paint to the foam as needed. Heat set the panel if desired. 

Use the two largest dies from the Polaroid Pop Die Set DI-89 by AALL and Create to cut the painted paper.

Use Nocturne VersaFine Clair Ink by Imagine Crafts/Tsukineko to stamp the ladybug from the JM 45 Mini Cling Rubber Stamp by JOFY for PaperArtsy onto the center of the smaller die-cut and heat set. Use watercolor markers and/or colored pencil to color the ladybug. 

Pounce an anti-static pouch of the image die-cut panel. Use VersaMark ink or other embossing ink to stamp the cage from the JM36 Mini Cling Rubber Stamp by JOFY for PaperArtsy over the colored ladybug. Add detail gold embossing powder to the wet ink, dump off the excess embossing powder into its container, and heat set. Use Sparkling Brights Colorista Glitter Markers by Spectrum Noir
 to add sparkly color to the embossed bird cage. Heat set the glitter ink.

Use alphabet dies to cut gold metallic cardstock and adhere the "Caught a bug?" sentiment to the image die-cut panel. Set aside.

Add drops of Lawn and Spring Fresco Finish Chalk Acrylic Paints by PaperArtsy to another piece of Cut 'n' Dry Foam or foam make-up wedge. Pounce the paint onto the bottom of the larger painted die-cut panel, which will become the background layer. Use a paint brush to add blades of grass.

Adhere the image die-cut panel to the background die-cut panel as shown.

Cut gold metallic cardstock so that it's slightly larger than the image background die-cut panel and use to mat the background die-cut panel. 

Use the flag die from the Polaroid Pop Die Set DI-89 by AALL and Create to cut gold metallic cardstock. Pounce the anti-static patch onto the die-cut. Use Nocturne VersaFine Clair Ink to stamp the "Get Well Soon" sentiment from the More Classic Sentiments Clear Stamp Set by Heffy Doodle onto the die-cut. Add black detail embossing powder to the wet ink, dump the excess embossing powder back into its container, and heat set. Adhere the sentiment flag die-cut to the background die-cut as shown. The last step is to adhere the background die-cut to a green A2 card.

Please pop over to my blog, Kat's Tales of Stamping, for step-by-step instructions and complete supply lists.

Topflight Stamps Products Used:


Thanks for visiting today!

Tuesday, April 8, 2025

A Spring JOFY Card!

 Greetings! It's Tuesday, so you've got Kathi here to share a project with you. This week our focus is on Spring and/or Mother's Day. When I think of Spring, I think of flowers and when I think of flower stamps, I think of JOFY's beautiful flowers.

Here's s card made with the JOFY 13 Rubber Cling Stamp Set by JOFY for PaperArtsy.


Use Tuxedo Black Memento Ink by Imagine Crafts/Tsukineko to stamp the two-flower and leaf cluster from the JOFY 13 Rubber Cling Stamp Set by JOFY for PaperArtsy in the center towards the bottom of a panel of white cardstock. Use a B41 Copic marker to outline the stamped image. Stamp the flower and leaf cluster again onto repositionable sticker paper. Use a black fineliner pen to extend the lawn on the repositionable sticker paper version. Fussy-cut the lawn, leaves, and two-flower cluster. Place the sticker paper versions over their counterparts on the image panel.

Position the large daisy-ish flower from the JOFY 13 Rubber Cling Stamp Set to the right of the flower cluster and use Tuxedo Black Memento Ink to stamp it twice — once onto the image panel and once onto repositionable sticker paper. Use a B41 Copic marker to outline the stamped flower on the image panel. Fussy-cut the sticker paper version and place it over its counterpart as a mask.

Position the dragonfly from the JOFY 13 Rubber Cling Stamp Set on the upper left part of the image panel and use Tuxedo Black Memento Ink to stamp it twice — once onto the image panel and once onto repositionable sticker paper. Use a B41 Copic marker to outline the stamped image. Fussy-cut the sticker paper version of the dragonfly (I just cut his body and wings) and place it over its counterpart as a mask.

Sponge or brush Della Blue Elements Ink by Lavinia Stamps over the masked image panel to create a light sky background. 

Remove the masks from the dragonfly, the flowers, leaves, and the lawn. Use a black fineliner pen to extend the lawn on either side, using the masked lines as a guide. Color the flowers, leaves, lawn, and dragonfly with Copic markers.

Use the second largest die from the Crea-Nest-Lies XXl Double Stitched Rectangle Die Set by CREAlies to cut the image panel. 

Apply the Sparkle Clear Glitter Overlay Brush Pen by Spectrum Noir onto the dragonfly.

Cut a piece of white metallic cardstock slightly larger than the image panel die-cut then mat the image panel die with it.

Adhere the matted image panel with a lavender A6 card.

BTW, I didn't add a sentiment because I haven't decided what I'm going to use this card for as it would work for upcoming birthdays, get well, or thinking of you cards.

Please pop over to my blog, Kat's Tales of Stamping, for more detailed instructions and complete supply lists. 


Thanks for visiting today!

Tuesday, June 4, 2024

Sun...Sea...Sand...

It's Tuesday so you've got Kathi here to share a project with you. This week's theme is "Anything Goes". I few weeks ago, the team showcased  PaperArtsy's wonderful mini stamps and mini stencils. I had such a great time with these little treasures that I decided to make another project, this time with a summery theme!


If you've visited here before on one of "my" days, you know that I like to create scenes by stamping images, fussy-cutting sticker paper to mask the images, sponging or brushing on the background, removing the masks, and coloring the images with Copic markers. That's basically what I did here, so I'll spare you several paragraphs reiterating my process. 

The image panel was trimmed, matted with piece of white cardstock, then adhered to a 5.5" square Kraft card using silver photo corners.

Nocturne VersaFine Clair Ink by Imagine Crafts/Tsukineko was used to stamp the sentiments from the JOFY 16 Cling Mounted Rubber Stamp Set by JOFY for  PaperArtsy onto kraft cardstock. The sentiments were cut with flag dies, edged with Nocturne VersaFine Clair Ink, and adhered to the card as shown.

Please pop over to my blog, Kat's Tales of Stamping, for step-by-step instructions and complete supply lists.

Topflight Stamps Products Used:


Thanks for visiting today!

Friday, May 24, 2024

Minis and Mattints with PaperArtsy


Hello friends! Ericka from Strangely Creative here. I've been away for a couple weeks due to severe Texas weather but am so happy to be back. Today I am playing with some PaperArtsy minis and Mattints for a colorful tag.

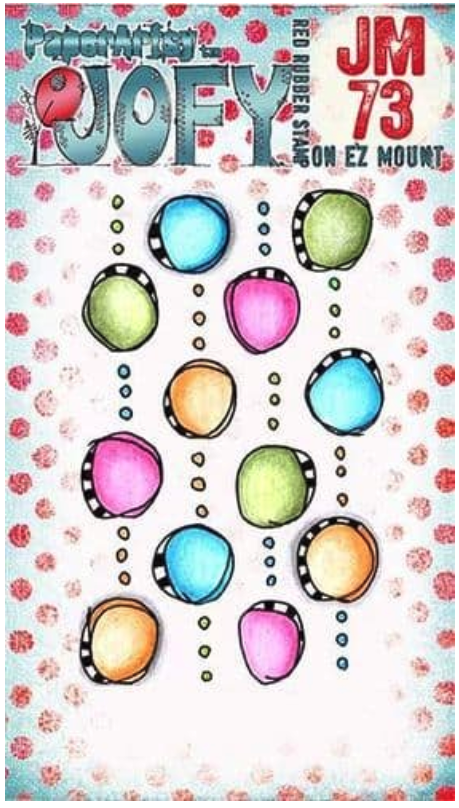
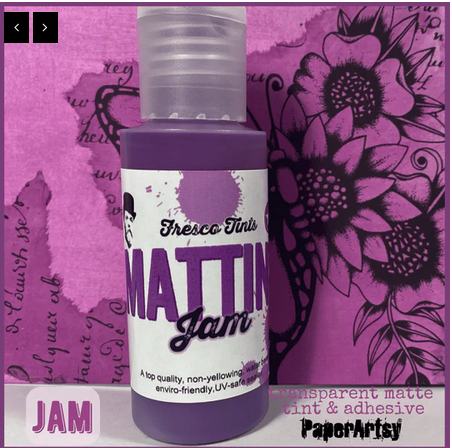
I started out by stamping the PaperArtsy JOFY Mini 73 in Versafine Clair Twilight and clear embossed it. I then took the PaperArtsy Mattints in Dragonfly, The Pink, and Jam. I also added a little PaperArtsy Fresco Paint in Gold. I then stamped the Ink & the Dog Mini 124 and stamped it in gray ink and then used the same Mattints to color up the rest of my tag.

I stamped the the JOFY 112 flower and colored it up with the same Mattints and some PaperArtsy Fresco Paint in Pistachio. I added some gold pen to highlight portions of my tag.


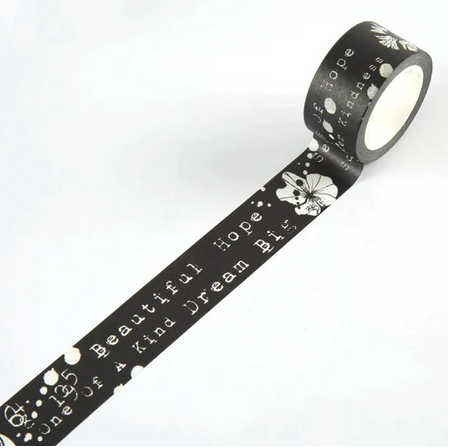
I finished my tag with some washi tape words from the AALL & Create Night Shade. Thank you for stopping by and don't forget to check out the sale going on now!


Topflight Supplies

PaperArtsy - Ink and the Dog Mini 124
Shop at:
TP
PaperArtsy - JOFY 112
Shop at:
TP
PaperArtsy - JOFY Mini 73
Shop at:
TP
AALL & Create - Night Shade
Shop at:
TP
WOW! Embossing - Clear
Shop at:
 TP
Tsukineko - Versafine Clair - Twilight
Shop at:
TP
PaperArtsy - Fresco Chalk Paint - Gold
Shop at:
TP
PaperArtsy - Fresco Chalk Paint - Pistachio
Shop at:
TP
PaperArtsy - Mattint Dragonfly
Shop at:
TP
PaperArtsy - Mattint Jam
Shop at:
TP
PaperArtsy - Mattint The Pink
Shop at:
TP


Tuesday, January 23, 2024

Lovebirds! A Red and Pink Valentine's Day Card

Greetings! It's Tuesday so you've got Kathi here to share a project with you. This week my Topflight Stamps teammates and I are focusing on a red and pink color scheme, so I've created a Valentine's Day card with PaperArtsy paints, stamps, and a stencil. 

Here it is!


Tuxedo Black Memento Ink by Imagine Crafts/Tsukineko was used to stamp the birds from the JOFY Lovebirds JM20 Cling Rubber Stamp by PaperArtsy onto white cardstock. I took some creative license and filled in the line art on the bird's tails to facilitate fussy-cutting. Both birds were colored with Copic markers, and edged with a black marker. A dot of white gel pen was used to add accents to their pupils and a white pencil was used to add highlights to their beaks.

Small drops of Blah MangeTaro Milk Tea, and Bubble Gum Fresco Finish Chalk Acrylic Paints by PaperArtsy were added to a piece of foam which was smooshed onto a craft mat to get the foam to absorb into the paint. The foam was then pounced onto a piece of mixed media paper until the panel was mostly covered. 

Small drops of ClaretBlood Orange, and London Bus Fresco Finish Chalk Acrylic Paints were added to a second piece of foam. This was randomly pounced over the pink background to add translucent reds to the background. 

Small drops of Blah MangeTaro Milk Tea, and Bubble Gum Fresco Finish Chalk Acrylic Paints were placed onto the craft mat one color at a time, spread with the 2" Speedball Breyer, then randomly rolled over the background to knock back the bolder colors. 

Small drops ClaretBlood Orange, and London Bus Fresco Finish Chalk Acrylic Paints were placed onto the craft mat one color at a time and spread with the 2" Speedball Breyer. A color at a time, a wiry pouncy tool was pressed onto the paint, then pounced onto the background to create visual interest. The pink/red background was trimmed to 4.5" x 6.5" and set aside.

True confessions, I hated the first version of the background, so I "rescued" it by brayering the ClaretBlood Orange, and London Bus Fresco Finish Chalk Acrylic Paints overtop.

Black/Gold pigment ink was used to stamp the clock heart from the Darcy 02 Cling Rubber Stamp Set by PaperArtsy onto the red painted background, embossed with clear detail embossing powder, and fussy-cut. The red background was trimmed to 4.75" x 6.75", edged with the black/gold ink, heat set, and adhered to a red 5" x 7" card.

Two decorative ribbon slider sentiment dies were used to cut another remaining piece of red painted cardstock. Both were edged with the black/gold pigment ink.

The Scrapcosy PS374 Stencil by PaperArtsy was placed over the remaining piece of red painted background. The black/gold pigment ink was sponged over the stencil onto the red painted background. This was cut into two strips which were then edged with the same ink.

Nocturne VersaFine Clair Ink by Imagine Crafts/Tsukineko was used to stamp the "Lovebirds" sentiment from the JOFY Lovebirds JM20 Cling Rubber Stamp by PaperArtsy onto a strip of the pink/red painted paper. The stamp was re-inked with the black/gold pigment ink, heat embossed with clear detail embossing powder, then cut with a small rectangle die-cut. 

The pink/red panel was edged with the gold/black pigment ink and matted with the red background panel. The bottom strip was adhered to the pink panel as shown. The heart was centered and adhered, then both birds were adhered perching upon the heart. 

The small red painted strip was threaded through the large ribbon slide die and adhered to the top of the card as shown. The smaller ribbon slide die was adhered atop the larger one, and the sentiment die-cut was adhered to finish the card.

Please pop over to my blog, Kat's Tales of Stamping, for more information including complete supply lists.

Topflight Stamps Products Used:


Thanks for visiting today!
01 09 10