Friday, August 9, 2024

Crafting a Colorful, Sparkling Dream


Hello friends! Ericka from Strangely Creative here, and today I’m excited to share a quick and colorful card that’s sure to bring a little sparkle to your day. I’ve been having a blast experimenting with some fun supplies, and I couldn’t wait to show you the magical result!


It all started with a play session featuring the Lavinia Mystical Mist Sprays in Golden Temple, Kingfisher, and Purple Orchid. These sprays are nothing short of enchanting. As they dance across the paper, they leave behind a shimmering trail of color that catches the light just right. The blend of golden hues, deep blues, and vibrant purples creates a dreamy, mystical background that instantly draws you in.


Once my background was dry, I decided to add a little texture and dimension. I reached for the PaperArtsy Kate Crane PS430 stencil, which has a wonderfully whimsical design that I knew would pair perfectly with the sparkling mist sprays. Using embossing paste, I carefully applied the stencil to the background. Before the paste dried, I sprinkled on some WOW! Mai Tai Embossing Powder, which added a pop of vibrant, tropical color.


After letting everything dry completely, I brought out my trusty heat tool. As the embossing powder melted, it transformed the raised pattern into a gorgeous, textured background that’s full of sparkle and shine. The contrast between the smooth misted areas and the raised, glittering design is simply mesmerizing!

To complete the card, I chose a fun sentiment from the AALL & Create Sharp Tongues Ephemera set. The playful words were the perfect finishing touch, adding a dash of personality and flair to the card. The combination of sparkling colors, textured details, and a cheeky sentiment created a card that’s both unique and full of life.


I absolutely love how this project turned out, and I hope it inspires you to try something new in your own crafting adventures. Thank you so much for stopping by today. Wishing you a weekend filled with creativity and a little extra sparkle!


Topflight Stamps Supplies


PaperArtsy - Kate Crane PS430
Shop at:
TP
WOW! Embossing - Tracy Scott Mia Tai
WOW! Embossing - Tracy Scott Mai Tai
Shop at:
TP
AALL & Create - Sharp Tongues Black
Shop at:
TP
3-D Foam Tape
3-D Foam Tape
Shop at:
 TP
Double Sided Tape
Double Sided Tape
Shop at:
TP
Lavinia - Mystical Mist Spray - Purple Orchid
Shop at:
TP
Lavinia - Mystical Mist Spray - Kingfisher
Shop at:
TP
Lavinia - Mystical Mist Spray - Golden Temple
Shop at:
TP


Thursday, August 8, 2024

Clean and Simple Cat Christmas Cards

 Hi friends. Alanna back on the blog with you this week for a second time and I couldn't help but share more clean and simple cards made using the Christmas Kitties patterned paper. If you missed my earlier post using these papers where I created birthday cards, click here.

For these cards, I pulled out a couple of the papers that were definitely more Christmas-y and trimmed them down. I added a sentiment from the Classic Sentiments set from Heffy Doodle and popped the panels up onto white A2 notecards.

I just love the papers in this collection and can't wait to send these to a few kitty loving friends for Christmas this year.

Find these products I used on my cards in the Topflight Stamps store below.

Wednesday, August 7, 2024

Smile! – It's a PaperArtsy Card with Lynne Perrella Stamps

Hello Topflight Stamps fans! Lisa Hoel here. This week our theme is "Anything Goes". This is always a great chance for me to pull out some of my favorites and have a play. I'm a big fan of the PaperArtsy designer Lynne Perrella so I went straight to the stamp sets I have of hers.

Lisa Hoel for Topflight Stamps #creativejuicefreshsqueezed #topflightstamps

For this card I chose the Asian art inspired Set 23 (currently out of stock but you can always use Set 21). I have a collection of Japanese patterned paper that I used to make a 'patchwork' card background. The focal image is stamped and embossed with black embossing powder, then watercolored.

Thanks for stopping by and be sure to check out the Topflight Stamps store for a wide selection of different and hard to find stamps, stencils and other paper crafting supplies from all around the world! Also keep an eye on the Topflight Stamps blog. There is new inspiration posted daily!

Topflight Stamps Supplies Used:
PaperArtsy stamp set - LPC023
black embossing powder


Tuesday, August 6, 2024

Lake Scene Card

 It's Tuesday, so you've got Kathi here today to share a project with you. This week is an Anything Goes theme. It's been quite hot here, I decided to make cool nature scene featuring Katzelkraft StampsHeron at the Lake KTZ320 Unmounted Red Rubber Stamp Set together with one of the great quotes from the Eclectica Nature Edition EAB21 Cling Mounted Stamp Set by Alison Bomber for PaperArtsy.

Here's my card!


Use Tuxedo Black Memento Ink by Imagine Crafts/Tsukineko to stamp the heron from the Heron at the Lake KTZ320 Unmounted Red Rubber Stamp Set by Katzelkraft Stamps twice — once onto a Bristol Paper panel and once onto thinner Copic-friendly cardstock.

Use Nocturne VersaFine Clair Ink by Imagine Crafts/Tsukineko to stamp the scene stamp (dock, waterfowl, sailboat, boathouse/dock) from the Heron at the Lake KTZ320 Unmounted Red Rubber Stamp Set  by Katzelkraft Stamps twice — once onto the Bristol Paper image panel and once repositionable sticker paper. Fussy-cut the dock, the sailboat, and the boathouse/dock and place them over their counterparts as masks.

Sponge Della Blue Elements Ink by Lavinia Stamps over a cloud stencil to create the sky. 

Smoosh the Blue Lagoon Elements Inkpad by Lavinia Stamps onto a craft mat. Use a water-filled Fine Spray Mister by Spectrum Noir to mist the smooshed ink. Use a paint brush to apply the diluted Blue Lagoon ink horizontally across the image panell (including the heron's legs and feet). Clean the craft mat and heat set the image panel. Repeat this process with the Blue Atoll  Elements Inkpad by Lavinia Stamps. Heat set the panel.

Remove the masks and use watercolor markers to color the docks, the boat house, and the sailboat. 

Fussy-cut the body and beak of the heron that was stamped onto thin cardstock. Use Copic markers to color the heron's body and beak. Edge the fussy-cut colored heron with a dark marker. Adhere the colored fussy-cut heron over the body and beak of the heron on the image panel.

Use finepoint black pens to correct the image and to go over the small waterfowl in the scene. Use a white gelly roll gel pen to add whitecaps to the lake.

Place the image panel onto a stamping platform. Position one of the sentiments from the Eclectica Nature Edition EAB21 Cling Mounted Stamp Set by Alison Bomber for PaperArtsy across the sky portion of the scene. Stamp the sentiment with Nocturne VersaFine Clair Ink by Imagine Crafts/Tsukineko and. heat set.

Mat the image panel onto red cardstock, then adhere to a white textured A2 card.

Please pop over to my blog, Kat's Tales of Stamping, for step-by-step instructions and complete supply lists.

Topflight Stamps Products Used:


Thanks for visiting today!

Monday, August 5, 2024

Clean and Simple Cat Birthday Cards

 Hi friends. Alanna here with you today sharing this adorable pair of cat birthday cards. I am using the most adorable paper ever, the Christmas Kitties 6x6 paper from Paper Favourites. Most of the papers in the package are definitely more Christmas heavy but I thought this pattern would work for any day.

I trimmed the papers down and then stamped my birthday sentiment onto the top right corner using the Classic Sentiments set from Heffy Doodle. I added foam tape to the backs of my panels and added them to A2 white notecards and that completes these quick and easy birthday cards, perfect for any cat lover.

Find these products used in the Topflight Stamps store below. Crafty hugs! ~ Alanna

Friday, August 2, 2024

Visible Image Mixed Media Bee Card


Hello friends! Ericka from Strangely Creative here, and today I'm excited to share a fun mixed media card using some fabulous goodies from Visible Image. This project was a joy to create, and I'm thrilled to walk you through the process!

 Instructions:

  1. Creating the Background:

    • Start by taking a piece of photo paper and place the Visible Image Flower Ink stencil on top.
    • Spray Lavinia Sprays through the stencil to create a vibrant background. Once the sprays have dried, you'll have a beautifully patterned backdrop.
  2. Adding Texture:

    • To add texture, use Strata Paste with the Visible Image Count Me In stencil. Apply the paste through the stencil and let it dry completely. This will give your card a wonderful, dimensional feel.
  3. Stamping Hexagons:

    • Using the hexagon stamp from the Visible Image Bee Happy set, stamp several hexagons onto the background with Versafine Clair Twilight ink. This adds another layer of interest and ties into our bee theme perfectly.
  4. Coloring the Bees:

    • On Bristol Smooth paper, stamp the bees from the Bee Happy set. I used Spectrum Noir Watercolor Markers to color them up, giving each bee a vibrant and lively look.
    • After coloring, I used my Brother Scan and Cut to cut out the bees. Although it didn't cut the big bee's wings perfectly, I decided to use it anyway, embracing the imperfect charm.
  5. Assembling the Card:

    • Add the sentiment to your card. Choose a cheerful phrase that complements your bee theme.
    • Use foam tape to adhere the bees to the card, giving them a little lift and making them stand out against the background.

And there you have it—a beautiful, mixed media bee card that's buzzing with creativity! Thank you for stopping by, and I hope you have a wonderful weekend!

Feel free to leave a comment below with your thoughts or any questions you might have. Happy crafting!


Topflight Stamp Supplies

Visible Image - Bee Happy
Shop at:
TP
Visible Image - Count Me In
Shop at:
TP
Visible Image - Flower Ink
Shop at:
TP
WOW! Embossing - Clear
Shop at:
TP
3-D Foam Tape
3-D Foam Tape
Shop at:
TP
Double Sided Tape
Double Sided Tape
Shop at:
TP
Tsukineko - Versafine Clair - Twilight
Shop at:
TP
Cosmic Shimmer - Andy Skinner Strata Paste
Shop at:
TP
Lavinia - Acrylic Spray - Chartreuse
Shop at:
TP
Lavinia - Acrylic Spray - Teal
Shop at:
TP

Spectrum Noir - Colorista Watercolour Markers - Vibrant
Shop at:
TP
 

Thursday, August 1, 2024

Go Where Dreams Take You

Greetings! It's Kathi here to share a project with you. This week the Topflight Stamps Design team is showcasing products by Visible Image.


Using a stamping platform and Tuxedo Black Memento Ink by Imagine Crafts/Tsukineko, stamp the eye from the Where Dreams Take You Clear Polymer Stamp Set by Visible Image twice — once onto Copic-friendly white cardstock and once onto repositionable sticker paper. 

Keeping the image panel on the stamping platform, color the eye with Copic markers. Ink the eye stamp with Nocturne VersaFine Clair Inks by Imagine Crafts/Tsukineko and stamp. Remove the image panel from the stamping platform and heat set.

Fussy-cut the sticker paper version of the eye and place it atop its counterpart on the image panel.  Randomly sponge or brush Della BlueViolet ChalkConfetti, and Sundance Elements Inks by Lavinia Stamps over the masked image until the image panel is covered. Use Fine Spray Misters by Spectrum Noir to mist 91% Isopropyl Alcohol then water onto the panel. Heat set.

Place the Time Tunnel Stencil by Visible Image onto the image panel. Brush or sponge Violet Chalk  Elements Ink over the stencil onto the image panel. 

Die-cut the image panel and place the panel die-cut back onto the stamping platform. Use Nocturne VersaFine Clair Inks by Imagine Crafts/Tsukineko to stamp the "go where dreams..." sentiment onto the image panel die-cut. Use Della Blue Elements Ink by Lavinia Stamps to stamp the "Vision" definition sentiment as shown.

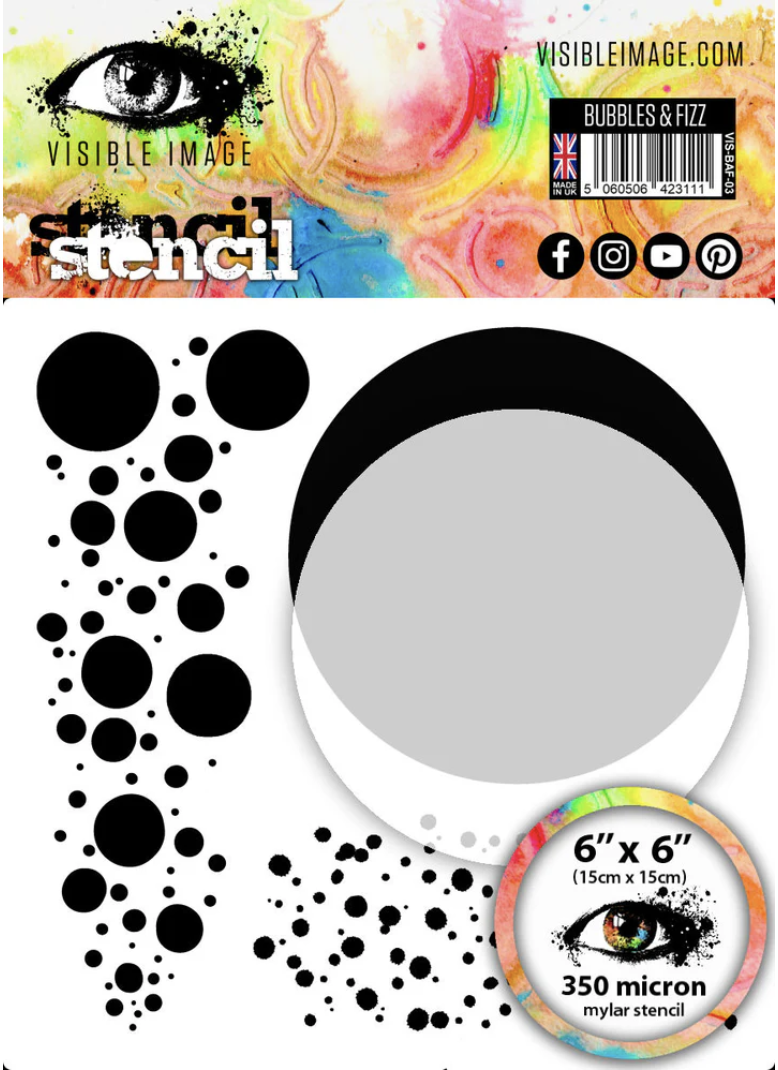
Use Della Blue Elements Ink and the Bubbles and Fizz Stencil by Visible Image to randomly stencil blobs into the empty areas of the image panel.

Die-cut black and violet cardstock, then use to mat the image panel die-cut. Adhere to a black A6 card.

Please pop over to my blog, Kat's Tales of Stamping, for step-by-step instructions and complete supply lists. 

Topflight Stamps Products Used:


Thanks for visiting today!
01 09 10