
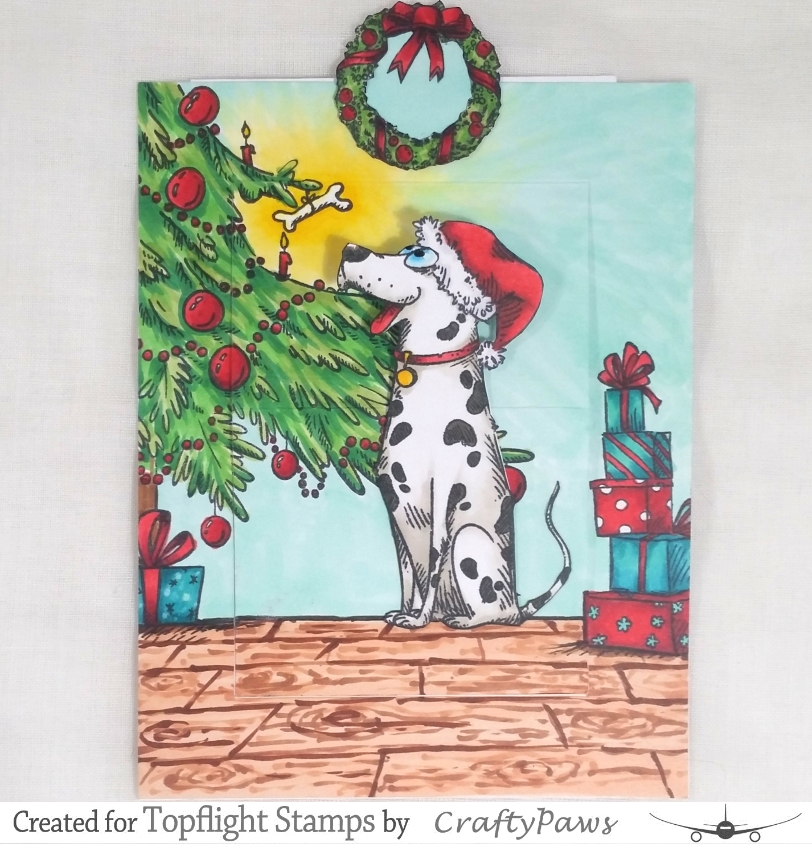

For the card front background, I used the Christmas tree base from the Sleigh Stamp Set and using a 0.1 pt Copic Mulit-liner Pen I doodled a bit more of the decorated Christmas tree in order to extend the height of the tree. I also doodled a dog bone hanging from a tree branch as a special doggy-themed Christmas decoration. To fill out a little more of the background scene I added a stack of presents to the right side of the panel from the Funny Accessories Stamp Set, and then Copic colored/drew in a wood floor and the rest of the scene.

Pop-Up Mechanism: Cut the A2 (4.25" x 5.5") card front as follows:
- Use an X-Acto blade and cut 0.75" from the left, bottom and right sides of the card; be sure to leave the top 0.75" at the top side uncut.
- Turn the card with the top of the card toward the left and using a score board, score at 0.75", 2.5" and 4.25" between the cut lines (which were on the left and right sides of the card front but are, now that the card is turned, at the top and bottom of the card).
- Burnish the scored lines so that it forms a valley at the 4.25" line, a hill at the 2.5" line and a valley at the 0.75" line.

Slider Mechanism:
- Cut a smaller slider piece of cardstock to 3.25" 4.75"
- Use Scor-Tape (glue works too) on the back of the bottom smallest section of the Pop-Up Mechanism; from the 4.25" line to the cut edge.
- Attach the smaller slider piece of cardstock, centered and lined up to the edge of the bottom smallest section of the Pop-Up Mechanism.
- Now use Scor-Tape (glue works too) on the back of the card front around the left, bottom and right sides, beyond the cut pop-up mechanism area and attach this to an A2 sized card base.
- Optional: You can cut out a thumb window at the top of the cardfront and/or add a pull tab to the top of the smaller slider piece of cardstock. I did both and took the opportunity to create a pull tab using the Christmas wreath from the Katzelkraft Sleigh Stamp Set.


No comments:
Post a Comment