Monday, July 22, 2024

5-Minute Birthday Cards with Lavinia

 Hi friends. Alanna here today with a pair of quick and easy birthday cards.

To get started, I trimmed down some patterned papers from the Craft Consortium Ink Drops - Dusk collection. I love these papers from them as the backgrounds are so cool.

I then took the Dancing Till Dawn set from Lavinia and stamped the image onto my patterned paper. I stamped the sentiment which is from the Birthday Wishes set from Visible Image directly below it. I made sure to make it so that one part of the fairy image touched the sentiment as that was what I wanted.

I added the stamped panel to a piece of black card stock and then added it onto a matching A2 notecard. I then found some pearls from my stash that matched the rose gold portions of the paper to help play on that and that finishes these cards.

Find the products I used below in the Topflight Stamps store. Crafty hugs! ~ Alanna

Saturday, July 20, 2024

Simple PaperArtsy Christmas Tag


Hello friends! Ericka from Strangely Creative here and today I am continuing the Christmas in July theme with a quick Christmas tag using the PaperArtsy JOFY Mini 01. I love this fun Christmas tree and used the new PaperArtsy Mattints to paint up my tag. 


I had fun layering the colors and around the tree and used a little of the Nutty Mattint to add a rustic look. I hand lettered the "To" and "From" and finished my tag with a sparkly twine.


Thank you for stopping by and don't forget to check out the Christmas in July sale happening now.


Topflight Stamp Supplies


PaperArtsy - JOFY Mini 01
Shop at:
TP
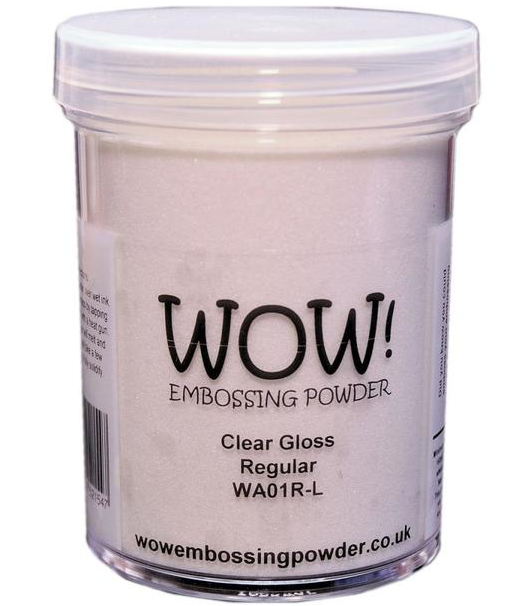
WOW! Embossing - Clear
Shop at:
TP
Tsukineko - VersaFine Clair - Nocturn
Shop at:
TP
PaperArtsy - Mattint Glow
PaperArtsy -  Mattint Glow
Shop at:
TP
PaperArtsy - Mattint Dragonfly
Shop at:
TP
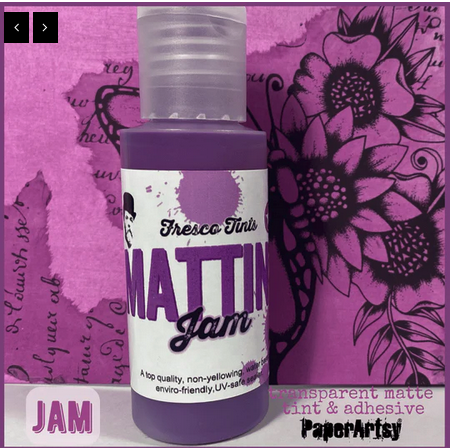
PaperArtsy - Mattint Jam
Shop at:
TP
PaperArtsy - Mattint Nutty
Shop at:
TP
PaperArtsy - Mattint The Pink
Shop at:
TP


Thursday, July 18, 2024

A Clean and Simple Christmas Card + a 25% off Sale

 Hi friends. Alanna back again on the blog with another Christmas card. Make sure to scroll to the end of this post to see how you can save 25% on all Christmas and winter themed products. Sale is valid until July 21st.

For this card, I started by stamping the Hanging Ornaments stamp set from Paper Rose with alcohol marker friendly black ink. I then colored the ornaments with my Olo markers. I then restamped the image using my Versafine Claire Nocturne ink. I stamped the sentiment and then trimmed down my white panel.

I decided to take my scoring board and I added some score lines to the top and bottom of the card. I also added in some sparkly silver twine. I added foam tape to the back of this panel and popped it up onto a red A2 notecard and that finishes off this card.

Find these products used in the Topflight Stamps store below.


Wednesday, July 17, 2024

Christmas in July – Tag Time!

Hello, Lisa Hoel here. Our Topflight Stamps theme this week is Christmas in July! I never have time during the season to make all the holiday project ideas I have in my mind so it's nice to get a bit of a head start. I decided to combine several different Christmas themed stamp sets and created a set of gift tags.

Lisa Hoel for Topflight Stamps – Christmas gift tags


I had fun going through my stamp stash and playing around!

Lisa Hoel for Topflight Stamps – Christmas gift tags

Check the list below to see all the different supplies I used!


Lisa Hoel for Topflight Stamps – Christmas gift tags


Lisa Hoel for Topflight Stamps – Christmas gift tags


This week we're having a sale in the store for the Christmas/Winter category! Check it out and stock up!


Thanks for stopping by and be sure to check out the Topflight Stamps store for a wide selection of different and hard to find stamps, stencils and other paper crafting supplies from all around the world! Also keep an eye here on the Topflight Stamps blog. There is new inspiration posted daily!


Topflight Stamps Supplies Used:

PaperArtsy stamp set - EM93

PaperArtsy stencil - PS070

Crafty Individuals - CI-420

Darkroom Door - Pine Cones

Katzelkraft - Winter Scene


PaperArtsy stamp set - ETS24


PaperArtsy stamp set - ESA08


Versafine Ink Pad - Black Onyx
Lavinia Elements Ink Pads - Russet Orange
Versafine Clair Ink Pads - Tulip Red, Cheerful


Tuesday, July 16, 2024

Have a Meowy Christmas Tag

Greetings! It's Tuesday,  so you've got Kathi here today to share a project with you! This week my teammates and I are celebrating Christmas in July! 

To help everyone celebrate, there's a sale on Christmas and Winter-themed products over at Topflight Stamps!


Here it is!


Use Tuxedo Black Memento Ink by Imagine Crafts/Tsukineko to stamp the Santa Hat from the HoliDee Clear Stamp Set 947 by Janet Klein for AALL and Create twice — once onto a piece of Copic-friendly cardstock and once onto repositionable sticker paper. 

Fussy-cut the sticker paper version and place it over its counterpart on the image panel as a mask. Position the cat stamp from the Purrfect Paws Clear Stamp Set 1034 by Janet Klein for AALL and Create facedown on the image panel so that the top of his head is overlapping the bottom of the Santa Hat. Ink the stamp with Tuxedo Black Memento Ink and stamp twice — once onto a piece of Copic-friendly cardstock and once onto repositionable sticker paper. 

Fussy-cut the sticker paper version and place it over its counterpart on the image panel as a mask. Place low-tack tape over the bottom part of the image panel.

Use low-tack tape to secure the smallest tag die from the Tag It Yourself Die Set 27 by AALL and Create so that the opening in the tag is framing the cat. Run the die and image panel through a die-cut machine.

Leave the image panel in the die and sponge pink ink over the die and the masked cat onto the image panel. This will leave the stitched area outside of the tag white. Use Fine Spray Misters by Spectrum Noir to mist the tag opening to remove some ink and add visual interest.

Remove the image panel die-cut from the die. Remove the tape from the base of the image panel. Remove the masks from the cat and the Santa Hat.

Use Copic markers to color the ground under and around the cat. Use Copic markers to color the Santa Cat. Add white highlights to the cat's eye with a white gel pen.

Use Tuxedo Black Memento Ink by Imagine Crafts/Tsukineko to stamp the holly and berries from the Miss Merry Clear Stamp Set 608 by Janet Klein for AALL and Create onto the top part of the tag. Use Copic markers to color the holly leaves and berries. Use a white gel pen to add white highlights to the holly berries.  Set the image panel die-cut aside.

Use the remaining tag dies from the Tag It Yourself Die Set 27 to cut plaid papers from the A Gingham Christmas 8x8 Patterned Paper Pad by Creative Expressions and white textured cardstock. Layer and adhere the tag die-cuts as shown. 

Use the nameplate die from the Taggletastic Die Set 26 by AALL and Create to cut cut pink/red plaid paper from the A Gingham Christmas 8x8 Patterned Paper Pad.

Use low-tack tape to cover the word "Merry" from the Miss Merry Clear Stamp Set 608 by Janet Klein. Ink the stamp with Nocturne VersaFine Clair Ink by Imagine Crafts/Tsukineko, remove the tape, and stamp the "Christmas" sentiment onto the nameplate die-cut. 

Use low-tack tape to cover the words "a beautiful day" from the Everyday Sentiments Stamp Set 666 by  Janet Klein for AALL and Create. Ink the stamp with Nocturne VersaFine Clair Ink, remove the tape, and stamp "Have a" sentiment onto the nameplate die-cut.  

Position the "Meow" stamp from the Caturday-Clear Stamp Set 477 by Janet Klein for AALL and Create to the right of the "a", ink the stamp with Nocturne VersaFine Clair Ink, and stamp onto the nameplate die-cut. Use a fine-point pen to add a "Y" to the "Meow".

Adhere the nameplate sentiment to the tag as shown and add gemstones to cover the holes while adding a touch of bling.

Punch a slot into the top of the tag and thread ribbon through the opening. Add a jumpring and brass chain to the Christmas bell. Use a brass safety pin to attach the bell embellishment to the ribbons on the tag.

Please pop over to my blog, Kat's Tales of Stamping, for step-by-step instructions and complete supply lists. 

Topflight Stamps Products Used:


Thanks for visiting today!

Monday, July 15, 2024

Merry Christmas in July

 Hi friends. Alanna back with you on the blog today and this week, our focus is on Christmas. It's never too soon to begin to make Christmas cards in my opinion. 

My card is somewhat unusual for Christmas and if you traded out the sentiments, it could work for anything. To get started, I die cut the Broken Mesh die from Visible Image from white card stock. I added it to a red A2 notecard. 

I then took the Season's greetings Wordies Sentiment Sheets from Creative Expressions and trimmed two of them down and added them to the card with foam tape. Some clear gems from my stash along with rounding the right corners finish off this card.

Find these products in the Topflight Stamps store below. Crafty hugs! ~ Alanna

Friday, July 12, 2024

PaperArtsy Printed Tissue Tags with Mattints


Hello friends! Ericka from Strangely Creative here and today I have some fun mixed media tags to share that I made using PaperArtsy Printed Tissues and Mattints. These tags were quick and enjoyable to create, and I'm already looking forward to making more!


Creating the Base

I started by applying PaperArtsy Fresco Paints in Pixie Dust, Mermaid, Moonlight, and Peachy Keen using a brayer. The thin layers of these paints dried super quickly, allowing me to move on to the next step without much waiting time. Once the base was dry, I picked out portions of the PaperArtsy JOFY Printed Tissue 3 and adhered them to the tags using Mattints as glue.


Adding Colors

Once that layer dried, I took a small brush and added colors to my tags using Mattints in Dragonfly, Jam, Squeezed, and The Pink. I love how these Mattints offer both translucence and vibrant colors, bringing my tags to life.


Final Touches

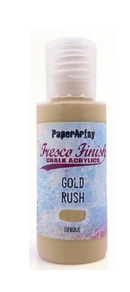
To add some extra details, I used AALL & Create washi tape and paint pens, along with a little PaperArtsy Gold Rush paint. These final touches gave my tags a unique and artistic flair.


Thank you for stopping by, and I hope you find some time to get creative this weekend. Happy crafting!

Topflight Stamp Supplies
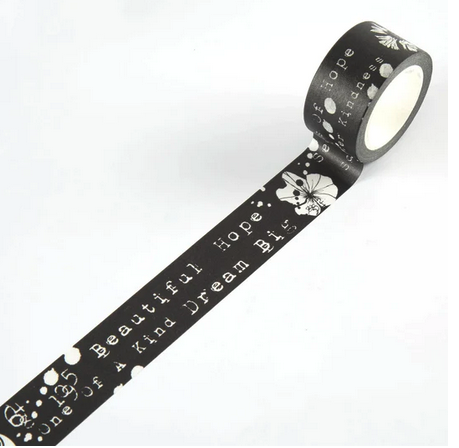

AALL & Create - Night Shade
Shop at:
TP
PaperArtsy - Fresco Chalk Paint - Gold
Shop at:
TP
PaperArtsy - Fresco Chalk Paint - Mermaid
Shop at:
TP
PaperArtsy - Fresco Chalk Paint - Moonlight
Shop at:
TP
PaperArtsy - Fresco Chalk Paint - Peachy Keen
Shop at:
TP
PaperArtsy - Fresco Chalk Paint - Pixie Dust
Shop at:
TP
PaperArtsy - Mattint Dragonfly
Shop at:
TP
PaperArtsy - Mattint Jam
Shop at:
TP
PaperArtsy - Mattint Squeezed
Shop at:
TP
PaperArtsy - Mattint The Pink
Shop at:
TP
PaperArtsy - JOFY Printed Tissue 3
Shop at:
TP


Speedball - 2
Speedball - 2" Brayer
Shop at:
TP
01 09 10