Friday, October 9, 2020

Mr Bone Jangles with Sparkle


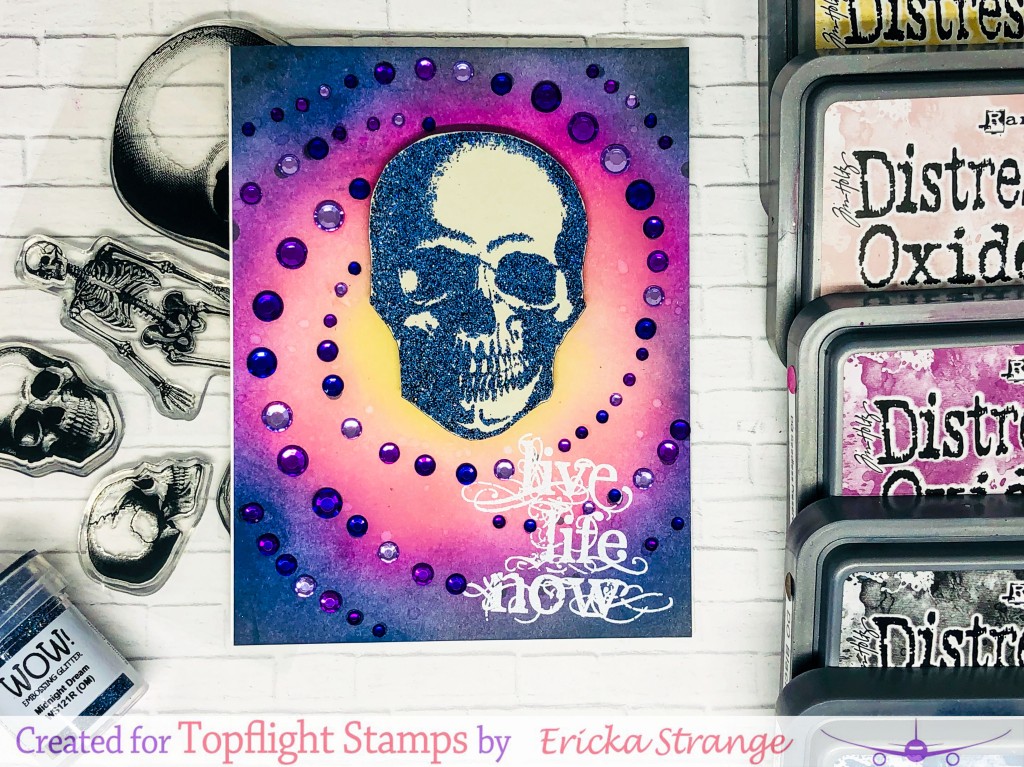
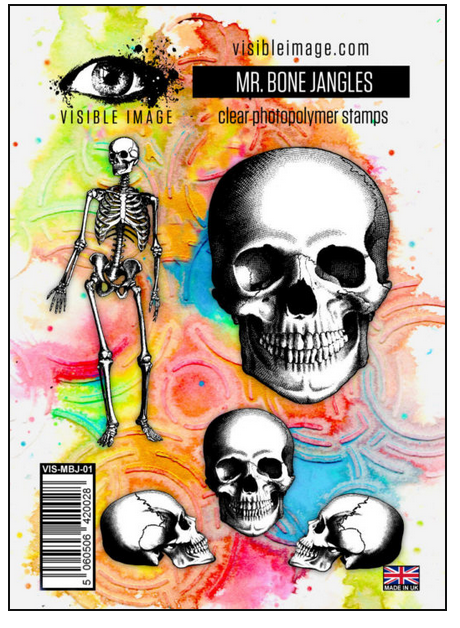
Happy Friday! Ericka here and today with a Halloween card using the Visible Image Mr. Bone Jangles set paired with the Hunkydory Dots to Diamonds Pad.


I love the skull in the Mr. Bone Jangles set and its perfect for a fun Halloween card.


The Hunkydory pad for a fun background and Distress Oxides always blend so nicely.


I then added the Diamond Sparkles in Purples all around the card following the dots on the paper. 


 For more information on how I created my card, check out my blog Strangely Creative
 

Thanks for stopping by and have a wonderful day!

Thursday, October 8, 2020

Halloweenish Christmas

  Hi Everyone,

Cornelia here today! 

I got a little confused about Christmas and Halloween, so I made a Halloweenish Christmas card, but oops, Christmas got cancelled...just what we need this year? 
                             

I stamped the Santa hat first, masked it and then stamped the skull. Masked it and sponged around it. I actually used the blending bushes - do we now say brushed around it? They are by the way really good. I love them! Colored the skull lightly with watercolors. The hat I colored with markers. Added the sentiment. Added the Washi tape from my stash.


I hope I didn't creep you out too much! But I am a bone radiologist, so I do have an affinity for skeletons....
See you next week with more Topflight Stamps inspiration.

Here are the stamp supplies I used:
Use code FUNSTAMPING to get 12% discount at Topflight Stamps.


Wednesday, October 7, 2020

Not a Morning Person


Hi, everyone!  I had such a fun time creating this card and even elicited a chuckle from my partner.  I showed it to him and he was like "accurate."  LOL.  Whatever!


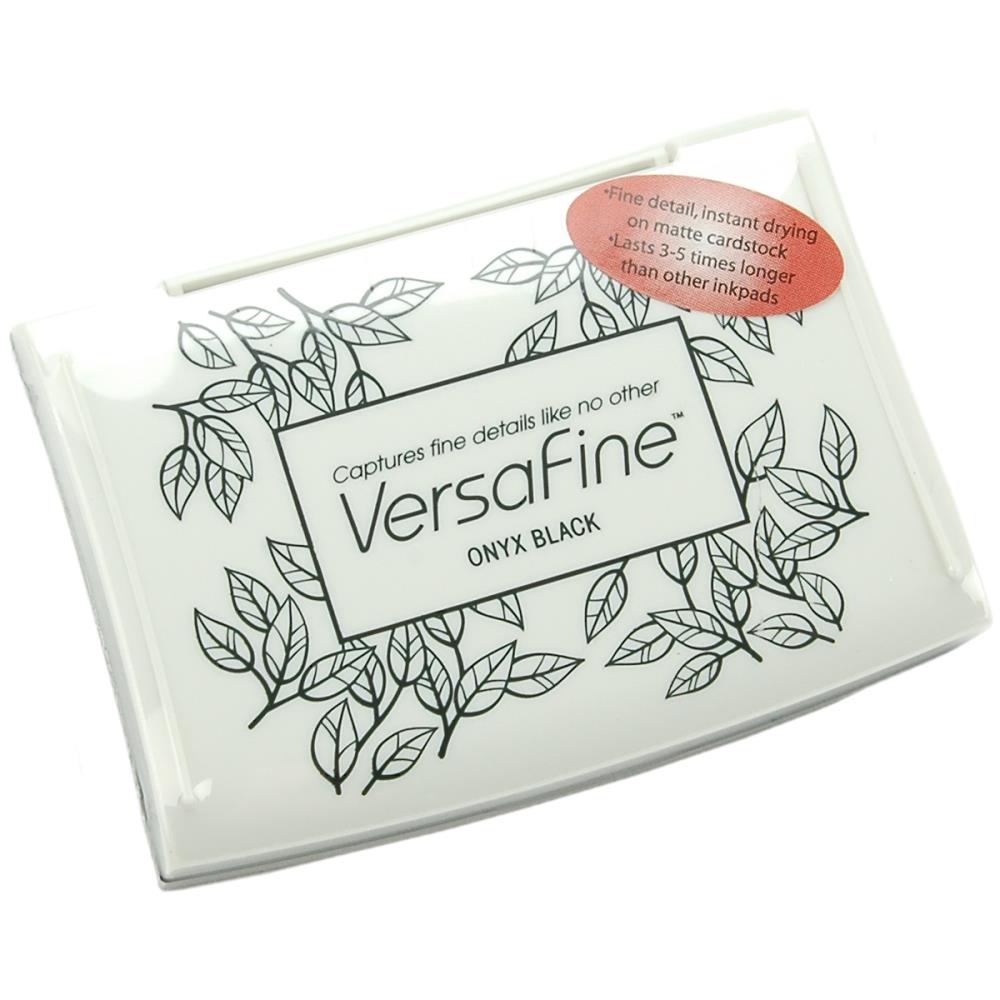
I used the Katzelkraft The Biters cat image--just stamped it with Versafine Onyx Black and fussy cut it out. And by fussy cut, I mean using my Scan N Cut to do the work for me.


For the background I sponged it with Distress Oxide Peacock Feathers and Prism Ink Mauve Moment. I then used the Visible Image Count Me In stencil with Distress Oxide Mustard Seed and the Aall and Create Steam Cogs Stencil with Distress Oxide Crackling Campfire.


I spattered the lot with the Oxides before stamping the Aall and Create Morning sentiment and sponging/masking the Creative Expressions Redemption Stencil sentiment. 


I then adhered the cat to the card.  That face says it all.  LMAO.


I'll be back with you next week. Until then, why don't you check out the new products that have come into the TFS shop!  You can shop your heart out using this 12% off coupon

You can also check out my other creations by visiting my blog, Frankie Helps Craft, my Instagram, or my Pinterest Board.

Tuesday, October 6, 2020

Eat, Drink, and Be Scary

 It's Tuesday, which means Kathi here to share a project with you! This week I've got a Halloween card for you with Katzelkraft's fabulous Owls Unmounted Red Rubber Stamp Set and their Funny Accessories Unmounted Red Rubber Stamp Set. I've also used the Skull Shadow Stencil by Visible Image

Here it is!


 I really hope this is a tiny bit scary, or if failing the "scary test" is spooky. 

I chose three of the six owls from the Owls Unmounted Red Rubber Stamp Set to use in this card. Those three and the Witch's Hat from the Funny Accessories Unmounted Red Rubber Stamp Set were stamped, fussy-cut, colored with Copic markers, and edged with a dark marker to get rid of those frightful white edges. The owls and the hat were set aside while I worked on the background. It was cool because it gave the owls time to socialize and try on the hat.

A piece of my favorite heavy weight mixed media paper was sprayed with Pumice Stone Distress Oxide ink to create a quick background. The Skull Shadow Stencil was placed onto the background, then Bundled Sage Distress Oxide ink was sprayed over it. The background was lightly misted with water, then heat set.

The stencil was cleaned and dried, then positioned atop the background paper in the same place. Bundled Sage Distress Ink was sponged around the skull to get rid of any stray lines from the stencil and to deepen the green background. 

Barn Door and Fossilized Amber Distress ink were sponged into the Skull Shadow Stencil's eye and nose sockets. Black Soot Distress ink was sponged around the edge of the skull and the skull's apertures to delineate them from the background.

The Skull Shadow Stencil was set aside. Black Soot Disress ink was sponged over a Branches stencil to add to the background. The background was trimmed to 5.75" square, heavily edged with Black Soot Distress ink, and adhered to a 6" square green card.

The background piece was trimmed and edged with Distress ink. Black die-cut branches were adhered to the background panel. The owls were adhered as shown. A sticker sentiment was added to complete the card.

If you'd like to learn more about this card, please visit Kat's Tales of Stamping

Topflight Stamps Products Used:


PSA: There are lots of fantastic new products at Topflight Stamps, so you should definitely click on over there after reading my instructions! BTW, if you'd like to get 12% off your order at Topflight Stamps use THIS LINK!

Thanks for visiting today! See you next Tuesday!

Sunday, October 4, 2020

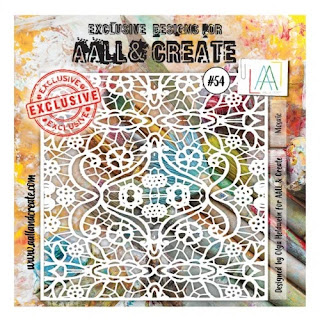
AALL & Create Mosaic Stencil - Three Techniques


Happy Monday friends!  It's Autumn Clark from SewPaperPaint with you today to share a few cards I made from some stencil experiments.  I love to take one product and see how many ways I can use it in a sitting.  Today I'm showcasing the Mosaic stencil by AALL & Create.  I'm using Prism Dye Ink Pads in Wild Mushroom, Peacock Green and Thundercloud.


My first background was made by applying Andy Skinner Cosmic Shimmer Resist Paste through my stencil with an ink blender.  This paste is super cool!  It went into all of the tiny crevices of this stencil beautifully and washed off the stencil easily.  I was a little unsure if applying inks over the paste would cause the paste to bleed, but it didn't at all.  I tapped my Prism pads onto my craft mat and spritzed them with water, then dipped the stenciled panel into the wet inks.  What a beautiful effect!  I heat set the panel and the paste melted into the paper for a nice finish.  I made it into a card with another ink dipped panel, a die cut wildflower and a sentiment from the Darkroom Door Warm Wishes stamp set.

The next card uses the same stencil and DTP (direct to paper).  I simply smooshed my ink pads through the stencil in a random fashion.  That's what I love about the Prism Dye Ink Pads, the spongy pad lets you skip the ink blender and use the pad directly.  The result is vivid, with high contrast.  To tone it down a bit, I stamped the Dreams quote stamp by Darkroom Door onto a teabag.  I layered with some crocheted lace and wrapped string.

 
My last card was made by taking the inked stencil from the above background and wetting it, then applying to another panel.  The trick with this is to top the stencil with a scrap sheet of paper and blot it fully, letting the stencil rest for at least one full minute so the ink transfers well.  Notice this background is opposite to the others.  That's because it is the print of the actual stencil, not the reverse like the top two.  I hope this post has given you some ideas to play around with today.  Thanks for joining us!  Hugs, Autumn


  Find these amazing products at Topflight Stamps today!


Friday, October 2, 2020

It's Time to Celebrate!

 It's Friday, not Tuesday, and it's Kathi here, with a card with you. This week my teammates and I are sharing projects created with the wonderful products by That's Crafty

It's fairly well known that I love all things Steampunk, ranging from Steampunk fiction to the Steampunk aesthetic. So, when That's Crafty released several Steampunk-themed clear stamp sets designed by Kelly Horton, I had to have most of them, especially since several of the stamp sets also had skulls, cats, and owls, which are a few of my favorite things!

Here's my card using two of the gorgeous ladies from That's Crafty's Steampunk Darlings, Set 1, one of the cats from the Steampunk Darlings Accessories Set 2, and a sentiment from Darkroom Door's Celebrate Sentiment Strip Red Rubber Cling Stamp


Two of the gorgeous ladies from That's Crafty's 
Steampunk Darlings, Set 1  and one of the cats from the Steampunk Darlings Accessories Set 2 were stamped with Memento ink, fussy-cut, colored with Copic markers, then edged with a black pen. A Clear Stardust Glitter Gel pen was used to add a touch of bling to the hair jewelry on the owl girl. When the gel ink was dry, several layers of Clear Glaze Gel pen were applied to add glossy dimension and shine to them. Gold Stardust Glitter Gel pen was used to add sparkle to the buckles and the center of the cat's medallion.

I found some wonderful Industrial-themed patterned paper by Studio Light in my stash and chose the brick and pipes paper to use as a background. I used some grey Copic markers to add some detail and shadows to the brick. I also trimmed a piece of rusty rivets from another patterned paper pad to use to ground the images.

Truth be told, I could have used the new 6x6 Brick Wall Stencil by That's Crafty  and then used Pipe dies or chipboard (both in my stash). Alternately, I could have applied texture paste, such as Cosmic Shimmer's Lava Paste through the Mechanical Seaworld Pipes Stencil by Stamperia onto the brick stenciled background.  I did contemplate this option, but decided I would use those techniques another time. 

Cutting dies were used to cut white cardstock for the light and the gear behind the clock. The die-cuts were colored with Copic markers. The rub-on clock from a super-old sheet was applied to a die-cut circle that had been colored with a Copic marker. The circle was then added to the gear die. 

The sentiment, from Darkroom Door's Celebrate Sentiment Strip Red Rubber Cling Stamp, was stamped onto white cardstock and die-cut with a tiny rectangle die. White cardstock was trimmed to be slightly larger. The sentiment die-cut and the backer were colored with Copic markers to coordinate with the rest of the piece. 

 A chain and a Nuts and Bolts die were used to cut Silver Metallic Cardstock from the Neenah Creative Collection Premium Metallic Cardstock set.

If you'd like to learn more about my card, please visit my blog, Kat's Tales of Stamping. 

Topflight Stamps Products Used:


Thanks for visiting today! I'll be back to my regular time next Tuesday!

Thursday, October 1, 2020

Shroom Sweet Shroom

 Hi Everyone,

Cornelia here today! 
We are featuring That's Crafty stamps this week. 
I choose this awesome mushroom stamp set (Shroom sweet Shroom) designed by Melina Dahl.
                             

I made the background with my gel plate. I stamped the mushrooms, cut them out and colored them with markers and Inktense pencils. I trimmed the background paper, arranged the mushrooms and glued it all together. Drew a thin black frame around it.


I hope you liked this! See you next week with more Topflight Stamps inspiration.

Here are the stamp supplies I used:
Use code FUNSTAMPING to get 12% discount at Topflight Stamps.


01 09 10