Showing posts with label tutorial. Show all posts

Saturday, June 11, 2022

PaperArtsy Jofy Stamps Journal Page Tutorial

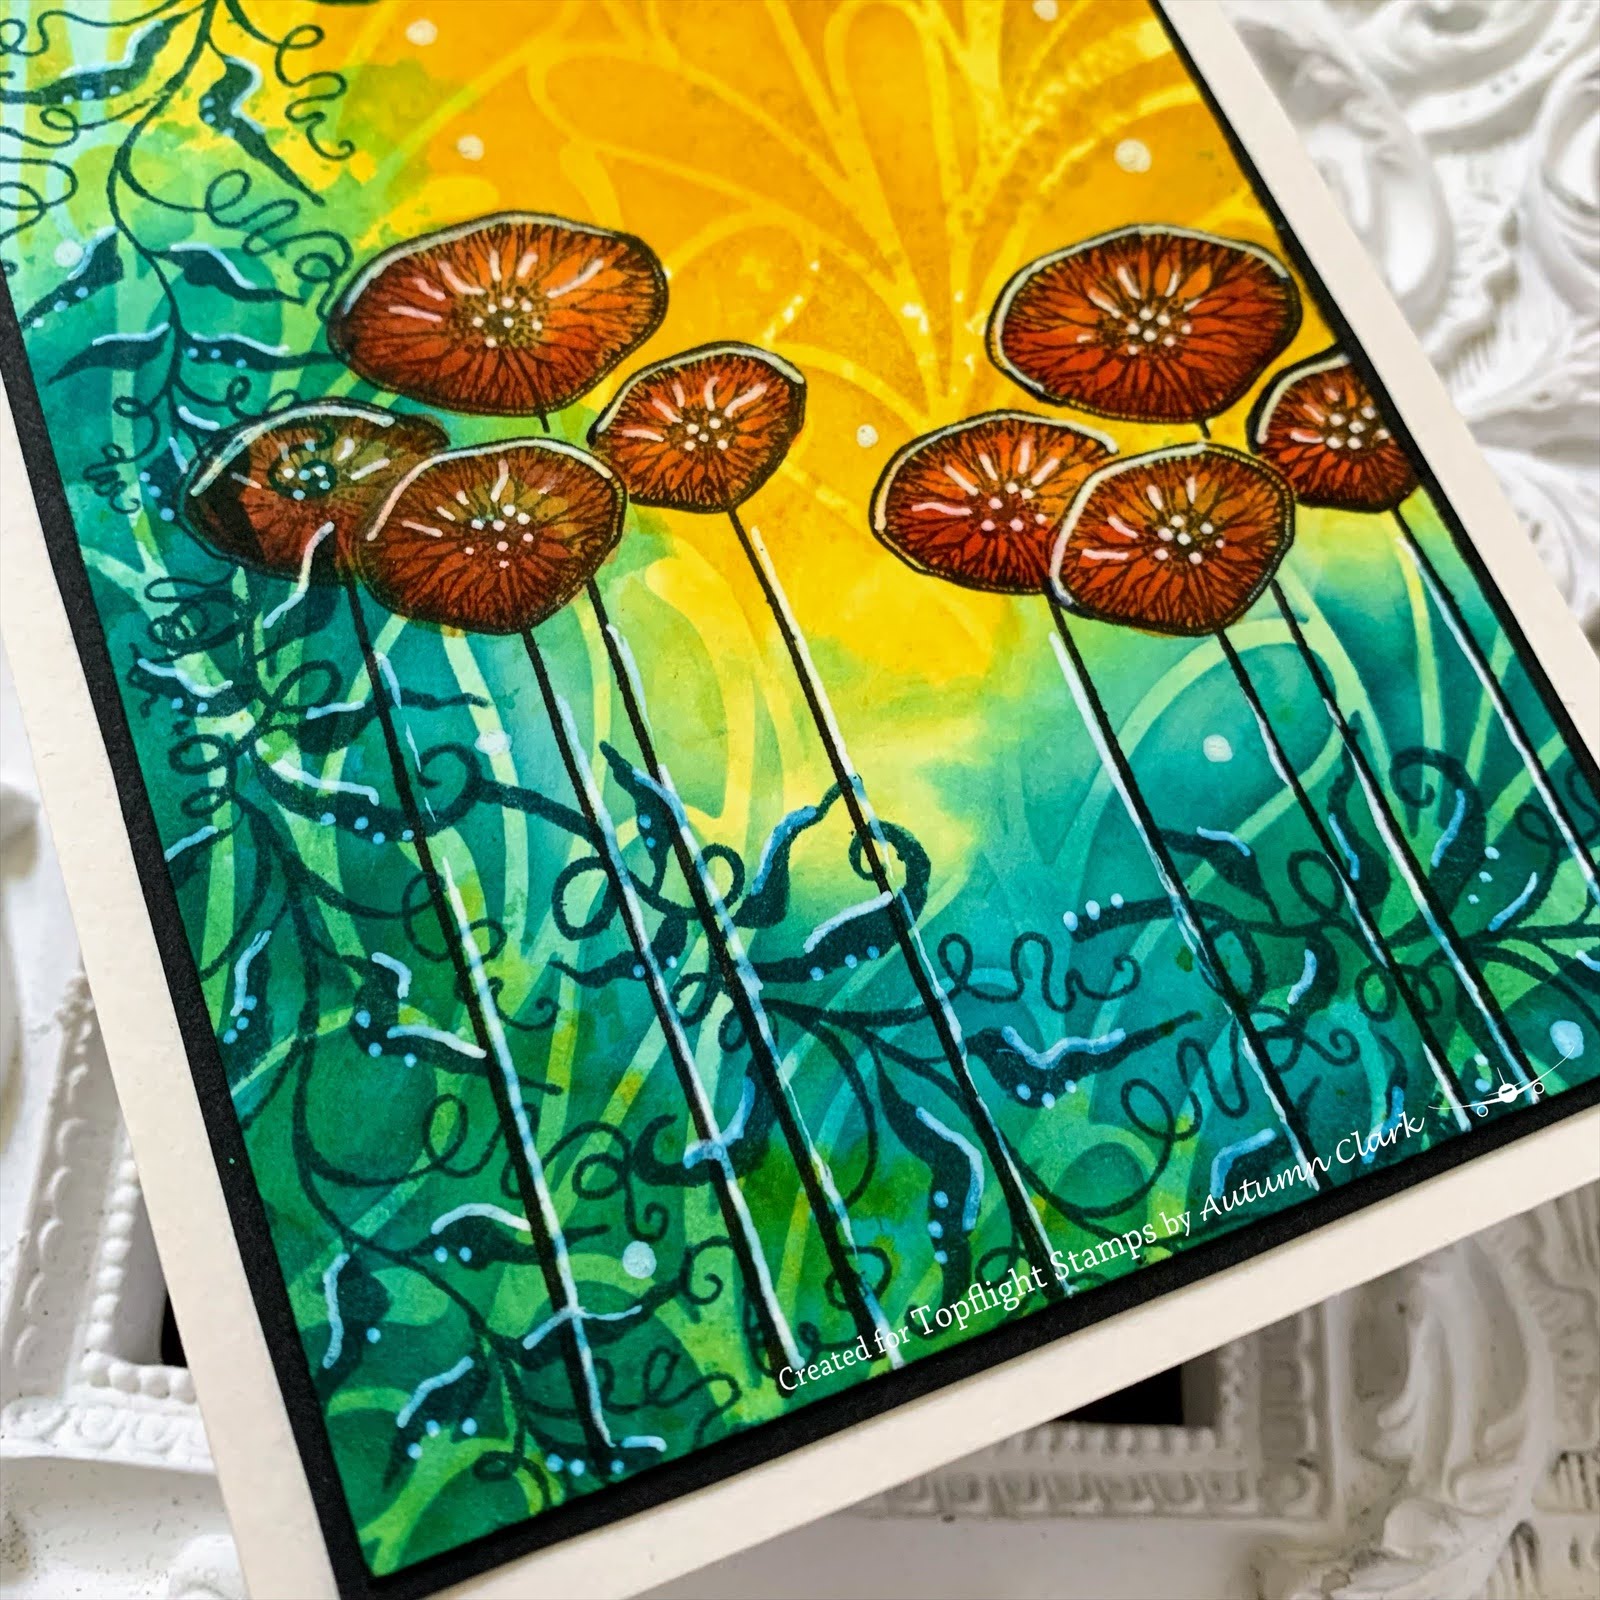
Hi everyone!  It's Autumn Clark from SewPaperPaint with you today to share a fun floral journal page tutorial.  I've fallen in love with this stamp set by Jo Firth Young (Jofy) for PaperArtsy.  It's JOFY111, one of her newer sets.  I used it recently in another video, which you can find on the @topflightstamps Instagram page HERE and I really hope you'll have a look!  Today I have a new video tutorial for you which you can find HERE.  

 
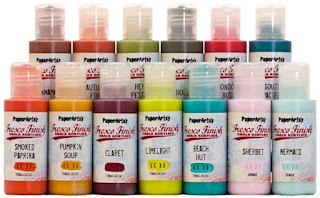
I used PaperArtsy Fresco Chalk Acrylics in Pistachio, Chantilly, Forget Me Not and Double Denim.  The background stencil is by Tracy Scott for PaperArtsy and is PS186.  The background stamps are from an older Jofy stamp set, JOFY63.  I love this set because of those silhouettes, which contrast beautifully with Jo's line drawing stamps. 


I used my Prism brush markers to color the flowers  I always use Bristol for stamping and watercolor because it stamps much better than watercolor paper, being so smooth and accepts a good amount of water.  This page was really fun to make and I hope it inspires you and you will check out my YouTube video tutorial.  Hugs, Autumn 


Find these journaling supplies at Topflight Stamps!


Saturday, April 9, 2022

Lavinia Stamps Simple Stencil Layering Technique Card Trio


Hi friends!  It's Autumn Clark from SewPaperPaint with you today to share some fun projects with Lavinia Stencils and Stamps.  This is a really simple process that creates beautiful, interesting backgrounds with ease.  I've got three samples for you so you can really understand the process.  First, you dip a panel in two or three colors of Lavinia Elements Dye Inks, having spritzed them with water after tapping onto your kraft mat.  First you can see I dipped the top of my first panel in Mermaid.  I dipped the bottom part in Violet Chalk.  I always suggest using a spray bottle to spritz the panel and let it blend, or to use the excess water to dab up some "too heavy" color.  Once the panel is dry, you simply layer a stencil and sponge with the coordinating color.  You can see I sponged through the Lavinia Crackle stencil in Violet Chalk over the purple background and in Mermaid over the teal background.  

For my next card, I repeated the same process.  I dipped the top of my panel in Sundance Elements ink and the bottom in Russet Orange.  Then I sponged through the same Crackle stencil color over color. 

I finished both cards by stamping the GORGEOUS Star Burst stamp twice, then stamping the Wild Vines going down and the Whimsical Whisps (small) going up.  Both in the colors of each respective background.  I added details with an array of Posca paint markers.

I did one more card and mixed it up a little.  This time, I dipped the top of my panel in Sahara and the bottom in Mermaid.  I sponged in the coordinating inks through the Flora Lavinia stencil.   

I stamped the Lunar Buds stamp twice and colored the pods in with Paprika.  I filled the bottom with Wild Vines stamped in Mermaid. I added a little bit of highlight with a white Posca marker.  I really hope you'll try this layered stencil technique.  It's such fun and the color possibilities are endless.  Hugs, Autumn


Visit Topflight Stamps today for all your stamping needs!


Friday, October 29, 2021

Vintage Christmas Card Tutorial with Studio Light $5 Stamps


Hi guys and happy Saturday!  Woot!  It's Autumn from SewPaperPaint here with you today to share some Christmas card stash building ideas with you.  I had a blast making these vintage wintery cards and I'm showing you just how easy it is to work in multiples in this quick video tutorial found HERE.  I really hope this gets your creative juices flowing to build your own Christmas card stash.  You could use any colors or any collage style stamps.  I chose the $5 Studio Light collage stamps, and sadly Donna has discontinued these in particular, but there are some other similar ones that I've linked below.  I used the gorgeous PaperArtsy stencil PS070 by Kay Carley for the background.


Check out these other gorgeous collage style stamps and let me know if you find the video helpful.  xx, Autumn


Monday, August 23, 2021

PaperArtsy Kay Carley Stamped Flower Field Cards


Hi friends!  It's Autumn Clark from SewPaperPaint with you today to share a couple of inky cards featuring the new Kay Carley stamps by PaperArtsy, set EKC49.  These were such fun to make using a variety of watercolor stamping techniques.  I'm sharing a short video tutorial on YouTube HERE.

I'm just not ready to let go of summer and love that the sentiment in this set can be used in different ways.  I added some doodles around the cut up words to frame them.

I used Distress Ink in Tumbled Glass and Squeezed Lemonade for the sky, Mowed Lawn for the leaves and a mix of Blueprint Sketch and Chipped Sapphire for the agapanthuses, with some Posca pen dots for contrast.  I added some shimmer with Stickles and sequins.  I hope they give you the summer feels and you'll check out Kay's gorgeous new flower stamp sets.  Hugs, Autumn

Kay Carley stamps at Topflight Stamps


Saturday, August 21, 2021

Art by Marlene Octopus Mixed Media Tag Tutorial


Hi friends!  It's Autumn Clark from SewPaperPaint with you today to share a fun project tutorial!  I've slowly collected a few Art by Marlene products from Topflight Stamps and was excited to finally pull a project together.  I used the AMAZING mixed media surface: Art by Marlene Tab Tags.  I'm sharing the vertical video on IGTV today, so make sure to follow.  I used PaperArtsy Infusions in Royal Blood and Emerald Isle to add a grungy/earthy base color for the tag and the stamped images.  Then I painted over portions with PaperArtsy Fresco Chalk Acrylics in Captain Peacock, Cloud 9, Twilight and Bubble Gum

I used PaperArtsy Sara Naumann stencil PS101 with a babywipe and Frescos to add the circles in the background.  I used Art by Marlene dies for the greenery and scallop detail.  The Octopus and Oyster Shell stamps come from the So-Fish-Ticated Sea Creatures stamp set 13.  I added Stickles glitter glue, large adhesive pearls and Pink Diamond Sparkles Gemstones to finish it off.  I really hope this funky project makes you smile and encourages you to be your brave beautiful self today!  Hugs, Autumn


Find these products at Topflight Stamps!


Saturday, June 19, 2021

Darkroom Door Ombre Gel Printed Ink Tutorial


Happy Saturday friends!  It's Autumn Clark from SewPaperPaint with you today to share a fun and simple background making technique using the Gel Press printing plate and Prism Dye Ink Pads.  I finished one of my ombre backgrounds by adding a flower stamp by Darkroom Door, and embellishing the background with the Abstract 06 stamp, Arty Circles and the Friendship Sentiment Strip, with a little washi tape for interest.


You can see just how many amazing color combinations you can create with this technique.  Prism Dye Ink Pads are thicker than most dye inks, almost with the consistency of pigment ink, so they work perfectly on the gel plate.  You could definitely play with some stencils over the inks on your plate to create new variations.


Here is a quick video showing the process.  The trick is to do two identical prints of the same ombred ink, creating vibrant, intense colors.  To make the light dots, you simply splash a little water on the finished print and lift it with a cloth.  I hope you will enjoy playing around with this fun technique.  Hugs, Autumn


Saturday, May 15, 2021

Stencil Tutorial with Tracy Scott Insects Cards

Hey everyone!  It's Autumn Clark from SewPaperPaint with you today and I've been pulling out items from my UFO (unfinished objects) pile and trying to slim down my scraps.  A while back I had tried to come up with a version of a card made with Nuvo pearl paste using things I had on hand.  I think the result is pretty cool, so I finally finished coloring some focal images and made these sweet cards.

To make the backgrounds I used a sponge makeup applicator to add white gesso through the stencils, making sure to start at the bottom and work up lighter.  I did this on navy textured cardstock.  I used PaperArtsy stencils PS092 and PS108.  When they were dry, I tapped them with Prism Ink Pads to add color on top, with an uneven application so some of the white showed through.  I love these pads for DTP (direct to paper) techniques!  Finally, I spritzed the panels with Glimmer Mist to add some shine.

At this point, I didn't finish the panels, can you believe it?  Sometimes that's just the way it goes.  So how to finish them after all this time?  Well, since there were three panels, I thought Tracy Scott's insect stamps TS027 would work great for a fun springtime trio.  I stamped them in permanent cobalt blue ink and colored with Prism Brush Makers, blending with a water brush.  I hope you've enjoyed this alternative process and will try the stencil technique.  Happy weekend!  

Visit Topflight Stamps today!


01 09 10