Showing posts with label ombre. Show all posts

Monday, December 13, 2021

Crafty Individuals Jolly Robin Christmas Bird Card


Hi friends!  It's Autumn Clark from SewPaperPaint with you today to share a bright and cheery Christmas card featuring gorgeous stamps by Crafty Individuals.  I made an inky ombre background with Wendy Vecchi Make Art ink pads in Tea Rose, Poppy and Thistle, then stamped the Jolly Robin in the center.  I stamped him again on another panel and watercolored both the bird and treeline, and fussy cut them.  I filled my background in by stamping the Counting Down background stamp partially here and there. 

To add extra detail, I used the Totally Dotty stencil by AALL & Create to draw in some extra circles with a white gel pen.  I outlined some of the circles with Stickles glitter glue.  I gave the panel a hearty splash of white gesso and colored in the wording with the white gel pen, adding some sentiment stickers for contrast.  Then I layered the fussy cut bird on with dimensional tape.  I stained a bit of seam binding to match and adhered a loopy bow.  I hope you're inspired by this non-traditional card!  xx, Autumn

Shop Topflight Stamps today!


Saturday, June 19, 2021

Darkroom Door Ombre Gel Printed Ink Tutorial


Happy Saturday friends!  It's Autumn Clark from SewPaperPaint with you today to share a fun and simple background making technique using the Gel Press printing plate and Prism Dye Ink Pads.  I finished one of my ombre backgrounds by adding a flower stamp by Darkroom Door, and embellishing the background with the Abstract 06 stamp, Arty Circles and the Friendship Sentiment Strip, with a little washi tape for interest.


You can see just how many amazing color combinations you can create with this technique.  Prism Dye Ink Pads are thicker than most dye inks, almost with the consistency of pigment ink, so they work perfectly on the gel plate.  You could definitely play with some stencils over the inks on your plate to create new variations.


Here is a quick video showing the process.  The trick is to do two identical prints of the same ombred ink, creating vibrant, intense colors.  To make the light dots, you simply splash a little water on the finished print and lift it with a cloth.  I hope you will enjoy playing around with this fun technique.  Hugs, Autumn


Monday, January 7, 2019

Topflight Stamps | Crafty Individuals | Clean & Simple Ombre Stamping

Hi Everyone and welcome to the Topflight Stamps blog!  It's Jenny here and I'm joining you today with a clean and simple card featuring a technique I've tried in the past and never managed to get right - ombre stamping.


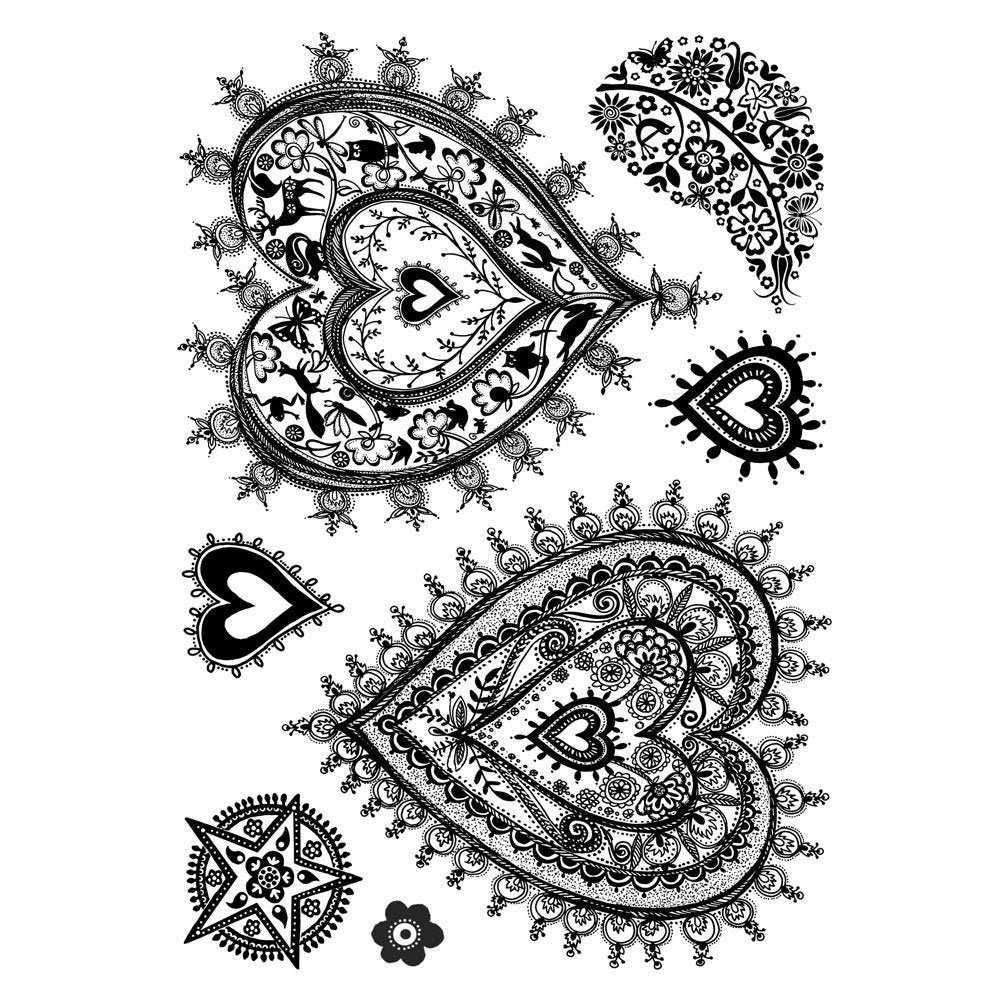
I saw Catherine Pooler do this on a video this week and wanted to try it with these awesome stamps by Crafty Individuals called Delicately Detailed Hearts.


I've created a quick video showing you how I created the card which you can here:


To create the card, I first mounted the stamps onto EZMount (which you can get from Topflight Stamps) and cut the images apart.  These stamps are unmounted red rubber - but they are so detailed it's worth the extra prep effort.  I stamped the first of the large hearts using pink and yellow inks.


The trick is to go back and forth, up and down from the top to about two thirds of the way down the image with the first color, then repeat the motion from the bottom up about two thirds of the way with the second color.  I then go back in again and repeat the first step.  Where they meet they create a new color, and it looks more blended than I've been able to get in the past.


I stamped the two large hearts and one of the smaller hearts three times on my panel of cardstock in the same way, then mounted it onto a white card base.  The sentiment is from For The Love of Stamps Tattoo Art which has a wonderful sentiment perfect for any stamped card (because we use ink!!). 


I stamped it in Versafine Onyx Black ink directly onto the panel, and then finished with a few pink and iridescent sequins.  I hope you are inspired - you can choose so many colour combos for this technique!

Monday, December 10, 2018

Studio Light Art by Marlene - GIant Christmas Tag

Hi everyone and welcome to the Topflight Stamps blog! It's Jenny here, and today I'm featuring this giant Christmas tag I created using the Studio Light Art by Marlene Large Colorful Art Tags.


I normally create cards but the season of gift giving is upon us, and my three year old daughter has a couple of very large gifts this year, so I decided to create this tag with her in mind - lots of pink and sparkle!


I used the white tag from the set and painted it with a variety of PaperArtsy chalk acrylic paints, top to bottom: Sugar Plum, Bubble Gum, Bougainvillea, Wisteria, Smurf, and Mermaid, mixing them with a little water, and then slightly overlapping each of the colors.


I dried it with a heat tool, and then used Snowflake acrylic paint to add a few white spatters, and dried it again.  I trimmed a piece of the ribbon that came with the tags and soaked it in a mix of water and Bubble Gum acrylic paint, and then dried it.


I then stamped the Ultimate Crafts Fractal Snowflakes over the top in Versamark embossing ink and heat embossed with Rita Barakat Kiss of the Fairy embossing powder.  I stamped it again just over the top of the tag.


To finish, I added some silver sparkle die cut letters and scattered some snowflake sequins and pink gems to co-ordinate!

I love how this turned out, these tags are awesome for those big gifts (or art of course!)

Have a wonderful day!


01 09 10