Showing posts with label love. Show all posts

Monday, March 25, 2019

For the Love of Stamps | Simple Background Stamping

Hi everyone!  It's Jenny here and I have a fun card for you today which uses simple stamping to create a fun and monochromatic background with a tiny pop of dimension. 


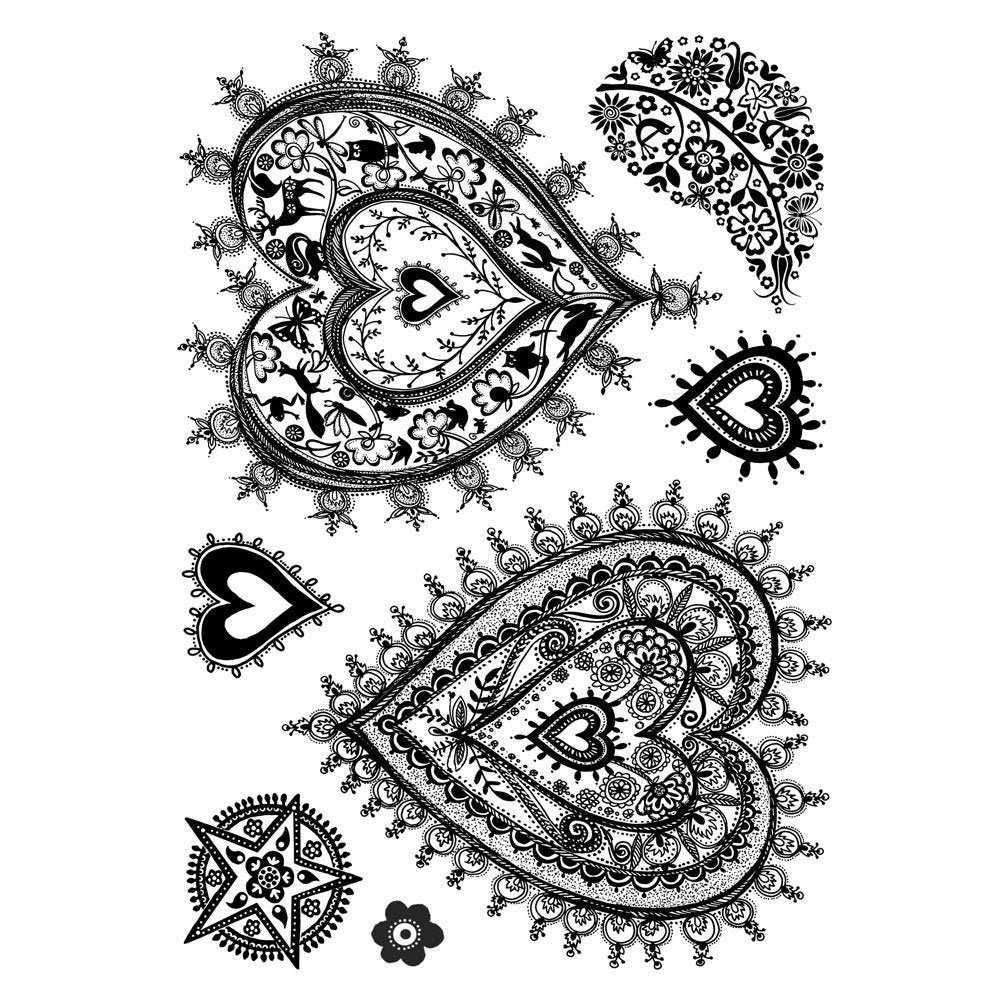
My card was created using the For the Love of Stamps Tattoo Art stamp set. You can  do tonnes of funky designs with this using masking, but for this card I kept it simple.


I took a panel of white cardstock and stamped the large heart at random over the entire panel in red dye ink. I then stamped the largest star in black ink, filling in some of the gaps.   I used smaller and smaller images from the set, choosing different shades of grey and red until there was no space let on the panel.


I stamped the banner in black on a separate piece of cardstock and then used the Love You sentiment from the set to fill it in. I love how the tiny sentiments fit inside this banner!  I trimmed it out and then popped it up on foam tape at an angle over one of the hearts (I purposely didn't put it onto the centre of the card). 


I mounted the panel on a white card base and then for a little sparkle, I used Nuvo Glitter Drops in clear and red to fill in some of the small hearts at random.   It was fun to play with this set and it is SO versatile - masculine and feminine cards and so many possibilities!

Jenny

Monday, February 11, 2019

Topflight Stamps | AALL & Create | Black Watercolor Valentine's Card

Hi Everyone, welcome to the Topflight Stamps blog.   It's Jenny here, and today I have a project featuring an 'alternative' style valentine's card, featuring the Blooming Heart stampset by AALL & Create.  


It's a 'real' heart, with sketched blooms.


I wanted to keep this card simple, so I stamped the main image from the set in embossing ink and heat embossed in WOW! Primary Ebony embossing powder onto white watercolor cardstock. I then used my Boku-Undo E-Sumi watercolors (they're all different shades of black) to watercolor the image.  I also added lots of splatters for good measure!


The sentiment is also from the set, and I heat embossed it in white embossing powder on black cardstock, and trimmed it out.  I popped it up on foam tape and stamped the 'With Love' directly onto the card base in black ink.


As a finishing touch I added some touches of white gel pen for shading.

I know it's a little gory but also a bit different - not for everyone, but definitely fun !

Monday, January 21, 2019

Overstamping Embossing Powder

Hi everyone and welcome to the Topflight Stamps blog.  It's Jenny here and today I'm joining you with a love themed card that uses some of my favorite brands from Topflight to create a monochromatic clean and simple look, featuring embossing powder overstamping.  


To create my card, I first stamped the Darkroom Door Love Word Block stamp onto white cardstock with embossing ink.  


I then heat embossed in Emerald Creek Rita Barakat Kiss of the Fairy embossing powder.  It's chunky so it really brings out the big sentiment letters well.  


I then die cut the stamp with a stitched rectangle die just slightly smaller than the image.  I also used the same die to cut some pink craft foam.  I love this foam - it's about 1/8" thick so you get some good dimension and it really lets the color of the foam peep out if you want it to. It's also self adhesive.  I adhered the panel onto a white card base.


I popped the entire card into my MISTI and arranged several of the butterflies from For the Love of Stamps Flutterby Wishes onto the embossed panel.  
I then picked them up with the MISTI door and stamped twice in black ink. The inked images overlay the cardstock between the embossing and while the embossing resists a little, with this black ink, it actually colors the EP a little. Even if it fully resists, your eyes will subconsciously fill in the gaps in the image!


My sentiment is by Studio Light (which comes in a set of three) die cut from gold mirror cardstock.  


I also die cut it again from the same pink fun foam and glued it together with liquid glue and then added it to the card.  As a finishing touch, I added some Catherine Pooler Inspiration Point sequins and a few dots of Nuvo Aztec Gold Glitter Accents to tie in the gold die cut.

I hope you'll give this overstamping technique a try!

Monday, January 14, 2019

13@arts | One Stamp Set, Four Cards

Hi everyone and welcome to the Topflight Stamps blog! 

It's Jenny here, and today I'm showcasing a stampset by Polish company 13@rts.  The set is called Flourish Garden, and has a shabby chic/mixed media feel.


I'll show you four different ways to use the set in different ways, to get very different looks.  I've created a video to see how I did it which you can view on YouTube:


Card 1 - Watercolor Rose
I took a panel of Arches Rough watercolor cardstock and put it into my MISTI. I placed the rose stamp in the centre of the panel and picked it up with my MISTI.  I then used a mini ink dauber to apply pink ink to the flowers.


I spritzed with water and then stamped onto the paper.  I dried it slightly with my heat tool and then repeated the step on the leaves with green ink.  I used my paintbrush to add more details with darker green ink and darker purple ink.  I heat embossed the sentiment in Antique Gold embossing powder over the top.


I die cut the piece with a stitched rectangle and popped it on craft foam onto a white card base.  I then added a few spatters with  black ink and dark green ink with a little water, letting the spatters go into the border.  I then decided I needed to add a bit more contrast, so I used my Faber Castell Polychromos and a white gel pen to add dimension to the leaves and flowers.

Card 2 - Heat Embossed Repeated Pattern

For my next card, I heat embossed the flourish from the set multiple times in embossing ink onto rustic cardstock using an acrylic block.


After each stamping, I heat embossed the image, re-applying the powder tool in between.  I alternated using WOW! embossing powder in Oyster Glintz and Rose Glintz.  I then trimmed the panel down to 4 1/8 x 5 3/8".


I took a strip of vellum and heat embossed the sentiment in WOW! Primary Ebony embossing powder.  I then wrapped the strip around the panel and secure it on the back with tape.  I also added a could of glue dots at the front.  The whole panel was added to a coordinating card base.

Card 3 - Layering Images

This card layers images to create the illusion of dimension. On a panel of white cardstock I stamped the scripty stamp a few times in pale grey ink.


I then layered the flourish image in embossing ink and heat embossed in WOW! Seaglass embossing glitter.  I stamped the sentiment in Versafine Onyx black ink and adhered the entire panel onto black cardstock and then a white card base.  As a finishing touch I added Nuvo Jewel Drops in Morning Dew and Sea Breeze.


Card 4 - Black and White

This card uses the rose cluster stamped multiple times in black and white and actually creates two cards for the price of one.  For this you need a panel of white and a panel of black cardstock of the same size.  Using a stamp positioner like the MISTI, stamp the rose image on the black cardstock in Versamark and then heat emboss - I used WOW! Opaque Bright White.  Don't remove the stamp - clean it off and then stamp a panel of white with black ink, and clean it off.   You can then move the stamp around and alternate in this manner.  You'lll then end up with two panels with the exact same pattern in black and white.


To finish the card, I trimmed the panel down diagonally in the exact same place on both panels.  I then adhered them onto a white card base, switching one piece so that the card is half white and black!  I stamped the sentiment in Be Mine pink ink for a pop of colour, and added some pastel sequins.


I hope I managed to show you the versatility of this stamp set - as you can see in the video, I had lots of other ideas!

Monday, January 7, 2019

Topflight Stamps | Crafty Individuals | Clean & Simple Ombre Stamping

Hi Everyone and welcome to the Topflight Stamps blog!  It's Jenny here and I'm joining you today with a clean and simple card featuring a technique I've tried in the past and never managed to get right - ombre stamping.


I saw Catherine Pooler do this on a video this week and wanted to try it with these awesome stamps by Crafty Individuals called Delicately Detailed Hearts.


I've created a quick video showing you how I created the card which you can here:


To create the card, I first mounted the stamps onto EZMount (which you can get from Topflight Stamps) and cut the images apart.  These stamps are unmounted red rubber - but they are so detailed it's worth the extra prep effort.  I stamped the first of the large hearts using pink and yellow inks.


The trick is to go back and forth, up and down from the top to about two thirds of the way down the image with the first color, then repeat the motion from the bottom up about two thirds of the way with the second color.  I then go back in again and repeat the first step.  Where they meet they create a new color, and it looks more blended than I've been able to get in the past.


I stamped the two large hearts and one of the smaller hearts three times on my panel of cardstock in the same way, then mounted it onto a white card base.  The sentiment is from For The Love of Stamps Tattoo Art which has a wonderful sentiment perfect for any stamped card (because we use ink!!). 


I stamped it in Versafine Onyx Black ink directly onto the panel, and then finished with a few pink and iridescent sequins.  I hope you are inspired - you can choose so many colour combos for this technique!

Monday, July 16, 2018

Mini Heart Gift Cards - Alexandra Renke

Hi Everyone and welcome to the Topflight Stamps Blog.   


It's Jenny here, and today I have a super easy project creating a little gift set of simple and cute mini note-cards.


The stamp set I'm using for the cards is the Love & Hearts set by Alexandra Renke.   The images in this set are all super pretty, and there are tiny little messages in the set too that you can add to your project.  

For a couple of the cards, I also used sentiments from a set by For the Love of Stamps, The Occasions Inserts set.  This is a really versatile set for your stash. 
To create my cards, I used pre-scored white cardstock notecards.  They are 7.5" x 5", scored at 3.75".  I stamped each of the heart images from the Alexandra Renke set in black ink or pink ink.  


I then stamped the sentiments in white embossing powder onto either black or white cardstock.  For those on white cardstock, I ink blended the same pink ink over the top.  The embossing resists the ink and you have a tiny pink sentiment base!  I then trimmed them out and popped them up on foam tape over the stamped hearts.


On two cards, I used rose gold embossing powder to stamp the sentiment directly over the stamped image.  


As a finishing touch, I added some clear confetti sequins.  I tied all of the cards together with some metallic rustic twine.  It just needs some little envelopes added and you have a nice little gift for  someone!


I hope you like this idea - you can find more about the supplies I used over on my blog. 

Have a wonderful day!

Tuesday, January 30, 2018

Looking Sharp - Simple Coloring with For the Love of Stamps

Hi Everyone and welcome to the Topflight Stamps blog! 

It's Jenny here, with a clean and simple card using a super cute stamp set from For The Love of Stamps.  


For those of you who aren't familiar with this stamp company, they're made in the UK (where I'm from!) and are clear photopolymer.  Topflight carries a large selection of them and I highly recommend you check them out!  I used the Prickly Plants Cactus set for my card today.  

To create my card, I stamped the heart pot and the tall cactus using Versafine Onyx Black ink onto Bristol Smooth paper and coloured them using my Zig Clean Color Real Brush makers (I used three shades of green on the cactus itself).   I also added some prickles with a black fine liner.  I then trimmed it out. 


The background was created by dry embossing a stencil onto dark red cardstock, and then flicking a green shimmer spray over the top.  I then popped the cactus up on foam tape in the centre.    The sentiment was stamped in the same Onyx Black ink onto Bristol Smooth which was colored with co-ordinating green Zig markers, and popped up on foam tape. 

This card was so quick and simple to create - I love this stamp set and will be using it again in the near future - stay tuned!

Have a wonderful day, thanks for joining us!

Tuesday, January 9, 2018

Clean and Simple Sentiments with Indigo Blu

Hi Everyone and welcome to the Topflight Stamps blog.  Jenny here with a new card to share using the gorgeous sentiment set from Indigo Blu 'Dreams Come True'.  The fonts in this set are so pretty, I just had to heat emboss them.


Check it out, isnt' it gorgeous?  The stamps are red rubber really big, perfect for taking centre stage.


To create the card, I masked off a heart using some masking paper on some Bristol Smooth cardstock. I then ink blended Distress Oxide in Peacock feathers in the centre and Worn Lipstick towards the edges, overlapping to create a third purplish colour. I flicked on some water with a paintbrush.

I removed the mask and applied a powder tool over the top after the ink was dry.  I then heat embossed the sentiment with Versamark and WOW! embossing powder in Cloud 9. For a finishing touch I added some silvery glitter Nuvo drops.  I adhered the card to a white card base and called it done!


Thanks for joining me today - I hope you enjoyed this clean and simple card!  Let me know if you have any questions, or for more details, check out my blog at jccards.com.

Jenny x


01 09 10