Showing posts with label hearts. Show all posts

Monday, March 25, 2019

For the Love of Stamps | Simple Background Stamping

Hi everyone!  It's Jenny here and I have a fun card for you today which uses simple stamping to create a fun and monochromatic background with a tiny pop of dimension. 


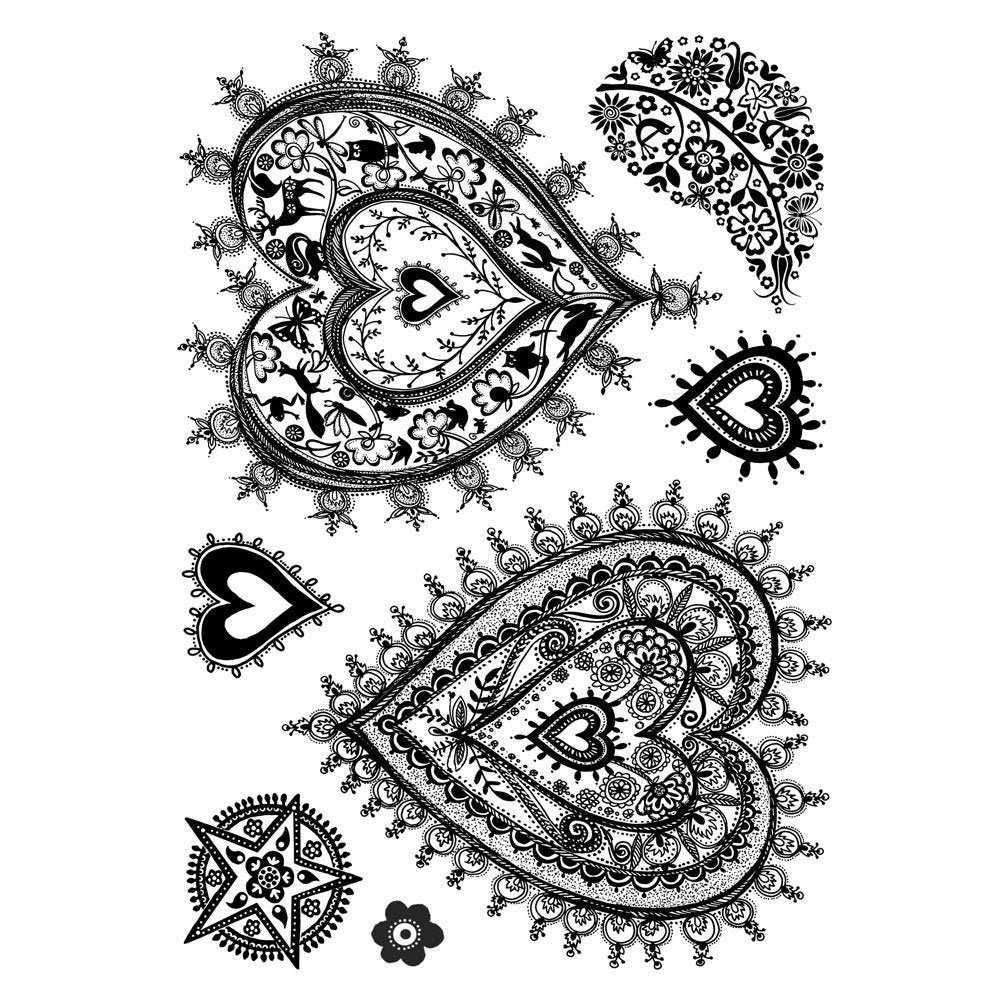
My card was created using the For the Love of Stamps Tattoo Art stamp set. You can  do tonnes of funky designs with this using masking, but for this card I kept it simple.


I took a panel of white cardstock and stamped the large heart at random over the entire panel in red dye ink. I then stamped the largest star in black ink, filling in some of the gaps.   I used smaller and smaller images from the set, choosing different shades of grey and red until there was no space let on the panel.


I stamped the banner in black on a separate piece of cardstock and then used the Love You sentiment from the set to fill it in. I love how the tiny sentiments fit inside this banner!  I trimmed it out and then popped it up on foam tape at an angle over one of the hearts (I purposely didn't put it onto the centre of the card). 


I mounted the panel on a white card base and then for a little sparkle, I used Nuvo Glitter Drops in clear and red to fill in some of the small hearts at random.   It was fun to play with this set and it is SO versatile - masculine and feminine cards and so many possibilities!

Jenny

Monday, January 7, 2019

Topflight Stamps | Crafty Individuals | Clean & Simple Ombre Stamping

Hi Everyone and welcome to the Topflight Stamps blog!  It's Jenny here and I'm joining you today with a clean and simple card featuring a technique I've tried in the past and never managed to get right - ombre stamping.


I saw Catherine Pooler do this on a video this week and wanted to try it with these awesome stamps by Crafty Individuals called Delicately Detailed Hearts.


I've created a quick video showing you how I created the card which you can here:


To create the card, I first mounted the stamps onto EZMount (which you can get from Topflight Stamps) and cut the images apart.  These stamps are unmounted red rubber - but they are so detailed it's worth the extra prep effort.  I stamped the first of the large hearts using pink and yellow inks.


The trick is to go back and forth, up and down from the top to about two thirds of the way down the image with the first color, then repeat the motion from the bottom up about two thirds of the way with the second color.  I then go back in again and repeat the first step.  Where they meet they create a new color, and it looks more blended than I've been able to get in the past.


I stamped the two large hearts and one of the smaller hearts three times on my panel of cardstock in the same way, then mounted it onto a white card base.  The sentiment is from For The Love of Stamps Tattoo Art which has a wonderful sentiment perfect for any stamped card (because we use ink!!). 


I stamped it in Versafine Onyx Black ink directly onto the panel, and then finished with a few pink and iridescent sequins.  I hope you are inspired - you can choose so many colour combos for this technique!

Monday, September 24, 2018

AALL & Create and Studio Light - 'Coloring' with Glossy Accents

Hi Everyone and welcome to the Topflight Stamps blog!  It's Jenny here, and today I'm showing you a technique that is super quick, and can be used to create pretty, clean and simple cards.  


It uses a fun and sketchy stamp by AALL & Create, an awesome brand Topflight carries.  While this one isn't currently in stock, there's some others that are very similar, and perfect for this technique.


To create my card, I trimmed down some patterned paper from a selection by Studio Light - this paper has subtle colors and texture throughout and is great for quick backgrounds.   I arranged the stamps from the set on my stamp positioner and then stamped them directly onto the patterned paper panel in Versamark clear embossing ink.


I heat embossed the hearts with with Rose Gold embossing powder and then colored them in with a clear Wink of Stella. I adhered the panel to a white notecard and then coated the hearts with Glossy Accents. This really magnifies the sparkle underneath as well as any pattern on the paper.   

Finally, I stamped the sentiment in Versamark onto black cardstock, heat embossed in white and popped up on foam tape over the card panel.

Hope you like it!  Be sure to check out the full AALL & Create range and Studio Light patterned paper over at Topflight, they're unusual and fun! 

Jenny 


Monday, July 16, 2018

Mini Heart Gift Cards - Alexandra Renke

Hi Everyone and welcome to the Topflight Stamps Blog.   


It's Jenny here, and today I have a super easy project creating a little gift set of simple and cute mini note-cards.


The stamp set I'm using for the cards is the Love & Hearts set by Alexandra Renke.   The images in this set are all super pretty, and there are tiny little messages in the set too that you can add to your project.  

For a couple of the cards, I also used sentiments from a set by For the Love of Stamps, The Occasions Inserts set.  This is a really versatile set for your stash. 
To create my cards, I used pre-scored white cardstock notecards.  They are 7.5" x 5", scored at 3.75".  I stamped each of the heart images from the Alexandra Renke set in black ink or pink ink.  


I then stamped the sentiments in white embossing powder onto either black or white cardstock.  For those on white cardstock, I ink blended the same pink ink over the top.  The embossing resists the ink and you have a tiny pink sentiment base!  I then trimmed them out and popped them up on foam tape over the stamped hearts.


On two cards, I used rose gold embossing powder to stamp the sentiment directly over the stamped image.  


As a finishing touch, I added some clear confetti sequins.  I tied all of the cards together with some metallic rustic twine.  It just needs some little envelopes added and you have a nice little gift for  someone!


I hope you like this idea - you can find more about the supplies I used over on my blog. 

Have a wonderful day!

01 09 10