Tuesday, April 23, 2024

Katkin Krafts Roosters

Hi Everyone,

Cornelia here today. This week it's all about Katkin Krafts. They have beautiful, intricate stamps - go and check them out.
I stayed CAS here. I didn't want to take the attention away from this gorgeous stamp!
I stamped the rooster and colored  him with alcohol ink markers. I added the borders for more interest. Didn't add a sentiment - I din't think this card needs one.
I hope you liked this. Thanks for visiting. 
See you next week with more Topflight Stamps inspiration.

And here are the stamp supplies I used: 

Monday, April 22, 2024

Inky Birthday Cards

 Hi friends. Alanna here back on the blog with you today. I have a pair of fun and inky birthday cards to share with you. To get started, I took some watercolor cardstock and got it just a bit wet. I sprayed on some Lavinia Mystical Sprays in the Kingsfisher and Pinkella colors. I did a few layers of these to build up the color. 

Once my panels were dry, I took the newer Trio Cirque set from AALL & Create and stamped the images onto my backgrounds using Sugar Plum and Tropic Blue Pearlescent Pigment inks from Spectrum Noir. I wish you could see these backgrounds in person as they have lots of shimmer.

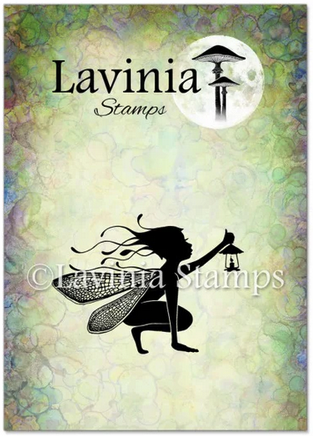
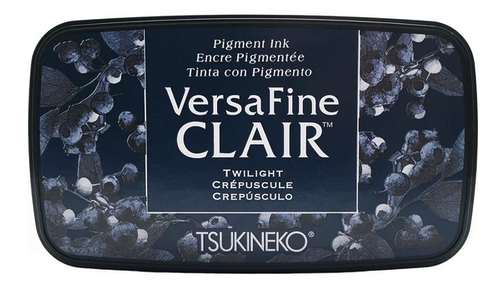
I trimmed my panels down and then added my stamping. I started with the sentiment which is from the Best Birthday Ever from Visible Image. I then stamped my fairies which come from two different Lavinia sets, Fairy Foragers and the Three Dancing Fairies. All of these were stamped with Versafine Claire Nocturne ink.

I added foam tape to the back of these panels and added them to my white A2 notecards.

Find all the products I used below in the Topflight Stamps store. Crafty hugs! Alanna

Friday, April 19, 2024

AALL & Create Washi Cards


Hello friends! Ericka from Strangely Creative here and today I have a couple of quick cards I made using AALL & Create washi tape. I love washi and AALL & Create has a beautiful variety that are a must have. When you place the washi together you can create a gorgeous picture. Today I used the Midsummer washi with the words from the Nightshade washi.

I had so much fun, I decided to make another card using the Letter Back Home and added some strips from the Nightshade washi. There are so many ways to use these beautiful tapes and I can't wait to add some to my journals. 


Thank you for stopping by and I hope have a chance to get creative this weekend!


Topflight Supplies


Thursday, April 18, 2024

Darkroom Door Bookmarks

Hi Everyone,

Cornelia here today. This week it's anything goes on the Topflight blog.  I decided on making some bookmarks with the pretty Darkroom Door Chrysanthemums.
I used water color paper for my background. Sprinkled Brushos (yellow and blue) onto the paper and generously added water to have the colors blend. You can used regular watercolors for this as well. 
I stamped the blooms and added a bit of focal color as well as some highlights with a Posca pen. Stamped the sentiment. Lastly I added some ribbons.
I dabbed away some of the color from the above bloom, as it was a bit too dark for my taste. I alos added a bit of color to the leaves.
On the bookmark below I added a texture stamp on the side and colored it in a bit.
I hope you liked this. Thanks for visiting. 
See you next week with more Topflight Stamps inspiration.

And here are the stamp supplies I used: 


Wednesday, April 17, 2024

AALL & Create - The Earth Laughs in Flowers

Hello Crafties, Mary Key here! I am going to use AALL & Create stamps and stencil. #119 Print by Numbers, #110 Digits Checked Stencil, and also #58 Scribbolour washi-tape.  It's one of those moments when you don't know what to make as a card. I like using AALL & Create to just put together something to make a card. I will be sending this card to a friend to keep her smiling. 

First I cut a slimline base card out of white cardstock paper. I used #110 stencil Digits Checked Stencil and used a brown tone color and just did some blending on my silicone mat. 


Next, I used #119 Print by Numbers stamp and used Versafine Clair Nocturne ink to get a crisp black color onto my slimline card and did a little heat dry with my embossing heat gun.


I started to add some pieces of washi-tape onto my card using #58 Scribbolour Washi-tape. I like how it looks. I started to just stamp the flower part in Versafine Clair Nocturne onto waterpaper, fussy cut and did some watercoloring with my brush markers and added a little white ink to just give it some pop.


Lastly, heat embossed onto black cardstock the sentiment within the stamp with white embossing powder and cut it out.

Now to put my slimline card together onto black cardstock to just make the colors standout. I added some foam tape to raise my flower onto my card.  Here is the final card.


Tuesday, April 16, 2024

Kitten Me!

Greetings! It's Tuesday so you've got Kathi here to share a project with you. This week's theme is "Anything Goes" for the TFS team! Since I missed International Pet Day last week and since I'm a crazy cat lady, I decided to make a card with the super-cute Cats 1 Clear Polymer Stamp Set by Craft Emotions, which features four adorable cats, some feline accessories, and several sentiments. I really like this set because the cat stamps don't have tabby stripes or spots, so I can make the cats look mine. 

Here's the card!


I selected the sneaky cat stamp (to represent Domino Nimbus) and the sleeping cat stamp (to represent Harley Quinn) from the Cats 1 Clear Polymer Stamp Set by Craft Emotions, positioned both stamps facedown onto the white cardstock on the stamping platform, inked them with Tuxedo Black Memento Ink by Imagine Crafts/Tsukineko, and stamped them twice — once onto the image panel and once onto repositionable sticker paper. 

I used Copic markers to color both cats to resemble my kitties, fussy-cut the sticker paper versions and placed the fussy-cut images over their counterparts as masks.

Grey Copic-friendly dye ink was brushed over the masked images using Premier Blending Tool and Premier Blending Sponges by Hunkydory Crafts. The same grey ink was used to stamp the pawprints from the Cats 1 Clear Polymer Stamp Set by Craft Emotions behind the cat. 

Sentiments from the Cats 1 Clear Polymer Stamp Set by Craft Emotions were stamped with Nocturne VersaFine Clair Ink by Imagine Crafts/Tsukineko onto the image panel.

The image panel was die-cut with the smaller die from the Frayed Frames Die Set 26 by AALL and Create. The larger die from that set was used to cut black cardstock which was used to mat the image panel. The matted image panel was adhered to a pale grey card to finish the project.

Please pop over to my blog, Kat's Tales of Stamping, for more information (and photos of my cats on the sidebar). 

Topflight Stamps Products Used:


Monday, April 15, 2024

2 Clean and Simple Birthday Cards

 Hi friends. Alanna back on the blog with you today with a pair of clean and simple birthday cards.

To get started, I took the Floral Butterfly stamp from Studio Light and stamped it directly onto white A2 notecards with the Sugar Plum Shimmer Pearlescent ink. The stamp doesn't cover an entire A2 card front so I stamped it once and then moved it down so it would just overlap a bit and stamped the rest of my card panels.

Note that it looks like this set is no longer available from Topflight Stamps, but Studio Light has the Grunge Butterflies set that is very similar. 

After my card base was stamped, I took the Best Birthday Ever set from Visible Image and stamped the happy birthday sentiment with Versafine Claire Nocturne ink onto white card stock. I trimmed them down and then matted them onto some silver shine card stock. I added those to the cards covering up the area where my previous stamping had overlapped.

I finished off the cards by adding in some gems,

Find all the products I used in the Topflight Stamps store below. Crafty hugs! ~ Alanna

01 09 10