Showing posts with label dimensional adhesive. Show all posts

Wednesday, December 15, 2021

Saying Hello to Winter with Katzelkraft

Hi, Connie here with a goodbye to Fall and a hello
to Winter card.  I'm creating with the newly released Pumpkin 
Fields by Katzelkraft
(from France).  This is a beautiful 
fall stamp set and it went perfect with a sentiment stamp by
Lavinia called Red Leaves.  


The background for the card is created using stencils and Archival inks.
The Sunflowers are colored in with Distress Oxide inks and highlighted
with acrylic paints.  The Pumpkins are stamped with Archival ink and outlined
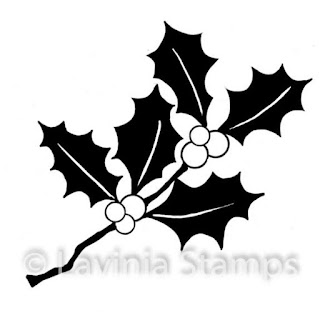
gently with black acrylic paint. The Mini Holly by Lavinia is added near the stem 
of each Pumpkin. The berries are added with red acrylic paint and a medium stylus.
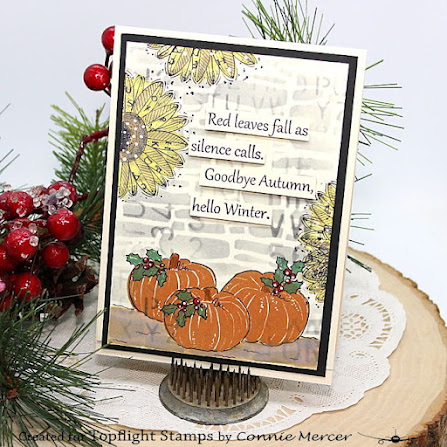

A landing place for the Pumpkins is created using Distress Oxide inks
and a paint brush. A few highlights were added as well.

Products used:

Thanks for stopping by!
Connie Mercer/DT Member
Wednesday, December 8, 2021

Card Making with Crafty Indivuals

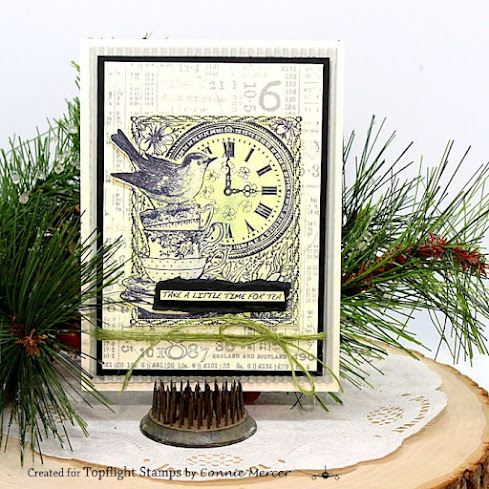
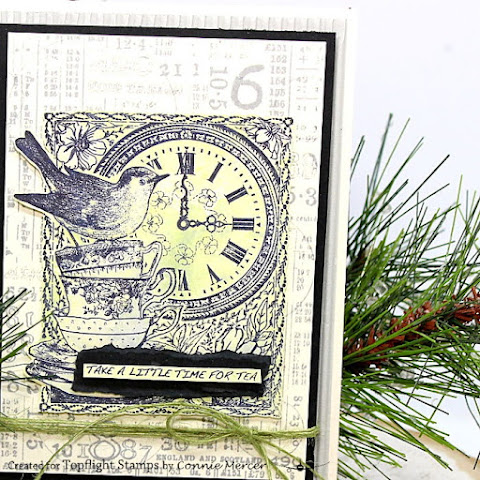
Hi, Connie here with a vintage inspired card using the Tea at Three
stamp set by Crafty Individuals.  It is a soft take on a vintage 
print I recently came across.


It is doubled matted on gray corrugated cardstock.  I love the pop that it 
gives to the card front.  The background stamp used, for the card,
 is the Counting Down stamp also so by Crafty Individuals. The background 
is stamped with Prism Ink/ Slate Grey, for a faded out look.
The focal image is lightly painted with Distress Oxide Ink/Bundled Sage.
The sentiment is included on the focal stamp and I cut it down to
make a word strip and then adhered it to the front of the card.  Torn black
cardstock is placed behind the word strip. 


Products used:


Thanks for stopping by.
Connie Mercer/DT Member 

Wednesday, December 1, 2021

Coffee Time with Darkroom Door~

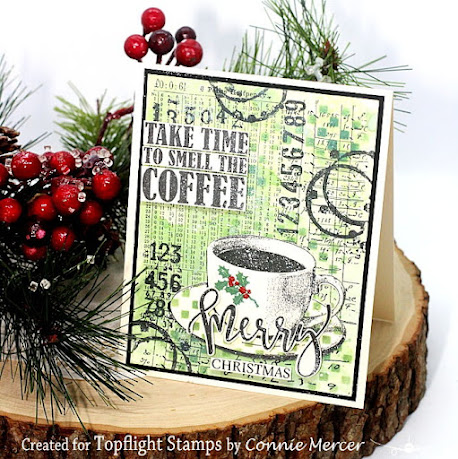
 Hi, Connie here with a Christmas inspired Coffee Time card using the stamp
set by Darkroom Door.  Coffee, this time of the year, with
cold fronts blowing in, makes a much enjoyed hot
beverage!!!


I started with a mixed media type background using Distress Oxide inks, 
a stencil (Checked stencil) and the Number Medley stamps set.  Sure makes it
easy when you have so much help from so many great products!!


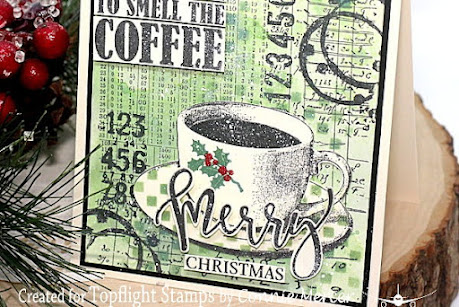
The words and sentiment are stamped out on cream colored cardstock
and trimmed out, the old fashioned way, with scissors :).  I used
dimensional adhesive to pop up the word strips and sentiment.
The cup saucer is stenciled with the Small Checked stencil (masking
off the cup).  The cup is stamped with the Mini Holly stamp by 
Lavinia.  Products and links listed below.

Products used:


Lavinia/Mini Holly

Thanks for stopping by~
Connie Mercer/DT Member

Wednesday, November 24, 2021

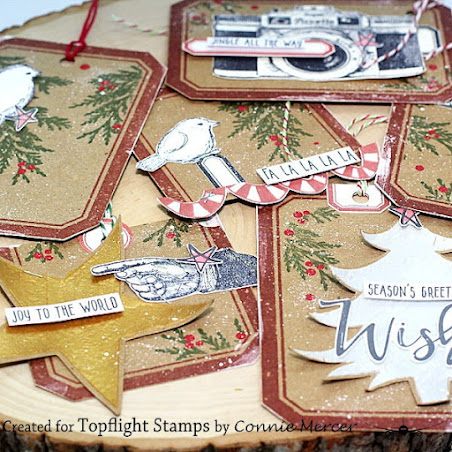
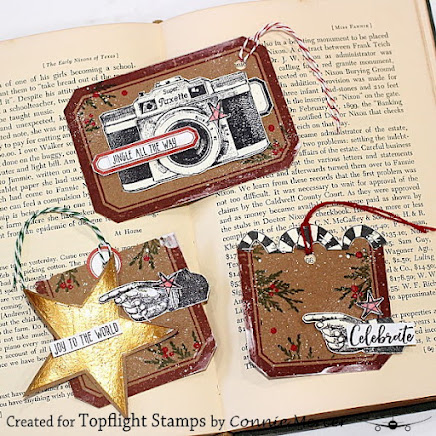
Christmas Tags Made with Paper Scraps

Hi, Connie here with some Christmas gift tags made with
leftover paper scraps from projects I have created for Topflight Stamps.
I started by going through my leftover project box and pulled  out 
anything cute :):) and stamped well.


These were created quickly because I was just assembling all the
stamping, texturizing, coloring that had already been done.
  I might add it felt good  to use these bits and pieces :).


The base for the tags is the Vintage Label by Darkroom Door. I stamped
some greenery on each tag and added berries with acrylic paint.
I started adding the bits and pieces (stapled on), added a stamped
Holiday sentiment and punched a hole for twine.


Some of the items, that are used to create the tags with, are no longer
in stock. I will list them at the bottom. But this post is more about 
using project leftovers for tags or cards.  No
waste!!

Products used:
Other products are either out of stock or discontinued, like
I said this about using those scraps!

Darkroom Door:  Labels, Birthday Greetings, Pine Leaf, 
Small Stencil/Tree.
Carabelle Studio: Parci/Pointing Finger

Thanks for stopping by~
Connie Mercer/DT Member 

Wednesday, November 17, 2021

Falling Snowflakes Border by Darkroom Door

Hi, Connie here with two cards created using the NEW 
Falling Snowflakes Border Stamp by Darkroom Door.  I also
threw in a couple stencils. They make a great focal image
for your cards.


This first thing to do is the part that will the longest to do :):) and 
that is the embossing of the snowflakes.  I used Distress Oxide inks and 
created a light dark background using blue color tones.  Then I embossed
the Snowflakes with WOW / Opaque Bright White embossing powder. 
Then I tore the paper making two borders.  They are long like the stamp
so you will have enough embossed snowflake paper to make two cards.


Once you have your border pieces ready just set them aside
and stamp the words (center) using the Christmas
Word Block Stamp.  I stamped the center section using 
Distress Oxide / Prize Ribbon.  Love the color!!
The center section was adhered to a folded white card
base and then the border pieces were added with
dimensional adhesive.  Next step~


Stencil the focal images with the same ink you used for the 
Word block Stamp. Trim it out and add to the card front with
dimensional adhesive.  Emboss the sentiment and add it to the 
card front to complete the card.


One more thing ~ add the Made For You By stamp to the
back of your cards and be sure to sign your name.  That's
the BEST part.

Products used:


WOW Embossing Powder/Opaque Bright White

Thanks for stopping by~
Connie Mercer/DT Member

Wednesday, November 10, 2021

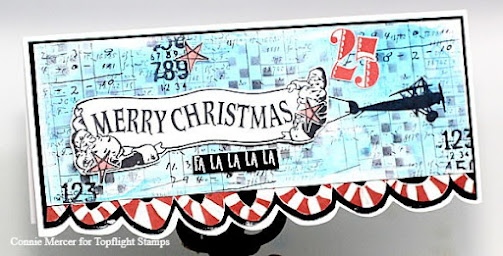
Merry Christmas Slimline Card

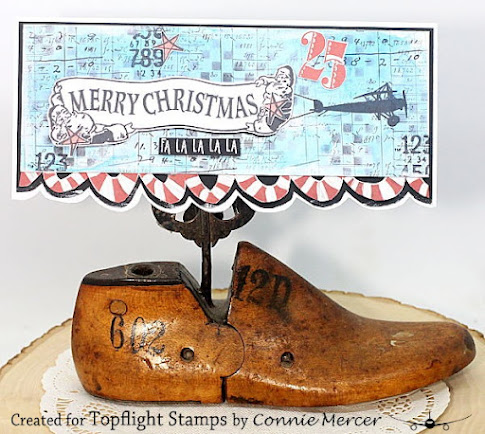
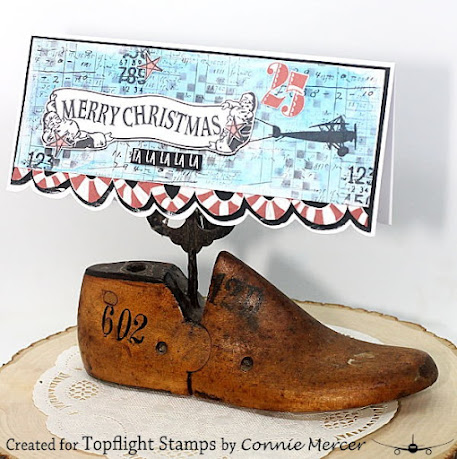
Hi, Connie here with a slimline card using stamps from the
Topflight Store.  So many great holiday stamps to choose
from along with others!
I'm using stamps and a stencil by
Darkroom Door to create my slimline Christmas card.  


My inspiration for this card was the airplane pulling a message banner.  I knew
Topflight had a set called Vintage Planes by Darkroom Door and I 
knew that Joyful Christmas had a banner style image and that is where 
I started.  It took the good part of the day to execute this card the way I
saw it in my mind.  I hope you are inspired too!!!


The background, for the card, is created with Distress Oxides inks,
watered down, the Number Medley stamp set and the Small Checkered
Stencil by Darkroom Door. The Vintage Plane is stamped directly on
card front using a stamping platform.  You will need to stamp several
times to get a solid black image.


The banner is stamped, trimmed out and added to the card front.
A border was added using the Abstract 09 stamp. The sentiment is 
embossed with embossing powder, trimmed into a word strip and
added to the card front. Several of the stamped images are popped up
with dimensional adhesive.  Love the dimension!! 

Products used:
Thanks for stopping by~
Connie Mercer/DT Member
01 09 10