
Hi Everyone,
Cornelia here today!
This week we are featuring gel plates.

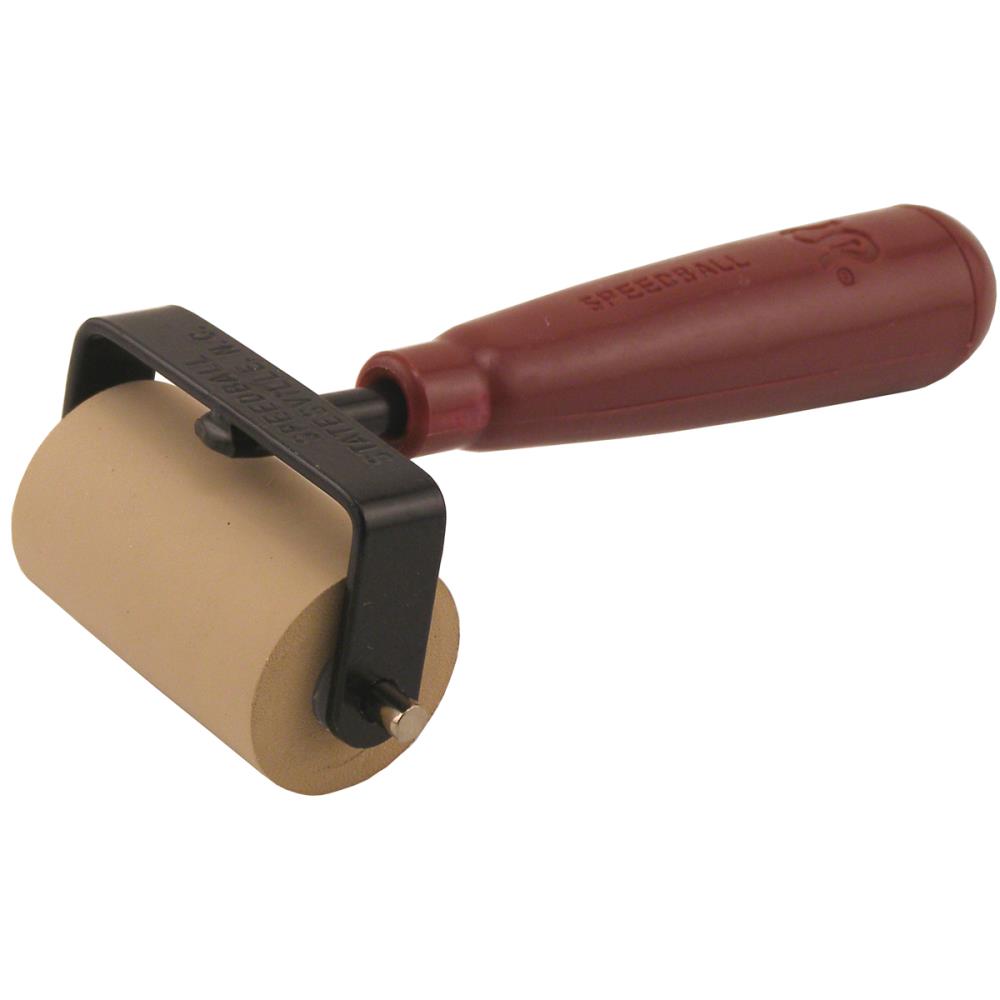
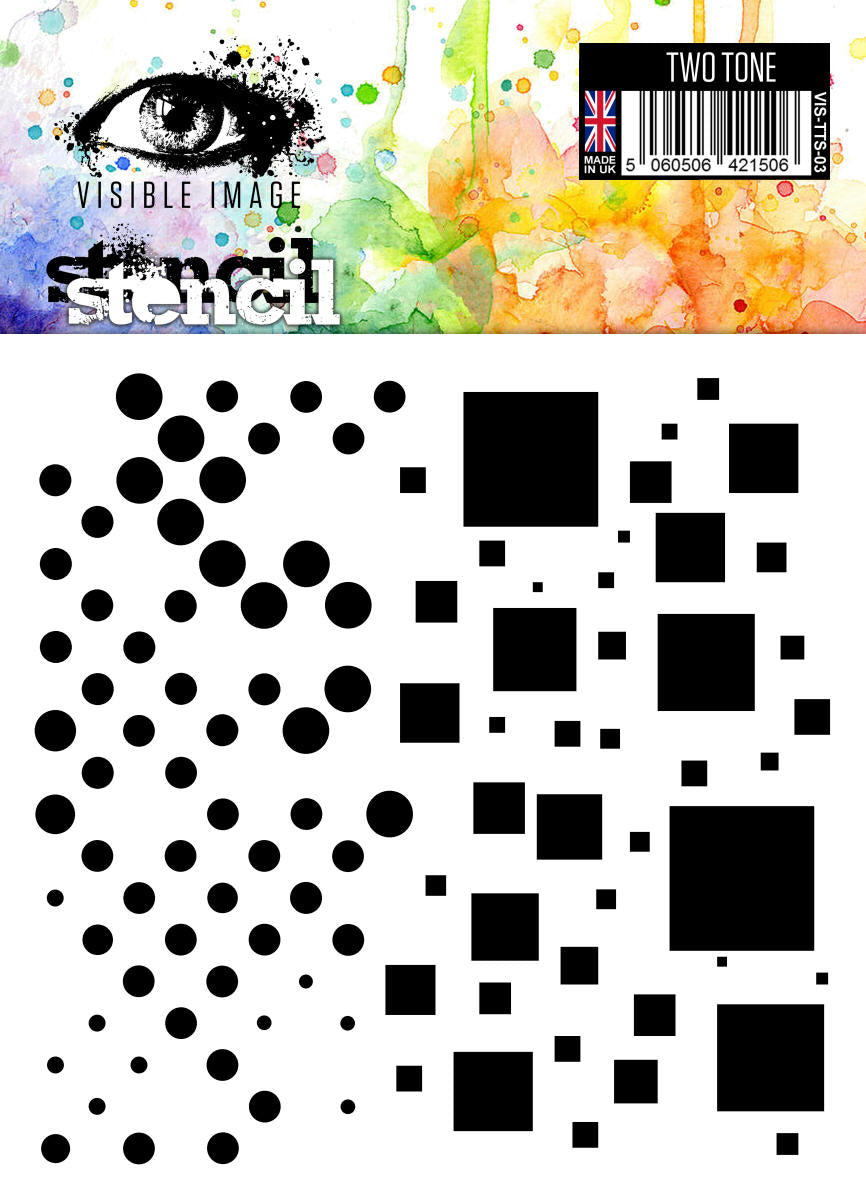
I started out putting small drops of yellow and red acrylic paint on the gel plate and distributing the paint with the brayer evenly. I then put the stencil onto the plate and brayered over it form dark to light color. This shifts some of the darker color onto the lighter color. I lifted the stencil off. I put a sheet of paper onto the plate and rubbed it evenly with my hands to lift the color of the plate and transfer it onto the paper. I let the paper dry. But you can get a second print off that stencil. Just put it paint down onto a fresh piece of paper and brayer over it. The brayer rub off also can make quite some interesting papers. The best way to get an idea of how to do this is go to youtube and watch some videos. There is a myriad of great videos out there with all sorts of different techniques.
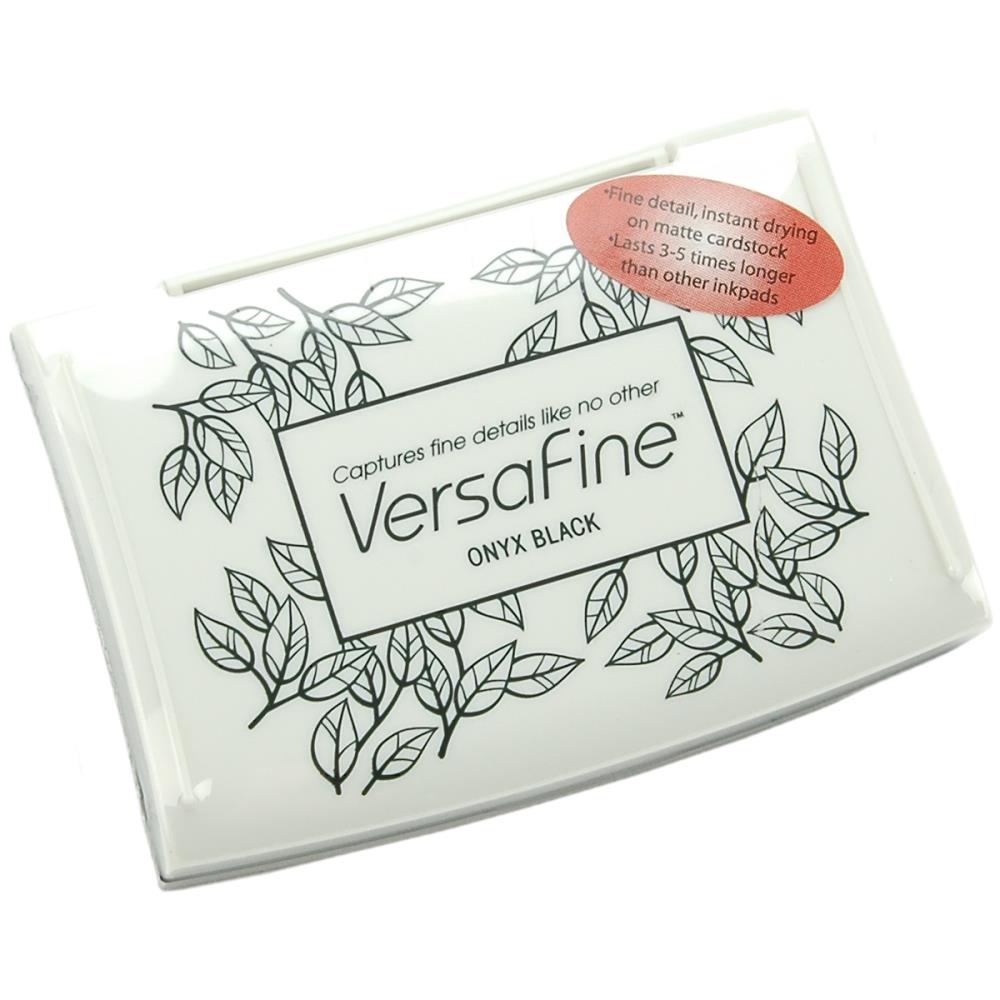
Once the paper was dry I actually put the stencil back and sponged with distress ink over the stencil to add a bit more color (I know, this is called cheating....) Added the butterfly, some white gel pen accents, the sentiment and a few gems. Trimmed the base card and mounted it onto dark card stock.
I know that everyone uses cheap copy paper for printing, but I use card stock, as it does not warp and can be used without problems. Gluing cheap, warped copy paper is a bit problematic....Besides, if you don't like your first print, you can always print on the backside. Nobody will know and you won't waste as much paper.

I hope you liked this! See you next week with more Topflight Stamps inspiration.
Here are the stamp supplies I used:


WOW, Beautiful, I've been experimenting with my Gel Plate!
ReplyDelete