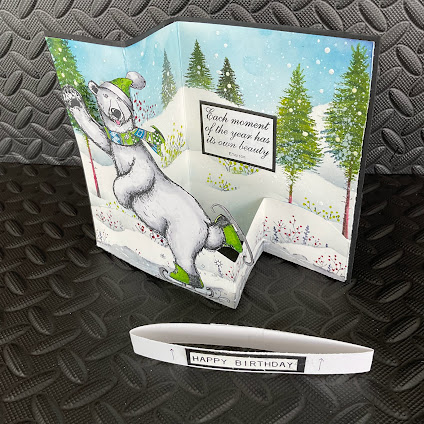
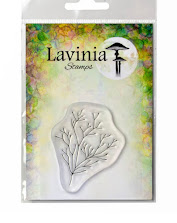
Hello fellow crafters. Mel Pilling here today. Instead of housework today, I decided to play with this beautiful set from Pink Ink Designs These stamp sets are fabulously detailed and produce very clear images. Great scene builders.
For this card I made up a simple Z card see picture below.
I used for this card Elements ink in Lagoon Blue for the sky. Then I did hillsides with a hill mask using upward light strokes with a stencil brush in Elements ink Della Blue and Versafine Clair ink in Morning Mist . The ice was done with a Stencil Brush using elements. Graphite and versafine Claire morning mist. I then used a credit card to drag ice lines with white paint.
I stamped the trees using elements inks in Olive Lime Punch Pine and Midnight blue I did the trees in a watercolour multi stamp method and detailed with a fan brush. This is done by stamping in the same place a few times with the different watercolour inks, then move the ink around very gently with a damp brush. I put the decorated Z card together by gluing in. glue zones one and two as noted on z card map. Stamp, watercolour and fussy cut the bear and adhere to your card ensuring that you can still open the Z card after gluing. I put the black backing on card before adding the z band. Then re-scored it so it folded easier. Optional: Make a small band with card stock as seen in the pictures, to slide over the card when done. I put some blank card on the back of the card for a message.
The card is very easy and fast once you have done it a couple of times and can be adapted to any size by ensuring the width of your card is divisible by 4. Life is short, housework can wait.😉😂
STAMPS USED


No comments:
Post a Comment