Showing posts with label L'Encre et L'Image. Show all posts

Monday, July 27, 2026

Dreams Come True with L'Encre et l Image

Happy Monday, friends!  It’s Walter on the blog with you today and the theme this week is Anything Goes.  My mind immediately turned to another my favorite brands, L’ENCRE at l image, and one of their recent releases, Arsene my Sweetheart.  This character is adorable and so versatile – he can be royalty, a clown, a magician, or just a simple boy like I portrayed him this week.  I paired him with elements from another L’ENCRE product, Imminent Departure, to create a wonderful, inspirational card.


I began by deciding on the placement of my paper airplane, boy, and paper boat.  I then stamped those images onto an A2 sized piece of watercolor paper and then stamped them again onto masking paper.  I created masks to protect my images and make it easier to watercolor the background.  Once the masks were fussy cut, I covered my images and got ready to color the panel.


I used colors from Lindy’s Magicals Nantucket Pearls (Whale Watch Blue & Salt Water Taffy) to watercolor a blended evening sky.  The Lindy’s Magicals blend so easily, and the bits of mica give such an amazing shimmer.  I started by misting my panel and then sprinkling a little bit of Whale Watch Blue at the top of it.  I used a paint brush to move the color around while spraying with additional mists of water as needed to move & lighten the color.  I continued adding blue and then started to mix in a little Salt Water Taffy about 2/3 of the way down the panel before switching to just the pink to finish it off.


Once dry, I stamped the compass image behind the paper airplane and my sentiment with clear embossing ink.  I sprinkled silver embossing powder over the compass and removed the mask.  I then sprinkled white embossing powder over the sentiment and heat set both images.


I was now ready to add color to my stamped images.  I removed the remaining masks and started coloring them with alcohol markers.  I used two light shades of cool gray color the paper airplane and boat.  I chose colors for the rest of the boy image that would allow me to use just a few to not overwhelm the scene.  I have a tip for you for coloring hair – especially curly hair – that a friend passed along to me.  I began by uniformly coloring his hair with a darker shade of brown.  I then used the fine tip end of a lighter brown to add little dots to lighten up portions of the darker brown.  The final step was to use a darker shade of orange and add more dots.  Coloring hair this way gives it the illusion of texture and highlights that make it more interesting than just one color.

I finished off the scene using a silver metallic marker to add varying sizes of dots in the sky to represent stars and then adding three Hunky Dory Diamond Sparkles Silver Pearls.  This scene is so charming and cute!  The sentiment, which translates to “I want my dreams to come true,” is so fitting and is certain to inspire and encourage someone.

I hope that you enjoyed this creation and post.  I’ll see you here again next week.  Until then . . . be well!

Topflight Products Used:

Thursday, March 26, 2026

Birthday Bunny

Hello!  You've got Colleen Dietrich here today to continue celebrating Topflight Stamps' 9th birthday week!  To keep up the birthday fun, I've got a card featuring a cute bunny from L'encre et L'image stamp set called The Long-Eared Family.  This little guy is holding a bouquet of clover.  I love him. 😊  I started with a background of patterned paper from Kaisercraft's Provincial paper pad.  Then I stamped that bunny on a scrap of paper with Memento Tuxedo Black Ink, colored him with alcohol markers and fussy-cut the image.  The Provincial paper pad has not only patterned papers but also punch-out ephemera, like the two scalloped borders, clock and sentiment.  So easy.  I added some bakery twine for the bunny to stand on, along with some floral embroidery trim from my stash.  Pearls from Hunkydory were the final touches.  Hope you have a wonderful day! ~ Colleen


Supplies Used From Topflight Stamps:


Friday, June 6, 2025

Squeeze the Day: A Juicy Summer Card with Gel Press Magic


Hello friends, and happy June! Ericka here from Strangely Creative, and I’m kicking off summer with a bright, citrus-inspired mixed media card that’s bursting with color and creativity.


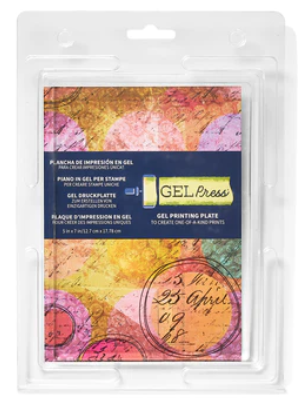
Today, I decided to shake things up with the L’Encre Fruity Note set. While I usually reach for the floral stamps, this time I was drawn to the fun fruit image—most likely meant to be an orange or lemon. But who says you have to stick to the rules? I had a bold pink gel press print in my stash just waiting for the spotlight, so I transformed that fruit into something more like a juicy grapefruit—or maybe even a blood orange!

After stamping and clear heat embossing the fruit multiple times, I fussy cut them and went hunting through my gel print collection. I found a piece that hadn’t quite turned out the way I originally hoped… but that’s the beauty of gel printing! Even the “meh” prints can become magic when paired with the right elements. This one had soft hints of pink that perfectly complemented my vibrant fruit slices.


To finish it all off, I added a sentiment from the Creative Expressions sheet and gave the card a whimsical touch with a hand-drawn border.

I hope this little burst of color and summer spirit inspires you to dig into your stash, embrace the unexpected, and create something fun and fresh. Save those prints—even the messy ones—and let them surprise you.


Here’s to a creative start to summer! 🍊✨


Topflight Stamp Supplies


L'Encre et L'Image - Fruity Note
Shop at:
TP
WOW! Embossing - Clear
Shop at:
WOW US | TP
Creative Expressions - Sentiment Sheets - Birthday
Shop at:
TP
Tsukineko - VersaFine Clair - Nocturn
Shop at:
CS | AZ | TP
Ranger Ink - Texture Paste
Shop at:
SC | AZ | Misc
Gel Press - Reusable Gel Printing Plate
Shop at:
AZ | TP | Misc
Hero Arts - Wagner - HT400 Precision Heat Tool
Shop at:
AZ
Speedball - 2
Speedball - 2" Brayer
Shop at:
TP

Friday, May 23, 2025

2025 Spring Summer Coffee Lovers Blog Hop


Welcome to the 2025 Spring Summer Coffee Lovers Blog Hop!

Hi friends! Ericka from Strangely Creative here and I'm beyond excited to be part of this year’s Coffee Lovers Blog Hop, and Topflight Stamps is a proud sponsor!

To celebrate our shared love for coffee and crafting, I’m showcasing a card that brews together bold texture, vibrant layers, and (of course) plenty of caffeine-infused inspiration.


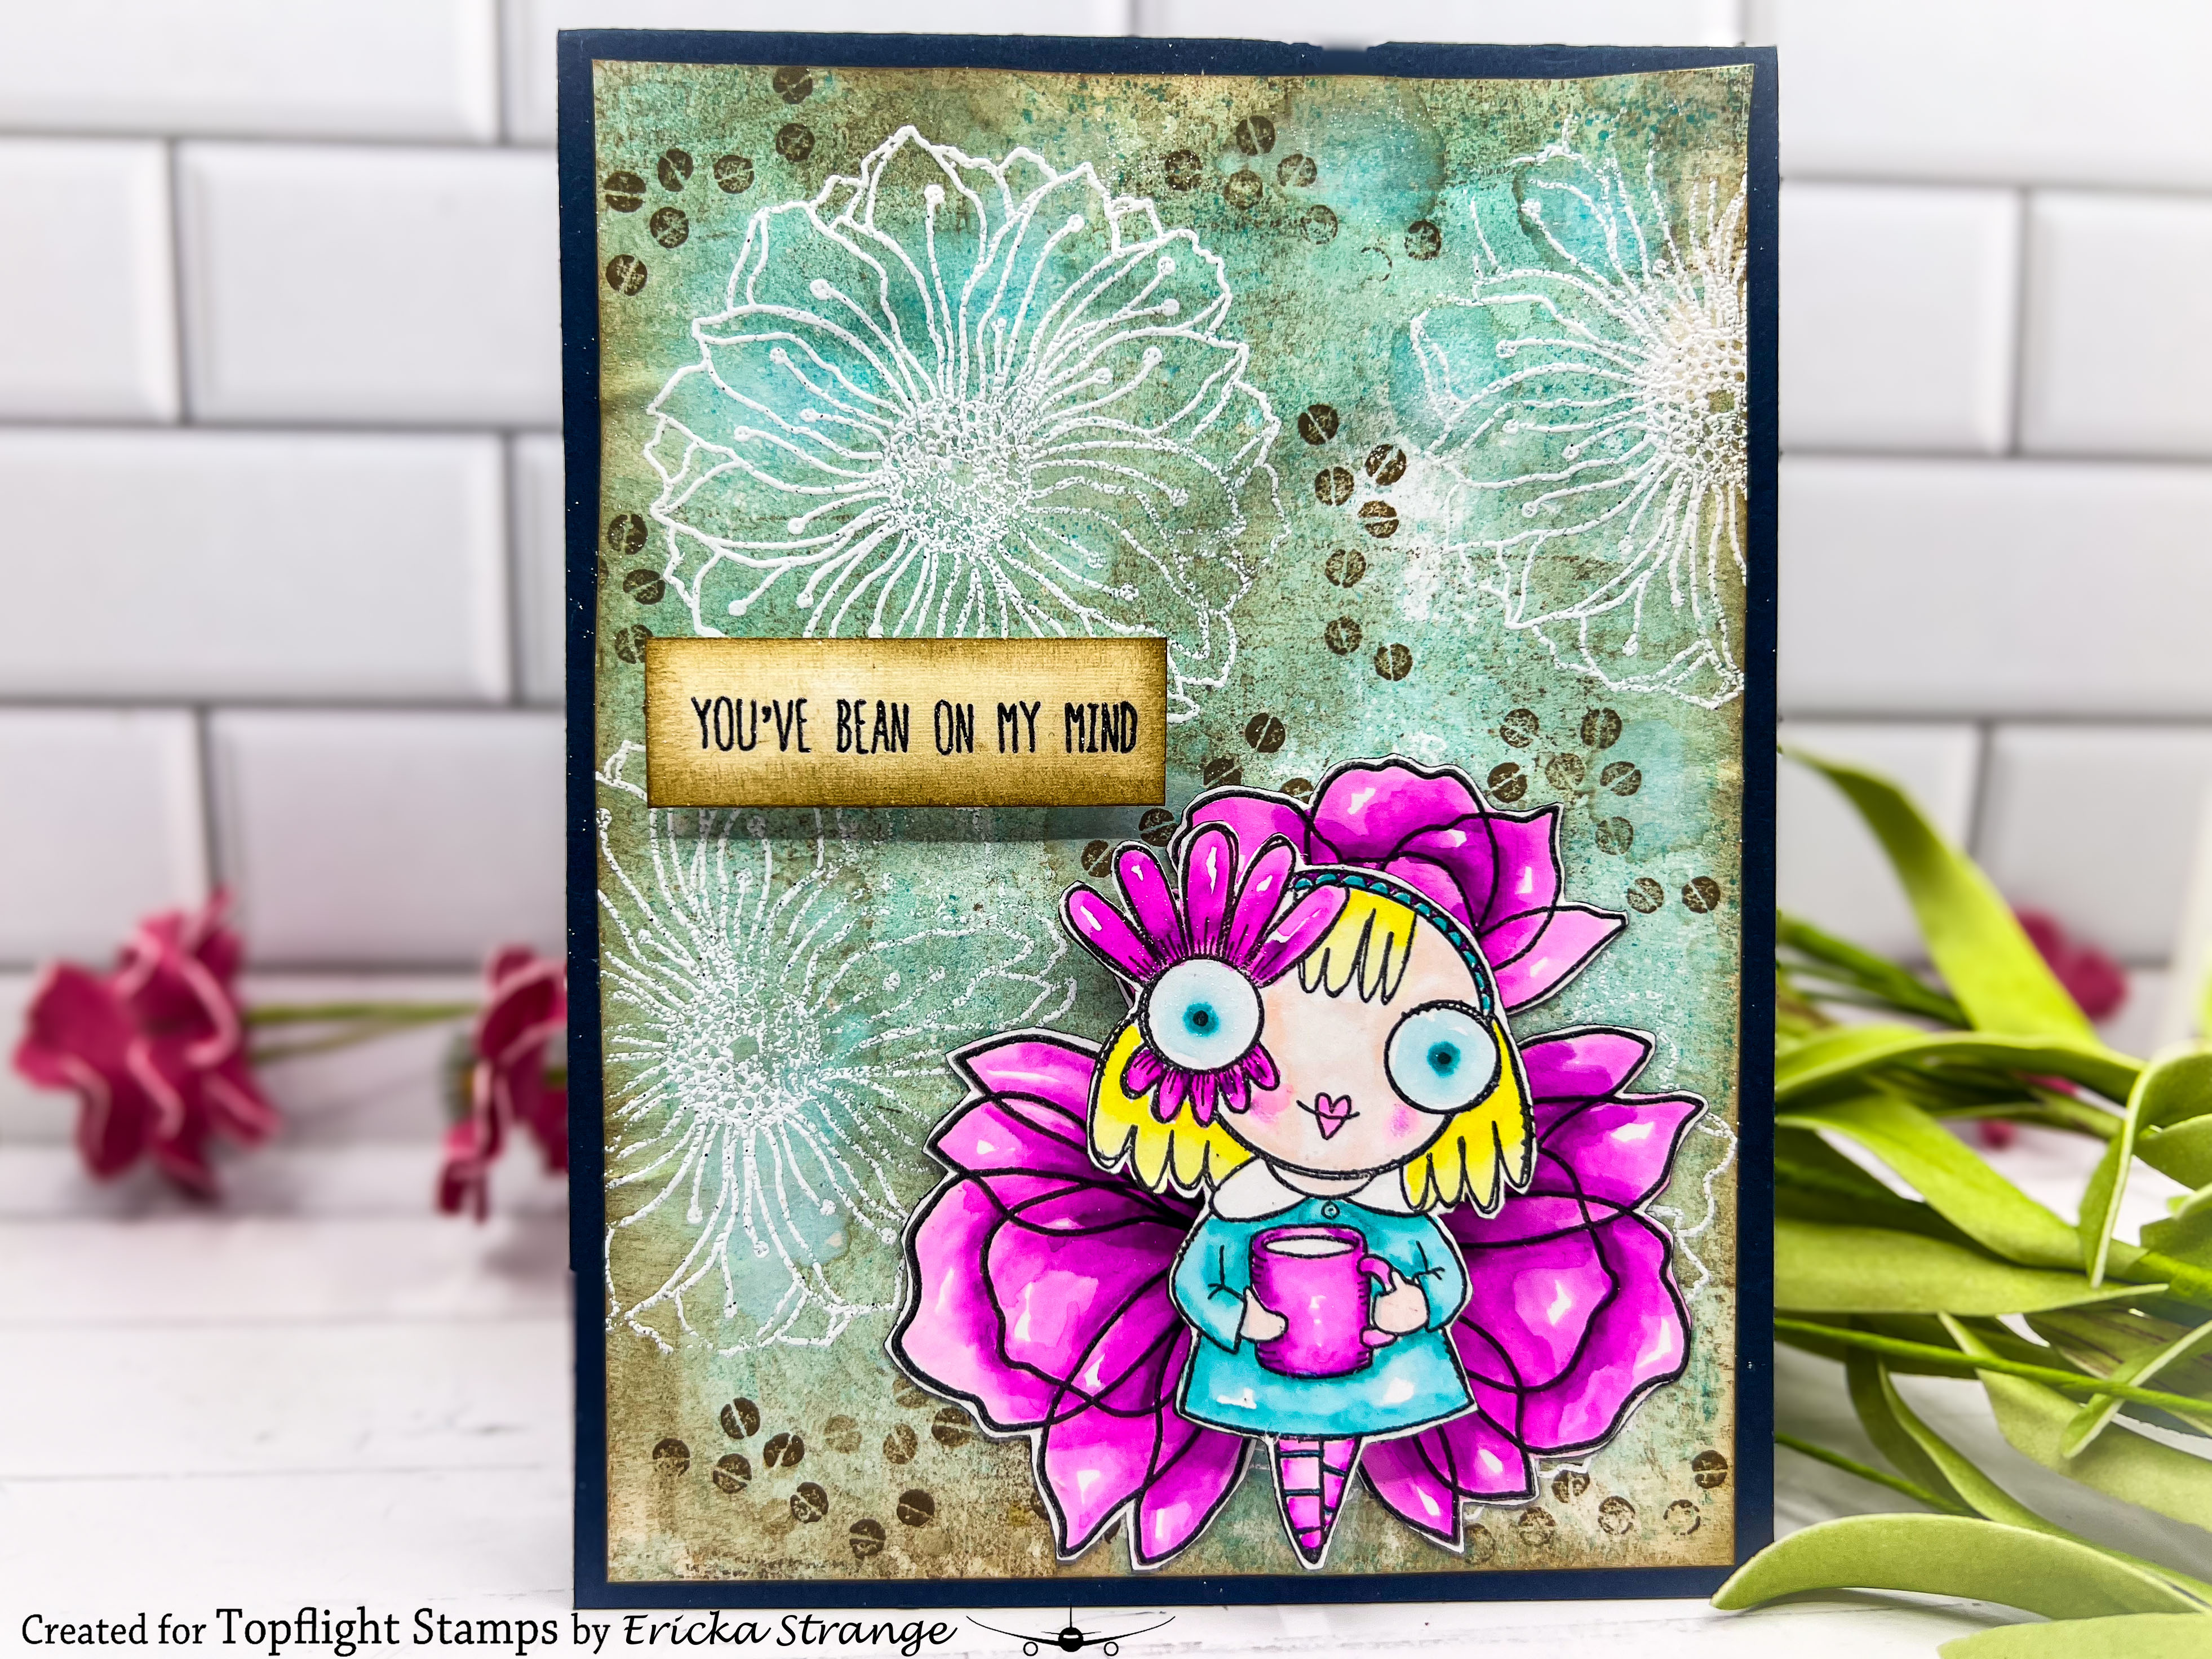
For this project, I reached for the stunning AALL & Create “Coffee Time” stamp set—it’s quirky, expressive, and perfect for that art journal-meets-cardmaker aesthetic. The focal point is a stamped cup that radiates comfort and creativity.

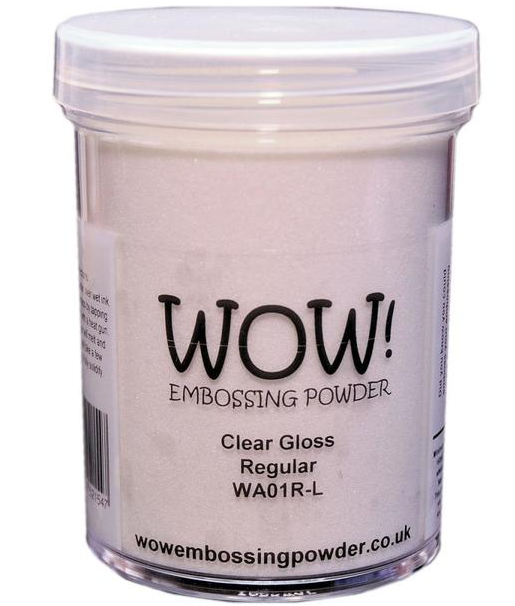
But what really makes the magic happen? My background! I pulled out my gel press, layered on Distressed Oxides in Salvaged Patina, Antique Linen, and Aged Mahogany, then lifted the print to create the perfect imperfect texture. Think spilled lattes and sidewalk café tables at dawn.


Next, I layered in the L'Encre Fruity Note set, white heat-embossing the large blossom directly onto the background. It brings a springy pop while keeping the grungy feel intact. I stamped additional florals and detailed them using my Spectrum Noir Watercolor markers—to add a bright pop to everything.


🎨 Tips for Mixed Media Cardmaking with Coffee Flair

  • Don’t clean your gel press between layers—those old layers add beautiful unpredictability.

  • Emboss white on color-rich backgrounds for an ethereal, chalkboard effect.

  • Layer your florals like you would in a bouquet—group in odd numbers and tuck elements slightly behind one another for depth.

  • Trust the mess. Mixed media is about embracing imperfection—like your favorite coffee mug that’s chipped but beloved.

 🎁 Don’t Forget the Fun!

Topflight Stamps is giving away a $25 gift card to one lucky hop participant! Be sure to leave a comment below and visit the Coffee Lovers Blog!

🛍️ And don’t miss the Memorial Day Sale: 15% off all items from May 24–26, 2025—no code needed!


Thanks so much for stopping by and sipping a little inspiration with me! Wishing you creativity, caffeine, and community this hop season. ☕🌸

Keep crafting, keep caffeinating,


Make sure to check out all the wonderful coffee-themed inspirations and start at Coffee Loving Cardmakers blog for a chance to win one of the many fabulous prizes. You won't want to miss this event full of creativity, community, and fun!

Hop Dates: May 23-30, 2025

Thanks for stopping by, and enjoy the hop!

You are invited to the Inlinkz link party!

Click here to enter
Topflight Stamp Supplies
AALL & Create - Coffee Time
Shop at:
TP
L'Encre et L'Image - Fruity Note
Shop at:
TP
Gel Press - Reusable Gel Printing Plate
Shop at:
 TP
WOW! Embossing - Clear
Shop at:
 TP
WOW! Embossing - Clear Embossing Pad
Shop at:
 TP
Tsukineko - VersaFine Clair - Nocturn
Shop at:
 TP
Spectrum Noir - Colorista Watercolour Markers - Vibrant
Shop at:
TP
Speedball - 2
Speedball - 2" Brayer
Shop at:
TP


Thursday, May 22, 2025

Baby Bunny

Hello!  This week at Topflight Stamps we are featuring a company from France called L'Encre et L'Image.  I picked a sweet, sweet stamp set called The Long-Eared Family.  This little bunny makes a perfect baby card. After I stamped her, colored and fussy-cut her, plus a little leafy branch, she needed a pretty place to sit.  The background white brick image is from Craft Consortium Brick Textures paper pad, and the pale plum stitched rectangle was die-cut with Crealies Stitched Rectangle dies.  A piece of lace from my stash helped give her a soft place to land.

Have a great week! ~ Colleen


Supplies Used From Topflight Stamps Store:


Wednesday, May 21, 2025

Set of Thank You Cards with L'Encre Stamps

Hello, Lisa Hoel here. This week at Topflight Stamps our brand focus is on L'Encre! I made a set of thank you cards using the In the Heart of the Woods stamp set. 


Lisa Hoel for Topflight Stamps #creativejuicefreshsqueezed #topflightstamps

I stamped the images onto Gel Press prints with permanent ink and then used acrylic paint to color the images in. The new AALL & Create Die Set, Quirky Post cuts a great frame for the focal images. 

Thanks for stopping by and be sure to check out the Topflight Stamps store for a wide selection of different and hard to find stamps, stencils and other paper crafting supplies from all around the world! Also keep an eye here on the Topflight Stamps blog. There is new inspiration posted daily!

Topflight Stamps Supplies Used:

L'Encre stamp set - In the Heart of the Woods


AALL & Create Die Set - Quirky Post


AALL & Create Stamp Set - Everyday Sentiments

Versafine Pigment Ink Pad - Onyx Black
Masterpiece Designs Die Set - Tag Mini Album

Tuesday, May 20, 2025

Thank You Card

 Greetings! It's Tuesday so you have Kathi here today to share a project with you. This week the team is showcasing products by L'Encre et L'Image, a French company that makes wonderful and whimsical stamps, great stencils, and other fab products.

Here's a Thank You card created with the A Stroll in the Garden Clear Stamp Set


Use Tuxedo Black Memento Ink by Imagine Crafts/Tsukineko to stamp the big planter from A Stroll in the Garden Clear Stamp Set twice — once in the center of a 6.5" x 4.5" piece of white cardstock and once onto repositionable sticker paper.

Fussy-cut the sticker paper version and place it over its counterpart on the image panel as a mask. Use  Tuxedo Black Memento Ink to stamp the watering can/house/planter from A Stroll in the Garden Clear Stamp Set onto the left of the planter. Clean and dry the stamp and stamp it again onto the right side of the planter.

Use the second largest die from the Quirky Post Die Set DI-87 by AALL and Create to cut the image panel.

Remove the mask from the image panel die-cut and color the scene with Copic markers and Copic Colorless Blender Solution. Use a white colored pencil to add highlights to the planters and watering cans. Use a purple glitter marker to add glittery centers to the pink flowers.

Use the largest die from the Quirky Post Die Set DI-87 to cut grape cardstock. Cut pink cardstock to the same size and use it to mat the grape die-cut. Adhere the matted background Quirky Post die-cut to a white A6 card.

Adhere the image panel to the card. Add the "Thank You" sentiment sticker from the Uplifting Sentiment Stickers 6 by Lavinia Stamps to finish the card. 

Please pop over to my blog, Kat's Tales of Stamping, for step-by-step instructions and complete supply lists. 

Topflight Stamps Products Used:


Thanks for visiting today!
01 09 10