Showing posts with label scene stamping. Show all posts

Monday, July 27, 2026

Dreams Come True with L'Encre et l Image

Happy Monday, friends!  It’s Walter on the blog with you today and the theme this week is Anything Goes.  My mind immediately turned to another my favorite brands, L’ENCRE at l image, and one of their recent releases, Arsene my Sweetheart.  This character is adorable and so versatile – he can be royalty, a clown, a magician, or just a simple boy like I portrayed him this week.  I paired him with elements from another L’ENCRE product, Imminent Departure, to create a wonderful, inspirational card.


I began by deciding on the placement of my paper airplane, boy, and paper boat.  I then stamped those images onto an A2 sized piece of watercolor paper and then stamped them again onto masking paper.  I created masks to protect my images and make it easier to watercolor the background.  Once the masks were fussy cut, I covered my images and got ready to color the panel.


I used colors from Lindy’s Magicals Nantucket Pearls (Whale Watch Blue & Salt Water Taffy) to watercolor a blended evening sky.  The Lindy’s Magicals blend so easily, and the bits of mica give such an amazing shimmer.  I started by misting my panel and then sprinkling a little bit of Whale Watch Blue at the top of it.  I used a paint brush to move the color around while spraying with additional mists of water as needed to move & lighten the color.  I continued adding blue and then started to mix in a little Salt Water Taffy about 2/3 of the way down the panel before switching to just the pink to finish it off.


Once dry, I stamped the compass image behind the paper airplane and my sentiment with clear embossing ink.  I sprinkled silver embossing powder over the compass and removed the mask.  I then sprinkled white embossing powder over the sentiment and heat set both images.


I was now ready to add color to my stamped images.  I removed the remaining masks and started coloring them with alcohol markers.  I used two light shades of cool gray color the paper airplane and boat.  I chose colors for the rest of the boy image that would allow me to use just a few to not overwhelm the scene.  I have a tip for you for coloring hair – especially curly hair – that a friend passed along to me.  I began by uniformly coloring his hair with a darker shade of brown.  I then used the fine tip end of a lighter brown to add little dots to lighten up portions of the darker brown.  The final step was to use a darker shade of orange and add more dots.  Coloring hair this way gives it the illusion of texture and highlights that make it more interesting than just one color.

I finished off the scene using a silver metallic marker to add varying sizes of dots in the sky to represent stars and then adding three Hunky Dory Diamond Sparkles Silver Pearls.  This scene is so charming and cute!  The sentiment, which translates to “I want my dreams to come true,” is so fitting and is certain to inspire and encourage someone.

I hope that you enjoyed this creation and post.  I’ll see you here again next week.  Until then . . . be well!

Topflight Products Used:

Monday, July 20, 2026

A Funny Little Romance

Hey there, friends!  It's another Monday and another post with Walter.  This week's theme is PaperArtsy and I was so torn between a serious card or one with lots of whimsy since they offer so much of both.  Ultimately, something fun and whimsical won out - but I did throw in a touch of some serious elements.  I fell in love with these Zinis characters as soon as I saw them on the Topflight Stamps website - they're just so cute and fun.  The way that the little guy looks so adoringly off to the side while the little woman throws her hands up in the air (waving them like she just don't care!) looked to me like two people in love.  That's exactly what my design this week celebrates . . . a funny little romance.


I began this scene by deciding where to place my two Zinis, PaperArtsy - Zinski Mini - ZINI 36 & PaperArtsy - Zinski Mini - ZINI 37, and stamping them.  I knew that I wanted to put a stenciled heart between them and wanted to leave enough room between for that.  I then grabbed some masking paper, stamped both onto it, and fussy cut my masks.

I was ready to begin on my background once the masks were applied.  A really simple way to color a background without ink blending is to apply the ink with a baby wipe.  I pressed by inkpad onto my glass surface, grabbed a baby wipe, picked up some ink with it, and began to press the wipe against card panel.  You may swipe it across, gently rub in circles, or simply press & apply as I did to create a more gradient look.  I believe this a great technique to use in this design since it is so whimsical.  I then grabbed my pouncer brush with some white pigment ink and just lightly pounced around the panel.  This step serves two purposes - it lightens up the color a bit and also helps to give a blended look to the panel.


Lots of repeat stamping was done to finish off the design before adding the stenciled heart.  I used several stamps from PaperArtsy - Mags Woodcock - EMW004 to add in background text and a couple of floral elements.  With the stamping finished I could now move on to stenciling.  Rather than simply ink blending the heart, I thought it would be more fun to use some acrylic paint to form the shape using PaperArtsy - Stencil - Mags Woodcock - PS515.  This definitely didn't give me an exact replica of the heart on the stencil since I applied the paint with a palette knife rather than a brush.  I am okay with that though because it gave me a more imperfect & whimsical looking heart that truly goes so well with these characters.  I did one last thing to add a little more character to it - used a small sanding disk to gently sand away some of the paint & distress it.  I love the result!


I finished up by coloring these two little love birds and florals with alcohol markers and then adding in some bling using Hunkydory - Diamond Sparkles Glitter Gemstones - Amber Sparkles.

What do you think of my funny little romance?  Do you enjoy designs like this?  Let me know in the comments!  I'll see you again on the blog next Monday with another project.  Until then . . . be well!

Topflight Products Used:


Sunday, October 16, 2022

Fall Woodsy Scene Cards with Lavinia Stamps


Hi friends!  It's Autumn Clark from SewPaperPaint with you today to share a couple of inky fall creations featuring gorgeous stamps by Lavinia

My first card features the gorgeous Fairy Toadstool stamp.  I created a moody forest floor scene by blending Lavinia Elements inks.  I added some shading to the hills by tearing a piece of paper and sponging around it, and then by adding some ink with a water brush.  I added the Fuzzy Caterpillar as the central creature. 

I completed the scene with the Woodland Ferns, Silhouette Folliage, Mini Meadow Mushrooms and the Hazel Tree (stamped as grass).  Along the ground, I stamped the Mini Dots stamp to resemble dirt.  I added details with a Uniball white pen, Posca markers and Pan Pastels.  I drew gold paint dots then used a Q-Tip to blend the Pan Pastels over to mimic fireflies.  So fun!  


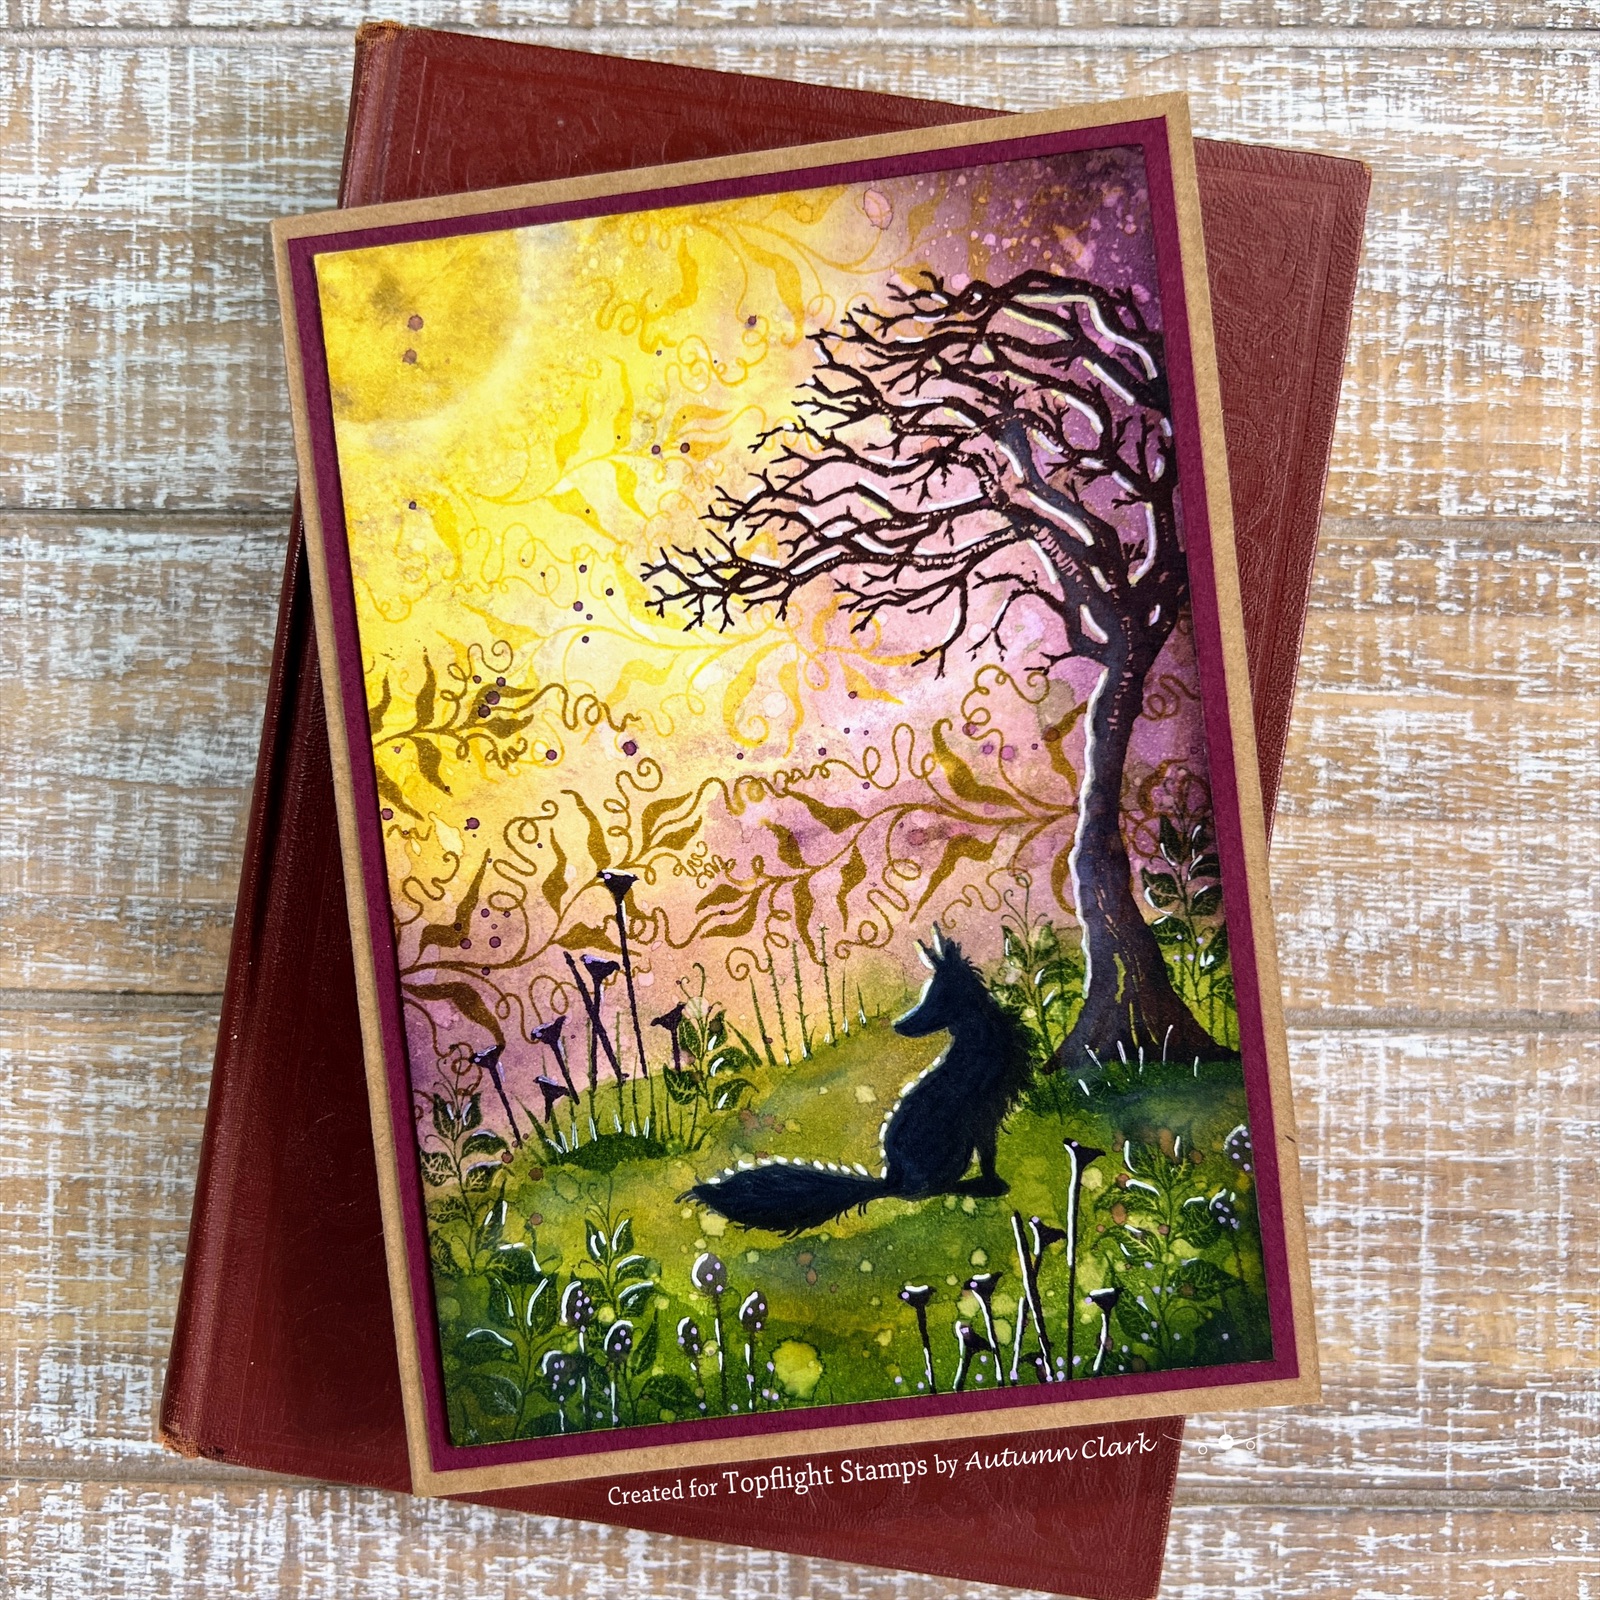
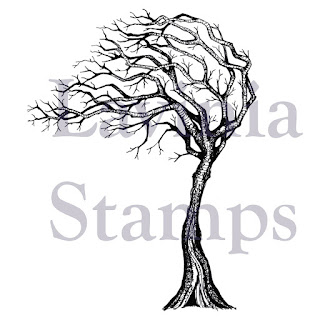
My next card features Fox Set 2.  I adore these amazing silhouettes!  I masked a punched out circle and did another ink blended background with Elements inks, using another sheet of torn paper to sponge the hillside.  Next, I stamped the Seasonal Tree.  I filled in the sky with a stamped pattern because it was too plain.  I used the Whimsical Wisps and Wild Vines

For the forest floor I used the Silhouette Foliage again, with the Fairy Buttercups and the Berry Leaves.  I finished with splashes of water and ink for a grungy look.  I really enjoyed creating these stamped scenes.  I hope they have inspired you. xx, Autumn


Sunday, September 18, 2022

Lavinia Stamps Night Owl Scenes


Hi friends!  It's Autumn Clark from SewPaperPaint back with you today to share a couple of owl themed cards featuring Lavinia Stamps & Stencils.  For my first card I dipped my panel in a light wash of Confetti Elements Dye Ink, then layered the Lavinia Abstract stencil over my panel and sprayed Tangerine Dream Glimmer Mist.  It left a beautiful orange shimmer!  I blotted some of the ink and the pattern wasn't as visible as I had hoped, so I tried a second round of spraying.  This time, I sprayed Bronze Penny just over select portions of the Abstract stencil.  Now, Bronze Penny in my experience is a brown spray with added shimmer.  You can see how it looks almost like walnut stain.  It's beautiful, but heavier on the color than I would have thought looking at the label.  This is why some (smarter than myself) people make color swatches.  I just fly by the seat of my pants and bin the project if it goes south.  Ha ha ha, but in this case I was pleasantly surprised and so I persisted...

I stamped the Tree of Courage branches (turning the stamp upside down for the left side) and then the owls, Echo and Drew, then decided to add a moon.  I'm not entirely sure I recommend this method, so if you try it do so on a scrap first.  But I circled my white Posca paint marker and then smeared it with my finger quickly in a circle.  I repeated this several times until my moon was large enough and white enough for my card.  There is a half minute or so drying time, so that's how I managed this.  Later, I blended a little Sundance over the bottom of the moon and some Stickles over the top to liven it up a little.  Along the bottom of my card, I stamped the Fern Heads in Truffle and accented them with a gold gelli roll pen and more Stickles.  I stamped the Snow Shrub in Russet Orange and finished with some white Posca marker highlights.  I do like adding the white dots on my work, but decided this panel needed some dark spots, so I used the Mini Dots stamp to stamp randomly around the sky in Truffle.  What a great little stamp!


Once you get going with these critters, it's hard to stop envisioning new scenes...  This time I made a mask for my moon.  I simply traced the bottom of a pill bottle onto a sticky note and cut it out.  You could use a die cut for this, but I was stamping away from home and had to make do.  With my mask in place, I lightly sponged Mermaid Elements Dye Ink with my blending brush in a circular motion around it.  Around that I sponged Mulberry, especially making the corners dark.  I lifted my mask and very lightly sponged the moon with more Mermaid so it wasn't just bright white.  I used a torn sheet of paper to mask and sponge the hills along the bottom of the panel, then stamped the Seasonal Tree and the little owl along one of the hills.  And there you have two very different designs with one little owl stamp set.  I really hope these cards and techniques have inspired you today!  Hugs, Autumn

Because these inks are water reactive, I was able to use my water brush to lift up color to form the clouds.  I just brushed and blotted, brushed and blotted until the color was as desired.  The white highlights and Stickles add to the effect.  For my ground cover, I stamped the Silhouette Foliage and Flora Set repeatedly in the coordinating ink pads. 

For my final card I stamped the sweet owls onto a background stenciled with the Abstract stencil over the same Tree of Courage stamp.  The bottom was stamped with the Fairy Buttercups stamp.  The colors of Elements ink are Mulberry and Confetti.  This one was super simple to make and is a good warm up card for a Lavinia play day!  I hope you're inspired and will enjoy your stamping time, Autumn

Find Lavinia Stamps & Stencils at Topflight Stamps today!


01 09 10