Showing posts with label Prism Shimmer Mist. Show all posts

Monday, August 8, 2022

Art Journal Page with Lavinia Mysticals Mist

 Welcome back to another creative week! This is Rachel from rwkrafts.com and this week I'm sharing the steps to an art journal page that features the gorgeous Lavinia Mysticals Mists.


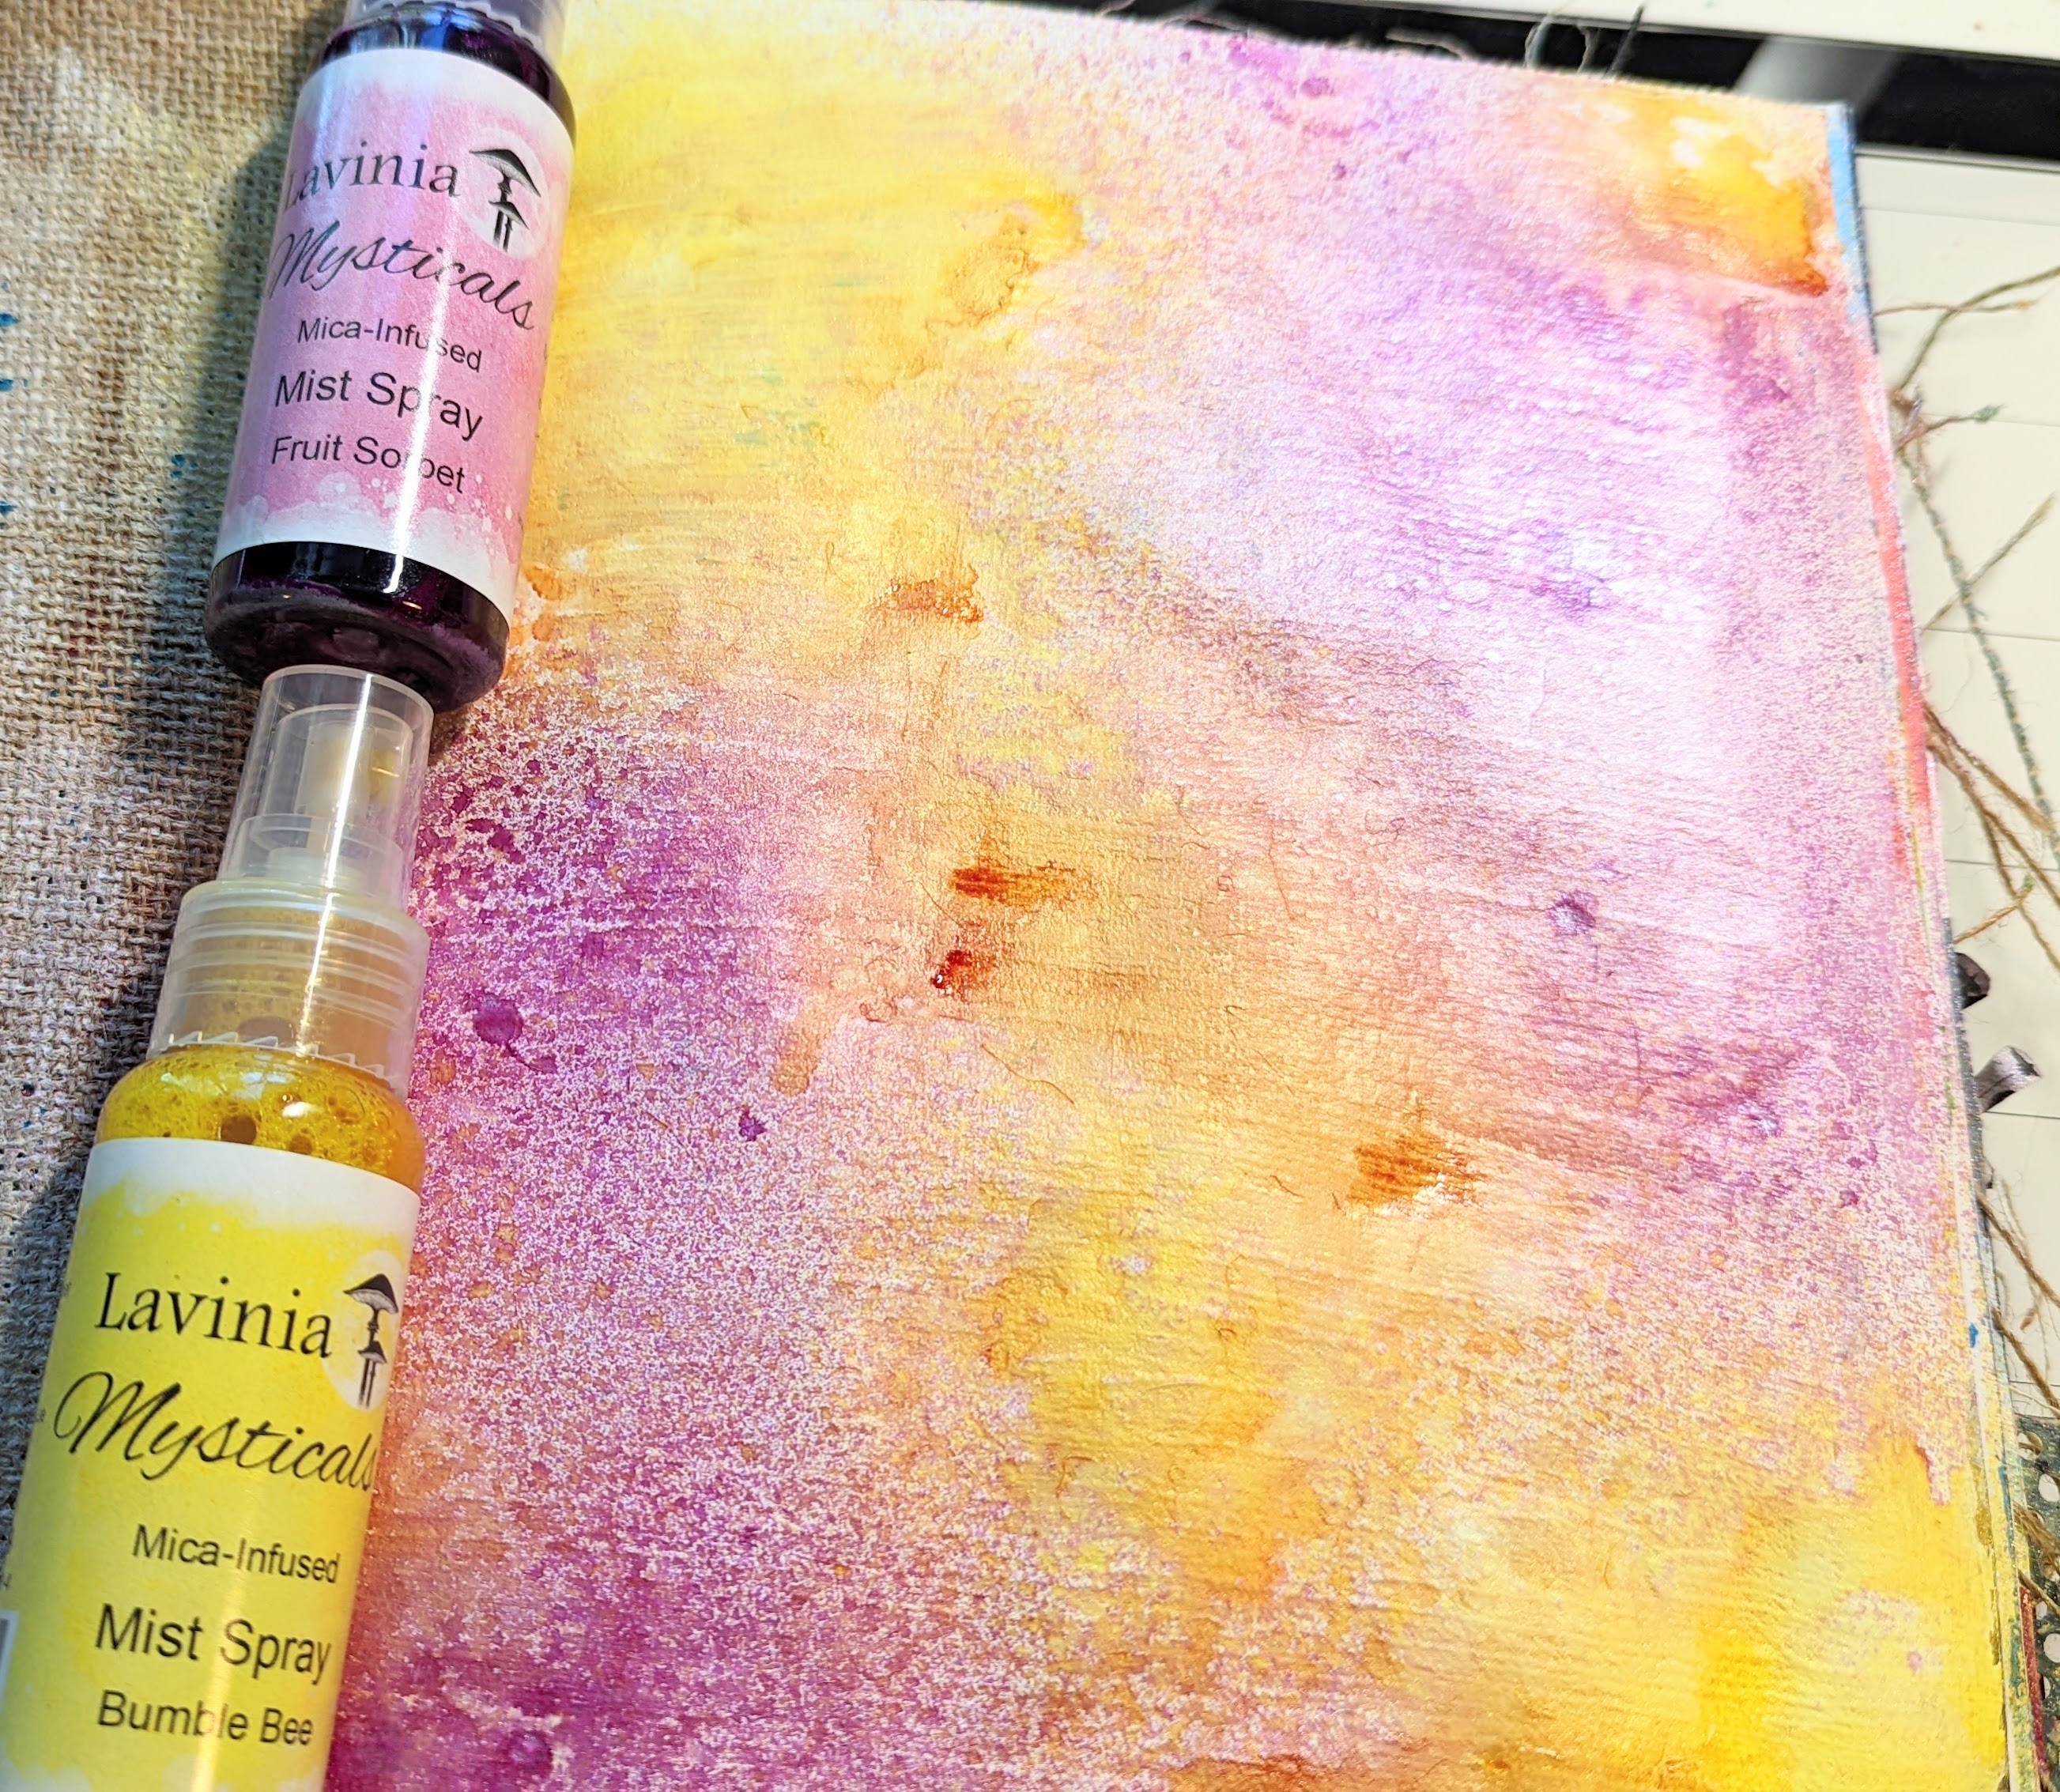
First I gesso'd a page in my art journal. Once dry, I heavily sprayed the page with Lavinia mists in Bumble Bee and Fruit Sorbet.

Next, I used the AALL & Create stencil "Hung Up on Hearts" with Paper Artsy fresco paint in Twilight. I used the stencil to create the flow of the page, so only part of the stencil is painted.


Then I added some torn strips of washi tape and I used another AALL & Create stencil called Totally Dotty and only sprayed a small section with Lavinia mists in Kingifhser


Of course, I needed to add some splatters! I splattered across the page with Prism Mists in Midnight Black.


Lastly, I grouped together some Mushroom stamps by Katzelkraft and glued them to my page. I also added some small pink beads that I found in my stash.


The page actually came together super quickly. I love using the Lavinia Mists, they make it so easy!


Thanks for joining me! Please join me over at my Instagram or my website

Topflight Stamps products used:


Tuesday, April 12, 2022

"Spring is Late!", said the White Rabbit

 Greetings! It's Tuesday so it's Kathi here today to share a project with you! This week my teammates and I are celebrating spring or Mother's Day. Spring weather and spring flowers seem to be running late here in the Northeast, but my bunnies are back and the Easter Rabbit is scheduled to visit on Sunday. So I opted to create a card with I'm Late Clear Stamp #446 and the Flowers and Gears Clear Stamp Set 195, both by Olga Heldwein for AALL and Create

Here's the card!


I started the card by stamping the flower branch twice and the other flowers from the Flowers and Gears Clear Stamp Set 195 by Olga Heldwein for AALL and Create onto white cardstock with Memento ink. I fussy-cut the flower branch, some separate flowers from the branch, and the individual flowers, colored them with Copic markers, edged them with with a black pen, and set them aside. 

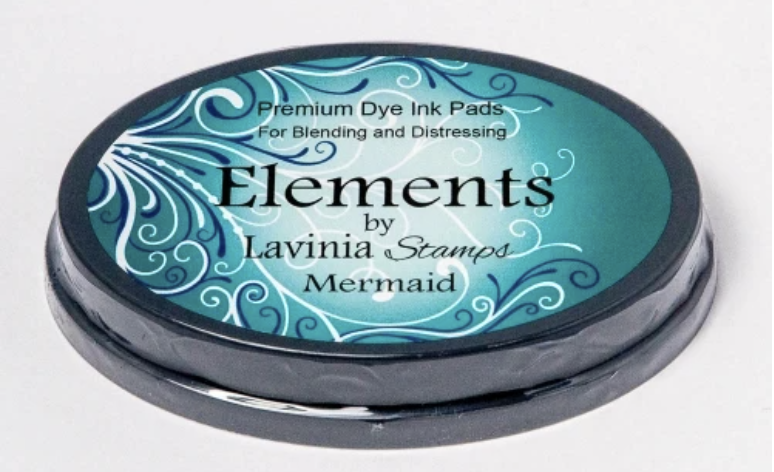
The White Rabbit from I'm Late Clear Stamp #446 by Olga Heldwein or AALL and Create was stamped with Onyx Black VersaFine Ink by Tsukineko, heat set it, and fussy-cut it. Mermaid and Graphite Elements Inks by Lavinia Stamps were smooshed onto my craft mat and misted with water. The watery ink was picked up with a paint brush and used to color the jacket and the hat of the Rabbit. Copic markers were used to color the Rabbit's fur and goggles. A Distress marker was used to color his shirt and vest. A gold metallic pen was used to color the buttons on his vest, the chain, and the pocket watch case. Several layers of Clear Glaze pen was used to add dimension and shine to his goggle lens, the watch crystal, and his buttons.

Background paper was created by brayering  Della Blue Elements Ink onto a 5 x 7 Gel Press using the 2" Speedball Brayer. A piece of  Mixed media paper was used to pull the print, then a very light coat of Confetti Elements Ink was brayered onto the Gel Press. The same paper was placed back onto the Press and the print was pulled again. I repeated the process again with Della Blue Elements Ink. The gel press print was sprayed with Glamour Gold Prism Glimmer Mist, which was also used to splatter the print. The print was trimmed to size and edged with with Della Blue Elements InkGlamour Gold Prism Glimmer Mist was sprayed onto a piece of foam foam and used to edge the piece a second time. 

The background was debossed with a clock patterned plate to add some subtle visual interest. A piece of clock-printed Washi tape was added to the base of the background panel, then all the elements were adhered as shown.

Please pop over to my blog, Kat's Tales of Stamping, for detailed instructions, notes, and complete supply lists. 

Topflight Stamps Products Used:


Thanks for visiting today!

Monday, March 7, 2022

Scrapbook Layouts with Chou and Flowers

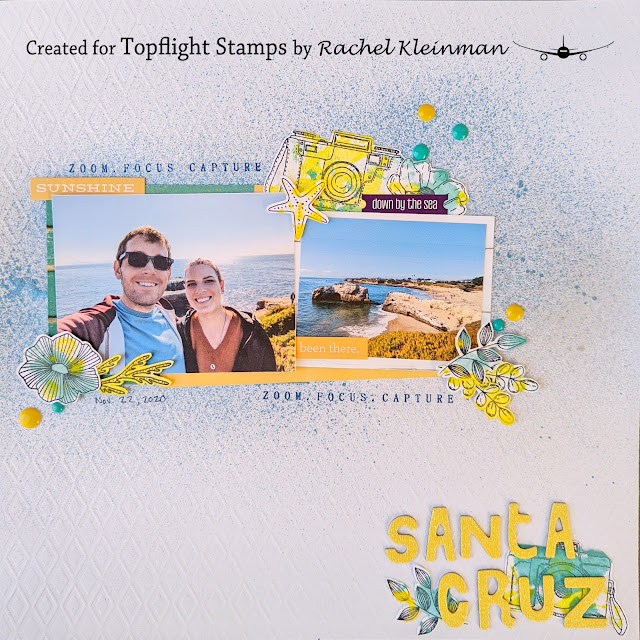
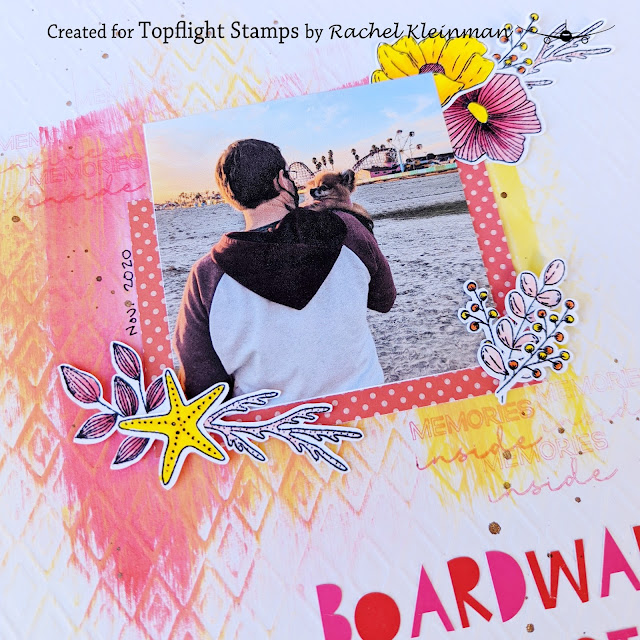
 Hello, it's Rachel Kleinman from rwkrafts and I'm sharing two scrapbook pages I created using the beautiful stamp set Memories by Chou and Flowers. The set includes both large and small images that are perfect for layering to create accents for the layouts.


For this layout I started by spraying the white background with Prism Glimmer Mist "Azure Sky" and "Silver Dollar"


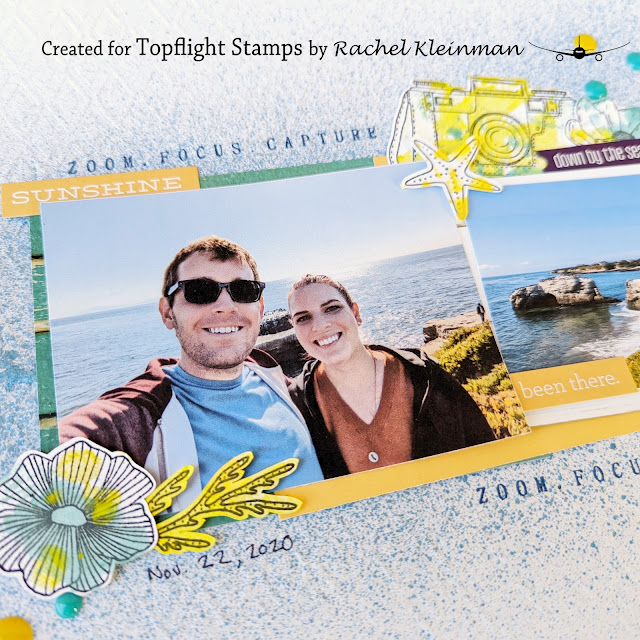
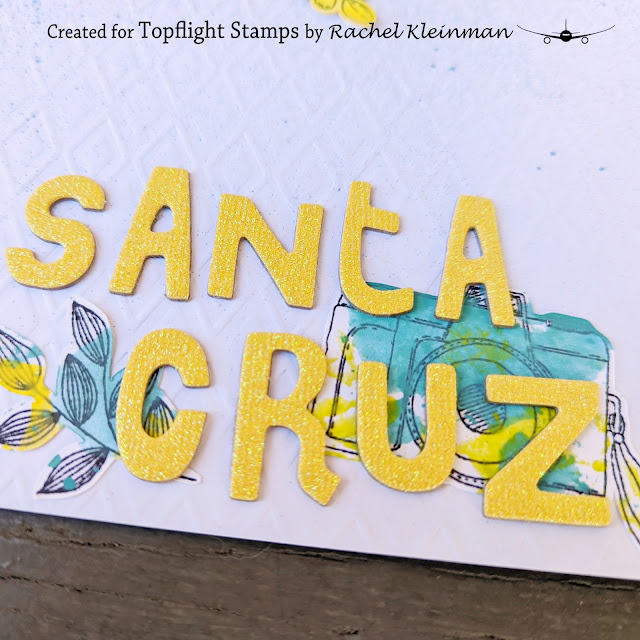
I stamped multiple images on white cardstock and cut them out. I placed a drop of Paper Artsy Fresco Paint in Zesty Zing, Bora Bora, and Limelight on my craft mat and misted the paint with water. I then tapped the stamped images onto the paints. I intentionally left some white space to help the detail of the stamps shine through.


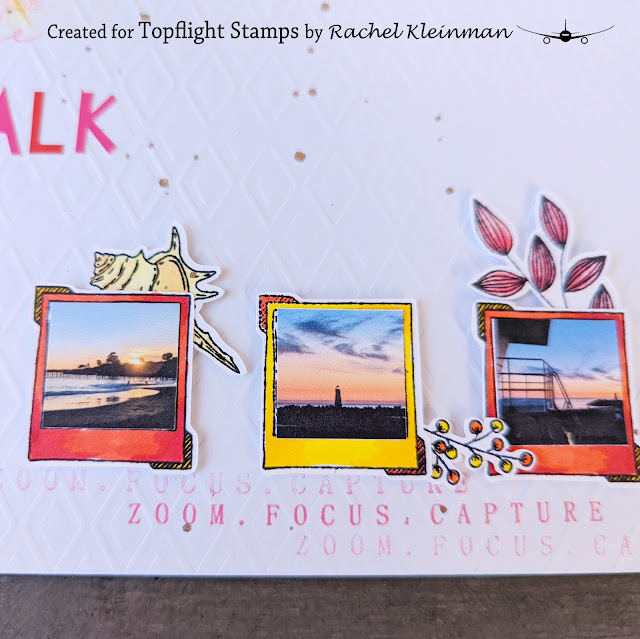
I also stamped the sentiment "zoom. focus. capture" around the layout using Prism Ink in French Navy.


I created a second layout using the same Chou and Flowers Memories stamp set...


I started by rough painting the background with Paper Artsy Fresco Paint in Zesty Zing and London Bus. I used these paint colors to mimic the sunset images on the layout.


The stamped images were colored with Copic Markers. I also repeatedly stamped the sentiment "Memories Inside" with Prism Ink "Camillia Pink". I also finished off the page by splattering Prism Glimmer Mist in Bronze Penny.


I really love the polaroid image in this stamp set. I printed three other sunset photos to size to fit in the image. These polaroid stamps would also be a great spot for journaling and adding dates to the layout.

I hope you enjoyed my scrapbook layouts featuring photos from our trip to Santa Cruz! 

TOPFLIGHT STAMPS SUPPLIES USED:


Sunday, February 27, 2022

Butterfly Slimline Card

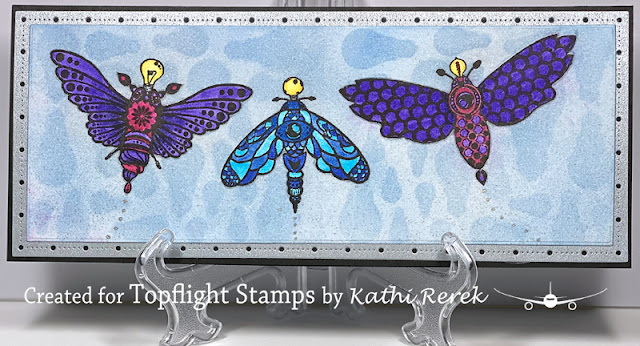
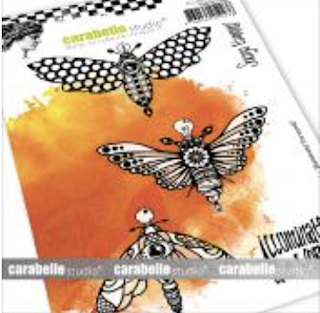
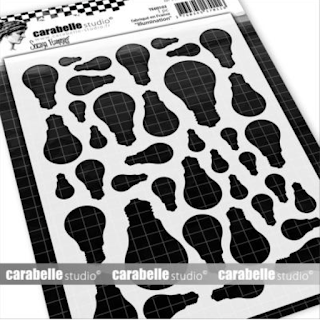
 Greetings! It's Kathi here to share a project with you today. When I first saw the new Butterfly Illuminate Rubber Cling Stamp Set by Soraya Hemming for Carabelle Studio and the Illumination Stencil Mask by Soraya Hemming for Carabelle Studio, I knew that I had to have them soonest since they have such a cool Steampunk vibe to them. 

Here's my slimline card!


Onyx Black VersaFine Ink by Tsukineko was used to stamp all three of the gorgeous butterflies onto mixed media cardstock and onto repositionable label paper. The label paper butterflies were fussy-cut and placed atop their counterparts on the image panel as masks.

Periwinkle Prism Ink by Hunkydory Crafts was brushed over the masked butterflies, then brushed again over the Illumination Stencil Mask by Soraya HemmingSilver Dollar Prism Mist by Hunkydory Crafts was sprayed over the image panel to add shimmery silver splotches and splashes. Sadly, you'll have to take my word for it since it's not showing up as well as I'd like. 

The image panel was heat set and die-cut using a plain slimline cutting die.

The masks were removed and reserved for another use. The butterflies were colored with Zig Clean Color markers. I definitely need to improve my skill set with those markers. 

Silver glitter marker was used to add flight trails. Silver cardstock was die-cut with another slimline die and used to mat the image panel.

Please pop over to my blog, Kat's Tales of Stamping, for detailed instructions and complete supply lists.

01 09 10