Showing posts with label Art By Marlene Signature Collection. Show all posts

Wednesday, May 18, 2022

Be awesome today! - A quick gel print tutorial


Good Morning!
Do you have a gel plate but are too afraid to use it? Or have you seen people print on paper and always wondered how they get the different colors to shine through all the layers? Here is a quick tutorial that will take less than 10 minutes to create a project.

Products used:

Carabelle Studio - Stencil/Mask - Birgit Koopsen - Leaves in the Wind


Quick steps:

1. Apply blue paint to the gel plate


2. Wipe away the blue paint showing through. 
Apply yellow paint over the stencil.


3. Let this dry and then apply the paint that will pull the whole print off the plate. I used white. Apply a thick enough layer to cover the plate but thin enough to see the image press through. 


4. Add some markings with a paint pen for interest and dimension. I couldn't quite get the "pop" I wanted, so I placed the stencil back onto the image and applied distress oxide to the stencil.


5. I used a die to cut the frame/border, and applied black soot Distress Oxide to the edges. I finished the card by adding a sentiment to the bottom.


Isn't this such a cool card? And quick?? I found a stamp in the store with the same image as this stencil.


I hope you have a great day!!
Charmaine


Wednesday, April 20, 2022

Her Wings Unfolded - a Journal page


 Good Morning
I played with a variety of stamps from a few of the stamp companies TopFlight Stamps carry to create this layer-looking journal page.


Here are all the products I used:


I wanted to make a layered look, or like another world was emerging from behind. Add white acrylic paint from Art by Marlene around the border of the blue background. 


Add dimension to the greenish background with an AALL and Create stamp and distress oxide. 


I tried to make the center more pronounced, so I added a brown background with distress oxide and water.

Stamp and color your little winged girl from AALL and Create and cut her out.


Add washi tape details and stamp the extra image from above onto the page.


Finally, add your sentiment and glue this and the girl with liquid glue.


I hope you liked today's playtime with me!

Charmaine


Thursday, March 24, 2022

Congrats Lovely ~ Acrylic Paint

 Good Happy Morning to you!

I have a quick journaling page for you showcasing some of the mediums TopFlight Stamps carry.


Products used: 

Studio Light - Art By Marlene - Essentials - Acrylic Paint Set - Moody


PaperArtsy - Tracy Scott 42 - Rubber Cling Mounted Stamp Set

Start off by adding acrylic paint on the page. 


Then stamp and fussy cut all your flowers.


I wanted to use the colors that came in the paint set, so I placed some paint on a gel plate, brayered it on, and then used it as a stamp pad.


I also used it to stamp the circles onto the page.


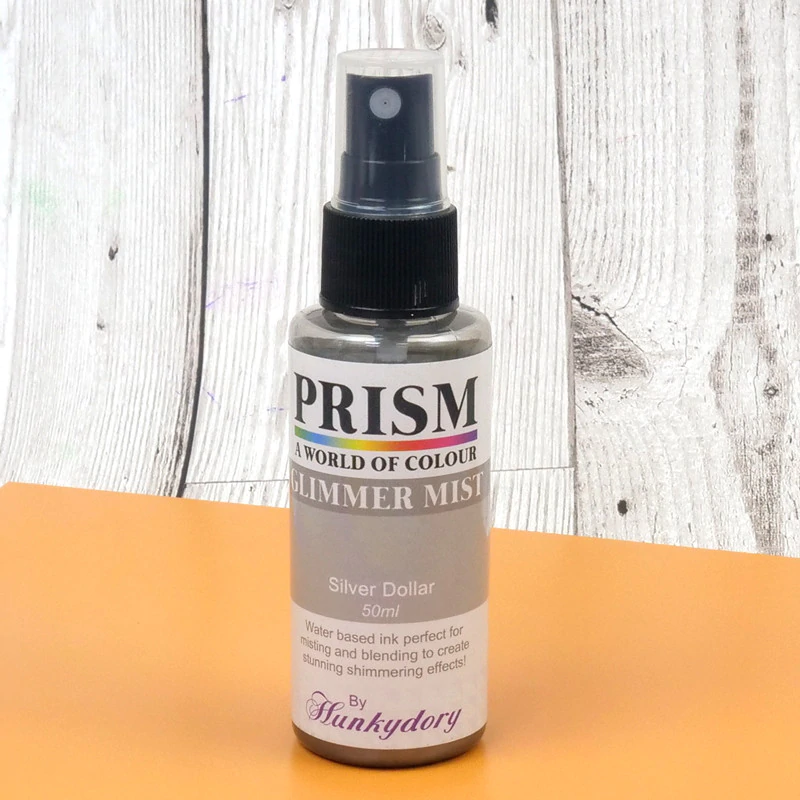
I wanted some shimmer, so I used the Prism spray with a stencil.


Glue your flowers, add a whimsical frame and
sentiment and you are done!


Thank you for looking! I hope you will try something
similar in your own journal!


Wednesday, February 9, 2022

You can take a girl out of Africa.... ~ Crafty Individuals


...but you can't take Africa out of the girl. 

Good morning!

As soon as I saw this Happy Zebra stamp
 from Crafty Individuals
, I immediately saw a card come alive in my mind's eye. 


The design team is focusing on the Crafty Individuals stamps this week
and this is my first stamp from the company.
  These stamps are unmounted and will need cling foam if you use a
 stamping platform. TFS carries
 Crafter's Companion - EZMount - Static Cling Mounting Foam.
I used the thick foam.


I took some inspiration from a Ndebele hut house
found in South Africa. These homes are so
beautifully and artistically decorated and I just love
 all the colors! (Picture from Pinterest)

Topflight Stamps recently added the Versafine Clair Pigment ink
line to the store and they are so rich in color. 

I used 3 x A2 heavy cardstock bases and smeared three inks vertically
down the paper. I also added my own artsy lines and squiggles with a white paint pen.


To finish these super easy cards, I added stickers from Studio


I stamped the zebras with Versafine Black Onyx ink and then cut them
out by hand. Use double-sided foam tape to add dimension. 


Aren't these so fun? 

I hope you have been inspired today!
Talk soon, 
Charmaine


01 09 10